In this tutorial, you will learn how to create and reuse custom elements in Studio Designer thanks to Layout Blocks.
Use Case
We will create an element to display all the properties of a document type, in Edit mode, so that it can be shared with the Create, Edit and Import layouts (as they aim at modifying property values).
Requirements
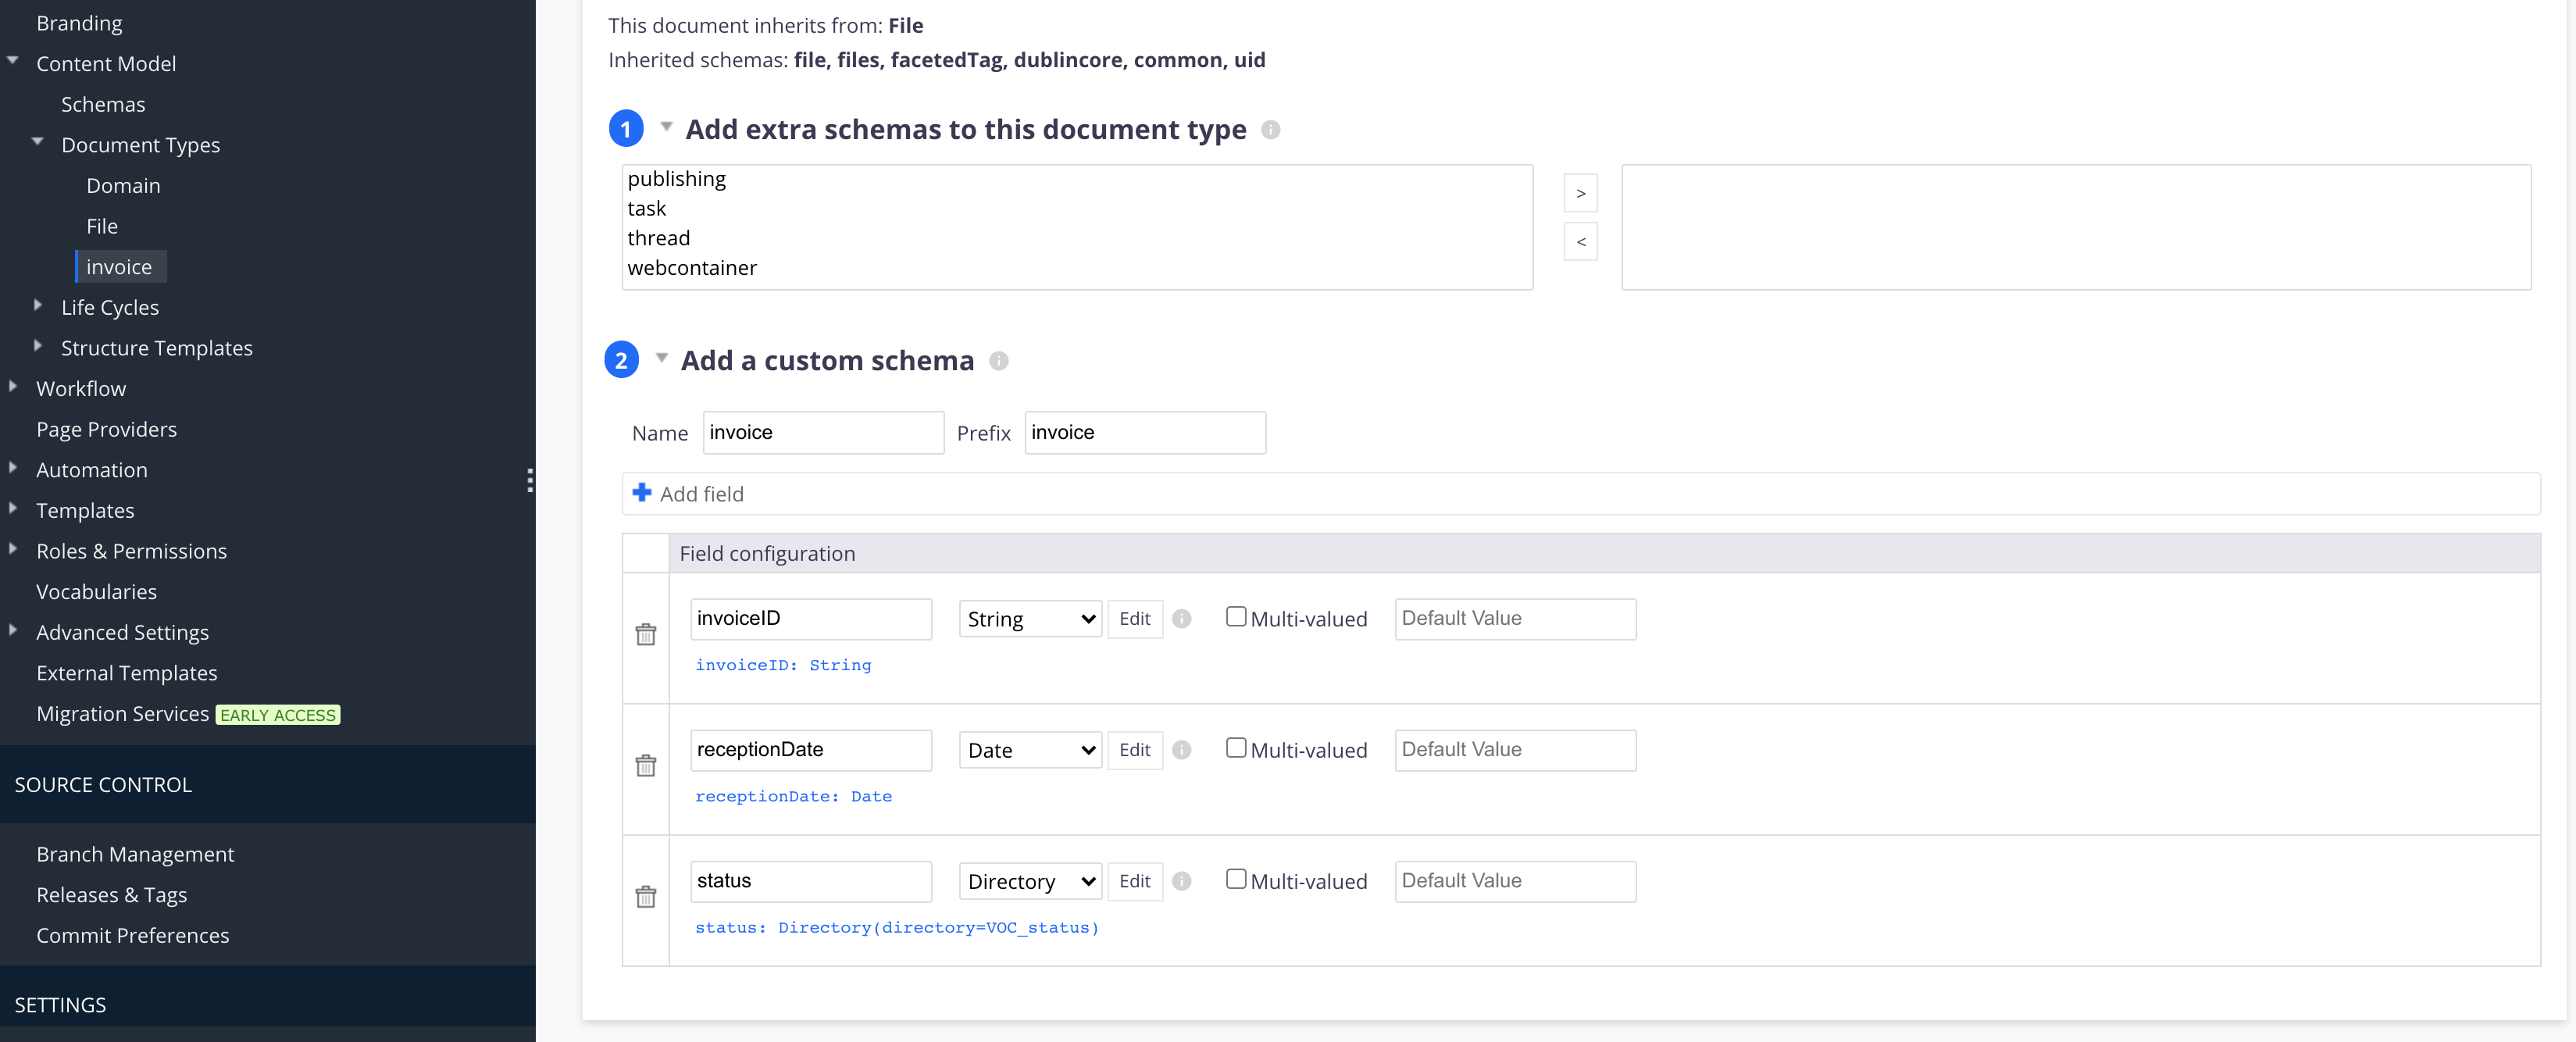
Create a custom document type in Nuxeo Studio Modeler with different property types (String, Directory, Boolean...). Here is an example with an Invoice document type with specific properties:
Instructions
Generate a Layout Block
- Go to Nuxeo Studio Designer > UI > Layout Blocks.
Create a new Layout Block called
nuxeo-<document_type_name>-edit.
Drag and drop the complete schema from the catalog panel.

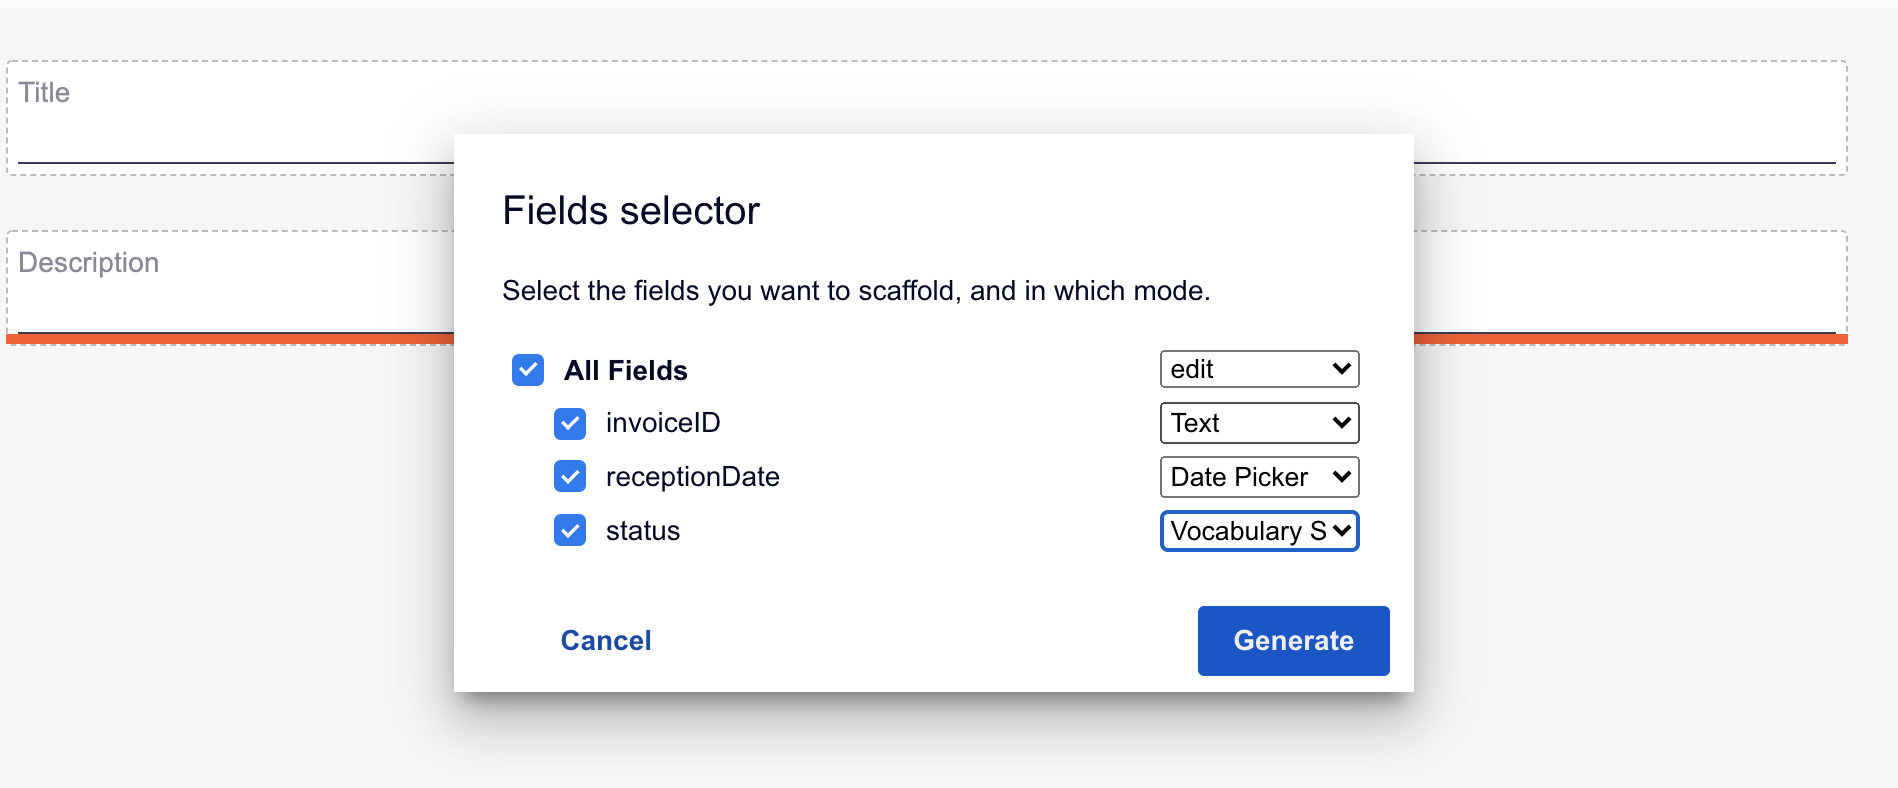
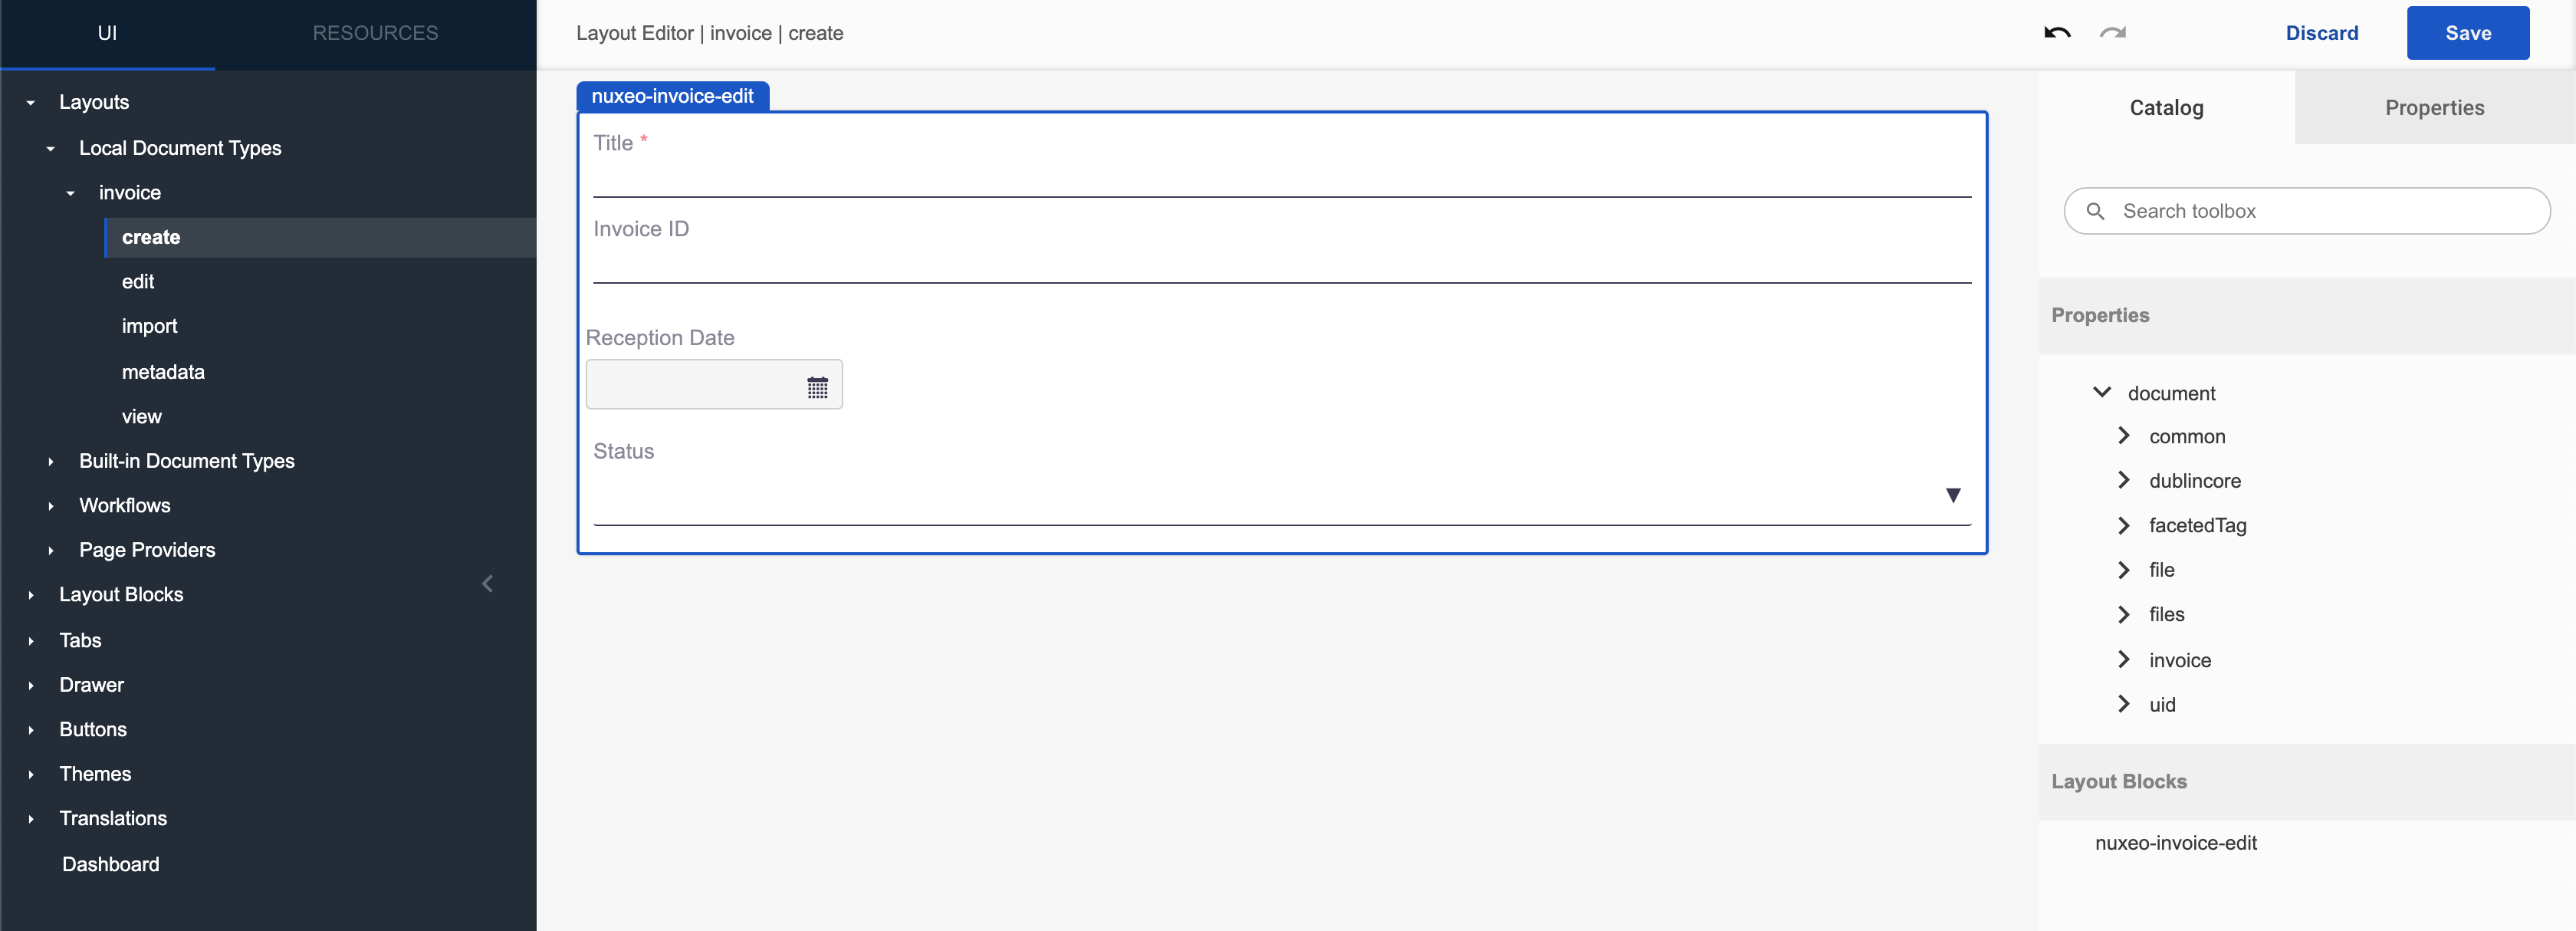
Select Edit mode, and choose the suitable elements to be displayed in the document layout.
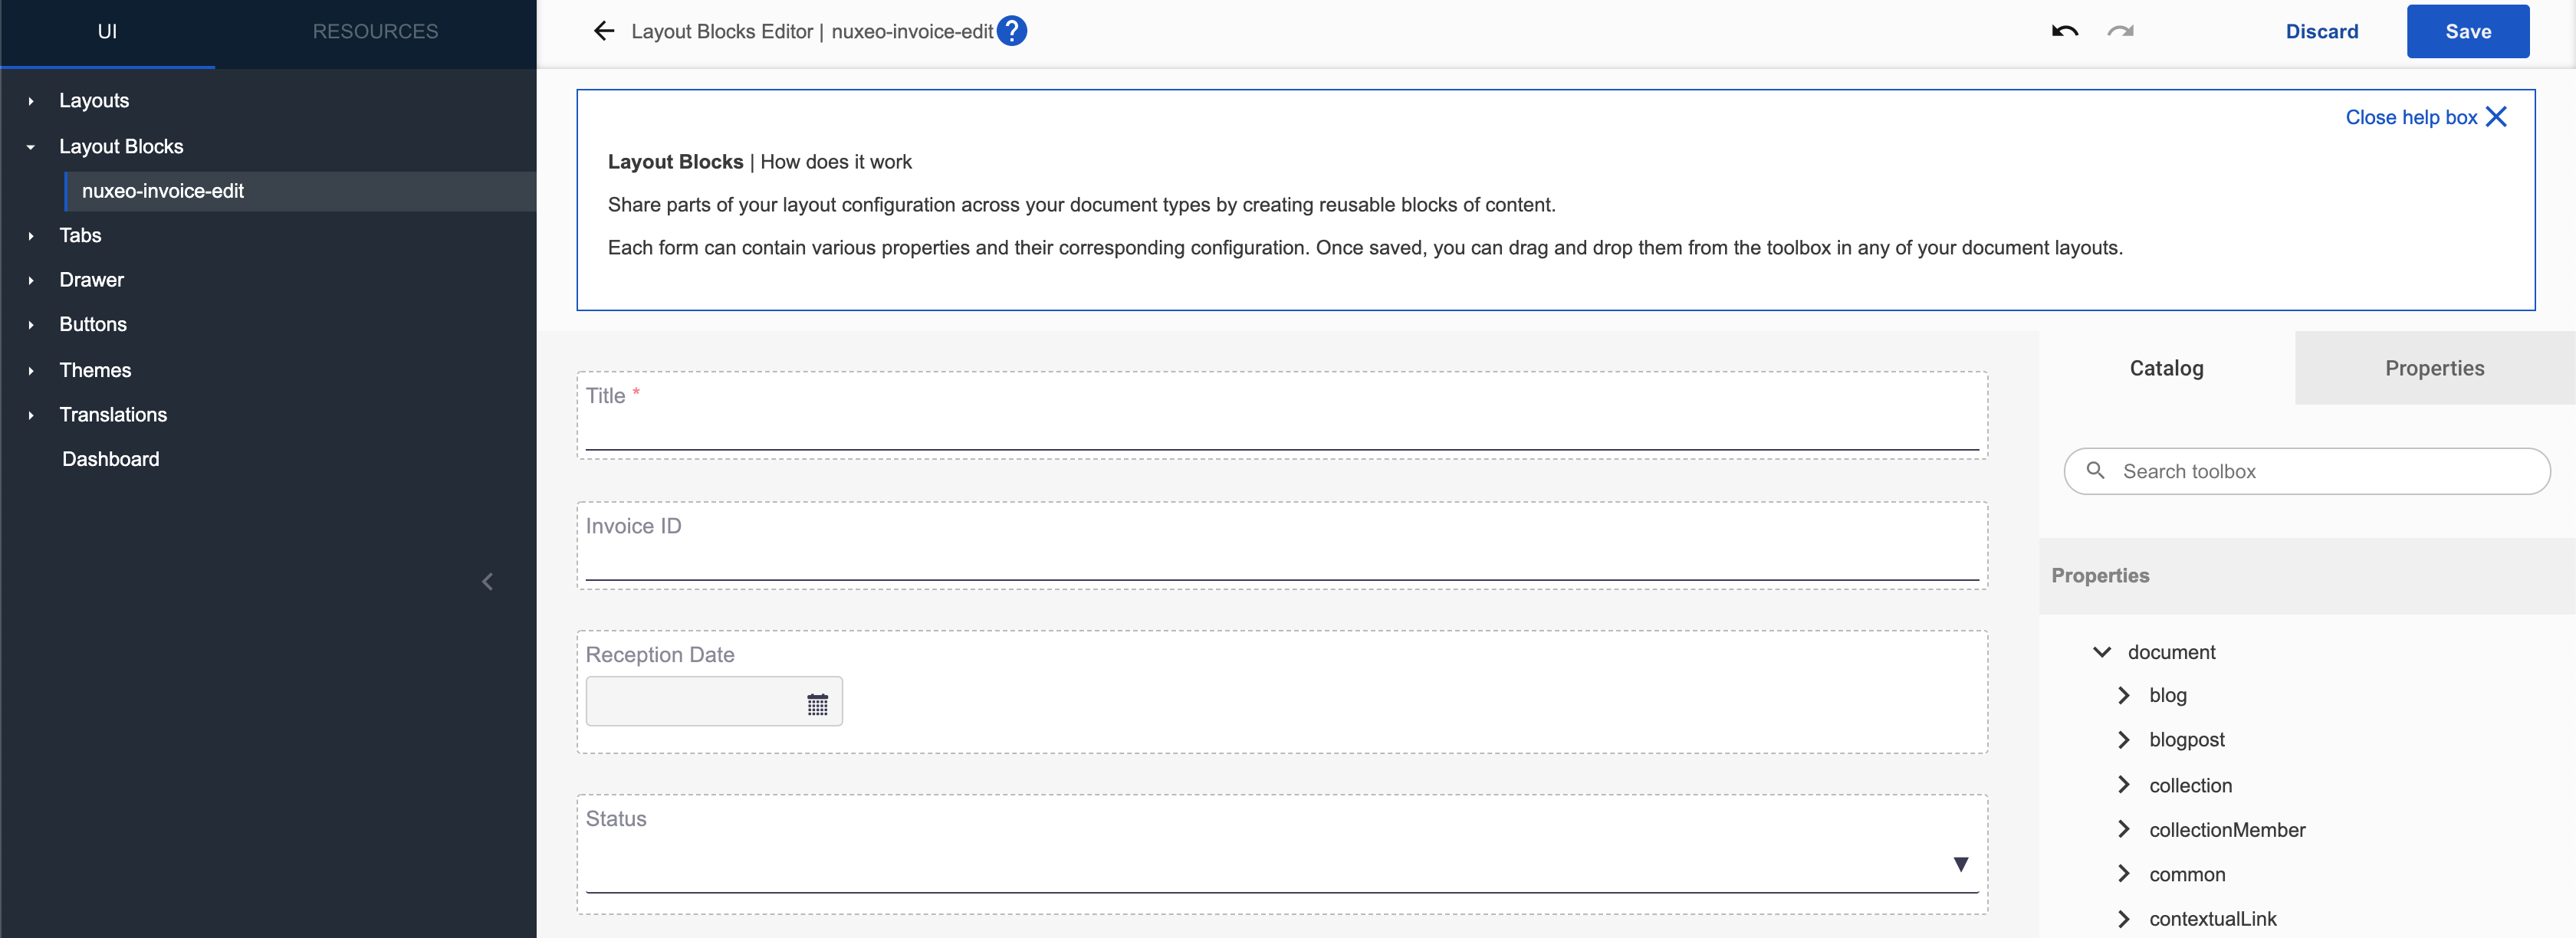
Remove the Description property from the layout.
The final result should be something similar:
Reuse a Layout Block
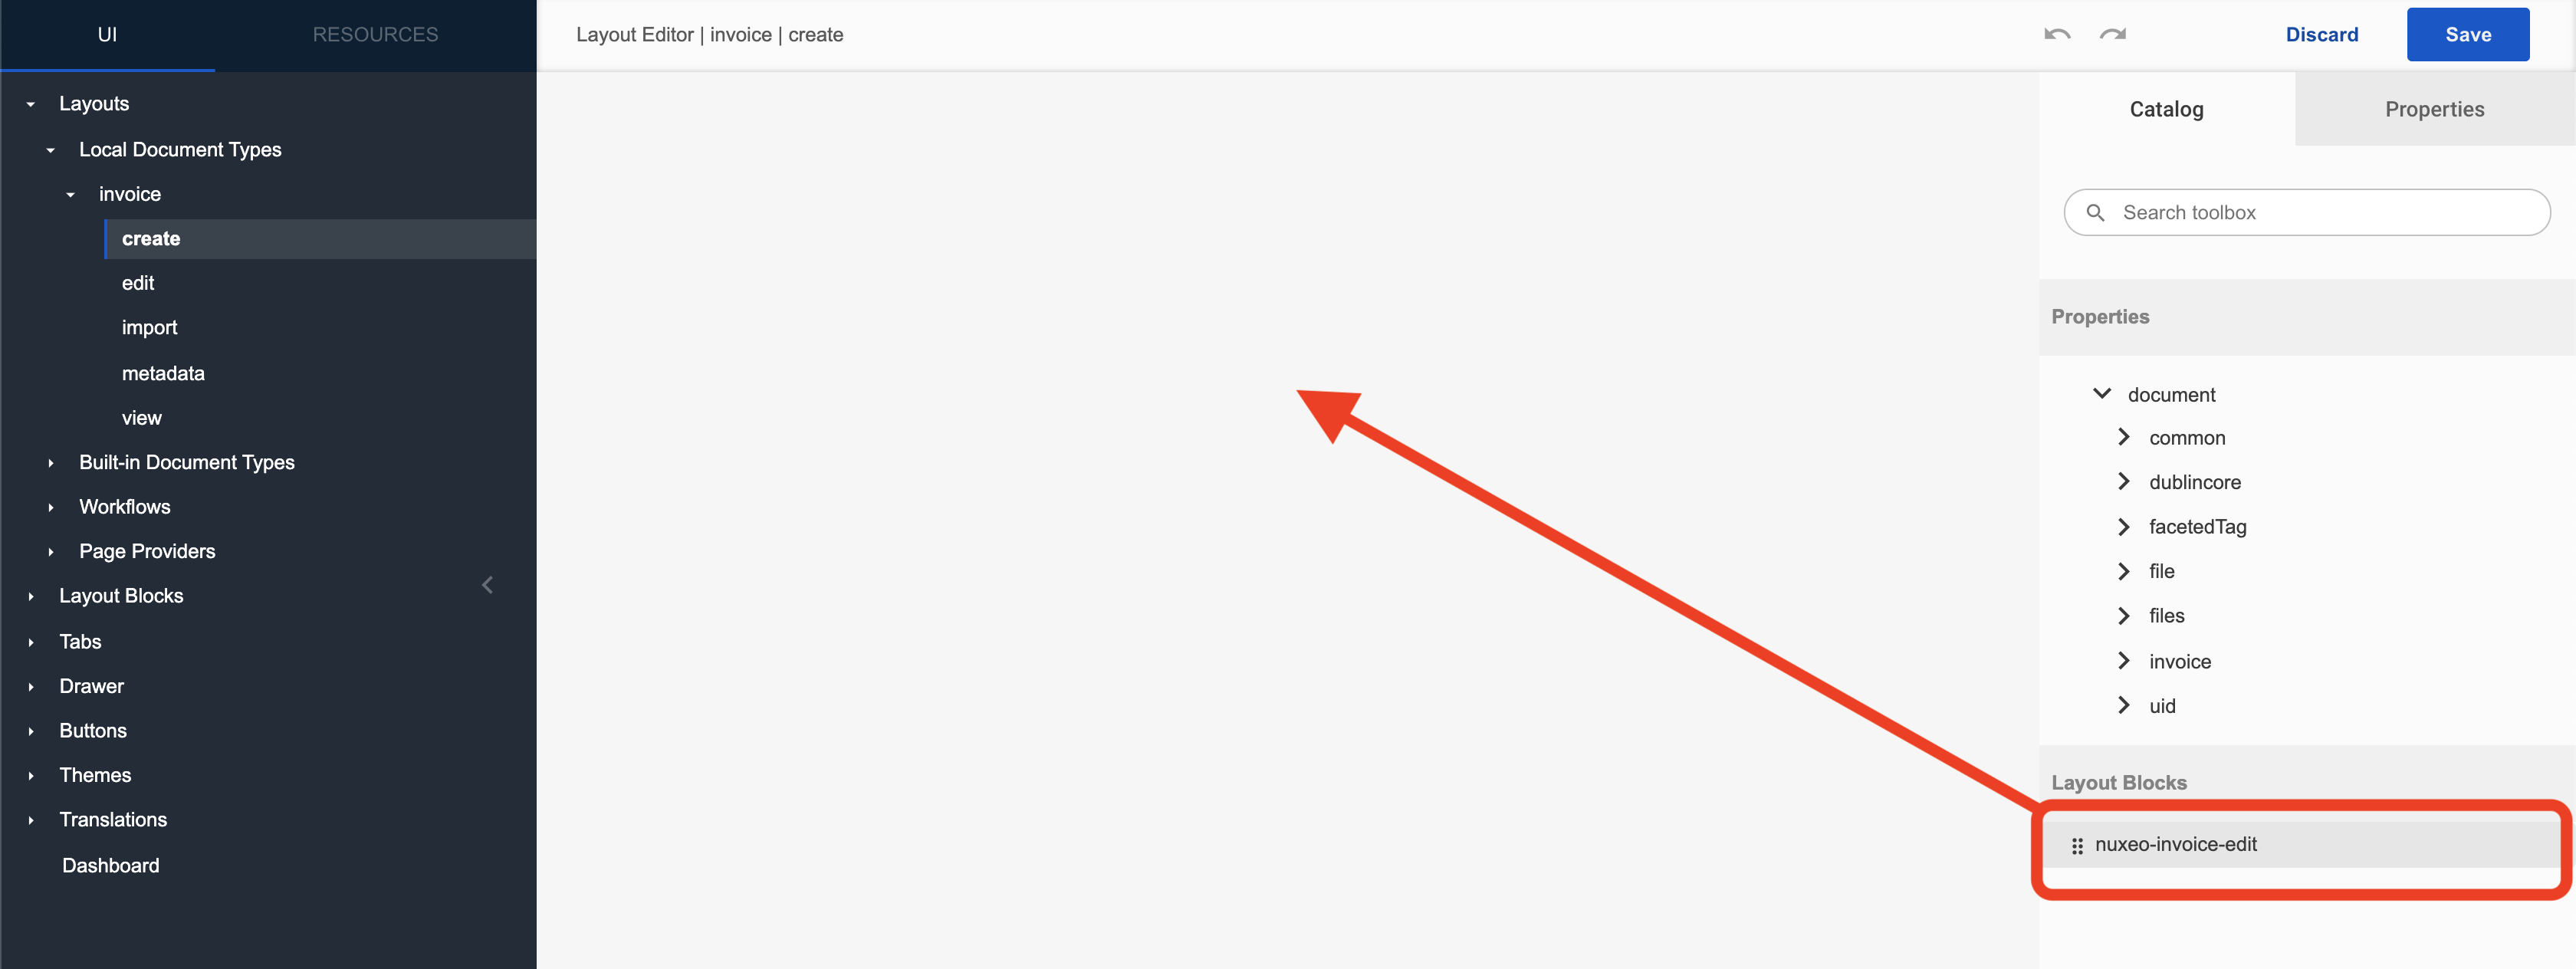
- Navigate to the Layout > Local Document Types > <Document type > Create.
- Click on Configure.
- Remove all the properties scaffolded by default.
Drag and drop from the Element Catalog (in the left Panel) the layout block you've just created. It should be listed under the "Layout Blocks" header bar.
Do the same with the
EditandImport.