Along with websites, the Document Management module of the Nuxeo Platform includes blogs. Like websites, blogs are documents that make it easy to display your comments and documents, in reverse-chronological order. And like websites, they are available via a WebEngine interface, that takes into account all the characteristics of a blog.
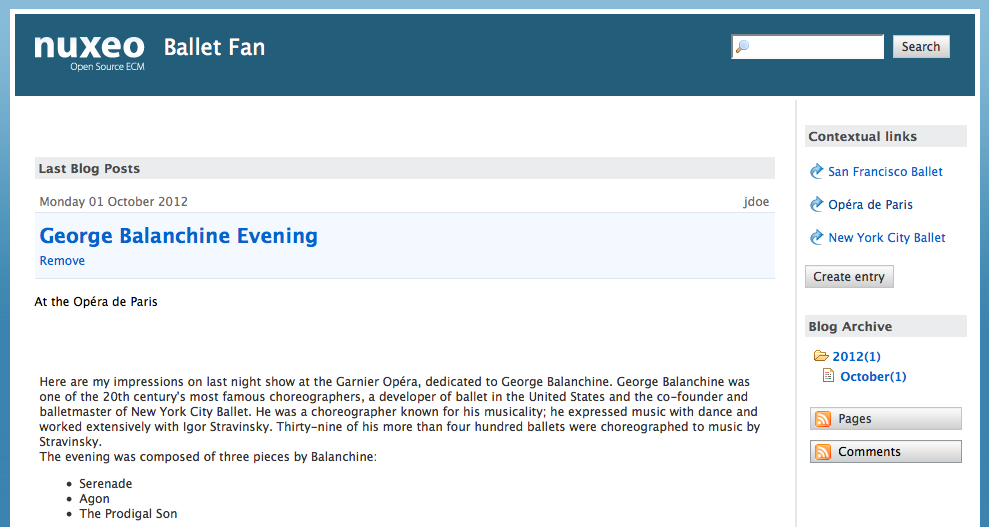
Blogs are accessible by a URL formed like http://server:8080/nuxeo/site/blogs/blog-name. Click on the icon ![]() to open the front office view of the blog.
to open the front office view of the blog.
Creating a Blog
Blogs can be created in workspaces only. You just need to have "Write" right to be able to create a new blog.
To create a blog:
In the Content tab of the workspace, click on the New button.
On the window Available document types, click Blog.
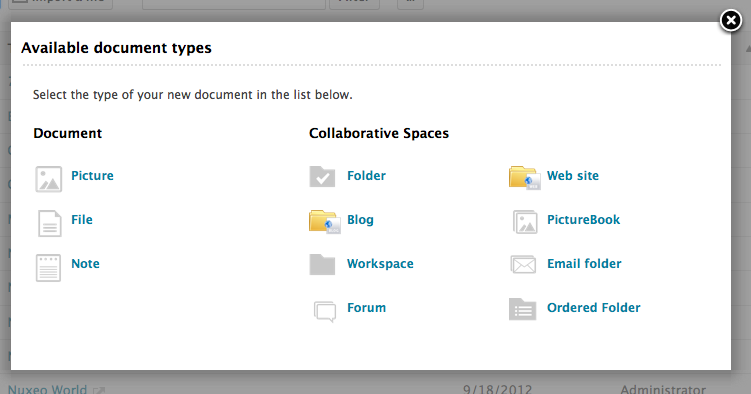
Fill in the blog's creation form.
Click on the Create button.
Blog parameters
| Field | Description | |
|---|---|---|
| Blog name | Type the name of your blog. This name will be displayed on top of all blog's pages. | |
| Baseline | Type a brief description or catchphrase for your blog. This baseline will be displayed on all pages below the blog's name. | |
| Type the webmaster's email address. This address will be used for the contact link. | ||
| Logo | Default logo is Nuxeo's. You can upload the logo of your choice to replace Nuxeo's logo with one adapted to your blog's subject. | |
| Welcome text | Type a text that will be displayed on the home page of your blog. | |
| Welcome Animation/Image | You can add a SWF animation or a picture on your blog's home page. | |
| Captcha | Check the box your you want users to type letters or digits from a distorted image displayed on forms, to secure content creation on your blog. | |
| Moderation Type | Select if comments posted on your blog should be should be approved to become visible by users (beforehand moderation) or if they are published immediately (afterwards moderation). |
Adding Content to Your Blog
In a blog, you can create blog posts and contextual links.
Adding a Blog Post
Blog posts are all created at the root of the blog. They are then automatically sorted by creation date in the left menu of the blog.
You need "Write" permission to be able to create blog posts. You can create them from the blog's back-office (Document Management interface) or from the blog's interface.
To create a blog post:
- From the blog's homepage, click on the button Create entry.
- Fill in the creation form:
- Title: type the name of your post.
- Description: type a text describing what the post is about.
- Content: type the content of your post in the editor.
- Click on the button Save The post is immediately created and displayed. It is also displayed in the last blog posts.
Adding a Contextual Link
Contextual links are links displayed on the blog's home page. They can be added from the blog's back-office only.
To add a contextual link:
- On the Content tab of the blog from the back-office interface, click on the New button.
- On the modal window displayed, click on Contextual link.
- Fill in the creation form:
- Title: type the text on which the user will click to open the link.
- Description: type an optional text describing why you add this link. The description is displayed on the blog's interface.
- Link: type the URL of the link.
- Click on the button Create. The link is created and its Summary tab is displayed. In the blog's interface, the link is displayed in the right column.