Social workspaces can be either private or public.
On public workspaces, users can ask to join the workspace to have access to more content and share articles on the workspace. The workspace administrators must then validate these join requests.
On private workspace, users have no access to the workspace unless they are a member. As a consequence, they cannot ask to join it. Only the space administrators can add new members to the workspace.
The members management actions all take place in the Document Management view.
Adding Members to a Social Workspace
Administrators can add new members to a workspace on both public and private workspaces, at anytime.
There are two ways to add new members to a social workspace:
Adding Members Individually
To add new members one by one:
- On the Document Management view of the social workspace, click on the Manage tab. The Membership Management subtab is displayed.
- In the Members group, type the name of the user you want to add.
The names of the users corresponding to the typed characters are automatically displayed as you type.
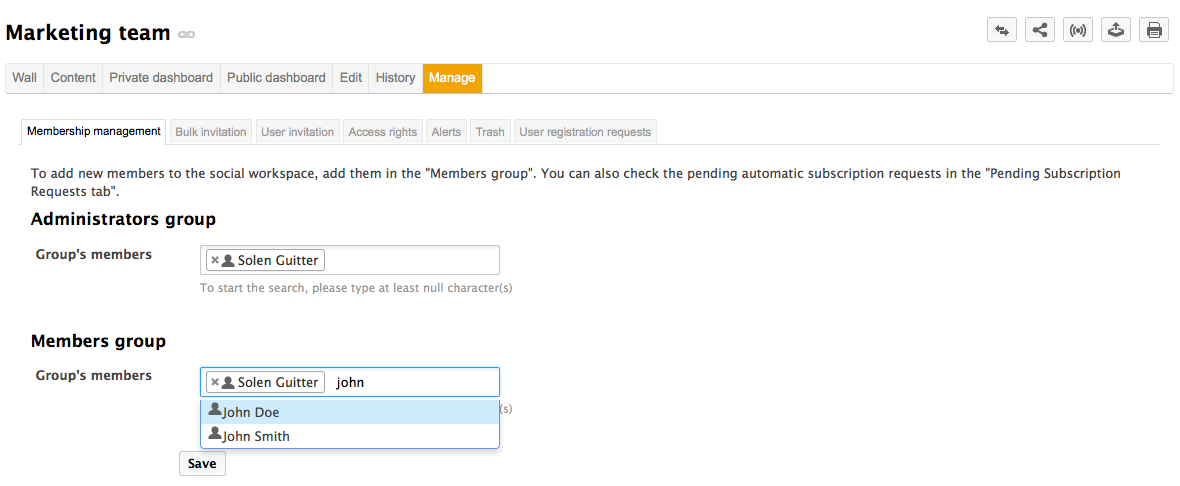
- Click on the user you want to make a workspace member.
- Click on the Save button. The user now sees the workspace displayed in his gadget My social workspaces and can add and edit content in the social workspace. The other members of the workspace receive an email, informing them that new members have joined the workspace.
Adding Several Users Using Email Addresses
To add users using their email address:
- On the Document Management view of the social workspace, click on the Manage tab. The Membership Management subtab is displayed.
- Click on the Bulk invitation tab.
- Type the email addresses of the users you want to add to the workspace.
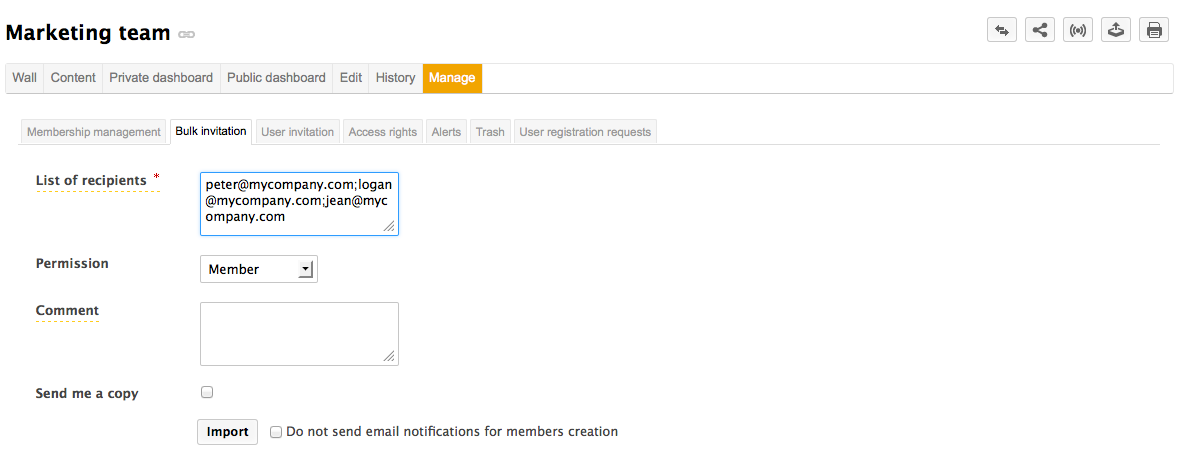
Select the permission you want to give to these users: member or administrator of the social workspace.
Optionally, type a comment that will be in the email sent to new members.
Check the box Do not send email notifications for members creation if you don't want user to be notified by email that you added them on the workspace.
Click on the Import button. The users are added to the members of the workspace in the Membership management tab. The users now see the workspace displayed in their gadget My social workspaces and can add and edit content in the social workspace. The other members of the workspace receive an email, informing them that new members have joined the workspace.
Managing Join Requests
On public workspaces, user can ask to join the workspace. If the social workspace has an approval subscription workflow enabled, the administrators of the workspace must approve the request so users actually become members of the workspace.
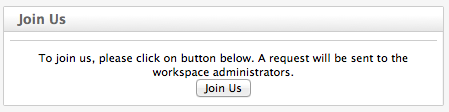
The public dashboard of the workspace must display the Join Us gadget to enable users to ask to join the workspace.
To process subscription requests:
- On the Document Management view of the social workspace, click on the Manage tab. The Membership Management subtab is displayed.
- Click on the User registration requests.
The list of pending requests are displayed.
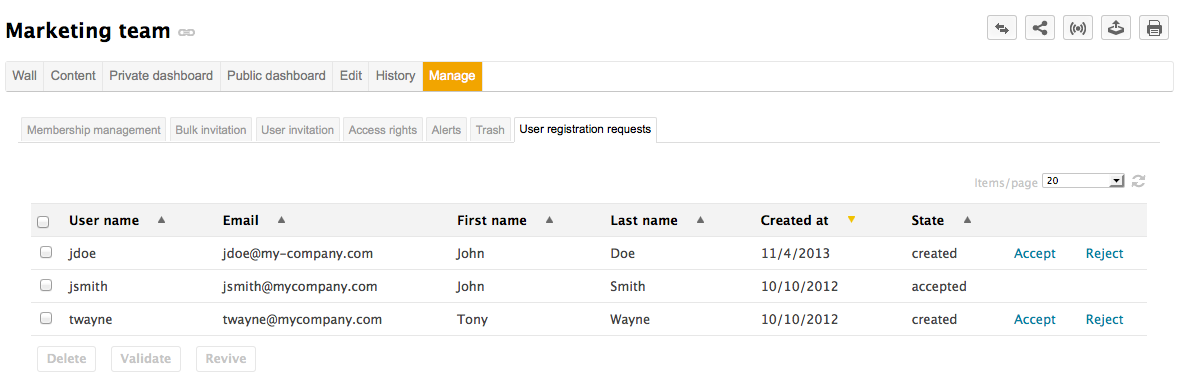
- Check the box corresponding to the users whose request you want to process.
- Click on the Accept or Reject link. The users are added to the members of the workspace in the Membership management tab. The users now see the workspace displayed in their gadget My social workspaces and can add and edit content in the social workspace. The other members of the workspace receive an email, informing them that new members have joined the workspace.