The Multi-tenant addon enables to have domains, or tenants, that are independent from each other, with their own users, vocabulary values etc.
It is possible to have several tenants on the default Nuxeo Platform, but they all share the same vocabularies definition and users. This means that when users configure the access to a workspace, for instance, and search for users, they can see all the users of the application. The multi-tenant addon modifies this behavior and enables domains to be completely isolated from each other, including their users and vocabulary values. The tenant structure is the same a the default domain on a default Nuxeo Platform application.
Global administrator Vs tenant administrator
The multi-tenant addon adds the notion of global administrator and tenant administrator to the Nuxeo Platform.
Global administrators technical administrators in charge of the configuration of the whole application through the Admin Center. The Administrator default user is a global administrator. For instance, they can install updates and new modules to the Platform, restart the server, configure the Platform so it can be accessible from other applications, etc.
Tenant administrators are functional administrators who have access to a "light" version of the Admin Center. From there, they can create and edit users and group, modify vocabularies and configure the default dashboard. Their changes are applied to their tenant only, instead of the whole application.
Activating multi-tenancy
Multi-tenancy is not automatically available on your Nuxeo Platform after the package has been installed. You need to activate it.
To activate multi-tenancy:
- In the Admin Center, click on the Tenant isolation tab.
- Click on the Enable button. Tenant isolation status goes to "enabled". You can now create new tenants.
Creating a new tenant
Only global administrators can create new tenants.
When a global administrator creates a new tenant, he needs to define some elements of local configuration.
To create a new tenant:
- On the page "Domains of the default server", click on Create a new domain.
- Fill in the creation form.
- Give the tenant a title and optionally a description.
- Select the presentation of content lists in the domain.
- Select which document types should be available or not in the tenant.
- Select the advanced and faceted search forms that should be used in the tenant.
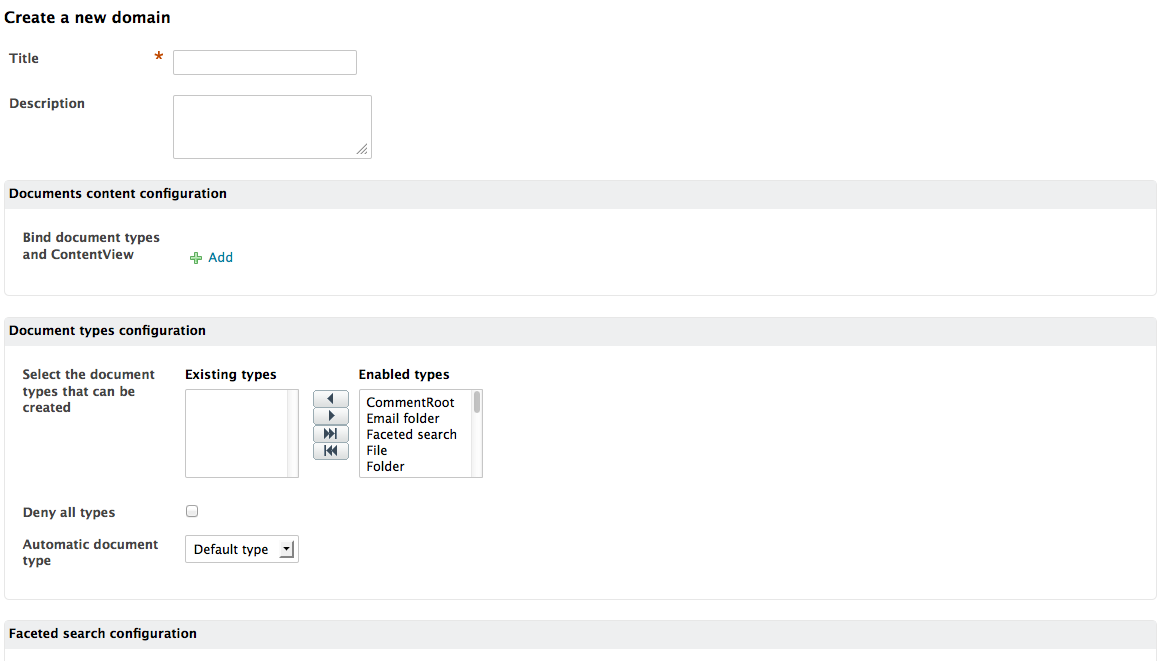
- Click on Create. The Content tab of the new tenant is displayed. The tenant is accessible by administrators only. You now need to define who the tenant administrator(s) is or are.
Defining the tenant administrator
Tenant administrators can create new users and manage access to the tenant. They can also edit vocabularies to customize the metadata values.
When the tenant is just created, the global administrator should define at least one tenant administrator, who will then be able to delegate access rights and possibly define other tenant administrators.
It takes two steps to make a user a tenant administrator.
Step 1: Edit the user's properties to associate him with a tenant:
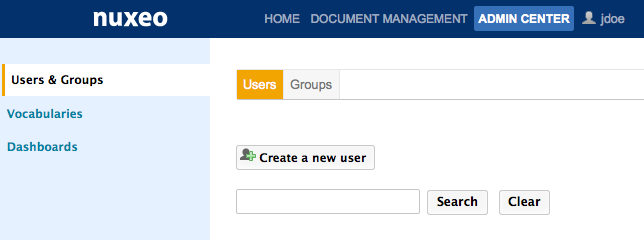
- Click on the Admin Center main tab, and then on the Users & groups tab. The members management interface opens on the user directory search form.
- Search a user and click on the user's name to open his or her card. The user's card is displayed.
- Click on the Edit tab.
- In the Tenant ID list, select the domain you want the user to be an administrator of.
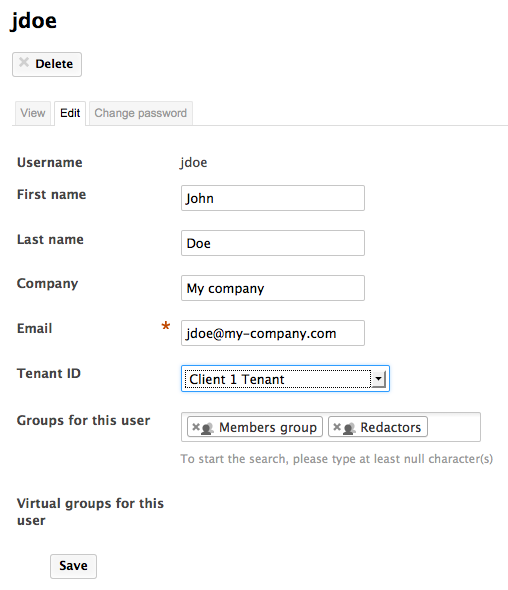
- Click on the Save button. The View tab is displayed with your modifications. The user now has access to the tenant. You now need to declare him as an administrator of the tenant.
Step 2: Declare the user as a tenant administrator:
- On the domain root, click on the Tenant administration tab.
- In the first tab Tenant isolation, type the username, first name or last name of the user you want to be an administrator.
To make all the members of a group administrators, type the group's name.
The names of the users or groups corresponding to the typed characters are automatically displayed as you type.
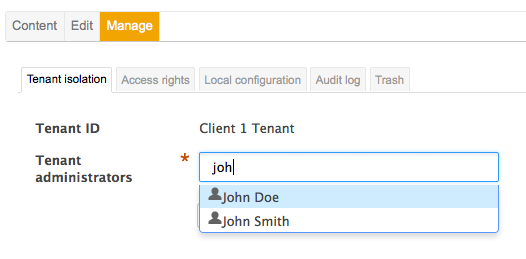
- Click on the user you want to give access rights to.
- Click on Save.
The user now has access to the tenant administration and to the Users and groups, Dashboards and Vocabularies tabs of the Admin Center.
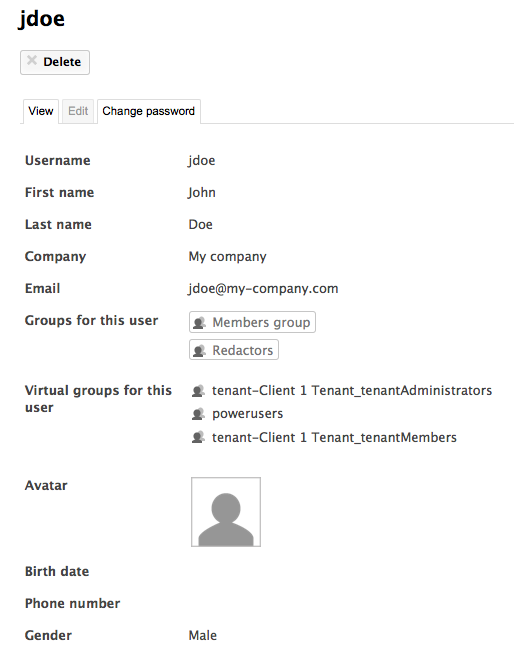
 The user is automatically added in two virtual groups: a powerusers groups for functional administration and a tenant administrators group for administration features.
Giving access to the tenant
On a default installation of the Nuxeo Platform, access rights are configured so members have read access to the content. This behavior can be modified by changing the access rights.
Users created by the tenant administrators automatically have "Read" access to the tenant. Indeed, they are automatically members of a virtual group that has "Read" right on the tenant. They don't need to be part of the default "members" group, being a member of the tenant is enough to access content.
Tenant administrators can then delegate access rights in the tenant, which will define what the user can do in the tenant.
Defining the tenant specific vocabulary values
Tenant administrators can edit the vocabularies to customize the metadata values displayed to the tenant users. See the Managing Vocabularies page.