In this tutorial you will learn how to insert a user action on your instance using Studio Designer, to easily validate documents.
Requirements
- Web UI addon installed on your instance.
- Studio Designer enabled on your Studio project.
- A Contract document type created in Studio Modeler and customized on Studio Designer.
Create an Automation Chain
On Modeler side:
- Go on Configuration > Automation and then on Automation Chains.
- Click on the New button.
- Give your automation chain an ID
validateDocumentand click on the Next button.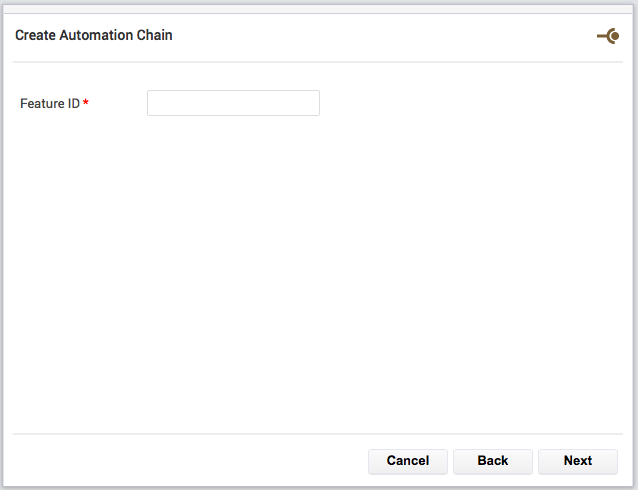 The automation chain editor is displayed. The
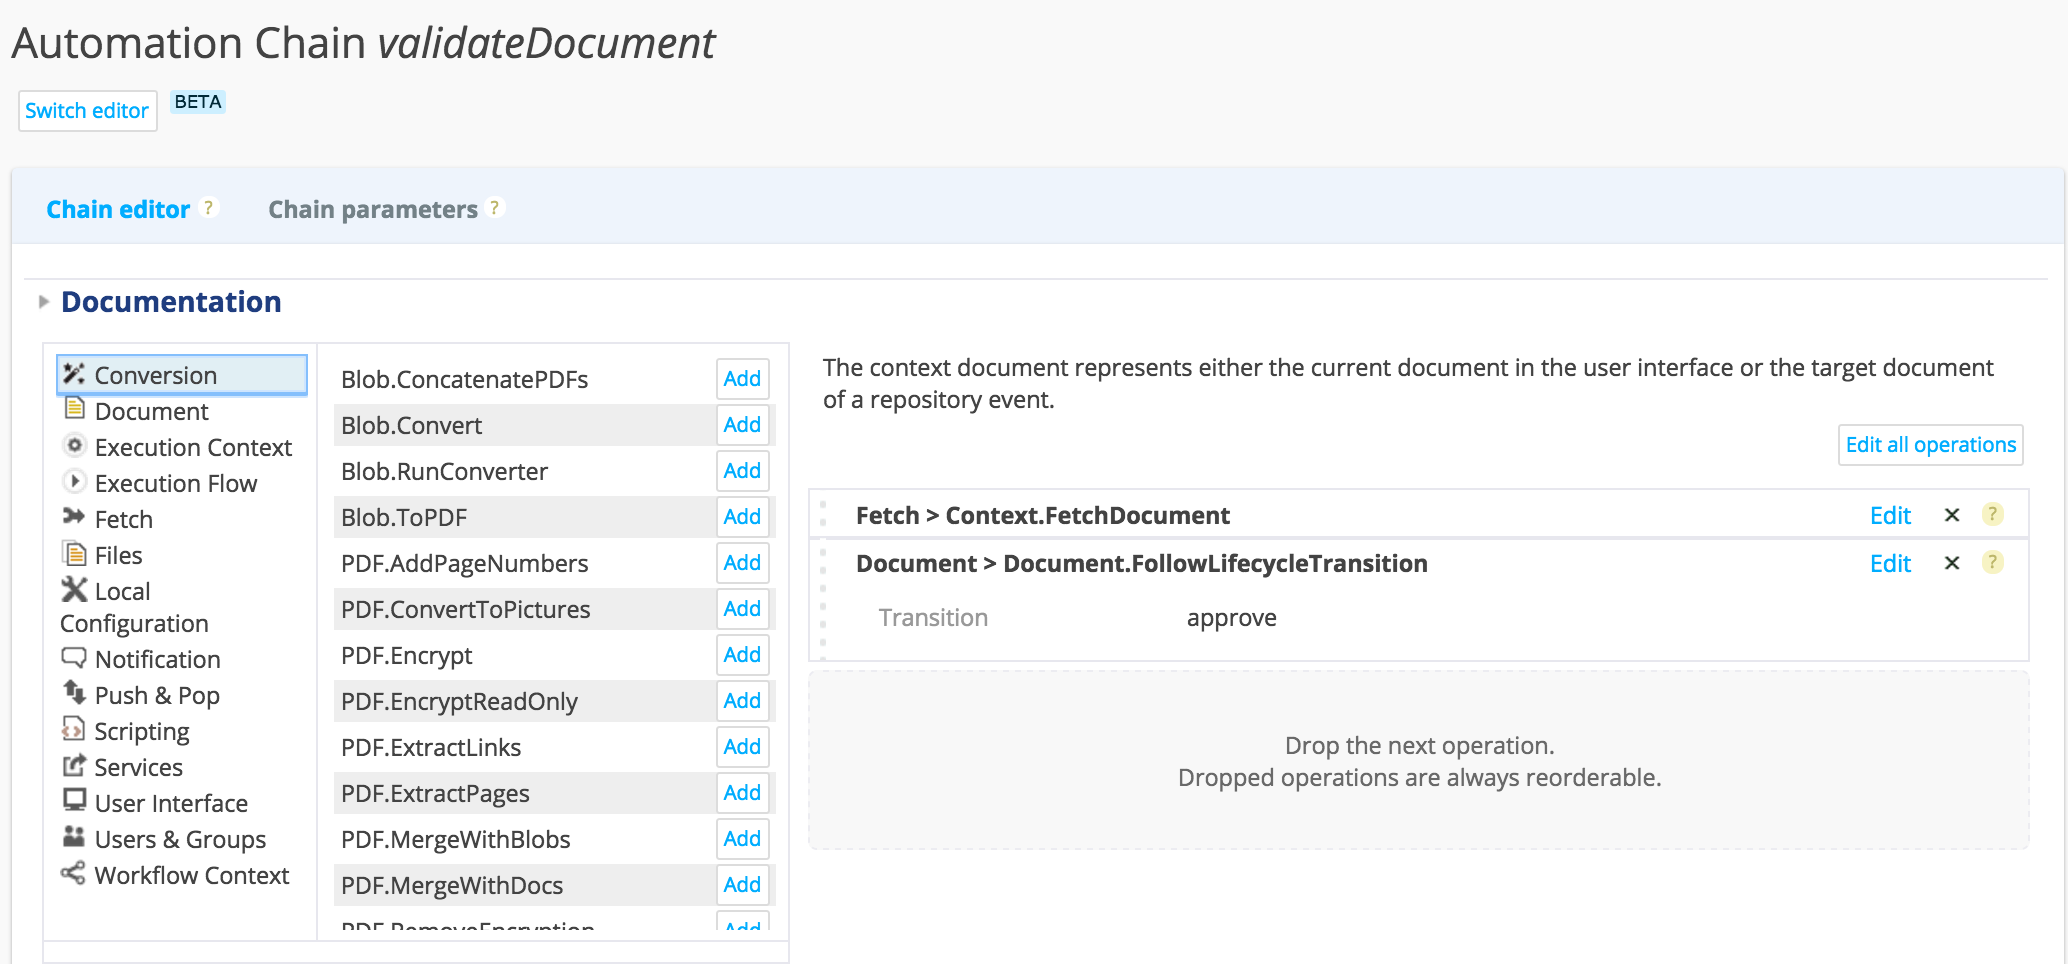
Fetch > Context Document(s)is automatically added as the first operation of the chain. - Drag and drop the operation Document > Follow Life Cycle Transition and set the transition as
approve. Click on Save.
You should end up with something like this:
Bind the Action to an Element
Now that your automation chain is ready, you will need to bind it to an action.
On Studio Designer, go on the UI tab:
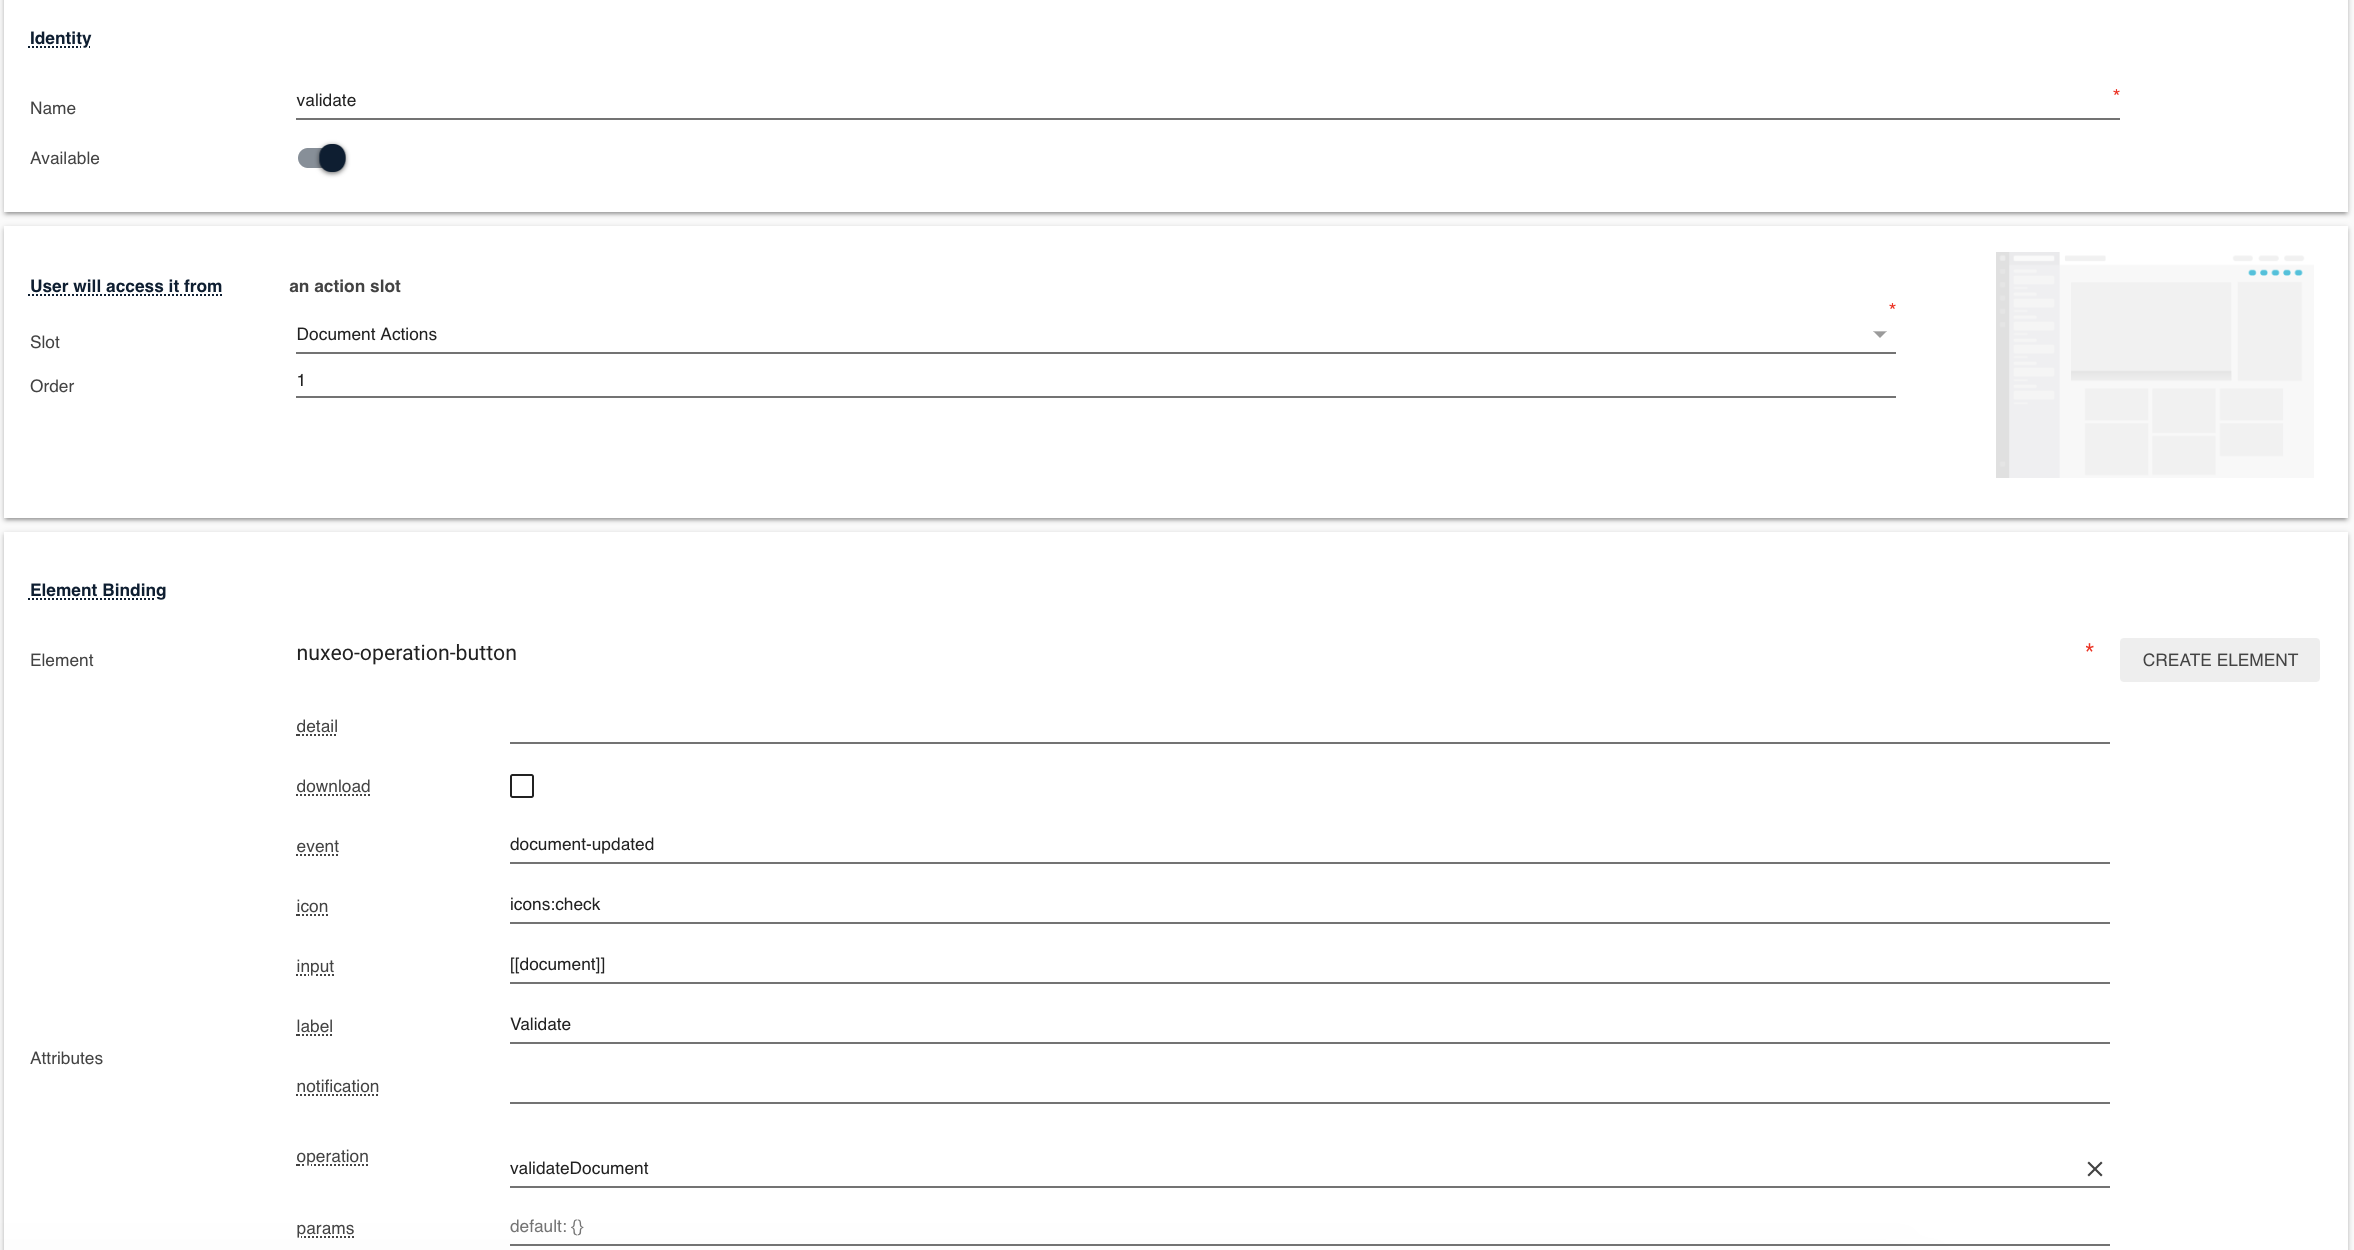
- In Actions, click on the Create button.
- Fill in the creation form as shown below:
- Fill in the Filters section as shown below:
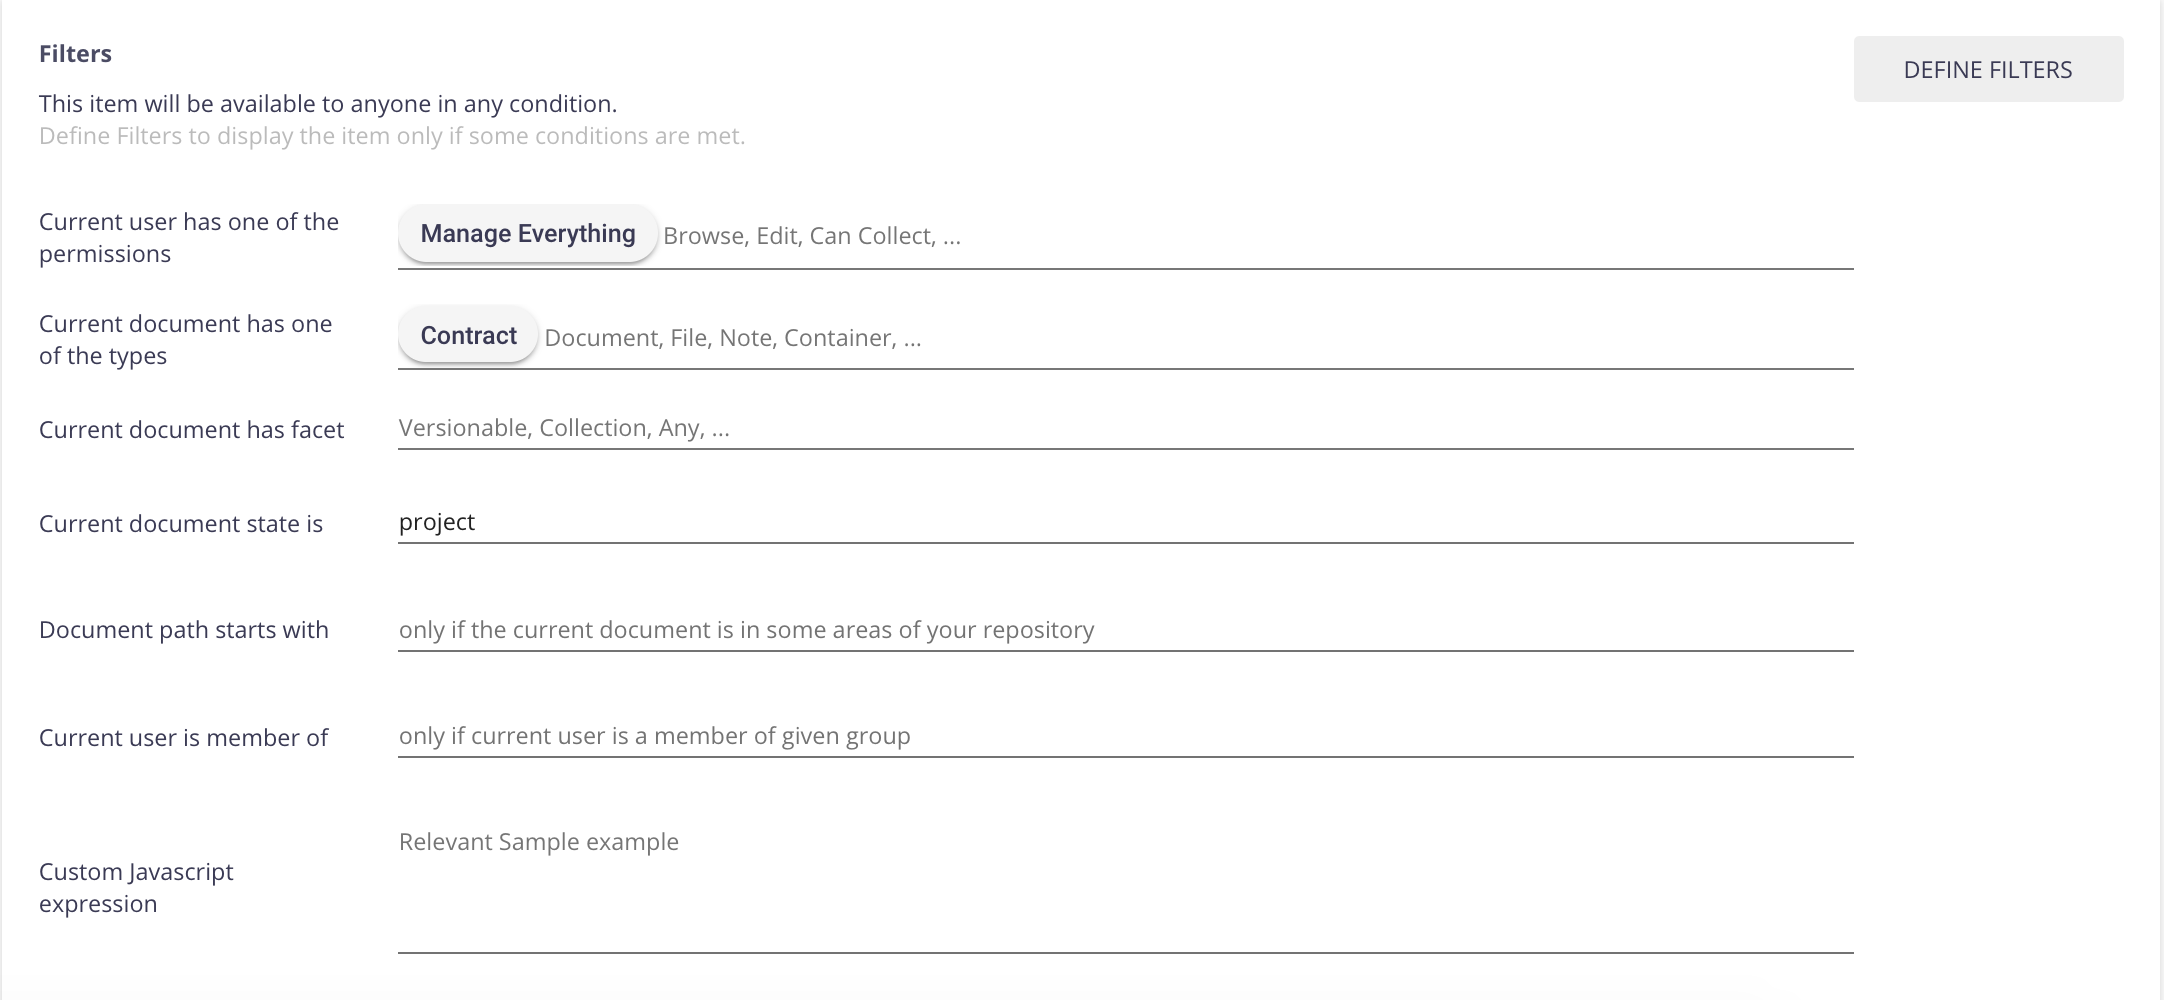 Only the users who have Manage Everything permission will see the button.
Save your changes and deploy your project.
You should end up with something like this:
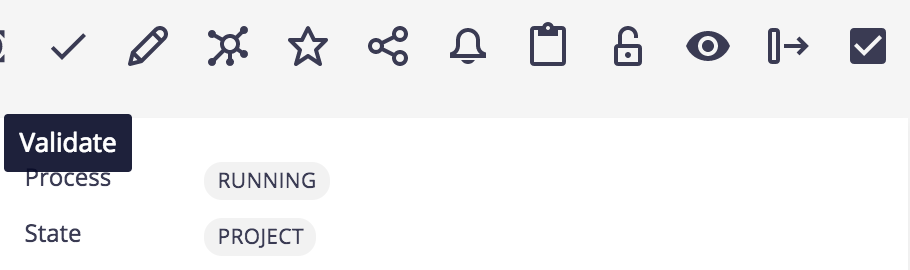
On a Contract document type that you want to validate (change status from Project to Approved) click on your brand new Validate button and refresh your page, your contract is approved! The button disappeared as the status has changed.