In this tutorial you will learn how to configure the creation form in Web UI so that your document type with long labels will be displayed correctly.
Prerequisites
- The Nuxeo Web UI addon installed on your instance.
- In Studio Modeler > Settings > Application Definition, make sure that Nuxeo Web UI is in the Packages to Install list.
Create a New Theme
- In Studio Designer, go to the UI > Themes menu.
- Create a new Theme called
defaultthat will override the default one.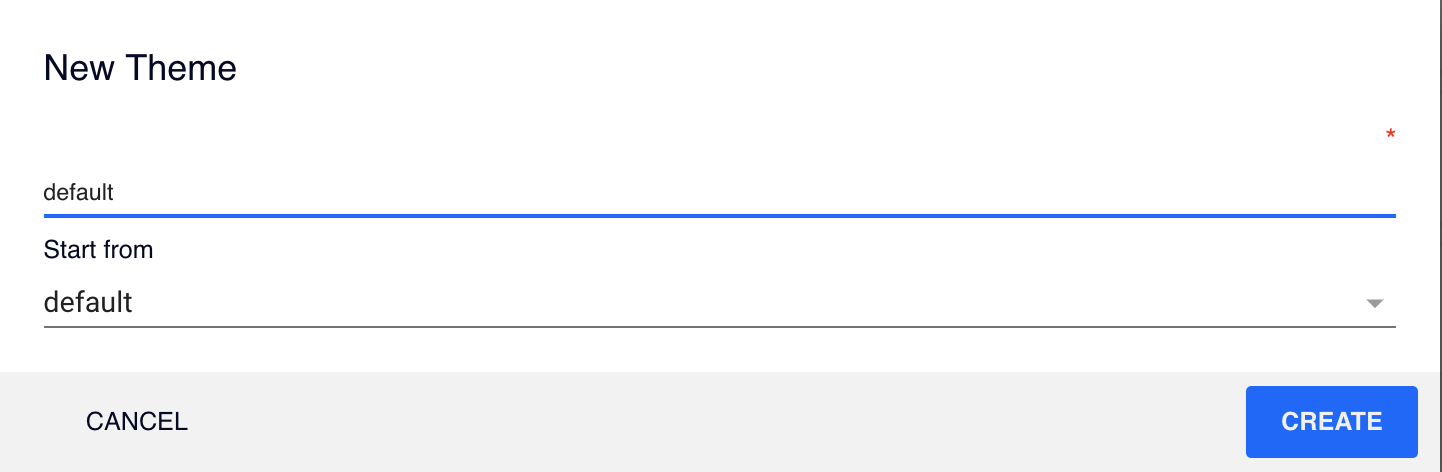
- Add a new section called
/* Document Creation Window */. It should look like this:/* Document Creation Form */ --nuxeo-document-create-selection-button: { @apply --layout-horizontal; min-width: calc(49% - 8px); height: 60px; padding: 10px; }; --nuxeo-document-create-selection-icon: { height: 40px; }; --nuxeo-document-create-selection-label: { margin: 0 10px; text-align: left; } - Click on Save at the top of the screen.
Deploy Your Changes
- You can now deploy your changes using the hot reload function of the browser extension.
- Click on the Create button on your instance, the new creation window is displayed.