Requirements
Node.js is a JavaScript runtime built on Chrome's V8 JavaScript engine. Almost every tool out there for client side development is built with Node.js and distributed with npm, the package manager for node, so just make sure you download and install your OS specific version first.
Bower is currently the tool for managing web application dependencies. To install it just use
npm install -g bowerGulp is a JavaScript task runner that lets you automate tasks.
npm install -g gulpYeoman is an opinionated generator that helps kickstarting projects. Use its Polymer generator to scaffold your app:
npm install -g yo
npm install -g generator-polymer
Building an Application
Let's build a very simple application showcasing usage of the nuxeo-connection, nuxeo-resource and nuxeo-page-provider elements.
Scaffolding
After creating a folder to hold the application's code scaffold it using Yeoman's Polymer generator:
> mkdir -p nuxeo-elements-sample && cd $_
> yo polymer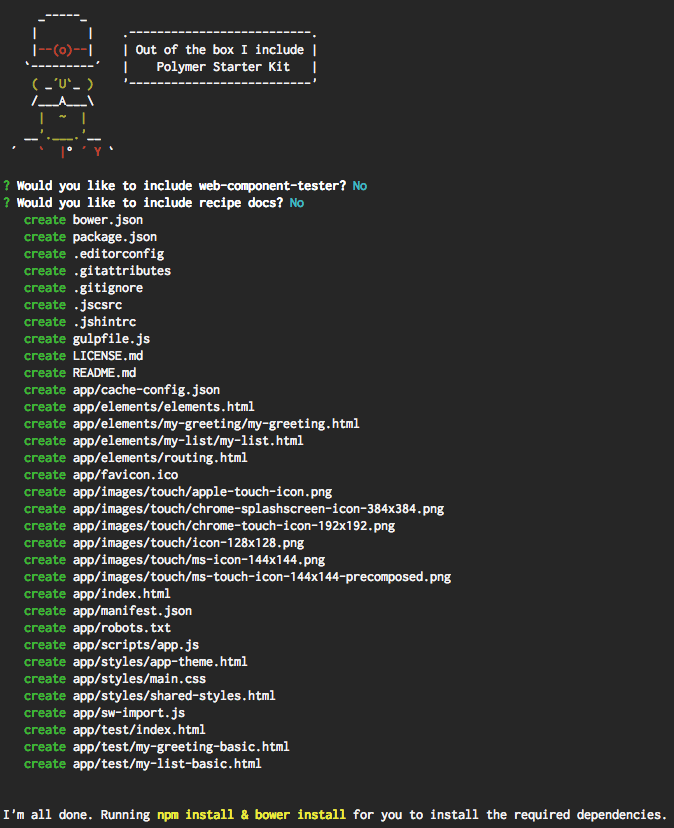
Yeoman will scaffold the application based on the Polymer Starter Kit a starting point for building web applications with Polymer built and maintained by the Polymer team.
To run the application and see what has been generated, run gulp:
gulp serveNote: the README.md includes detailed information about the generated application so it's a good starting point to understand its structure.
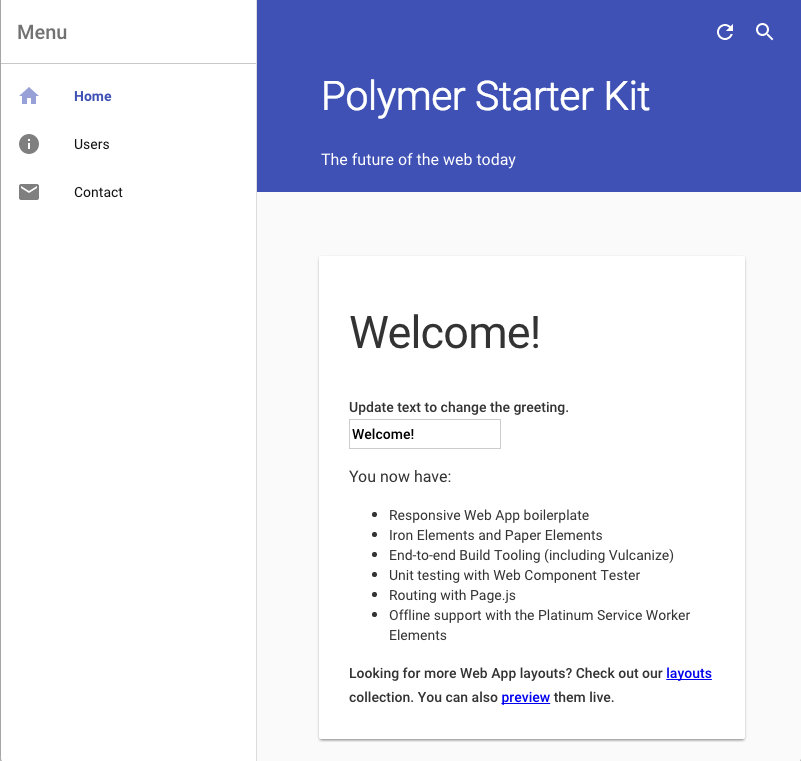
The produced application includes some sample elements and showcases Google's Material Design through the use of Paper Elements.
Let's plug this application to the Nuxeo instance and change the hardcoded users list with some actual data.
Importing Nuxeo Elements
Install Nuxeo elements through Bower:
bower install --save nuxeo/nuxeo-elementsThis adds
nuxeo-elementsas a dependency inbower.jsonand dowloads the latest release from our GitHub repository into bower_components.Once nuxeo-elements is downloaded import the elements the application will use:
app/elements/elements.html<link rel="import" href="../bower_components/nuxeo-elements/nuxeo-connection.html"> <link rel="import" href="../bower_components/nuxeo-elements/nuxeo-resource.html"> <link rel="import" href="../bower_components/nuxeo-elements/nuxeo-page-provider.html">Elements used by the application are usually all imported in a single file to simplify the vulcanization process which basically reduces an HTML file and its dependent HTML Imports into a single file to reduce network roundtrips and simplify deployment.
Connecting to Nuxeo
With Nuxeo Elements imports in place you can now use your custom elements.
Declare the connection to Nuxeo. This connection will be shared by all Nuxeo data driven elements so it should be one of the first elements you declare in your application, i.e. right at the start of the template:
<body unresolved class="fullbleed layout vertical">
  <template is="dom-bind" id="app">
    <nuxeo-connection url="http://localhost:8080/nuxeo" username="Administrator" password="Administrator"></nuxeo-connection>
    ...
  </template>
</body>
There is now a connection to the Nuxeo instance. Note that you will need to define a Cross-Origin Resource Sharing (CORS) configuration before going further if you wish to test your code with gulp.
Retrieving Users
Replace the hard-coded user listing with actual data: use the nuxeo-resource element and Nuxeo's REST API, namely the /api/v1/user/search endpoint, and to retrieve a list of users.
<section data-route="users">
  <!-- GET /user/search and store the response in "users" -->
  <nuxeo-resource auto path="/user/search" params='{"q": "*"}' response="{{users}}"></nuxeo-resource>
  <paper-material elevation="1">

<h2 class="page-title">Users</h2>

<ul>
      <!-- loop over users.entries and print each user's id -->
      <template is="dom-repeat" items="{{users.entries}}" as="user">

<li>[[user.id]]</li>
      </template>
    </ul>
  </paper-material>
</section>
Thanks to our custom nuxeo-resource element and Polymer's data binding you can easily "plug" data to your UI in a purely declarative way without any line of code.
Adding a Note Listing Feature
Add a link in the application drawer:
app/index.html<!-- Drawer Content --> <paper-menu class="list" attr-for-selected="data-route" selected="[[route]]"> ... <a data-route="notes" href="/notes" on-click="onDataRouteClick"> <iron-icon icon="description"></iron-icon> <span>Notes</span> </a> ... </paper-menu>Update the routing code to set the "route" to "notes" when the URL matches
/notes:app/elements/routing.htmlpage('/notes', function () { app.route = 'notes'; app.scrollPageToTop(); });Add a new section to be displayed when current "route" is "notes".
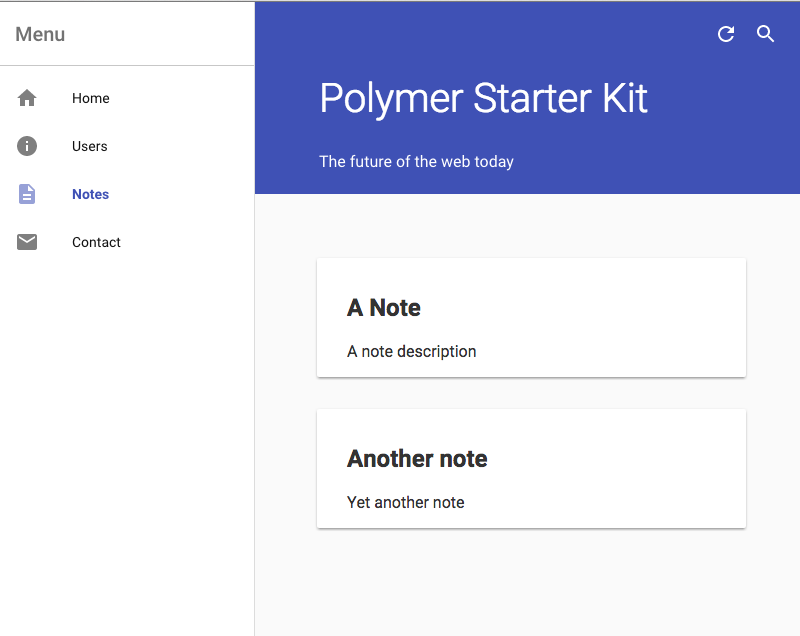
app/index.html<section data-route="notes"> <!-- perform a NXQL query and store the current page entries in "notes" --> <nuxeo-page-provider auto pageSize="5" query="select * from Note where ecm:currentLifeCycleState != 'deleted'" current-page="{{notes}}"></nuxeo-page-provider> <!-- loop over the notes and print each notes's title and description --> <template is="dom-repeat" items="{{notes}}" as="note"> <paper-material elevation="1"> <h2>[[note.title]]</h2> <span>[[note.properties.dc:description]]</span> </paper-material> </template> </section>Here the
nuxeo-page-providerelement is used with a simple NXQL query to retrieve all the Notes that haven't been deleted and displays a simple card for each of these with the Note's title and description.Here is what the final application looks like: