Follow the related video course and exercises on Hyland University.
In this tutorial you will learn how to create and reuse custom elements in Studio Designer.
Requirements
- A Contract document type created in Studio Modeler
- The Web UI addon installed on your instance
Create an Element
We are going to start by adding a validation schema to our Contract document type.
In Studio Modeler, go to Configuration > Content Model > Schemas
- Click on New and name it
validation. - Add a field
validatedas a boolean. - Save your changes.
Go to the Studio Designer on the Resources tab.
- Create a folder called
elements. - In it, create an element, using the
Sample layout templatecalledmy-validation-element.
- Edit the layout of the element by adding the validation schema.
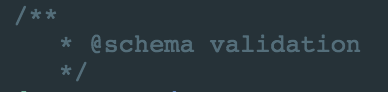
- In the HTML editor, replace the lines describing the title and description by the following to call your
validationelement:<div role="widget"> <label>Validated</label> <paper-checkbox checked=""></paper-checkbox> </div> - Save your changes.
Reuse an Element
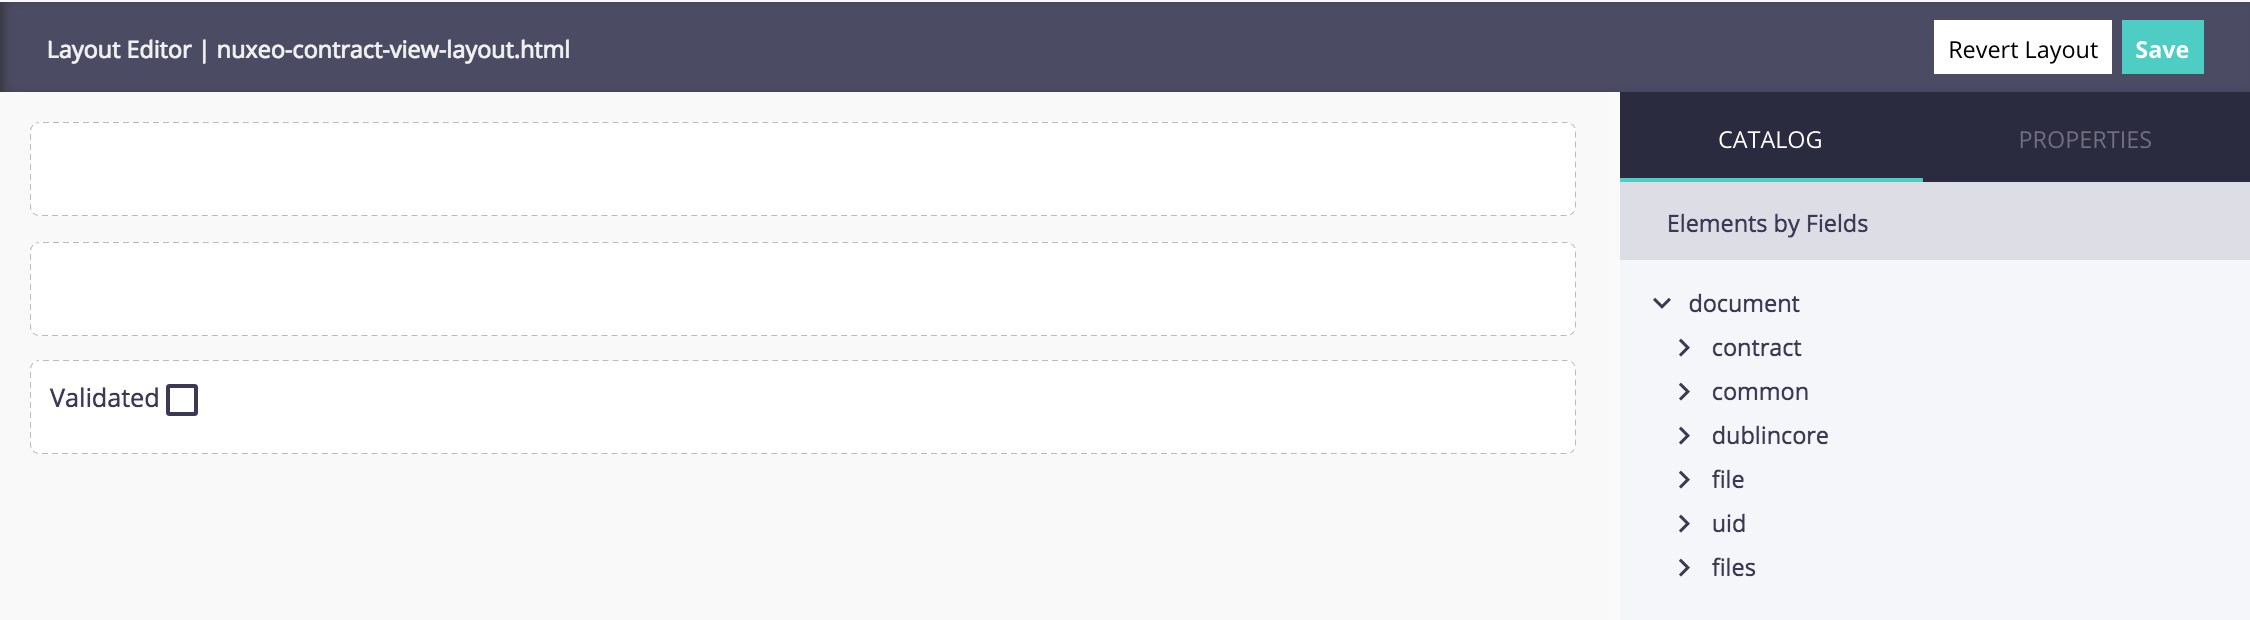
Now, go to your contract document type, on the view layout to use your element:
- Click on Configure.
- Switch to Code Editor at the button of the main view. On the search available in the elements catalog, search
my-validation-element. - Drag and drop it from the catalog to the editor.
Save your changes and deploy your studio project, you're done :)
You can now reuse your element as much as you want, for example on the other layouts of your contract document, it will always be available in the Project Elements library.