In this tutorial you will learn how to create a custom workflow tasks layout in Studio Designer. We'll be using a custom validation workflow template linked to the Contract document type.
Prerequisites
- A Contract document type created in Studio Modeler
- Web UI addon installed on your instance
- Studio Designer enabled on your Studio project
Create a Workflow Template
First, we need to create a new workflow template in Studio Modeler. This workflow will be applied to the Contract document type.
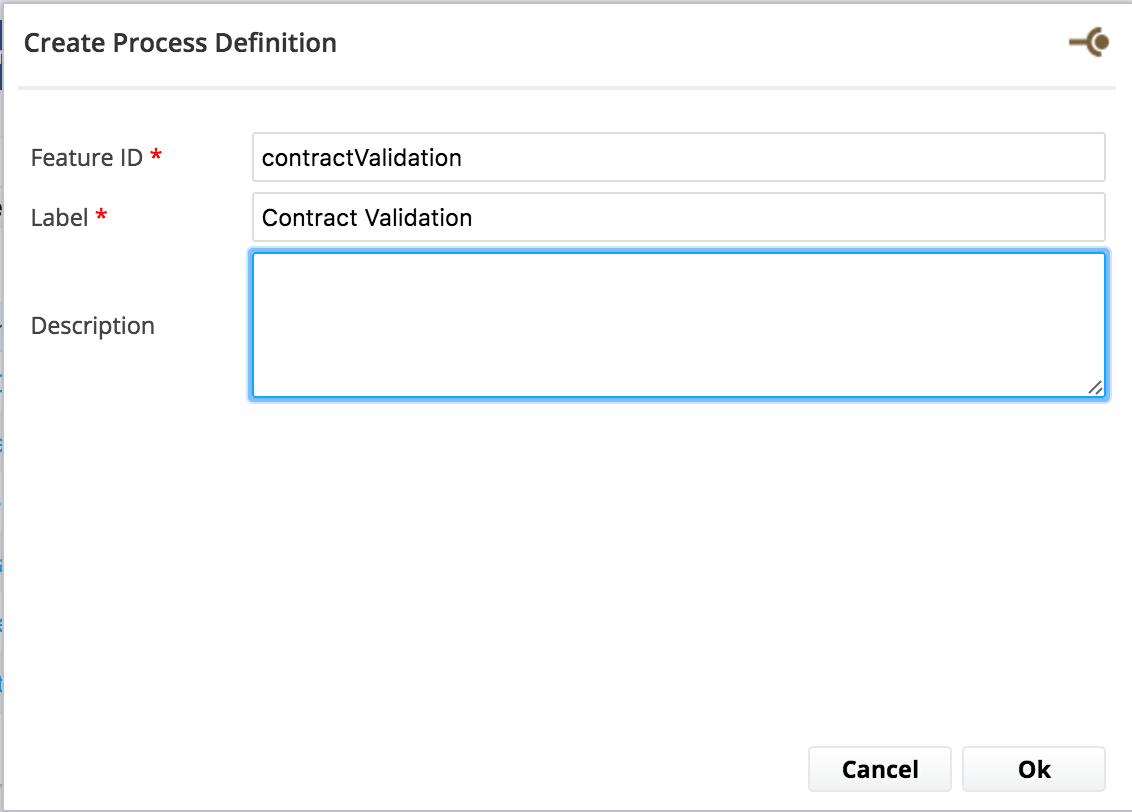
- Go to Workflow > Process Definitions and click on New.
- On the Activation tab, next to the field Current document has one of the types, select the Contract local type and move it from left to right. Now we will add a custom workflow variable called Type to specify which type of contract you are validating.
- On the Variables tab, add a field
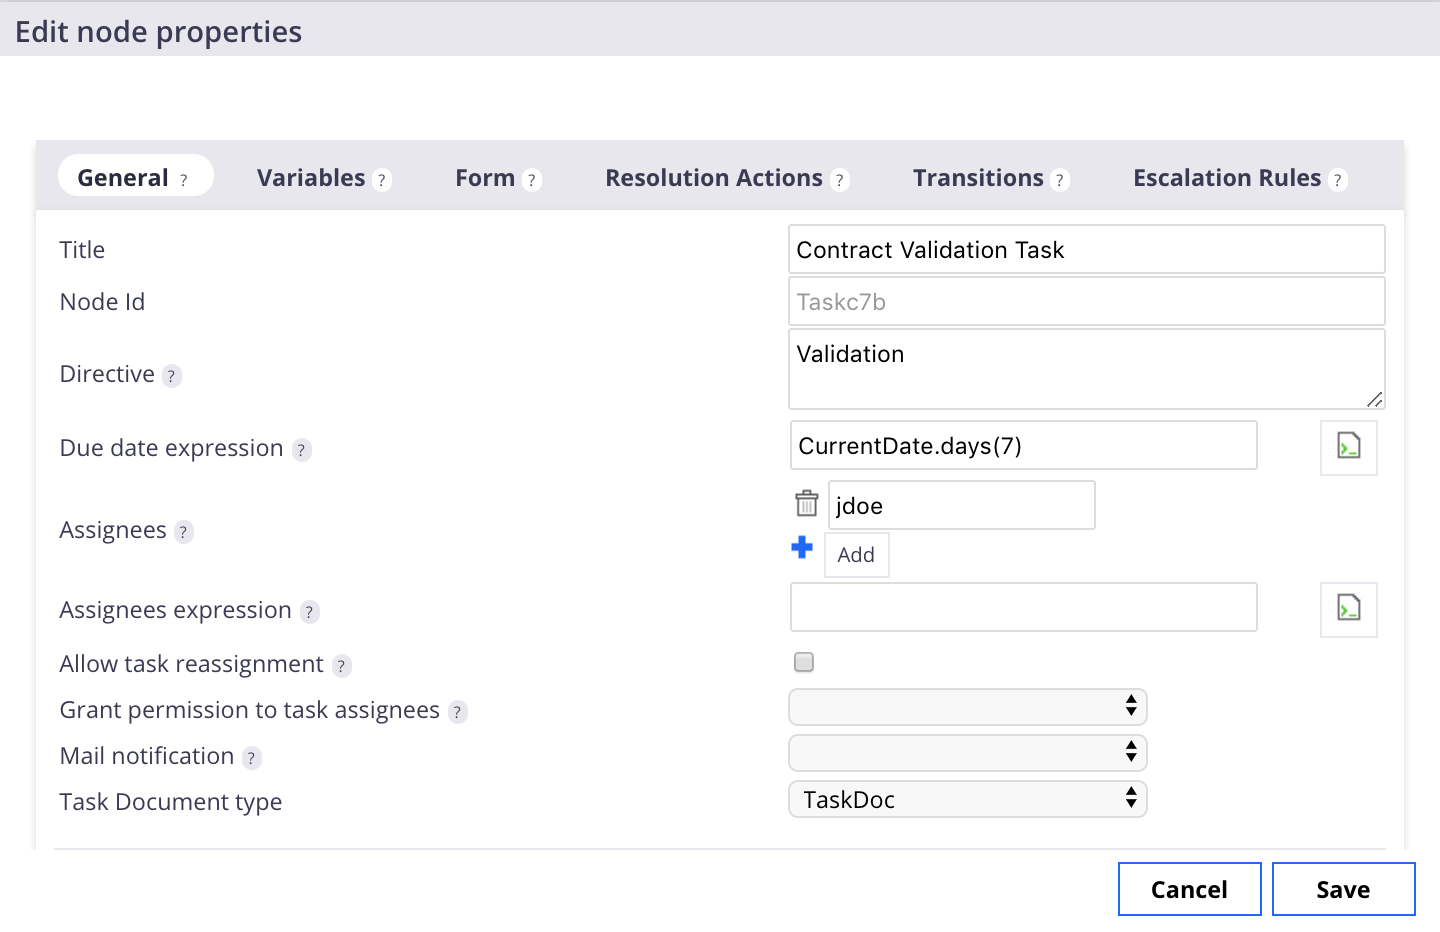
typeas a string. - On the Graph tab, select an Accept/Reject user tasks and drag and drop it on the graph.
- Click on the Edit button next to the task.
- Fill in the General tab as shown below:
- On the Variables tab, activate the custom variable by moving it to the right box.
- Save your changes.
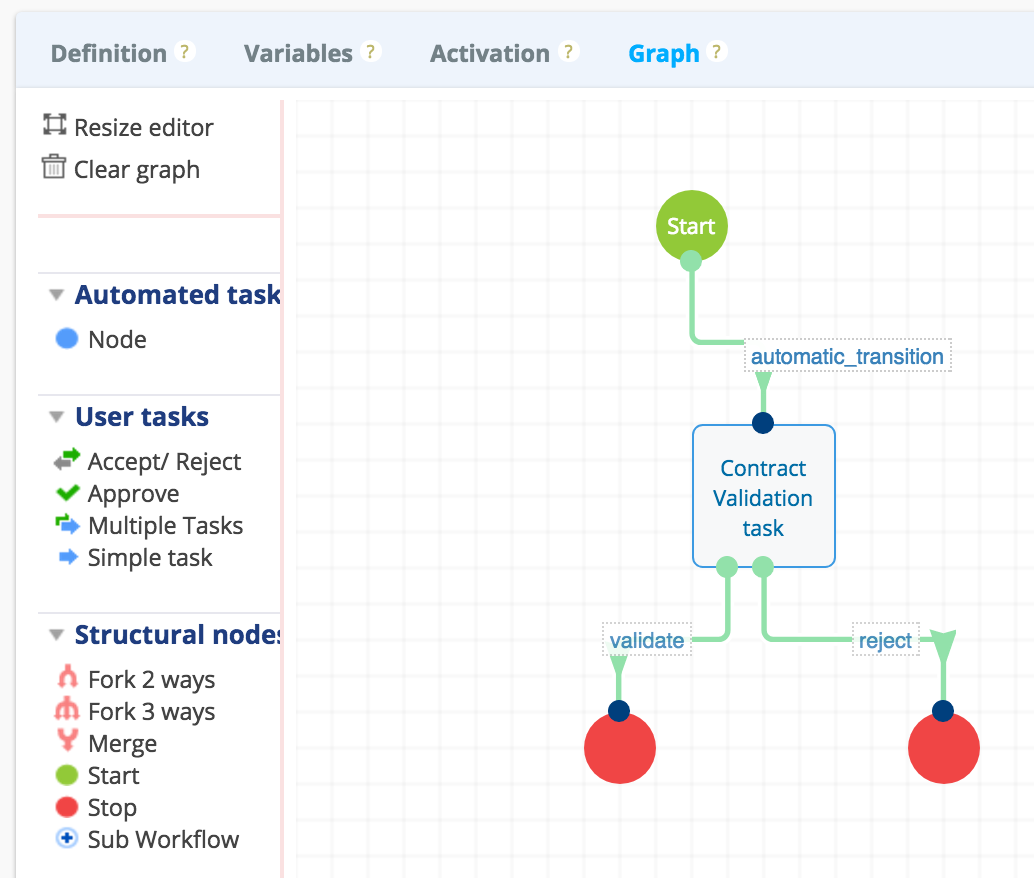
You should end up with a graph like this:
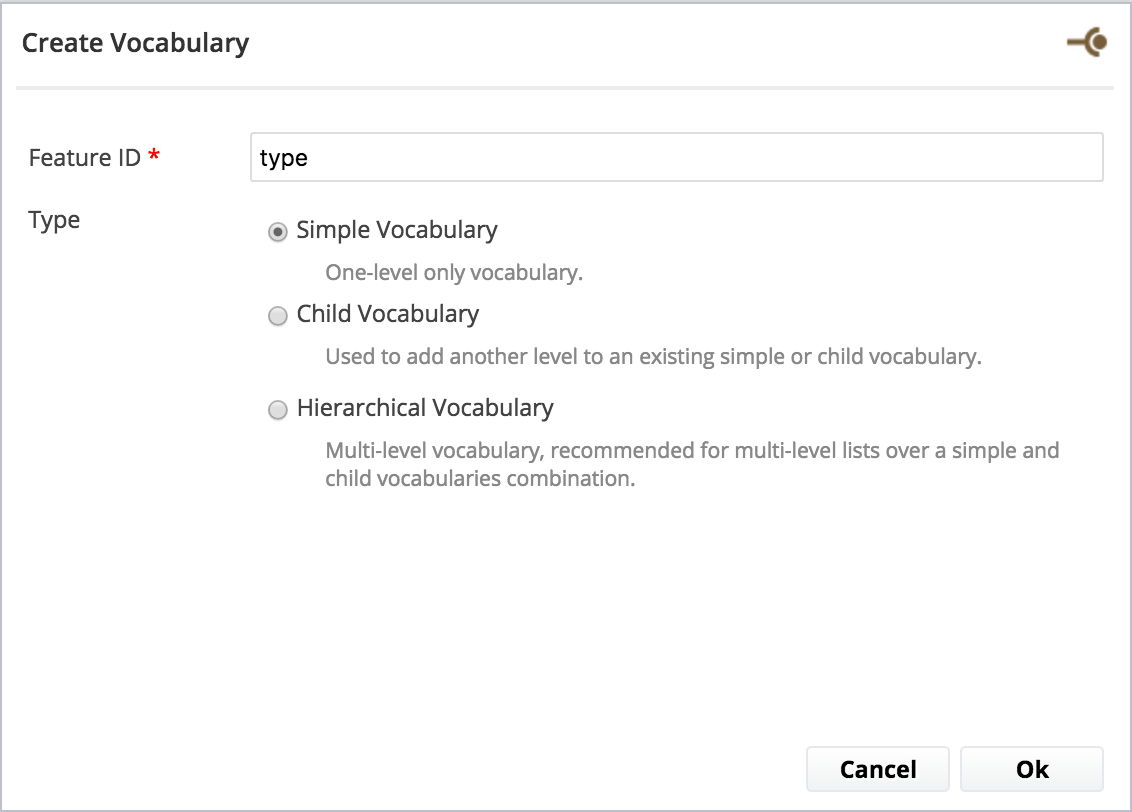
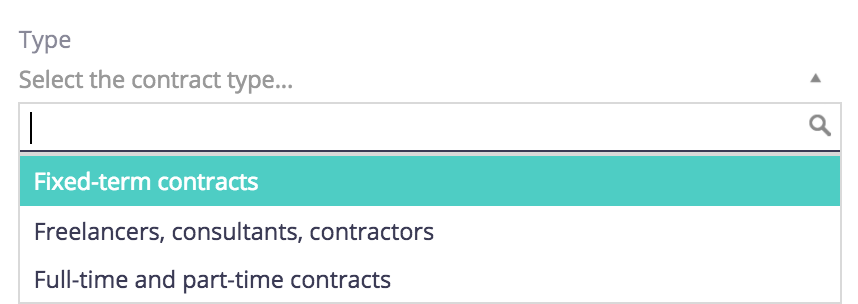
We will finish our Studio Modeler configuration by creating a vocabulary for the Type variable, to be able to select the type from a drop down list during the workflow process. The vocabulary will be composed of three different types of employment contract.
- Go to Vocabularies and click on New
- Fill in the rows like this:
| Id | Label |
|---|---|
| full-time-part-time | Full-time and part-time |
| fixed-terms | Fixed-term |
| freelance-consultant-contractor | Freelancers, consultants, contractors |
- Save your modifications.
Create a Task layout
We can now customize our layout on Studio Designer.
- In UI, go to the Layouts > Workflows menu and click on Contract Validation task and then on CONFIGURE. The workflow layout works as the document type layout, you can browse the element catalog and switch editors between code and visual.
- You can start by reorder the properties on the visual editor to end up with something like this:
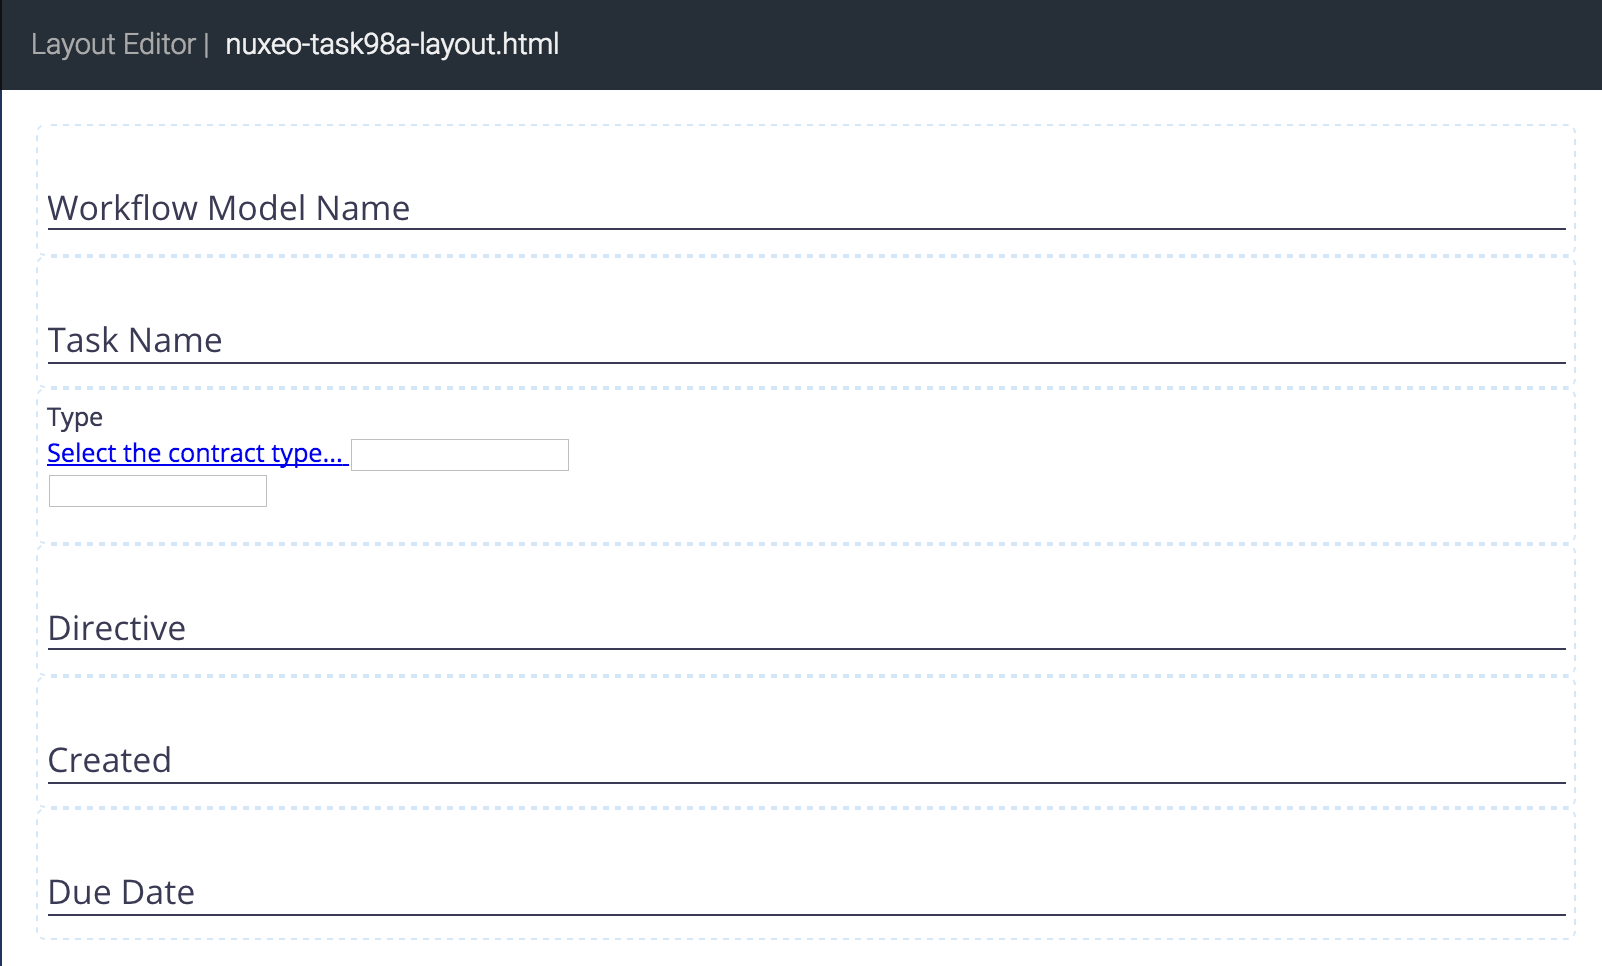
- Switch to editor from visual to code and change the line corresponding to the type field to turn it into a
nuxeo-directory-suggestionto link the type property to the associated directory:<nuxeo-directory-suggestion role="widget" label="Type" placeholder="Select the contract type..." value="" directory-name="type" min-chars="0"> </nuxeo-directory-suggestion> - Save your changes.
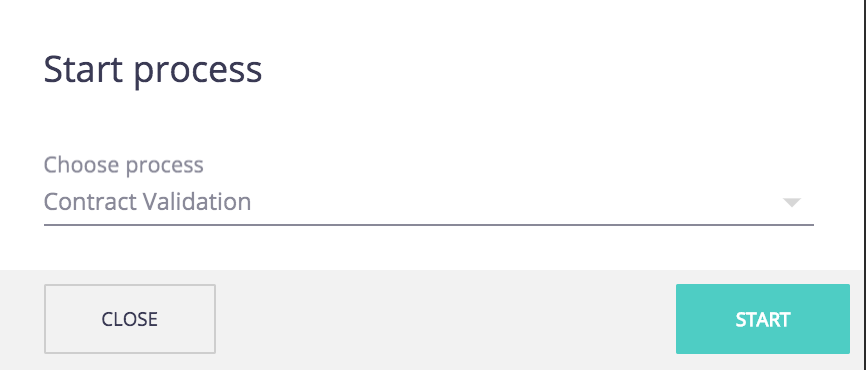
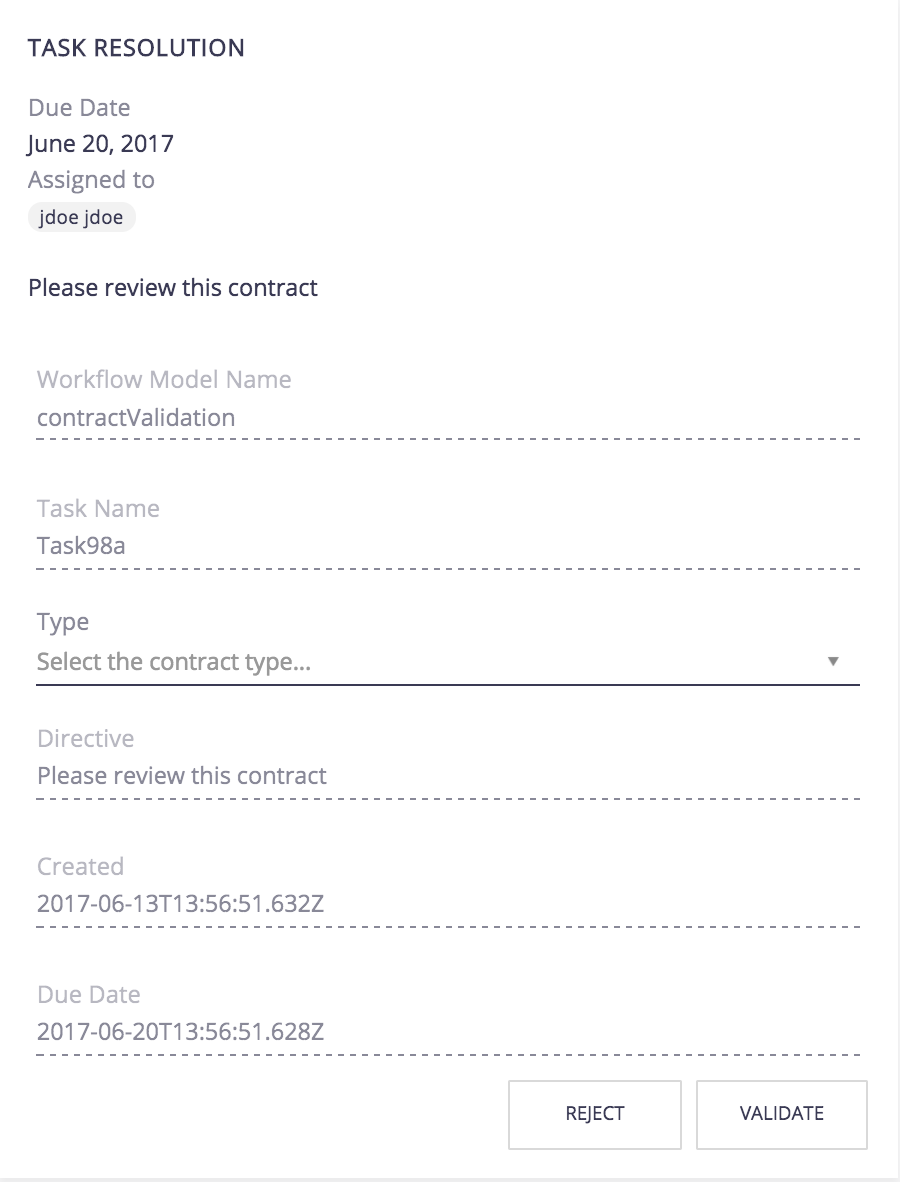
You can now deploy your project on your instance and see what it looks like!
Technical Overview
Workflow Tasks
Each workflow task has its own form defined by a dedicated element. This form is excluded from the vulcanization process and is therefore dynamically loaded.
In the $NUXEO_SERVER/nxserver/nuxeo.war/ui/ directory, you can see:
└── workflow
    ├── nuxeo-document-task.html
    ├── nuxeo-document-task-review-result.html
    ├── paralleldocumentreview
    │   ├── nuxeo-task2169-layout.html
    │   ├── nuxeo-task2556-layout.html
    │   └── nuxeo-task328d-layout.html
    └── serialdocumentreview
        ├── nuxeo-task38e-layout.html
        ├── nuxeo-task542-layout.html
        └── nuxeo-task6d8-layout.html
By convention, a $NUXEO_SERVER/nxserver/nuxeo.war/ui/workflow/{worfklowName}/nuxeo-{taskId}-layout.html file defines the form layout of the task with task ID {taskId} for the workflow {worfklowName}.