Here we want to add some server side Java logic that will update the contract's renegotiation date. In our exemple it will simply take the contract's start date and add three months to it, but you can think of integrating any custom logic in your Java class, including a connection to an external webservice or an ERP.
Prerequisites
- A Contract document type created at the previous step
- Eclipse IDE for Java EE Developers 4.5 (Mars)
- The latest stable NodeJS version should be installed on your machine
- Java 8 with JDK
- A Nuxeo SDK: Nuxeo Platform 8.1 SDK
- npm 2.12.0+
Step 1 - Install Nuxeo IDE
From Eclipse Marketplace
This procedure can only be used for Nuxeo 6.0 and later versions. For Nuxeo 5.8, please refer to the installation from the Eclipse Menu.
- In Eclipse, go into the Help, Eclipse Marketplace menu.
- The Eclipse Marketplace window opens.
Search for Nuxeo, select Nuxeo IDE and click on the Install button.
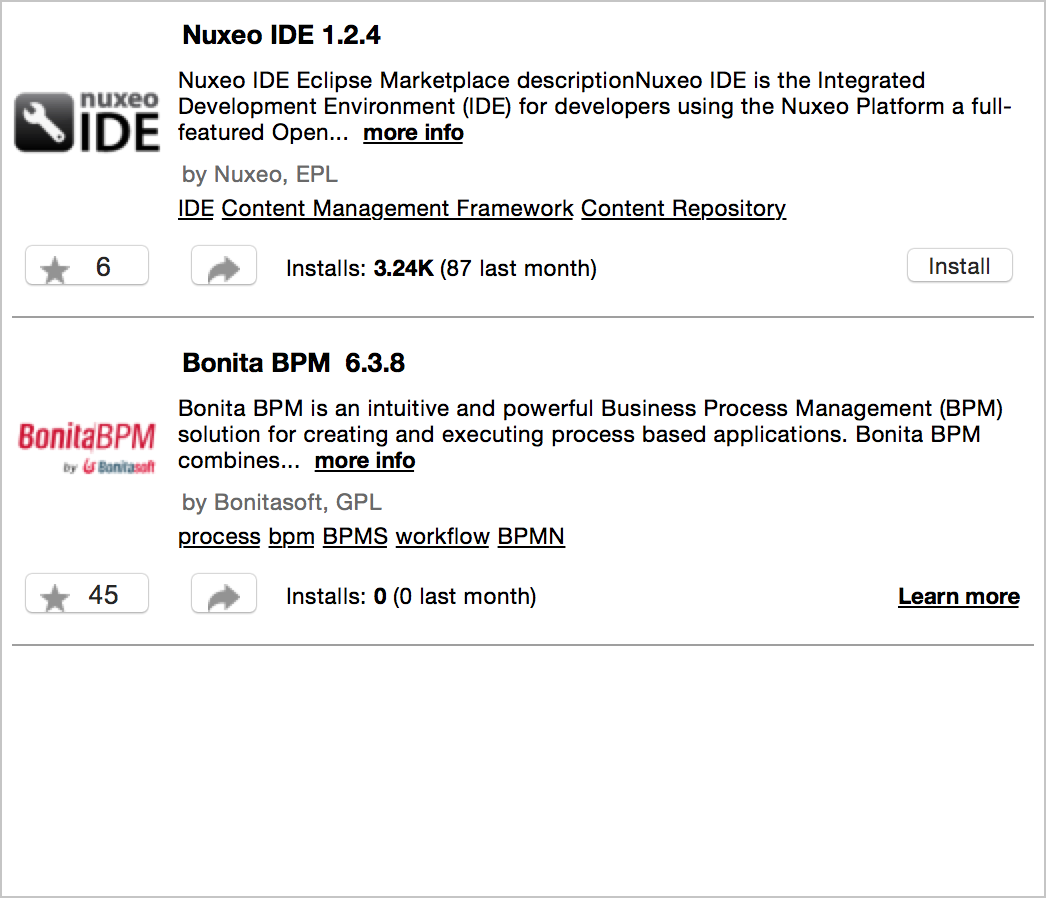
- Nuxeo IDE and Nuxeo Shell are automatically selected and downloaded.
- When Nuxeo IDE and Nuxeo Shell are downloaded, click on the Next button.
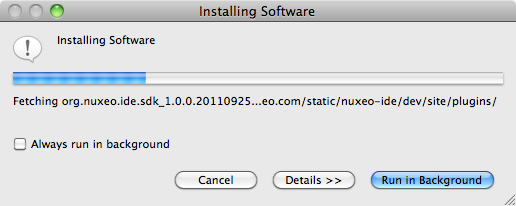
- Accept license when prompted. Installation begins. After a few seconds, a security warning is prompted.
- On the security warning window, click on OK.
Installation continues.
- Restart Eclipse when prompted.
- Nuxeo IDE is installed.
A new button is available in the Eclipse toolbar:

Open the Nuxeo perspective: Using the open perspective button
 or from the Window, Perspective menu.
Choose the Nuxeo perspective.
or from the Window, Perspective menu.
Choose the Nuxeo perspective.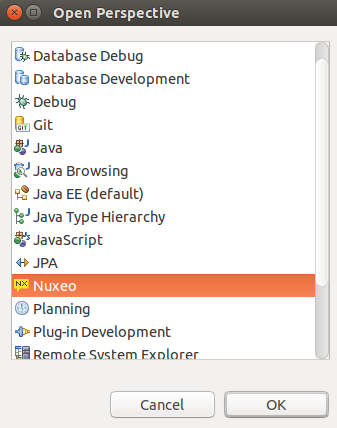
A new set of tabs will then be available to interact with your projects and your Nuxeo Platform server.
From Eclipse Menu
- Open the install dialog from the Eclipse menu: Help > Install New Software...
- Click on Add... button and enter the Update Site URL (stable for the latest released version, or development for a development snapshot) and name and click the OK button.
- Update site for latest Nuxeo IDE development version: http://community.nuxeo.com/static/nuxeo-ide/dev/site/
- Update site for latest Nuxeo IDE stable version: http://community.nuxeo.com/static/nuxeo-ide/stable/site/
- Update site archives are available in: http://community.nuxeo.com/static/nuxeo-ide/releases/

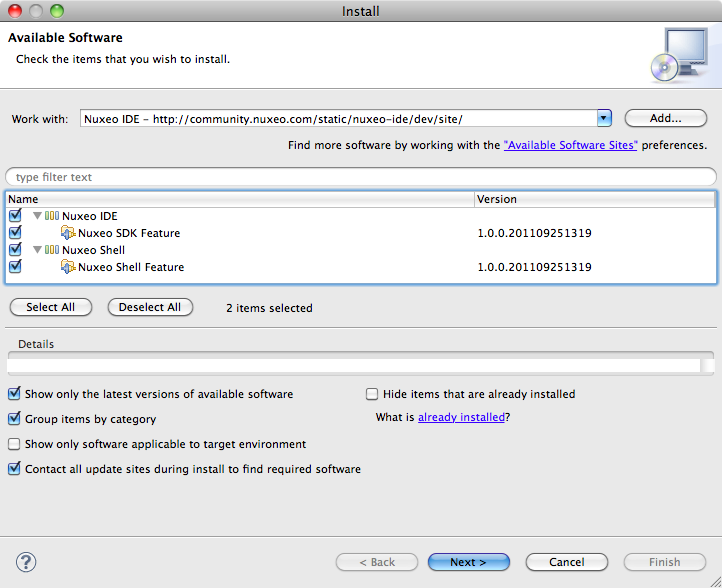
- If nothing appears, uncheck the Group items by category box.
- Check both Nuxeo IDE and Nuxeo Shell and click Next.
- Follow the wizard: accept license when prompted and click Next until the software is downloaded.
- Restart Eclipse when prompted.
Nuxeo IDE is installed. A new button is available in the Eclipse toolbar:
Open the Nuxeo perspective: Using the open perspective button at the top right corner from the Eclipse window
or from the Window, Perspective menu.
Choose the Nuxeo perspective.A new set of tabs will then be available to interact with your projects and your Nuxeo Platform server.
Step 2 - Register a Nuxeo Online Services Account
To configure a Nuxeo Online Services account:
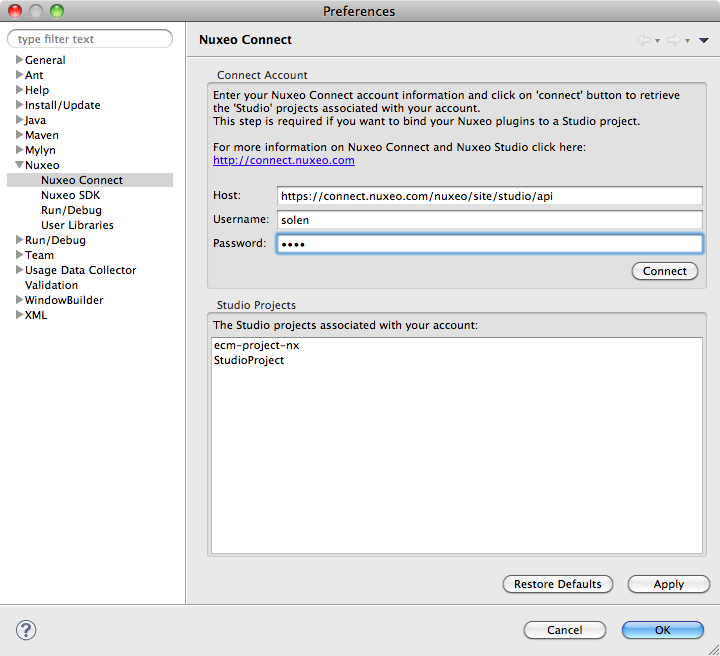
- Open Eclipse preferences (Window, Preferences menu in Windows and Linux or from Eclipse, Preferences in Mac OS) and go to Nuxeo > Nuxeo Connect. The Host name is already filled in with Nuxeo Connect address.
- Type your Nuxeo Online Services login and password and click on the Connect button.
The lists of Studio projects associated to your account is displayed. No need to choose something from the list here, it serves only for information purpose.
- Click on OK. The Preferences window closes. You can now go to the "Nuxeo Studio" tab to browse your Studio customizations.
Step 3 - Register a Nuxeo SDK
- Open the Nuxeo SDK preference page (Window / Preferences / Nuxeo / Nuxeo SDK menu on Windows and Linux or Eclipse / Preferences / Nuxeo / Nuxeo SDK on Mac OS).
- Click on Add and browse to your Nuxeo Platform SDK directory.
- Check that SDK in the list and click on the OK button to finish. The checkbox marks the Nuxeo Platform SDK version to use in the Eclipse workspace. You can easily switch from a Nuxeo Platform SDK version to another, for instance when testing your developments against a newer Nuxeo Platform version.
Step 4 - Install Nuxeo Generator
From a command line prompt, type:
npm install -g yo generator-nuxeo
The Nuxeo Generator lets you easily scaffold common Nuxeo components like empty projects, Packages, Automation Operations, Services... This saves you time writing boilerplate code to focus on your code instead of the structure.
We'll use it to generate a new Nuxeo project and an operation.
Step 5 - Implement an Operation
We want to create an operation that indicates the date of renegotiation of a contract, by fetching the document's start date and adding three months to it.
An operation is a Java class in which you can put custom business logic. It is usually used on top of existing Studio operations; either when the business logic you need to implement is too complicated to be created and maintained through a regular automation chain, or when the operation does not simply exist yet.
Once created, the operation can be exposed in Nuxeo Studio and used as any other operation, in automation chains and automation scripts. See the Automation section for more information about operations.
Create Your Nuxeo Plugin Project
From a command line:
Create an empty folder to store your project.
mkdir contract-mgt-project
cd contract-mgt-project
Generate the project structure.
yo nuxeoFill in the prompted parent project creation ("Multi module"):
? Use a parent artifact (for instance your company's BOM or the org.nuxeo.ecm.distribution:nuxeo-distribution POM)? y
? Parent Group id: org.nuxeo.ecm.distribution
? Parent Artifact id: nuxeo-distribution
? Parent Version: (leave the default option here)
? Project group id: com.bigcorp.contractmgt
? Project Artifact id: contract-mgt-project-parent
? Project version: 1.0-SNAPSHOT
? Project description: Contract management parent.
Fill in the prompted project itself ("Single module"):
? Project Group id: com.bigcorp.contractmgt
? Project Artifact id: contract-mgt-project-core
? Project version: 1.0-SNAPSHOT
? Project description: Contract management project.
Now that the project is generated, it can be used in any IDE.
Generate Eclipse configuration files.
mvn install

# The following parameters (downloadSources, downloadJavadocs and useProjectReferences) are optional
# For details, see Maven Eclipse Plugin documentation: https://maven.apache.org/plugins/maven-eclipse-plugin/eclipse-mojo.html
mvn eclipse:clean eclipse:eclipse -DdownloadSources=true -DdownloadJavadocs=true -Declipse.useProjectReferences=true

# Linux and OS X users should run the following script to make Eclipse use different build directories than Maven:
curl -o- https://raw.githubusercontent.com/nuxeo/nuxeo/master/fixeclipse|bash
# A cross-platform script is also available for Windows users:
# curl -o- https://raw.githubusercontent.com/nuxeo/nuxeo/master/scripts/fixeclipse.py|python
Import the project in Eclipse:
- Select File / Import / General / Existing Projects into Workspace.
- Browse to your project root folder (
contract-mgt-project), then click Finish.
- Convert the project to a Nuxeo project: right-click on the project name, then choose Nuxeo / Convert to Nuxeo Project.
Code Your Operation
Generate an operation code template:
yo nuxeo operationYou are prompted for a few details:
? Operation package: com.bigcorp.contractmgt
? Operation class name: ContractUpdater
? Operation label: Contract Updater
In Eclipse, right-click on the project and press refresh (F5). You get something like this for the operation, in
src/main/java:package com.bigcorp.contractmgt; import org.apache.commons.lang3.StringUtils; import org.nuxeo.ecm.automation.core.Constants; import org.nuxeo.ecm.automation.core.annotations.Context; import org.nuxeo.ecm.automation.core.annotations.Operation; import org.nuxeo.ecm.automation.core.annotations.OperationMethod; import org.nuxeo.ecm.automation.core.annotations.Param; import org.nuxeo.ecm.core.api.CoreSession; import org.nuxeo.ecm.core.api.DocumentModel; import org.nuxeo.ecm.core.api.PathRef; /** * */ @Operation(id=ContractUpdater.ID, category=Constants.CAT_DOCUMENT, label="Contract Updater", description="Describe here what your operation does.") public class ContractUpdater { public static final String ID = "Document.ContractUpdater"; @Context protected CoreSession session; @Param(name = "path", required = false) protected String path; @OperationMethod public DocumentModel run() { if (StringUtils.isBlank(path)) { return session.getRootDocument(); } else { return session.getDocument(new PathRef(path)); } } }Time to fill the skeleton and start coding. Here is the final result:
/**
 * @author mlumeau
 */
package com.bigcorp.contractmgt;
import java.util.Calendar;
import org.nuxeo.ecm.automation.core.Constants;
import org.nuxeo.ecm.automation.core.annotations.Operation;
import org.nuxeo.ecm.automation.core.annotations.OperationMethod;
import org.nuxeo.ecm.automation.core.collectors.DocumentModelCollector;
import org.nuxeo.ecm.core.api.DocumentModel;
import org.nuxeo.ecm.core.api.NuxeoException;
@Operation(id = ContractUpdater.ID, category = Constants.CAT_DOCUMENT, label = "Contract Updater", description = "On a contract, sets the reminder date to three months after its start date.")
public class ContractUpdater {

    public static final String ID = "Sample.ContractUpdater";
    static final String CONTRACT_TYPE = "Contract";
    static final String CONTRACT_SCHEMA = "contract";
    static final String CONTRACT_START = CONTRACT_SCHEMA + ":start";
    static final String CONTRACT_REMINDER = CONTRACT_SCHEMA
            + ":reminder";

    @OperationMethod(collector = DocumentModelCollector.class)
    public DocumentModel run(DocumentModel input) throws NuxeoException {
        if (!(CONTRACT_TYPE.equals(input.getType()))) {
            throw new NuxeoException("Operation works only with "
                    + CONTRACT_TYPE + " document type.");
        }

        Calendar start = (Calendar) input.getPropertyValue(CONTRACT_START);
        Calendar reminder = (Calendar) start.clone();
        reminder.add(Calendar.MONTH, 3);
        input.setPropertyValue(CONTRACT_REMINDER, reminder.getTime());
        return input;
    }
}
Update the Unit Test
A unit test comes along in src/test/java. You will need it to pass in order to compile and deploy your project.
Replace it with the following code:
package com.bigcorp.contractmgt;
import static org.junit.Assert.assertEquals;
import static org.junit.Assert.assertNotNull;
import static org.junit.Assert.assertNull;
import java.util.Calendar;
import java.util.GregorianCalendar;
import javax.inject.Inject;
import org.junit.Test;
import org.junit.runner.RunWith;
import org.nuxeo.ecm.automation.test.AutomationFeature;
import org.nuxeo.ecm.core.api.CoreSession;
import org.nuxeo.ecm.core.api.DocumentModel;
import org.nuxeo.ecm.core.test.DefaultRepositoryInit;
import org.nuxeo.ecm.core.test.annotations.Granularity;
import org.nuxeo.ecm.core.test.annotations.RepositoryConfig;
import org.nuxeo.runtime.test.runner.Deploy;
import org.nuxeo.runtime.test.runner.Features;
import org.nuxeo.runtime.test.runner.FeaturesRunner;
@RunWith(FeaturesRunner.class)
@Features(AutomationFeature.class)
@RepositoryConfig(init = DefaultRepositoryInit.class, cleanup = Granularity.METHOD)
// Replace "your.studio.project.symbolic.name"
// With "studio.extensions.MAVEN-ARTIFACT-ID". You can find your project's MAVEN-ARTIFACT-ID in Settings > Application Information
// It is likely to start with studio.extensions
@Deploy({"com.bigcorp.contractmgt.contract-mgt-project-core", "your.studio.project.symbolic.name"})
public class TestContractUpdater {
      @Inject
      protected CoreSession session;
      @Test
      public void shouldCallTheAutomationChain() {
          // Create a contract, currently stored in memory
          DocumentModel doc = session.createDocumentModel("/default-domain", "my-test-doc", ContractUpdater.CONTRACT_TYPE);
          GregorianCalendar now = new GregorianCalendar();
          doc.setPropertyValue(ContractUpdater.CONTRACT_START, now);

          // At this stage, the reminder date should be empty
          assertNull(doc.getPropertyValue(ContractUpdater.CONTRACT_REMINDER));

          // We'll save the document in the database
          // That should trigger an event handler that will set the reminder date
          doc = session.createDocument(doc);
          session.save();

          // Now we'll check that the reminder date is set as expected
          GregorianCalendar reminder = (GregorianCalendar) doc.getPropertyValue(ContractUpdater.CONTRACT_REMINDER);
          assertNotNull("Reminder date is not set, check your automation chain.", reminder);
          assertEquals("Reminder date is not set in three months from now", now.get(Calendar.MONTH) + 3, reminder.get(Calendar.MONTH));
      }
}
Now replace
your.studio.project.symbolic.namewithstudio.extensions.MAVEN-ARTIFACT-ID. You can find your project'sMAVEN-ARTIFACT-IDin Settings > Application Information.
If you try running the test (in Eclipse, right-click on your project and choose Run As, JUnit Test), you will notice that the test fails because we miss things in our Studio project. We need to add them to make the test pass; that's test driven development.
Send the Operation in Studio
- Click on the Export Operation button
 on the Nuxeo Studio tab of the left menu.
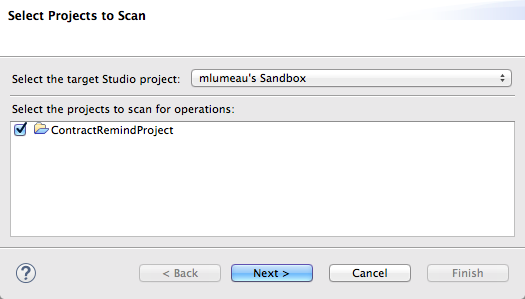
 - Select the Studio project in the drop down menu, and the Eclipse project to look for operation. Then click Next.
 You should now see your operation under the service category in automation. Which means we can now finish our automation chain.
Step 6 - Create Your Chain in Nuxeo Studio
Step 1: Create an automation chain
- In the Studio menu Automation > Automation Chains, click on New.
- Call your chain
ContractUpdater. - Keep the Fetch > Context Document(s) operation and add your own operation, available in Document > ContractUpdater.
 **
**
- Click on Save.
Step 2: Create an Event Handler
You now have to create an Event Handler in order to call your operation when a contract is created.
- In the Studio menu Automation > Event Handlers, click on New.
- Call the event handler
SetReminderDate. - Fill in the creation wizard:
- Events: Select About to create.
- Current document has one of the types: Select your document type Contract.
- Event Handler Execution: Choose your automation chain
ContractUpdater.
- Click on Save.
Now, you can try it on your server either by running the unit tests, or by testing manually.
Step 7 - Test the Code
The code can either be tested through unit tests, or manually.
Using Unit Tests
In Eclipse, click on the Refresh button on the Nuxeo Studio tab of the left menu (
 ).
).Go back to the Project Explorer tab, right-click on your project, and choose Run As, JUnit Test. The tests should now pass.
Using unit tests is the recommended way to ensure a feature is working as expected. Unit tests are triggered automatically whenever you compile your project using Maven, and as such they help you in maintaining a high quality level.
Testing Manually
Creating a Deployment Profile
At this stage we want to create a new default profile, called "My Projects" that includes the contract-mgt-project.
- Go into the Nuxeo Server tab (on the bottom right).
- Click on the button
 in the tab toolbar. The button tooltip is "Select projects to deploy on server".
 - Click on Add.
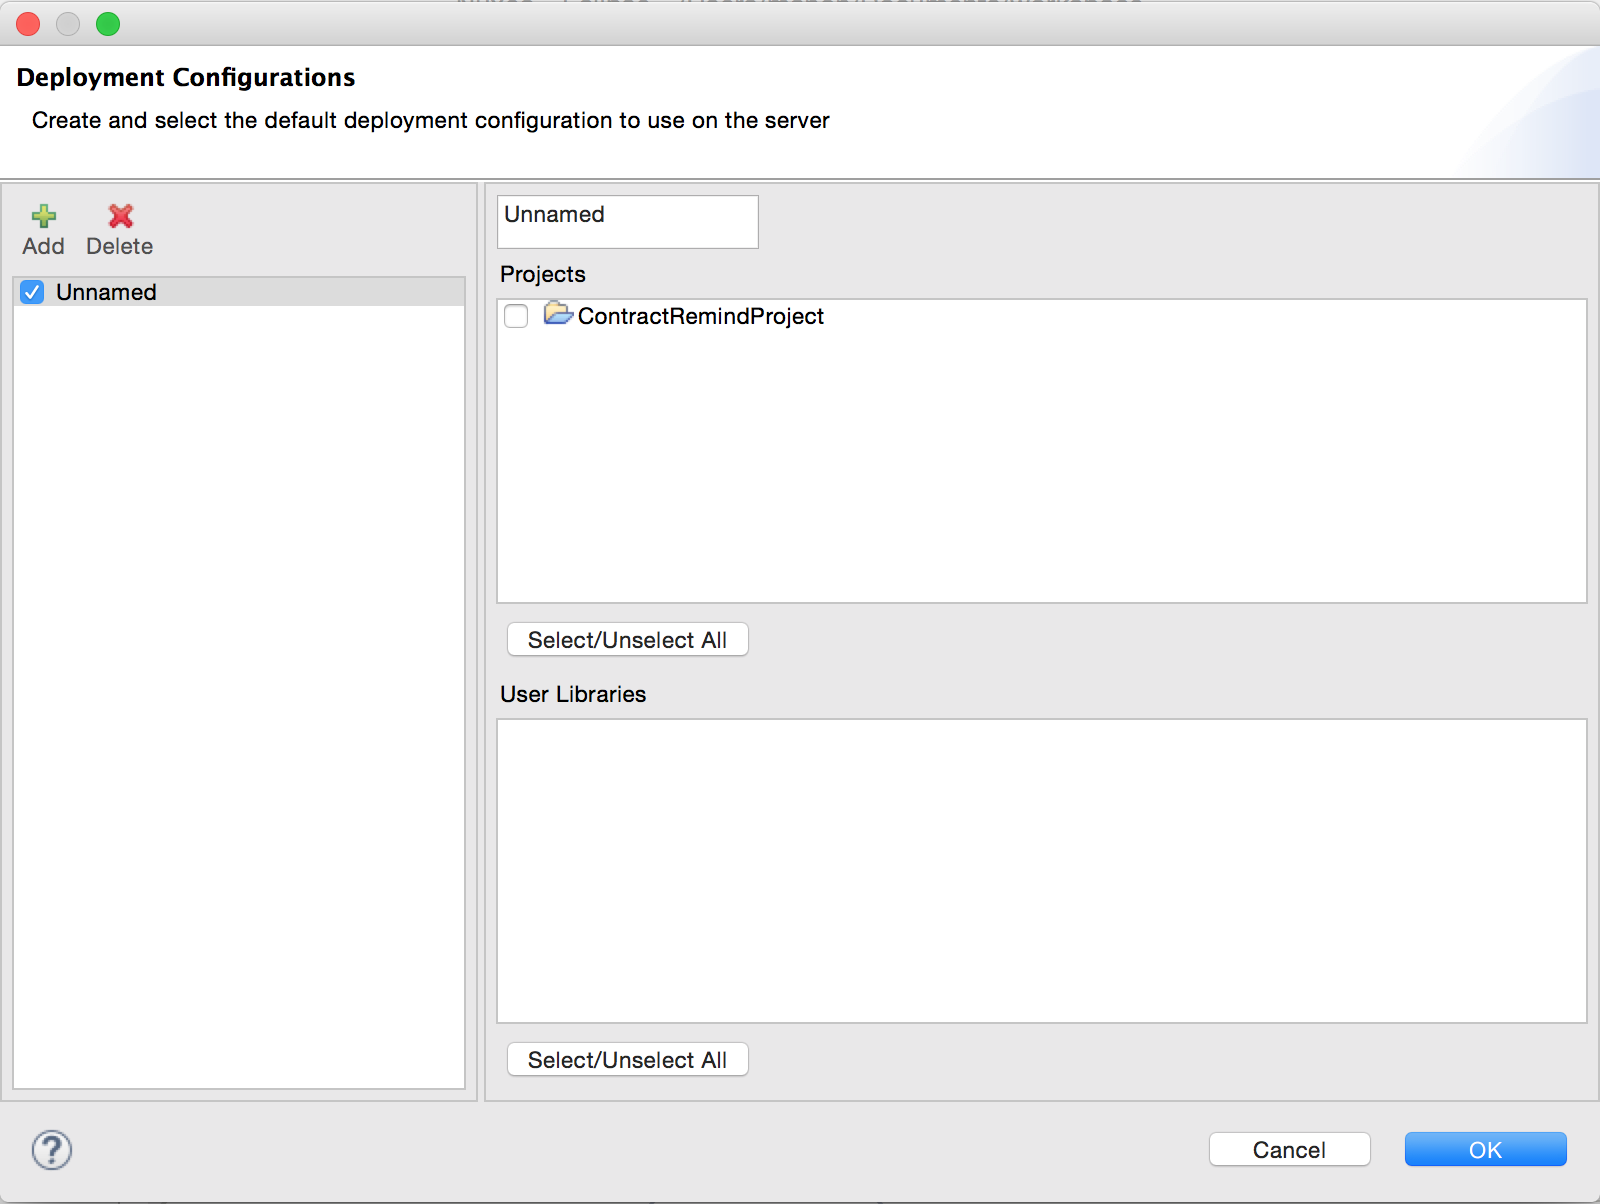
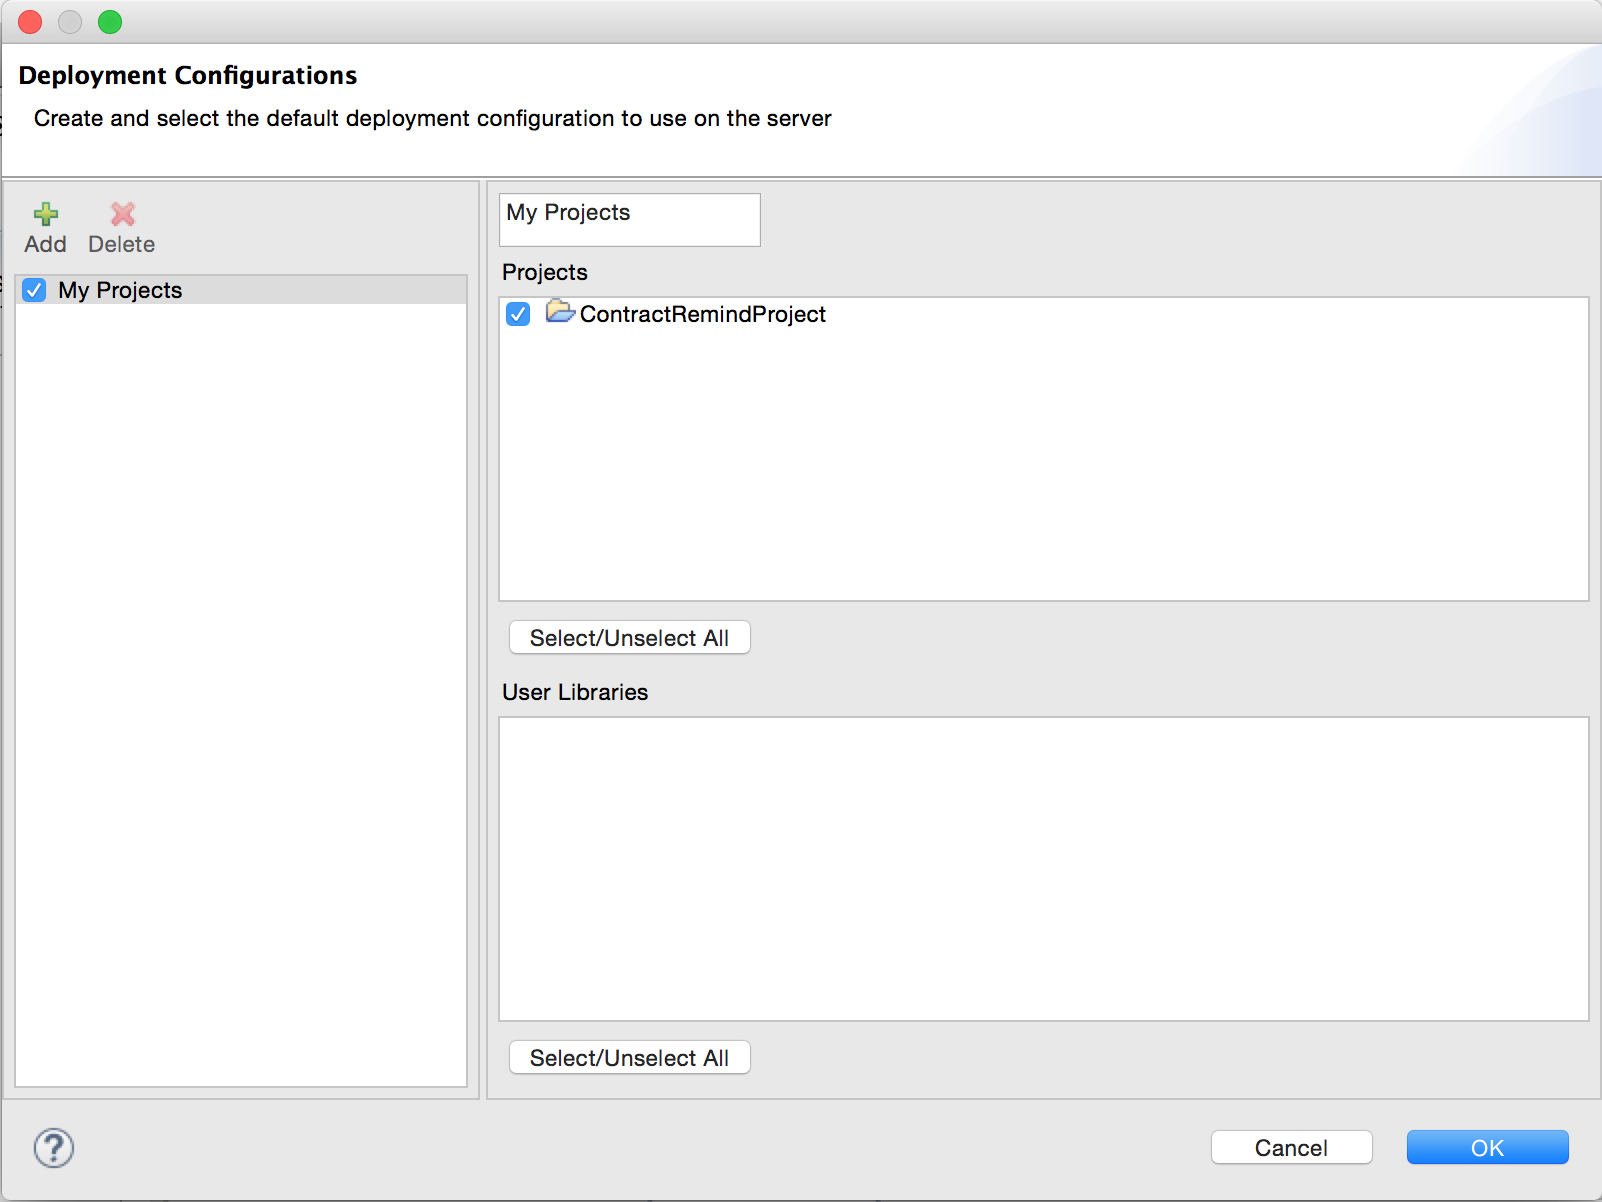
- Enter a name (in the right panel) for your deployment profile. Example: "My Projects”.
- In the left panel click on the newly created profile.
- In the right panel, check the projects that will be deployed with this profile.
- If you want the new profile to be the default deployment profile, check it.
- Click on the OK button.
- Here is what you should get:
 Now every time you start the Nuxeo server or you click on the Reload projects on server button
in the Nuxeo Server tab toolbar, the projects selected in the current profile will be (re)deployed on the server.
Now every time you start the Nuxeo server or you click on the Reload projects on server button
in the Nuxeo Server tab toolbar, the projects selected in the current profile will be (re)deployed on the server.
Starting the Server
To start the server:
- Click on the Run button in the toolbar (
 ).
). - Wait until the server starts.
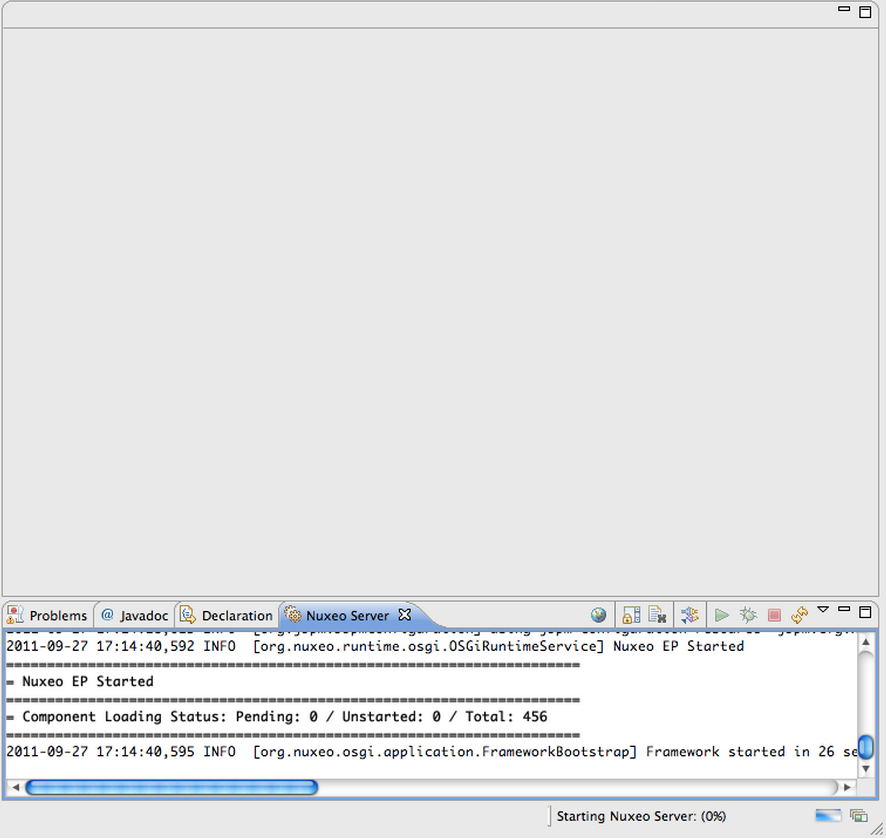
When done (i.e when the Stop button is enabled), open a browser and login using the 'Administrator/Administrator' account.
You can open the browser by clicking the Browse button (
 ).
).- Click on the Reload projects on server button in the Nuxeo Server tab ().
- In Nuxeo Platform, create a new contract with the following information:
- Title: Maintenance Contract
- Contract Owner: Nuxeo
- Starting Date: Choose today's dateYou should end up with something like this:
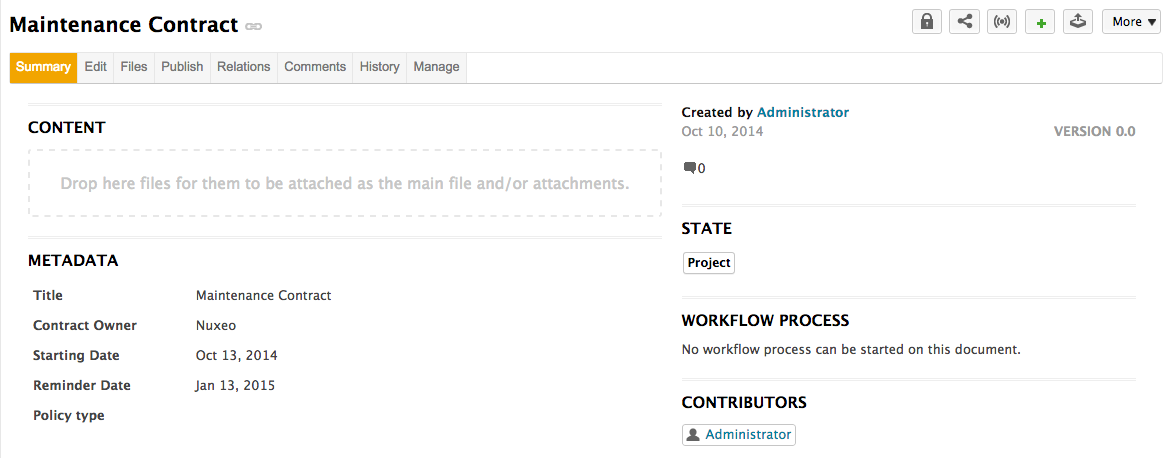
That's it! You are ready to develop on the Nuxeo Platform.
What to do Next
You should learn to package and deploy your application in a Nuxeo Platform instance.