The Nuxeo Quota add-on enables users to define a maximum size for the domains and workspaces they manage and provide some statistics about space use in your application.
Installation
After you installed Nuxeo Quota, a new tab Quota / Statistics is available in the Admin tab.


Quota Overview
The Quota package allows to define a maximum size on spaces and to display the number of items (workspaces, folders, documents) in a folderish document on the navigation tree.
Administrators are responsible for managing quotas on a global scale. Non-administrator users can manage the size limits of domains and workspaces on which they have Manage everything permission. All users are displayed the size of the document they are on (workspaces, folder, file, note, etc...) and the maximum size allowed (quota) if one has been defined. On a folderish document, such as a workspace, the used space includes the size of all the documents displayed in the Content tab and their versions and the size of the deleted documents (i.e. in the Trash tab of the workspace). On a document of type File for example, the used space is the sum of the size of the current document version (possibly a modified version) and the size of the archived versions of the document.
When you edit a document and save it as a new version (i.e. increment the document's version), the newly archived version is displayed until the document is modified. When the document is modified, you are displayed an unarchived modified version of the document, whose version number is based on the last archived version suffixed with a + sign. As a consequence, when the document only has one archived version, typically when its first version is created, the used space is the size of the newly archived version. As soon as the document is modified, the used space of the document is the sum of the archived version and the modified unarchived version.
More information on how versioning works.
Users can also see statistics on how space is used.
When users try to create or edit a document and the maximum size of the workspace is / will be reached, they are displayed a message indicating that they need to free some space.
Statistics
Statistics are available to show users:
- the list of documents and their size,
- the total size of live documents (i.e. documents visible in the Content tab of workspaces, sections, folders, etc),
- the total size of deleted documents that are still in trash,
- the total size of the archived versions for a document.
Statistics help users to understand where space is used. They provide answers to the following questions: does the trash need to be emptied, are there a lot of big archived versions, what are biggest documents?
Global Management of Quotas
Administrators can perform several actions regarding quotas from the Admin tab:
- compute initial statistics to calculate the amount of space used by each item in the application,
- run a job to count the existing documents in the application (prior to this addon being installed). This will display the number of children of each item of the navigation tree,
- enable or disable the maximum size limitation on personal workspaces.
Computing Initial Statistic
Once the package is installed, administrators need to compute initial statistics so that the size of all the documents is calculated.
To compute initial statistics:
- In the Admin tab, click on the Quota / Statistics tab.
- Click on the Compute initial statistics tab.


- Click on the Run button of the Quota updater counter. The size of all elements in the application is calculated and statistics are updated accordingly.
This initial computation won't prevent users from defining a maximum size allowed ( quota ) on workspaces, but values may be wrong until initial statistics are actually computed.
Initiating Document Count
When the Quota package is installed on a Nuxeo instance that already has some content, administrators need to initiate the document count. Until they do, the system will ignore existing documents, taking only documents created or edited after the package was installed into account in the navigation tree and displaying inaccurate values.
To initiate the document count:
- In the Admin tab, click on the Quota / Statistics tab.
- Click on the Compute initial statistics tab.


- Click on the Run button of the Document Count counter. The values in the navigation tree are updated.
Managing Personal Workspace Quotas
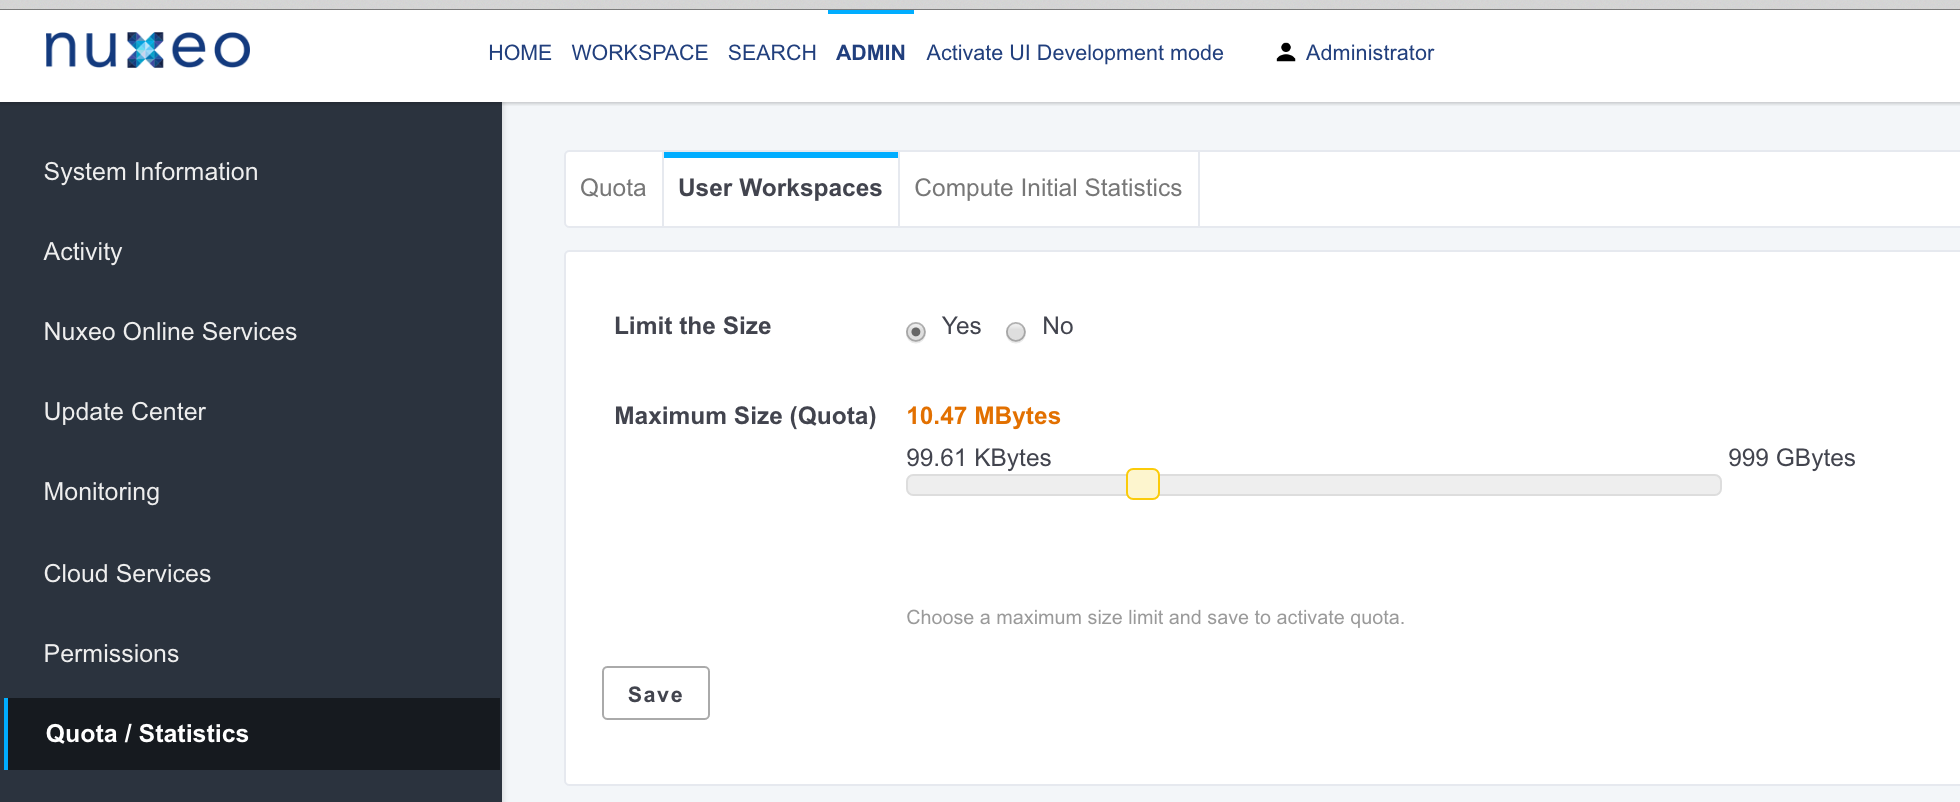
By default, there is no quota set on personal workspaces. Administrators can enable it and define globally the maximum size allowed on every personal workspace.
To enable and define the maximum size of personal workspaces:
- In the Admin tab, click on the Quota / Statistics tab.
- Click on the User workspaces tab.


- If the size limit hasn't been enabled on personal workspaces yet, click the button radio Yes (default value is No).
- Move the slider to define the maximum size. This value will apply to every personal workspace. The value is displayed on top of the slider.
- Click on the Save button. A maximum size is now defined on personal workspaces.
Working With Quotas
Consulting Statistics
Users can see the statistics of a workspace or a domain as soon as they can access it.
To see the statistics of a workspace:
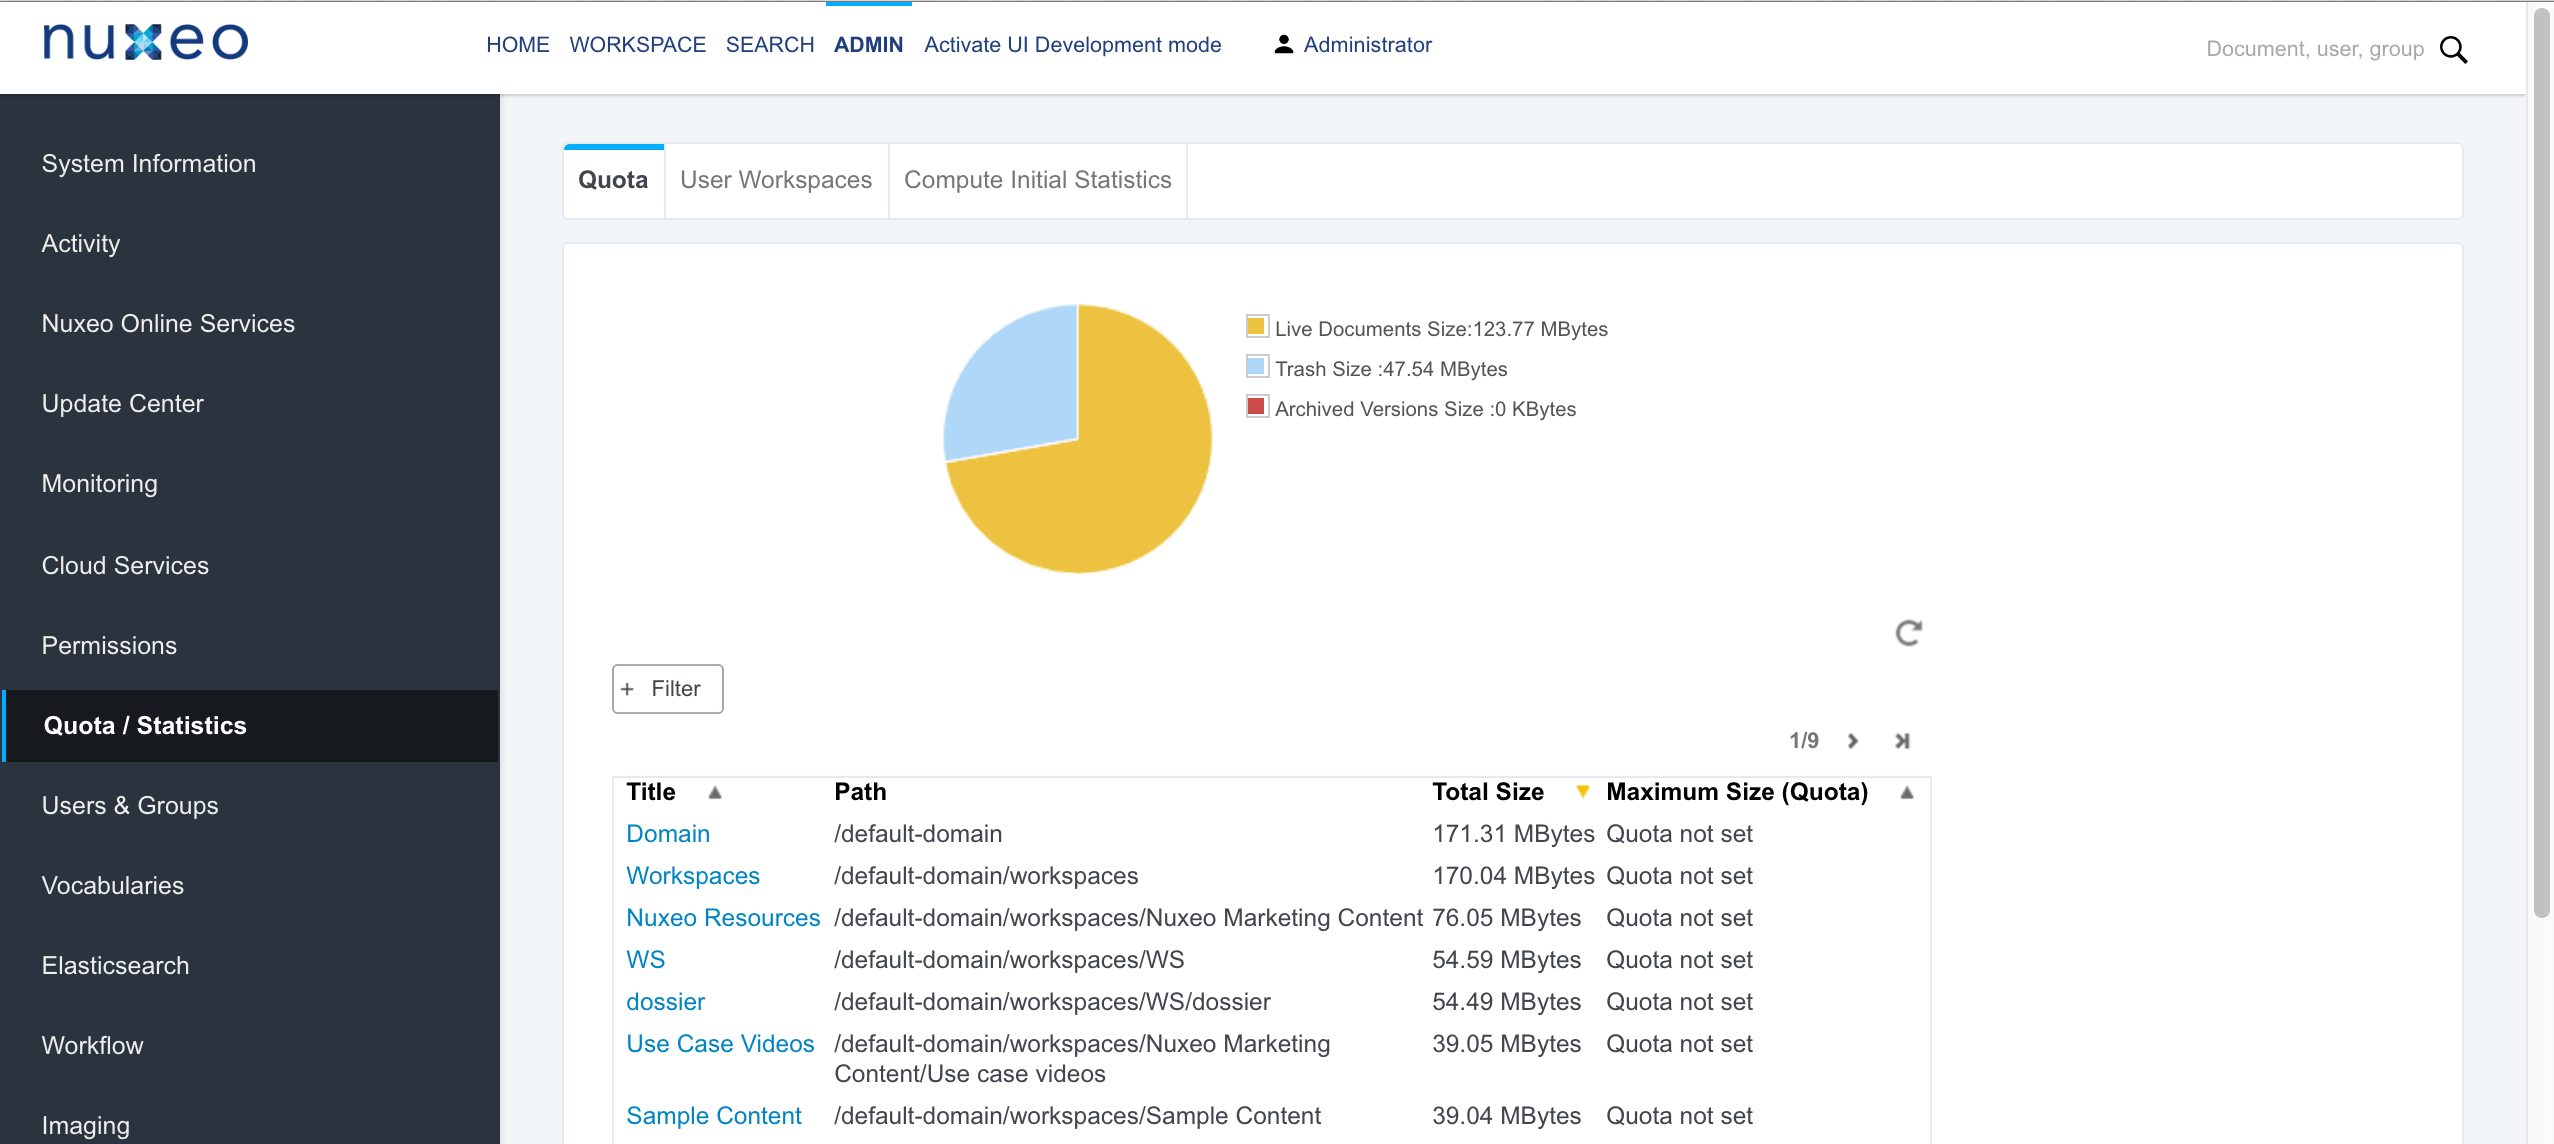
On the workspace, click on the Quota tab. The statistics are displayed in the Statistics tab.
 The tab displays:
- the repartition of the used space between live document, deleted documents and archived versions.
the list of the content of the workspace, sorted by size.
Only documents larger than 1 KByte are displayed.
If needed, filter the list of documents:
- Click on the Filter link displayed on top of the table.
The filter form is displayed. By default the whole size range is selected.


- Type keywords in the Title field and / or move the slider to define the size range you want to filter on.
- Click on the Filter button. The list of documents displayed below displays only the documents matching your criteria.
- Click on the Filter link displayed on top of the table.
The filter form is displayed. By default the whole size range is selected.
Defining the Size Limit on a Workspace
Only users with Manage everything permission can define the maximum size of a space. By default, the size limit can be defined on domains and workspaces only. It is possible to enable it on other document types using Nuxeo Studio.
To set the maximum allowed size:
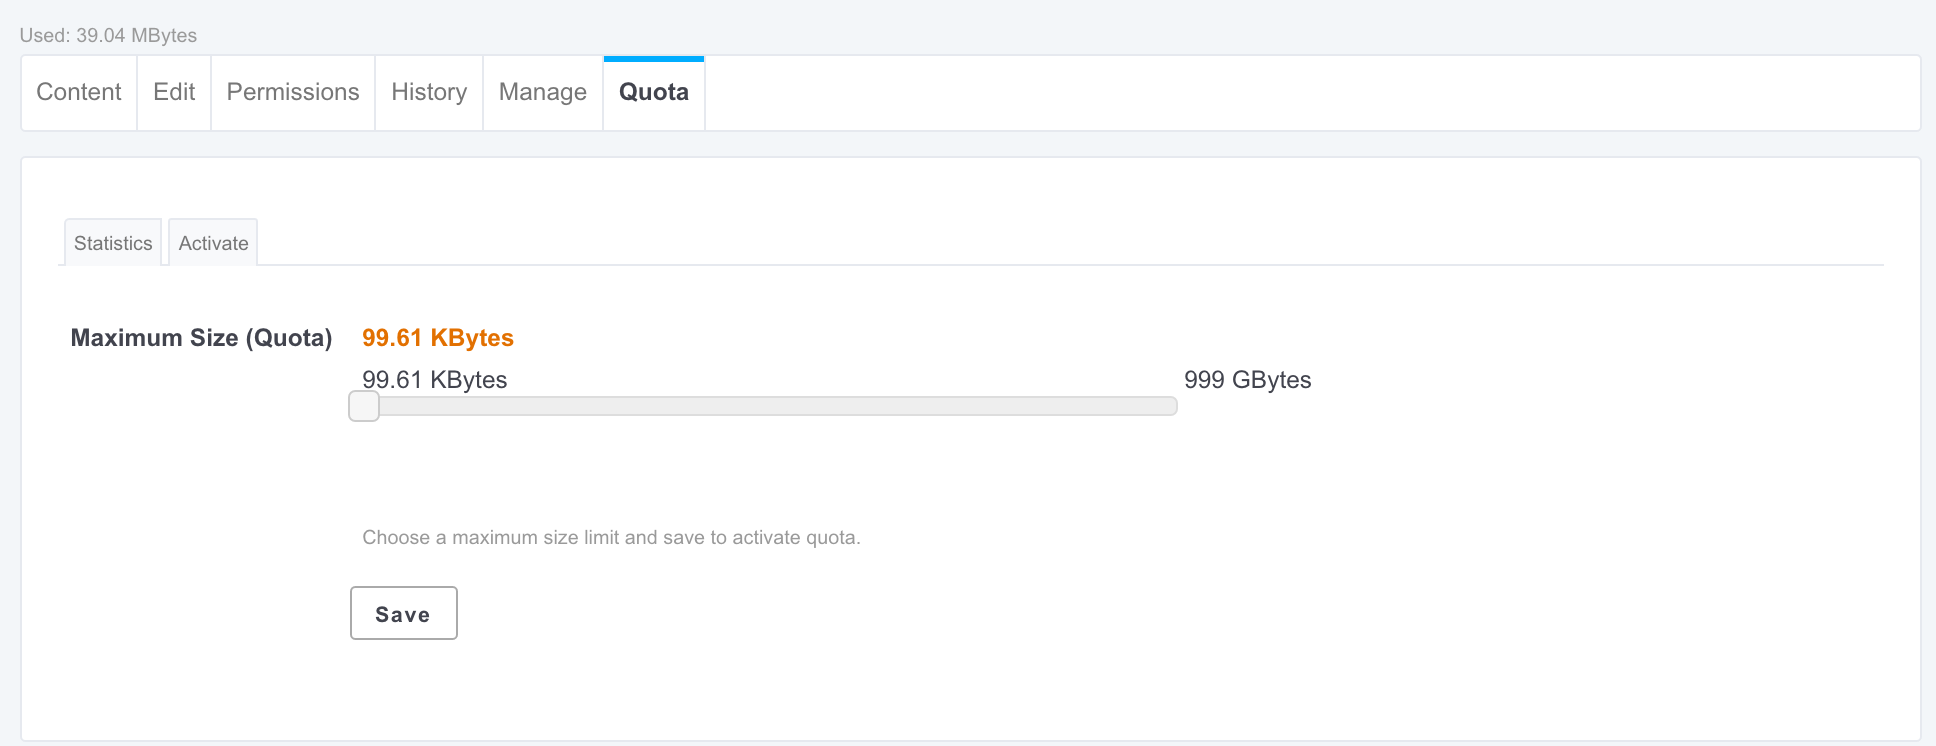
- Click on the Quota tab of the workspace (or domain). The Statistics sub-tab is displayed.
- Click on the Activate sub-tab.


Move the slider to set the maximum size in the authorized range:
- the selected size is displayed on top of the slider;
the maximum possible size is the limit size of the parent;
If the parent has no size limit, the maximum size displayed on the slider is the maximum size of the first parent having a quota defined.
- the smallest possible maximum size is 99.61 KByte by default, on all spaces.
Click on the Save button.
You are displayed a message indicating that you need to set a smaller size?This means other children of the parent imposing the maximum size to be set already have taken some of the available max size on their quotas. You need to choose a smaller value.
When the chosen quota is saved, the value is set and the maximum allowed size is displayed below the workspace's title.
-
Here is how the maximum size possible is calculated...
When you select a maximum size on a workspace and click on Save, a verification is done to check that the size you selected won't make the parent's quota be exceeded. Here is how it is calculated:
The system checks the maximum size set on the parent of your workspace.
- If no maximum size has been set on the parent, the system goes up the tree until it finds a parent with a defined maximum size (aka "The parent").
The system computes the sum of the maximum sizes set on the children of the parent.
- If a child doesn't have a maximum size set, the system checks its children and makes the sum of their maximum sizes to calculate the parent's. This is repeated for all workspaces without maximum size, until the system can calculate a maximum size for each child of "The parent".
- The system checks that the size you want to set on your workspace is not bigger than the difference between the parent's limit size and the sum of its children's.