Installation
This addon requires no specific installation steps. It can be installed like any other package with nuxeoctl command line or from the Update Center.
Functional Overview
The template rendering addon is a set of two addons available from the Nuxeo Marketplace: the Template Rendering itself and the Template Rendering Samples.
Nuxeo Template Rendering
The template rendering addon brings core functionalities that enable users to create documents from a template, with the content being automatically extracted from Nuxeo, and to have an automated rendering generated from a set of user-defined preferences.
This addon includes two new template document types, called "Template" and "Web template".
Nuxeo Template Rendering Samples
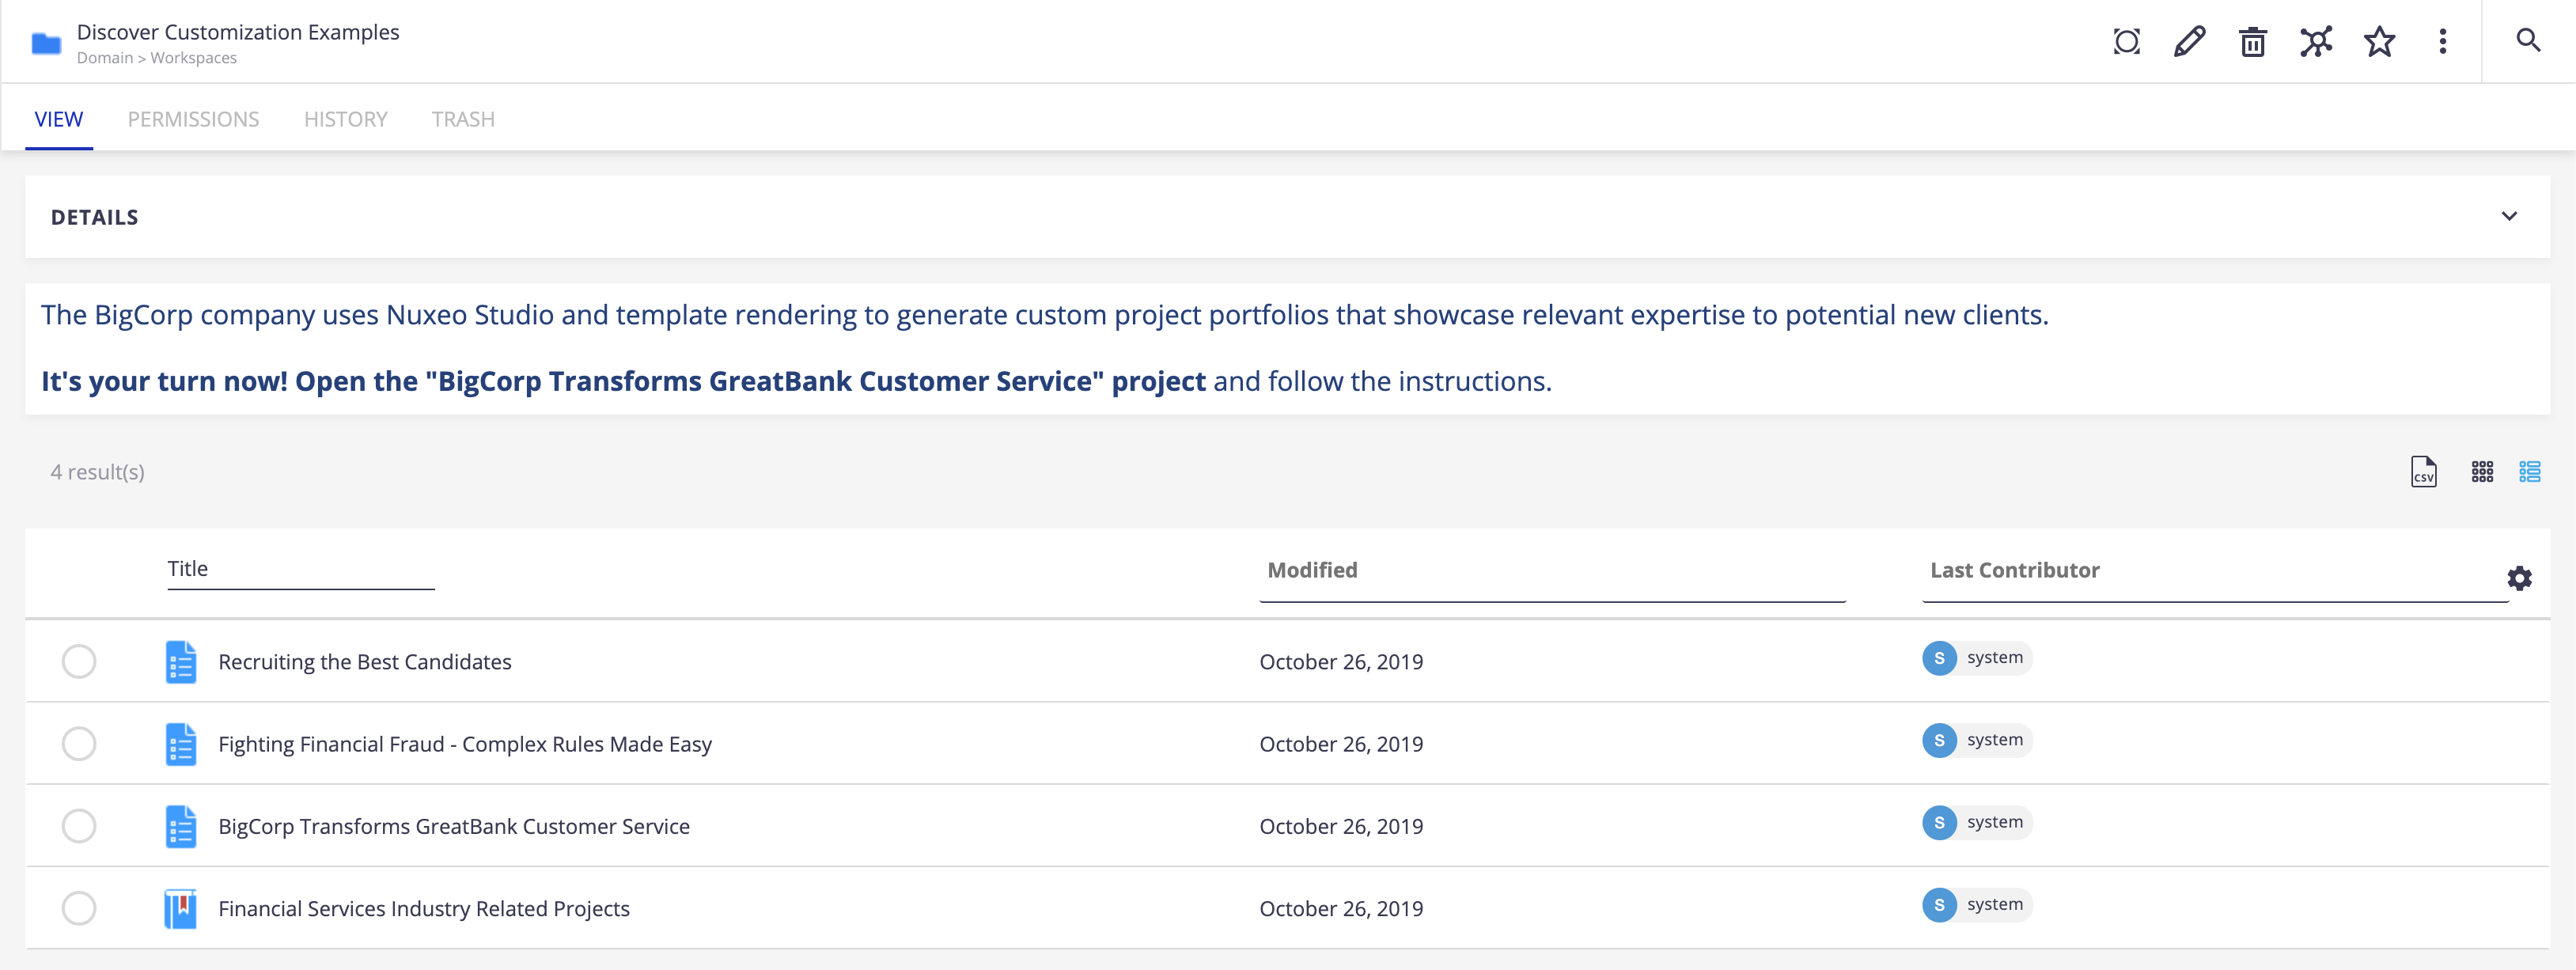
The template rendering samples addon lets you discover through an inspiring demo how the template rendering add-on can improve your everyday business processes. This demo showcases the BigCorp company, generating financial reports for internal use, and case studies demonstrating their expertise for potential new customers. All being achieved by extracting their relevant content into office templates on the fly.
This addon depends on Nuxeo Template Rendering. It includes:
- New document types:
- Business oriented document types used for the demo and configured using Studio:
- nxtrPortfolio: a collection-based document type, used to reference projects and generate case studies from the content it references.
- nxtrProject: a file-based document type, used to generate financial reports about the project's health and case studies when referenced into a portfolio.
- nxtrSamplesContainer: a workspace-based document type, that contains projects and portfolios.
- Two file-based document types, provided as read only (you cannot create more using the Web UI by default) and used to demonstrate advanced raw examples:
- "Customer reference"
- "Statement reference"
- Business oriented document types used for the demo and configured using Studio:
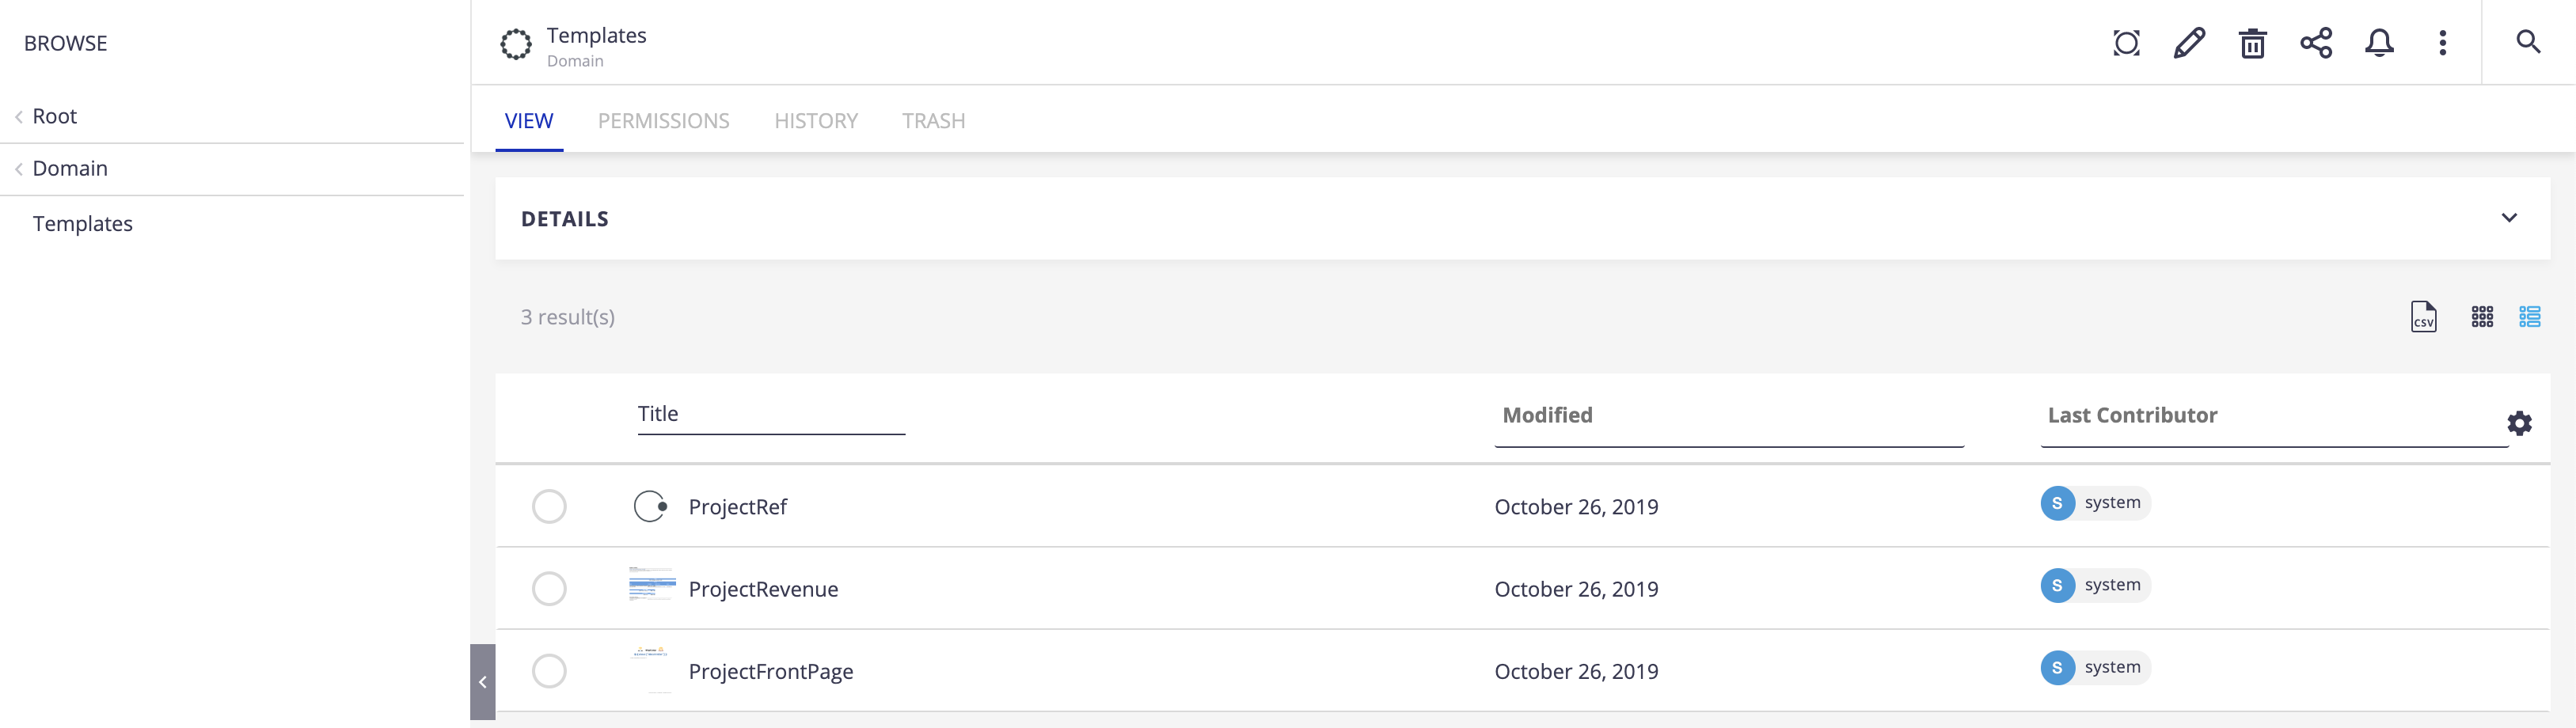
- Templates with template attachments, leveraging the Template document type, in the "Templates" space:
- Documents based on these templates, showing the result of the different template rendering options, in the "Discover Customization Examples" container:
How Template Rendering Works
The principle of the template rendering feature is the following:
- A template file (Word file, OpenOffice.org file,...) is created outside Nuxeo. This file holds some fields that will automatically be filled in with content defined in Nuxeo.
- A Nuxeo user creates a Nuxeo template, to which he attaches the template file (or fills in the Note content in case of a web template). He fills in the template properties, that will define under which conditions the template is available: for which document types, under which circumstances...
- When users in Nuxeo create a new document for which a template is available, they can use it. If some template elements are left to be edited or filled in by the document's contributors, they can set them.
There are two types of Nuxeo templates:
- the "Template" will have an attached file in which some values are defined to be Nuxeo values.
- the "Web template" doesn't have an attachment. Its content is defined in a Note field.
Creating a Template File
The template file is the file that will be used to generate the rendering of the Nuxeo document and will be completed automatically with the defined Nuxeo properties. This template file can be:
- an office document (.docx, .odt, .xls, .ods formats are supported for now),
- an HTML file,
- a XML file.
Standard Steps to Create a Template File
- Create a regular Office, HTML or XML file with your favorite tool.
- In the document, put variables in
Input Fieldswhere you want to use information from Nuxeo (see below). You may want to use XDocReport for .docx or .odt formats, JXLS for .xls and .ods formats (see links below). - When the template is ready, create the template document in Nuxeo and attach the template to it.
Create a Template File with MS Office
To render a document property:
- In MS Office, click on Insert > Field
- Select Mail Merge in the Category list, and MergeField in the Field names list.
- Keep the
MERGEFIELDvalue at the beginning of the text input, and add the property you need to render${doc['dc:title']}for example.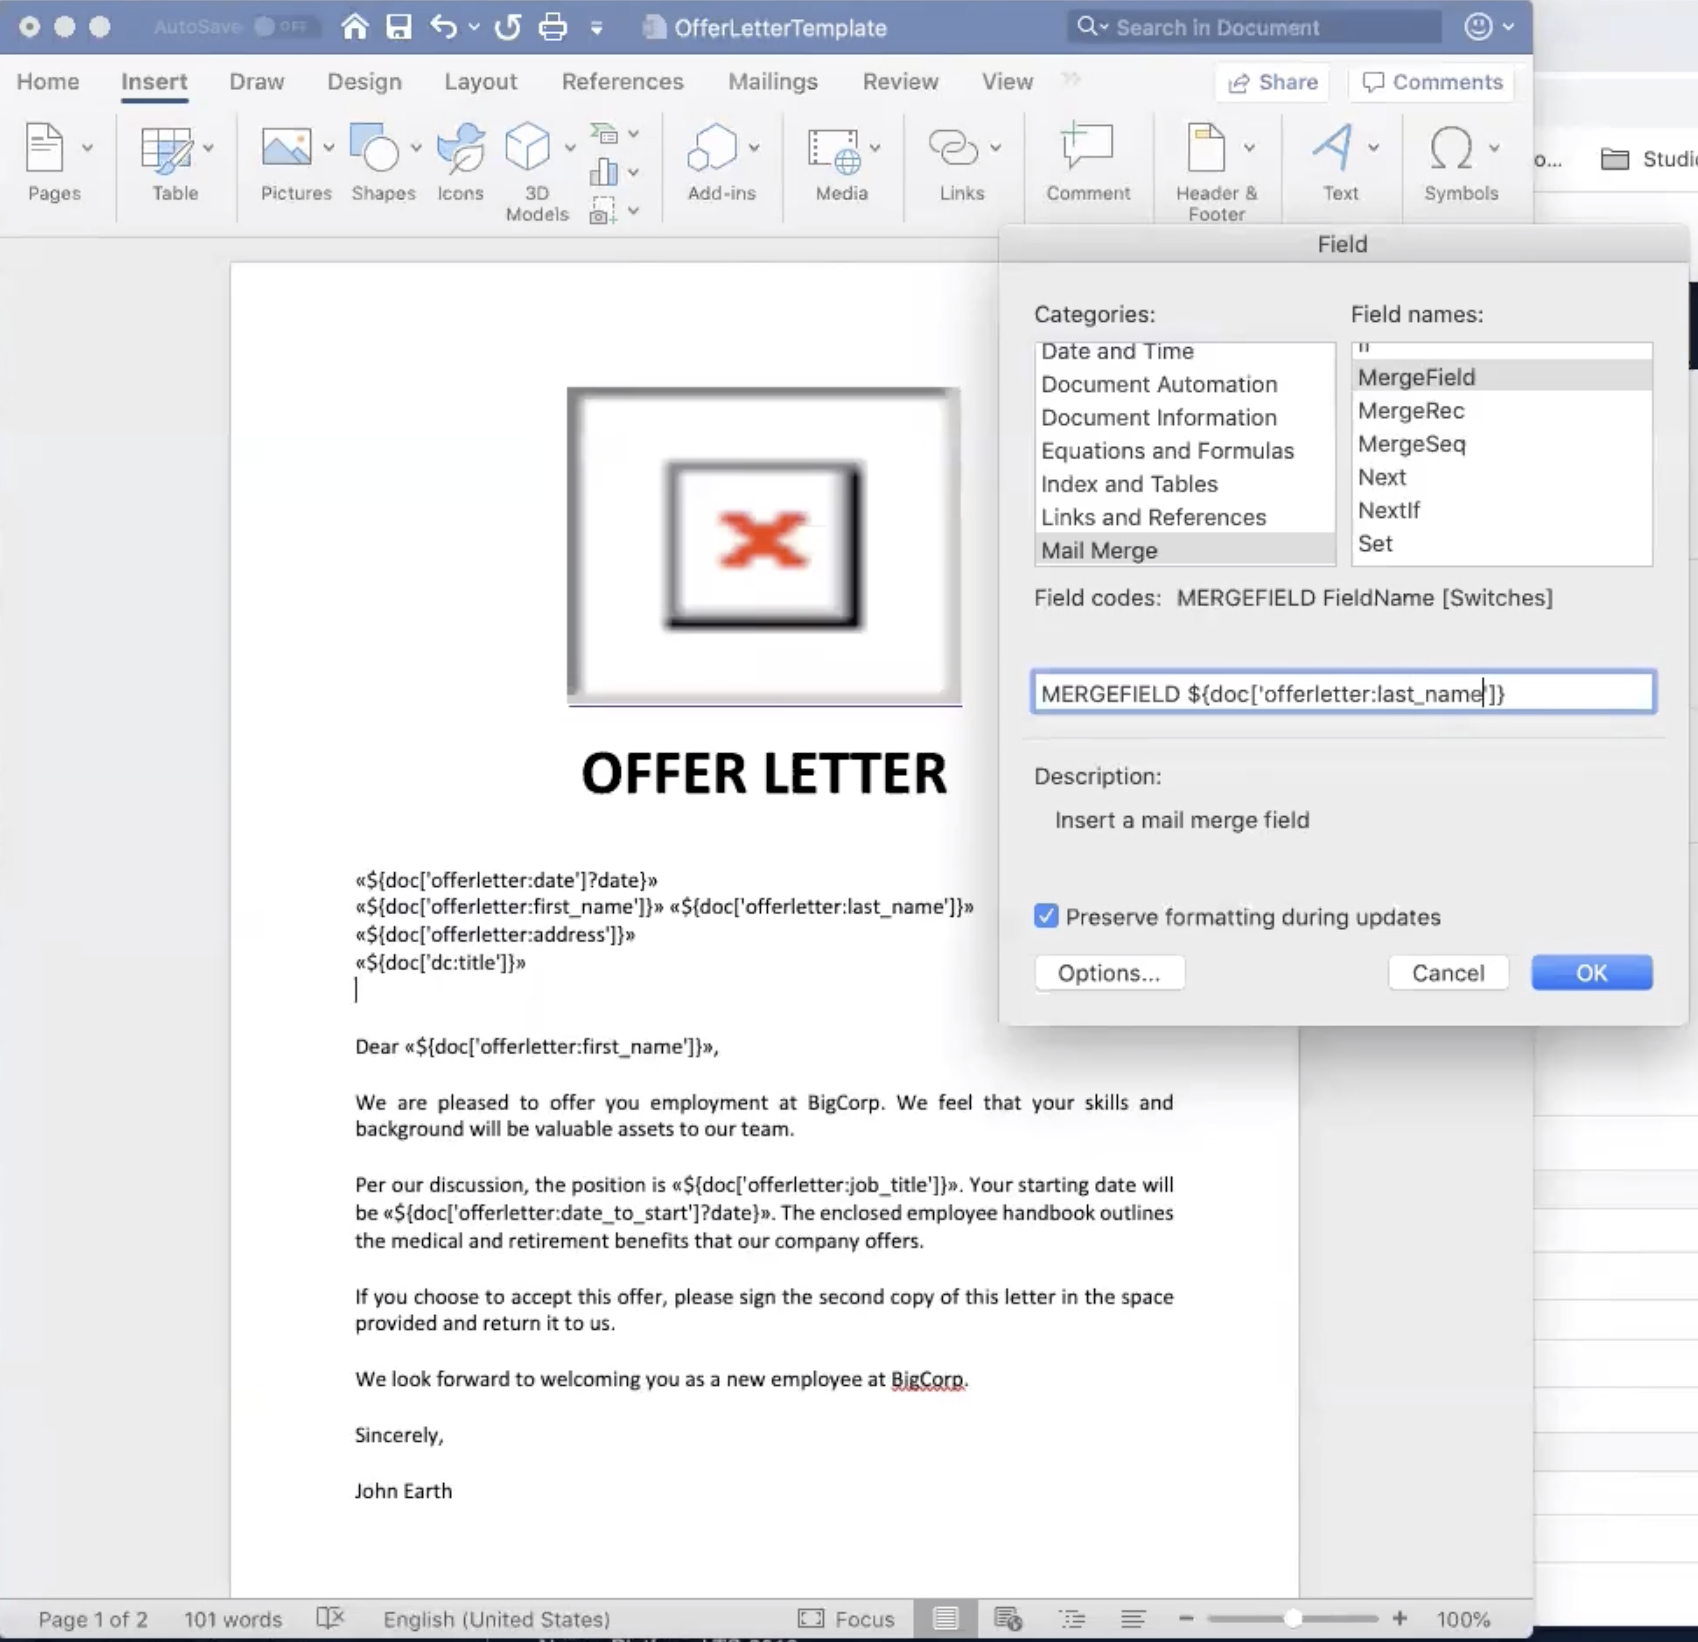
To render a picture:
- In MS Office, insert a picture as a placeholder.
- Click on Insert > Link > Bookmark.
- Set a variable, then Go To and Close.
- Then, when your template document is created in Nuxeo, in the Templates folder, navigate to the Template Configuration and open the Parameter section.
- Create a parameter with the same name as in Step 3, with Type = Picture Binding and the Property XPath corresponding to the Nuxeo property holding the binary (picture) that should be inserted in your document (as
file:contentfor example)
Here are a few examples of the most common variables:
${doc.title}: gets the title of the Nuxeo document.${doc['dc:description']}: gets the content of the Description field of the Nuxeo document.${doc['dc:modified']}: gets the last modification date of the Nuxeo document. You can define how the date should be formatted by adding?dateto display only the date, or?timeto display only the time. By default, the modification date displays both the date and the time.${doc.versionLabel}: displays the version number.${auditEntries.eventId}: displays the events listed in the document's history.${auditEntries.eventDate}displays the date at which the events took place,${auditEntries.principalName}the name of the user who did the action,${auditEntries.comment}the comment typed by the user.
Creating the Template Document
nuxeo-jsf-ui addon.
When the template file is done, you need to create a template document and attach the template file to it. Templates can be created in the Templates space, in workspaces and in folders.
To create a template document:
- In the Content tab of the workspace or template space, click on the New Document button.
- On the window Available document types, click on the desired document.
- Fill in the template document's creation form (see below for template's properties).
- Click on the Create button. The Summary tab of the template document is displayed. You can now create documents based on this template.
Template properties
| Field | Description |
|---|---|
| Title | Type the template title |
| Description | What the template is about |
| Content | - For a Template: the attached template file (.odt, .docx, etc file). - For a web template: The Note that will hold the content of the template. Typically this would be HTML text. |
| Simple mode | |
| Template usage | Select what the template will be used for: - Office template: - Office template with PDF rendering: - Create a rendition: |
| Advanced mode | |
| Nature | Select which nature will the document based on the template automatically get. |
| Document types for which the template is available | Select the document types for which this template will be suggested. |
| Allow parameters override | Check if the user should be able to change the parameters defined here. |
| Template processor | Select how are the template file fields processed to use Nuxeo data. Automatic should work for most file formats. XDocReport is specifically targeted at .docx and .odt formats. JXLS is specifically targeted at spreadsheet file formats: .xls and .ods. |
| Rendition | Select the views that will be available for the template. |
| Document types automatically associated to template | Select the document types for which the template file will automatically be attached. |
| Template is editable on the document (office template) | If checked, the file will be copied into the file:content metadata. This copy is editable and will be used to render the document instead of the one in the templates folder. |
| Rendering output format | Select the rendition's format. If the chosen format is different from the template's file format, the rendition will be converted once generated. |
Using Template Documents
A document can use one or several templates. If it is associated with several templates, the first template associated is considered as the main template and is used as content. The other associated templates are used to generate additional renditions of the document.
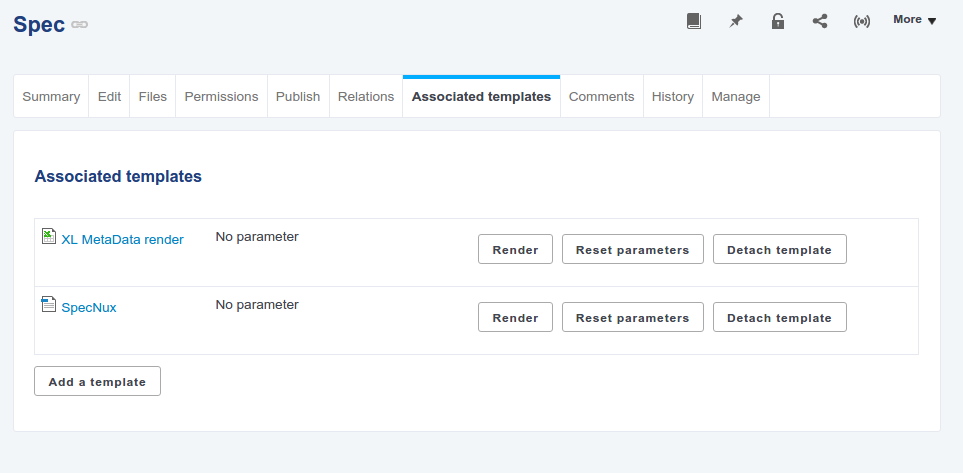
When a document is using a template, an additional tab is available on the document, called Associated templates. There are several ways to associate a template to a document.
Creating a Document Based on a Template
To create a new document based on a template, users need to use the New document button. If a template is available for the selected document type, an additional option is then available for the Content field, allowing users to select which template to use.

When the document is created, the template is used as content. An additional Associated templates tab is available.
Users can then:
- associate other templates to the document,
- render the document using the template(s),
- publish the document using the template's available renditions.
Associating a Template to a Document
It is possible to associate a document with a template after the document's creation.
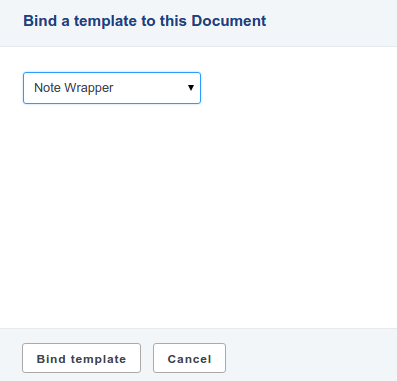
To associate a document to a template:
- If the document has no template associated yet:
- Click on the icon
 .
. - Select the template to use and click on Bind template.
- Click on the icon
- If the document already has at least one associated template:
- Click on the Associated templates tab.
- Click on the link Add a template.
- Select the new template to associate with the document and click on the button Bind template.
The Summary tab is displayed. The added template is displayed in the Associated templates section of the Summary tab.
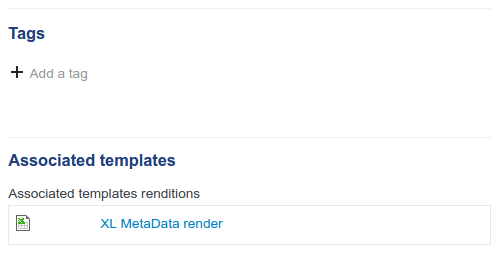 It is also displayed in the Associated template tab.
Rendering a Document Using Its Template
When a document has one or several templates associated, it is possible to view or download the document using the rendition(s) defined by the templates. The available renditions depend on the template you chose to use.
To view the document using a rendition, click on the corresponding rendition in the Renditions of the Summary tab.
Publishing a Document's Rendition
The Template rendering addon enables to publish a rendition of the document instead of the document itself, as it is the case on a default Platform configuration. Typically, it enables to publish the PDF rendition of an office document.
To publish a rendition of a document:
- Click on the Publish tab of the document.
An additional Publish a rendition drop down list is available beside the usual list of sections.
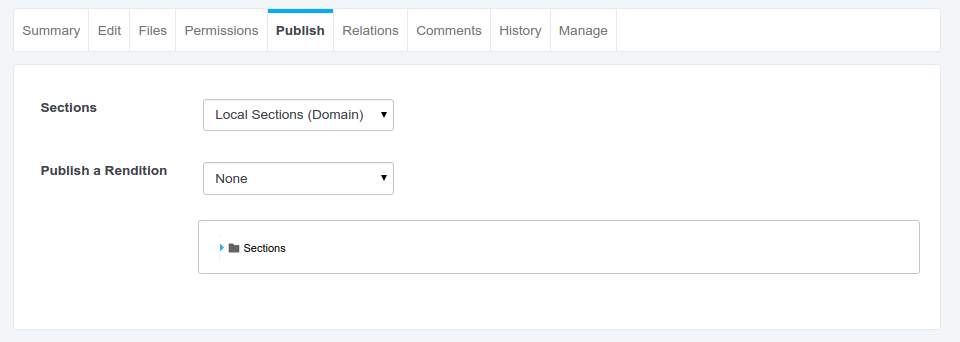
- In the Publish a rendition drop down list, select the rendition you want to publish.
- Unfold the sections tree and click on the Publish here link corresponding to the section you want to publish the document in. The document's rendition is submitted to publishing and must approved using the usual publishing process.
Technical Overview
This set of plugins provides a way to associate a Nuxeo Document with a Template.
The Template can be of several kind (MS Word XML, OpenOffice text, OpenOffice Calc, MS Excel, Freemarker, XSLT...) This Template is stored as a Nuxeo Document and then associated to an other Document.
A given Document can be associated to 0, 1 or several Templates.
The Templates are used to render the associated document. Depending on the Template type, a different Template Processor will be used and the resulting rendering can be :
- an HTML document
- an XML document
- an OpenOffice document
- an MS Office document (Office Open XML)
Each template processor has his own logic for rendering a Document from a Template :
- raw processing (FreeMarker or XSLT)
- merge fields replacement (MS Office / OpenOffice)
Sample Use Cases
Office Templating
This is the most direct use case.
The Template
The template is an MS Word/Excel or OpenOffice Write/Calc file.
This file can be your company model (with your logo, colors...), but can also contains merge-fields that will be replaced by the target document data :
- title
- version
- author
- history
- picture
- ...
The associated document
The associated document can be any Document that can contain a file. On first association or at creation time, the main file of the document will be replaced by the template one : it is initialized from the template file.
This means you can continue edit it's content, but this file is dynamic and you can render it to get the final file with all meta-data and presentation stuffs up to date (title, description, author, history...).
Web Rendering
The Template
The Template can be for example a FreeMarker template. It can reference any attribute of the target Document, but also history in order to provide an HTML view of it.
The associated document
The associated document can be any Document type and the Freemarker template will be used to provide an HTML view on it
Example of URLs
The URL to access the document with the template applied is the following:
http://NUXEO_SERVER/nuxeo/nxtemplate/**path_to_the_document**@**template_name**
ex:
http://localhost:8080/nuxeo/nxtemplate/default/default-domain/UserWorkspaces/Administrator/MyDocument@MyTemplate
or for a published document:
http://localhost:8080/nuxeo/nxtemplate/default/default-domain/sections/MySection/MyDocument@MyTemplate
Composition
The Template
The template can be a corporate template with logo, table of contents, picture and content in MS Word or OpenOffice format. The template contains simple merge fields (like in Office templating), but also a content field.
The associated Document
The associated document can be anything that can be HTML rendered (Note, WebPage, Office document...).
The rendering will replace the merge fields but also merge the HTML content of the document inside the content field of the template.
This can be used to:
- render an HTML/Markdown note inside an Office Template (i.e. adding a cover page, a TOC, page numbering...)
- fill a mail or form template with formatted text
Templates and Renditions
Template can be used to provide a Rendition. This means that for example, when you publish a document, you can in fact publish the rendering of the document using a template.
Update the Default Behaviour of the Template Rendering Output