The Nuxeo Jenkins Report addon enables users of the Nuxeo Platform to generate and send reports on the status of the Continuous Integration on Jenkins, directly from the Nuxeo Platform. This addon is for development teams, to help them follow and share the status of their continuous integration, while leveraging the content management features of the Nuxeo Platform.
This addon enables users to create Jenkins Reports Containers, in which the reports will be stored. Users will then be able to generate reports. The workflow of a report is the following:
- A developer generates a report. He gets a status of the continuous integration, that indicates which jobs are successful and which ones are failing.
- On Jenkins, he updates failing jobs with a description explaining the reason why the job fails or any relevant information.
- In the Nuxeo Platform, he updates the report, so as to get the descriptions and information he just filled in on Jenkins. He gets a report trend when the status changes.
- He fills in the Jenkins Duty Comments. This comment enables developers to explain the trends of the report, to summarize the automatically generated report and gather related issues. Other developers can have a look at this comment and have an idea of what is currently going on on the CI system without having to scroll down the all jobs lists.
- When this summary is done, he can send the report by email to the e-mail address that was set up on the Report Container.
Each of the steps is explained in details below.
Creating a Jenkins Reports Container
The Jenkins Reports Container is where Jenkins reports will be generated and stored. It defines from which Jenkins instance reports will be generated. It also defines to what e-mail address reports will be sent to. It also enables you to define a planning of who is going to be in charge of generating the reports and when.
Jenkins Reports Containers can be created in workspaces and folders, by users who have at least Edit permissions.
To create a Jenkins Reports Container:
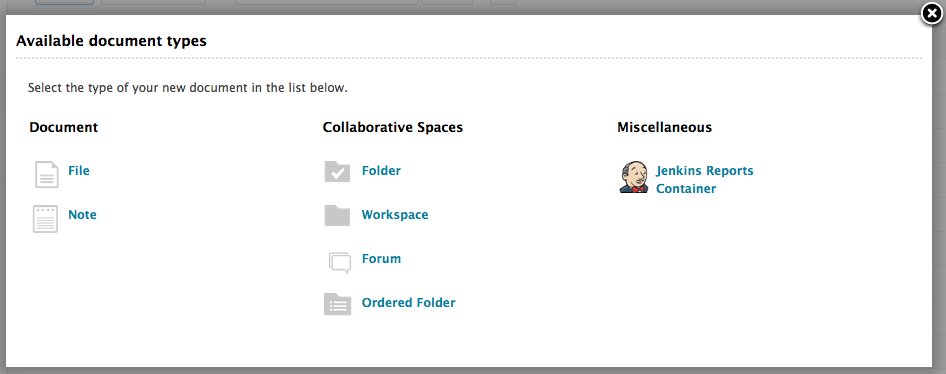
- In the Content tab of the workspace, click on the New button.
- On the window Available document types, click on the Jenkins Reports Containers.
- Fill in the creation form.
- Click on the Create button. The Summary tab of the container is displayed. It holds no report for now.
Jenkins Report Container metadata
| Field | Description |
|---|---|
| The name of the folder | |
| A short text that explains what will be in the container, for instance what project it will be about. | |
| Jenkins View URL | The URL from which the report will be generated, allowing you to define reports depending on the view configuration in Jenkins. |
| The URL where Jenkins claims are visible (sadly not showing claims for multi-db jobs) | |
| The e-mail address to which users will be able to send the reports to. It can typically be a mailing list address for your development team. | |
| The URL of the JIRA instance that will be referenced from Jenkins. This is used with the "JIRA projects" to generate clickable links in the reports to the JIRA issues. | |
| The ID of the JIRA projects that will be referenced from Jenkins. This is used with the "JIRA Browse URL" to generate clickable links in the reports to the JIRA issues. | |
| Indicate if you have a planning of who will be in charge of doing the Jenkins reports and when. |
Creating a Report
To create a Jenkins report:
- On the Jenkins Reports Container Summary tab, click on the New Jenkins Report button. The Jenkins report creation form is displayed.
- Fill in the form.
Click on the Update from Jenkins button to get the list of unstable jobs.
You can get this list after you created the report, by clicking the Update from Jenkins button from the report's Summary or Edit tabs.
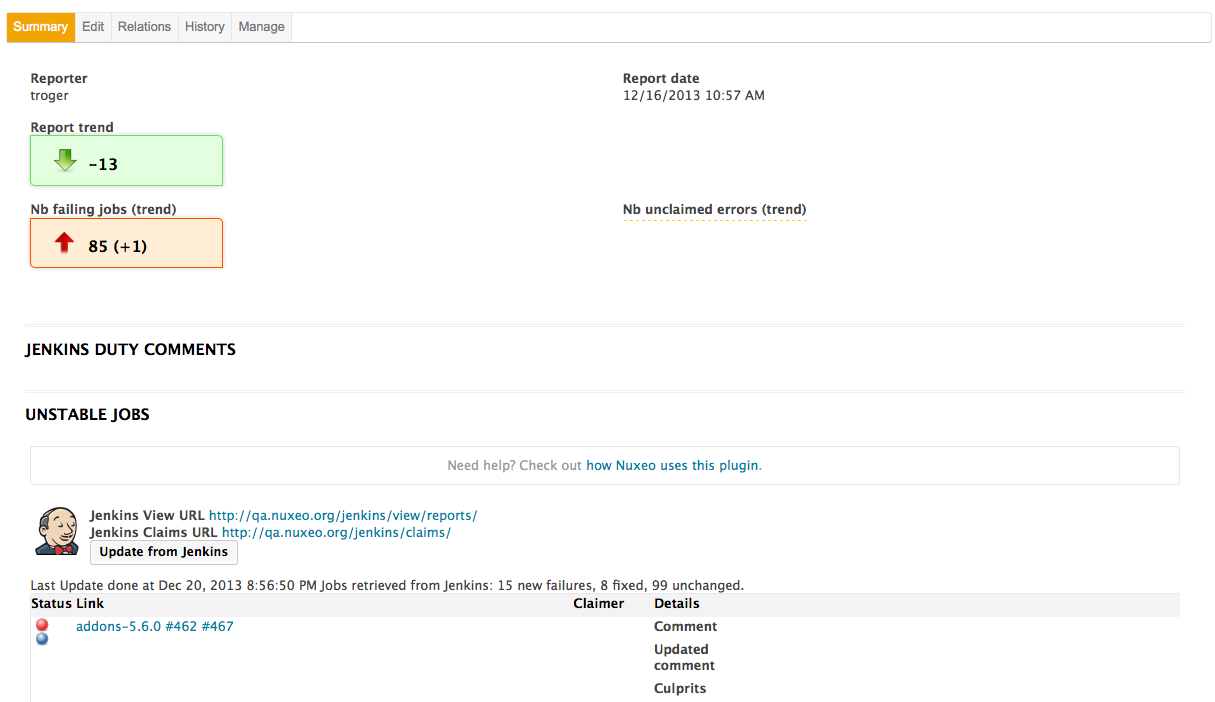
Click on the Create button. The Summary tab of the report is displayed. It shows the information below:
- The trend of the report: the trend is currently 0 since this is the first version of the report. It will be updated when you update the report.
- The number of failing jobs and unclaimed errors and their trends as compared with the previous report;
- The Duty Comment, as filled in on the Creation form;
- The list of unstable jobs.
 You can now take a look at the failing jobs and update the report.
Jenkins report metadata
| Field | Description |
|---|---|
| Title | This is prefilled with the current date, but you can edit it to put any name that is relevant for your report. |
| This is already filled in with the current user. It can be changed with any user of the application using the suggestion search. | |
| Date of the report. Already filled in with the current date. | |
| Previous nb failing jobs | The number of failing jobs from the previous report. This number must be manually filled in. |
| Previous nb unclaimed errors | The number of unclaimed jobs from the previous report. This number must be manually filled in. |
| Unstable Jobs | |
| Jenkins Duty Comments | A summary of the report. This is usually filled in after a first version of the report has been audited and the report has been updated. See the Updating a report section. |
Updating a Report
Examining unstable jobs
After a report has been created, you need to take a look at the unstable jobs to see what makes them fail.
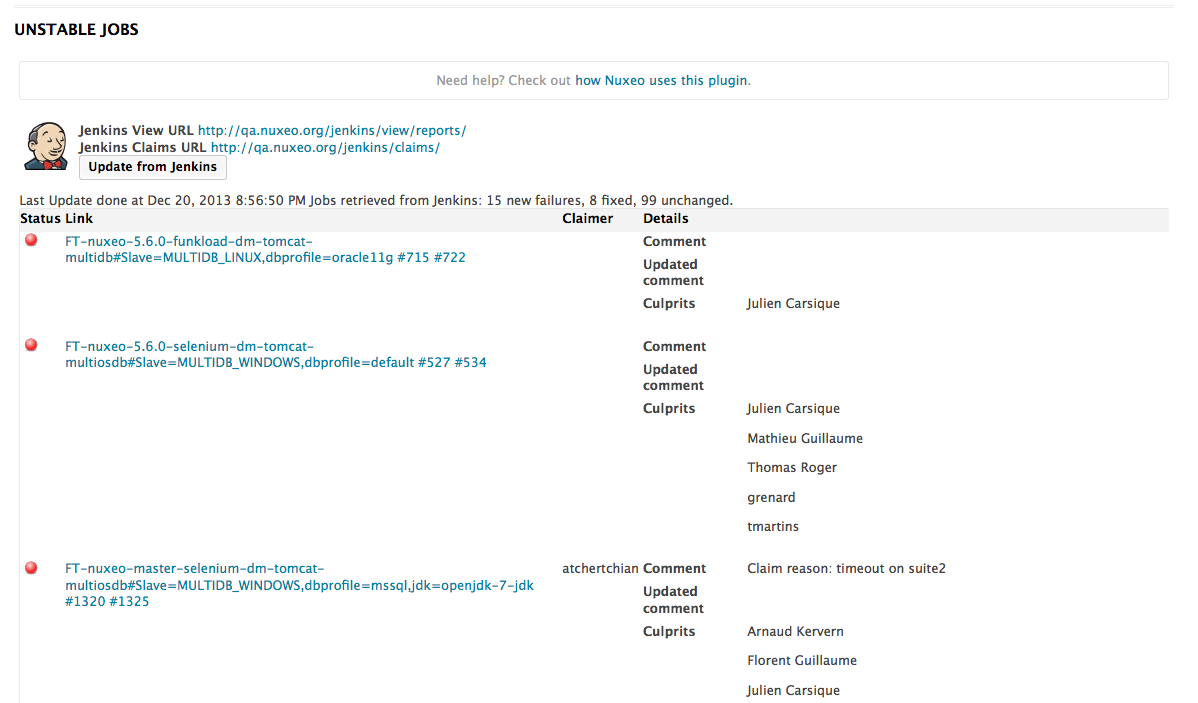
The report displays the list of unstable jobs with the information below to help you examine them:
- Status: an icon that shows the job's status;
- Link: a link to the job, and a link to the last build at the moment of the report creation;
- Claimer: the developer who claimed the job. This is most probably empty at the time the report is created;
- Details: Information about the job.
What you now need to do is to go on the problematic builds for unstable jobs on Jenkins and add a description to the build. This description is then displayed in the job's details after you update the report in Nuxeo.
Updating the Report With Latest Jenkins Changes
After you examined the unstable jobs and added descriptions where they were relevant in Jenkins, you can update the report in Nuxeo so other developers can see the jobs qualification you just did.
To update a report, click on the Update from Jenkins button on the report's Summary tab, The report is updated. This means that:
- The jobs that were unstable when the report was created are updated with the description you provided. If another build of the job occured since the report creation, it is added to the initial build in the Link column. If the job's status changed, an icon showing its new status is added to the initial status icon.
- If new jobs are unstable, they are appended to the list of jobs, and a warning icon is displayed at the beginning of their row.
- A trend is computed, showing if more or less jobs are unstable between the report creation and the last update.
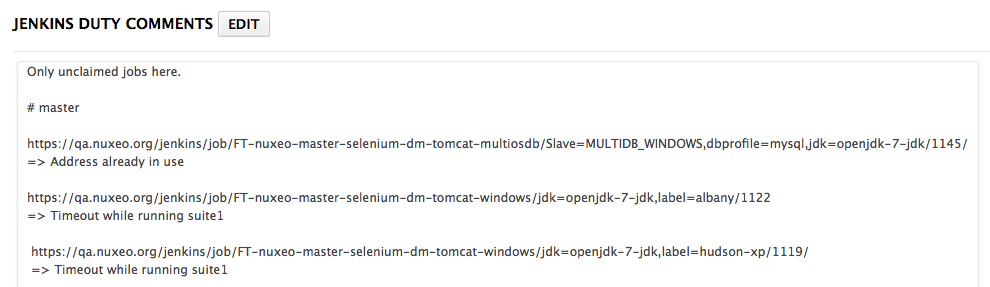
Filling In the Duty Comment
You can now make a summary of the CI status in the Jenkins Duty Comment field. This uses the same editor as a note, which enables to add links to jobs and format your comment so it's easier to organize and read.
To fill in the Jenkins Duty Comment:
- In the Jenkins Duty Comment section of the report's Summary tab, click on the Edit button.
- Type your content and format it as you wish.
- Click on the Save button.
Your comment is displayed on the report's Summary tab.
 You can now send the report.
Sending a Report
After you created and updated the report, you want to share it to the team. The Report Container is configured to enable sending reports to a predefined e-mail address. This e-mail address was filled in when the container was created, and can be edited at anytime from the Edit tab of the container.
To send the report:
- Click on the icon
 .
A confirmation window pops up. You can see the e-mail address the report will be sent to.
.
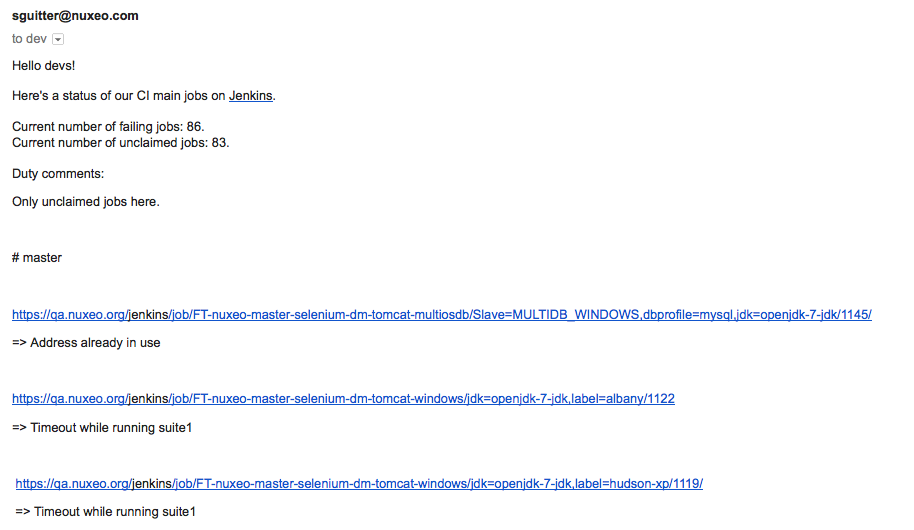
A confirmation window pops up. You can see the e-mail address the report will be sent to. Click on OK to confirm. An email is sent to the e-mail address. This email includes the information below:
- The number of failing jobs,
- The number of unclaimed jobs,
- The Jenkins Duty Comment.