The Nuxeo Vision addon provides a gateway to computer vision services. Currently it supports the Google Vision API but other services can be easily integrated as they become available. This gateway provides a wide range of features including shape recognition, auto-classification of images, OCR, face detection and more.
See https://cloud.google.com/vision/ for more information.
Installation and Configuration
Installation
This addon requires no specific installation steps. It can be installed like any other package with nuxeoctl command line or from the Update Center.
Google Account Configuration
Follow the instructions at https://cloud.google.com/vision/docs/getting-started.
Nuxeo Platform Configuration
Once you have a google service account credential file:
- Upload the JSON credential file on your Nuxeo Instance, at the same location as the instance's nuxeo.conf file.
Edit nuxeo.conf and set the credential file path:
org.nuxeo.vision.google.credential=PATH_TO_JSON_CREDENTIAL_FILE
Functional Overview
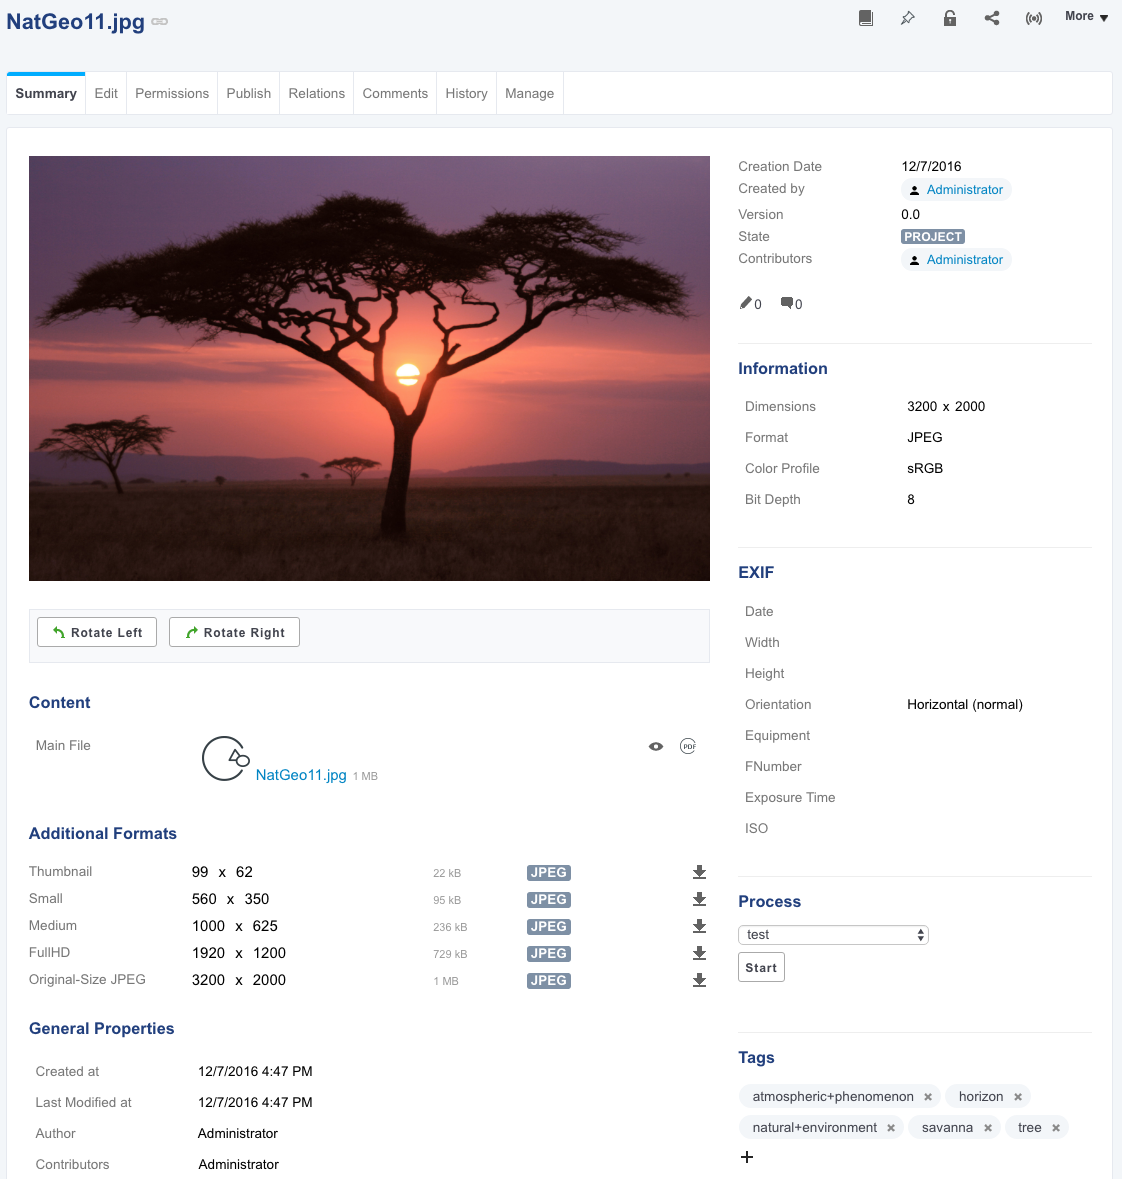
By default, the Computer Vision Service is called every time the main binary file of a picture or video document is updated. Classification labels are stored in the Tags property and OCRed text in the dc:source property.
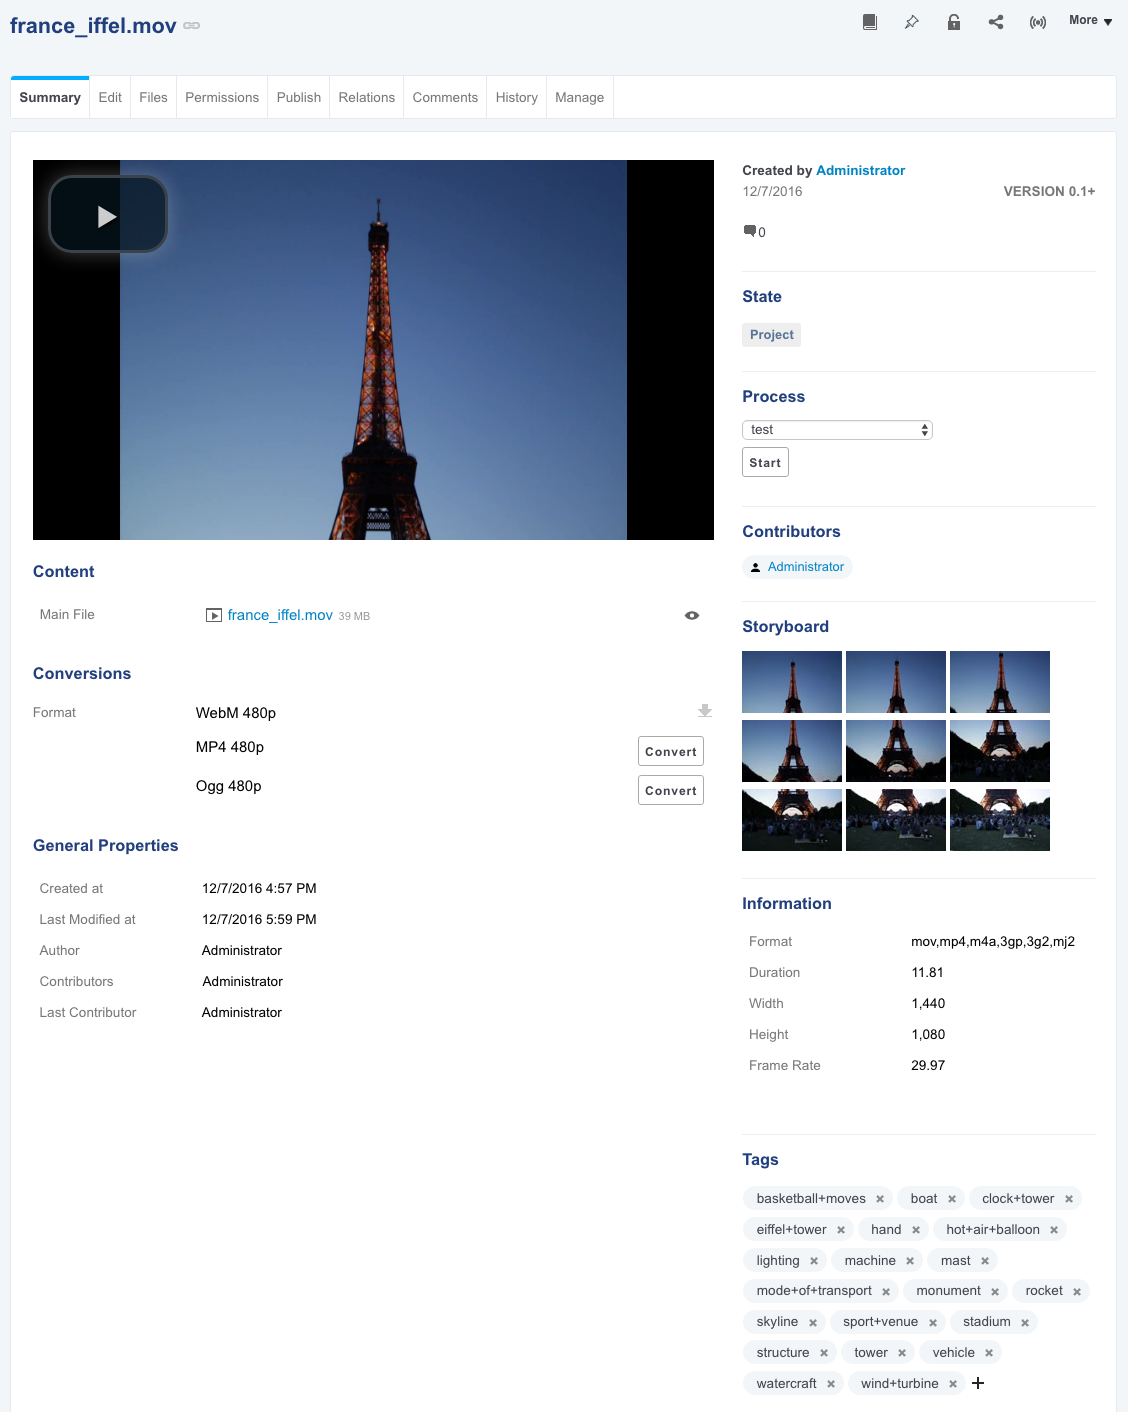
For videos, the platform uses the images of the storyboard.
Customization
Overriding the Default Behavior
The default behavior is defined in two automation chains which can be overridden with an XML contribution.
- Once the addon is installed on your Nuxeo instance, import the
VisionOpoperation definition in your Studio project. See the instructions on the page Referencing an Externally Defined Operation. - Create your automation chains and use the operation inside them. You can use the regular automation chains or Automation Scripting.
Create an XML extension that specifies that your automation chains should be used.
<extension target="org.nuxeo.vision.core.service" point="configuration">
    <configuration>
        <pictureMapperChainName>MY_PICTURE_CHAIN</pictureMapperChainName>
        <videoMapperChainName>MY_VIDEO_CHAIN</videoMapperChainName>
    </configuration>
</extension>
Deploy your Studio customization.
Disabling the Default Behavior
The default behavior can also be completely disabled with the following contribution:
<extension target="org.nuxeo.ecm.core.event.EventServiceComponent" point="listener">
    <listener name="visionPictureConversionChangedListener" class="org.nuxeo.vision.core.listener.PictureConversionChangedListener" enabled="false"></listener>
    <listener name="visionVideoChangedListener" class="org.nuxeo.vision.core.listener.VideoStoryboardChangedListener" enabled="false"></listener>
</extension>
Core Implementation
In order to enable you to build your own custom logic, the addon provides an automation operation, called VisionOp. This operation takes a blob or list of blobs as input and calls the Computer Vision service for each one. The list of all the available features can be found at https://cloud.google.com/vision/reference/rest/v1/images/annotate#Type.
The result of the operation is stored in a context variable and is an object of type VisionResponse.
Here’s how the operation is used in the default chain:
function run(input, params) {
    var blob = Picture.GetView(input, {
        'viewName': 'Medium'
    });
    blob = VisionOp(blob, {
        features: ['LABEL_DETECTION'],
        maxResults: 5,
        outputVariable: 'annotations'
    });
    var annotations = ctx.annotations;
    if (annotations === undefined || annotations.length === 0) return;
    var textAndLabels = annotations[0];
    // build tag list
    var labels = textAndLabels.getClassificationLabels();
    if (labels !== undefined && labels !== null && labels.length > 0) {
        var tags = [];
        for (var i = 0; i < labels.length; i++) {
            tags.push(labels[i].getText().replace(/\s/g, '+'));
        }
        input = Services.TagDocument(input, {
            'tags': tags
        });
    }
    input = Document.Save(input, {});
    return input;
}
Google Vision API Limitations
The API has some known and documented best practices and limitations you should be aware of. For example (as of December 2016):
- There is limitation to the size of the image you send to the API: "Image files sent to the Google Cloud Vision API should not exceed 4 MB". There also is a limitation when you send a list of images (max. 8MB). This is an important information to handle before requesting data. And this is why, if you look at the original chain, it actually takes the “Medium” conversion, which is a JPEG we can assume is always smaller than 4MB. You also should read the limitations in terms of maximum number of images/second, etc.
- Not all image formats are handled. TIFF for example is not handled.
Also, as it is a cloud service, these limitations will surely evolve, change, maybe depending on a subscription, etc.