Discover the information displayed on the Administration menu on Web UI.
Analytics
Analytics enable administrators to consult information and statistics on how the application is used:
Document Distribution: Provides statistics on the documents types, their size and counts.
Repository Content: Provides statistics on the repository, such as the top downloads, the number of created documents per week, etc. You can filter them on a specific time period.
Search: Provides statistics on how search filters are used and which queries users enter.
Workflow: Provides statistics on tasks, such as the average duration of a workflow, actions per users, etc.
Users and Groups
Only administrators and power users can create, edit and delete users and groups. They can create new users and groups, modify their properties or delete them. You can also connect the Platform to an external directory such as an LDAP.
Users can only consult users and groups directories.
Managing Users
By default, the Nuxeo Platform provides you with one user, called Administrator, associated with the administrator role. You will need it to create new users and delegate them permissions.
Users' Parameters
The whole set of information about users consists of the items below:
| Field | Description |
|---|---|
| Username | The name the user will use to log in |
| First name | First name of the user |
| Last name | Last name of the user |
| Company | Company or organization of the user |
| Email of the user. This address is used for alerts. | |
| Password | User's password |
| Password (Verify) | User's password |
| Groups for this user | Groups of which the user is a member. User must be at least in 'administrators' or 'members' group, or one of their sub-groups. |
Inviting a New User
Inviting a new user means creating a user account without setting its password, and having the user validate the invitation.
- To invite a user, go to Administration menu > Users & Groups. Click on the New button and fill in the user creation form and leave Set user password to unactive. An invitation email is sent to the user at the email address you filled in. The user account is pending the user validation and the user account is not available in the user search results.
- To validate the invitation, click on the validation link in the invitation email. Define your password and click on the Submit button. You are redirected to the login page of the Nuxeo Platform: you can now log in and use the Platform.
Creating a New User Account
When you create a new user account, you immediately set a user password.
- To create a user, go to the Administration menu > Users & groups.
- Click on the New button.
- Fill in the user creation form.
- Activate the Set user password.
Users can immediately connect to the Nuxeo application using their usernames and passwords.
Editing a User's Properties
Only administrators and power users can modify other users' properties. But every user can modify his own properties from their profile in the Users & Groups tab.
You cannot edit the username, as it is the ID of the user on the application.
To modify a user's properties, go to the Administration menu > Users & Groups. Search a user and click on the user name to open his or her card. To edit it, modify the fields in the modification form.
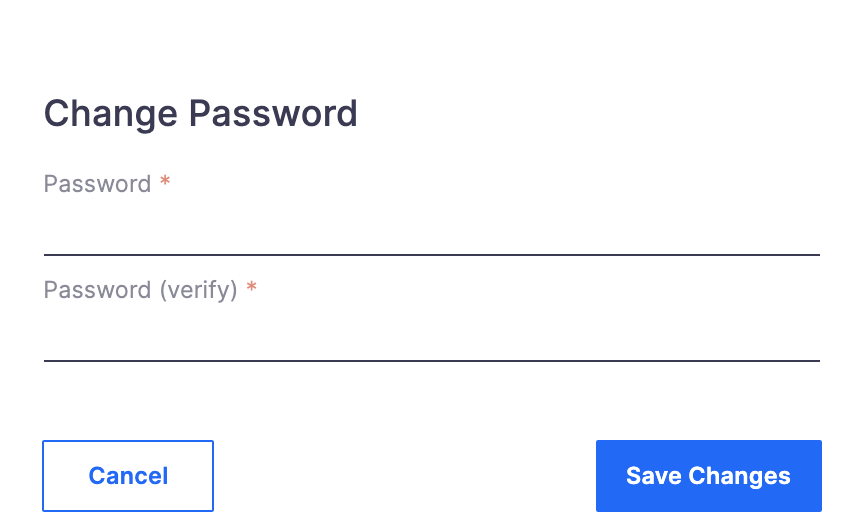
Changing a User's Password
Only administrators and power users can modify other users' password. However every users can modify their own password from their profile.
To modify a user's password, go to the Administration menu > Users & Groups and click on the Change Password button.
Deleting a User
Only administrators and power users can delete users.
To delete a user, go to the Administration menu > Users & Groups. Search a user and click on the user's name to open his or her card. Click on Delete at the top-right hand corner and confirm.
Managing Groups
| Field | Description |
|---|---|
| Group name | The ID of the group. The ID cannot be modified. |
| Group label | The name of the group displayed to users. |
| Group's members | Users that belong to the group. |
Creating a Group
Only administrators and power users can create groups of users.
To create a group of users, go to Administration menu > Users & Groups > click on the New button and select Group from the drop down list. Fill in the creation form and save.
If you need to create several groups, check the box Create another next to the Create button. Your group is saved and the group creation form is displayed so you can immediately create another group.
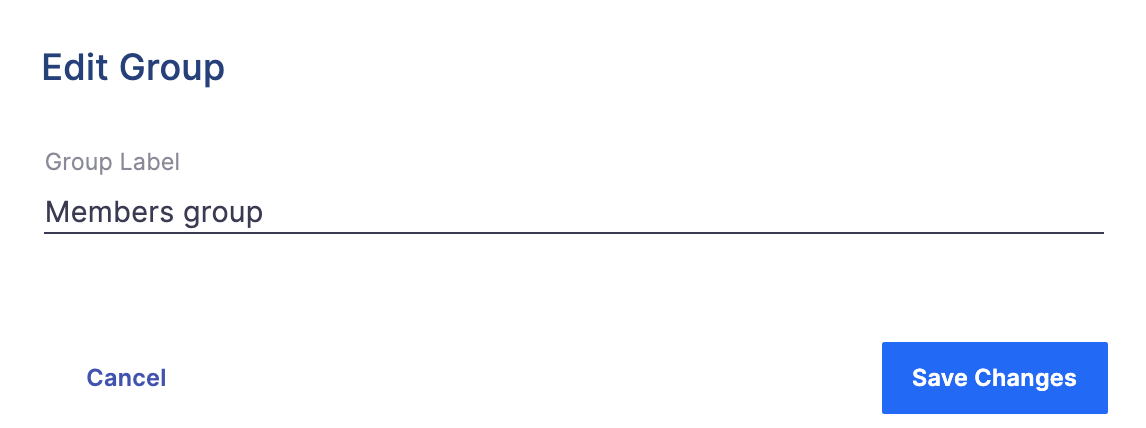
Editing a Group
Only administrators and power users can modify groups.
Modifying groups most often consists in adding or removing members of the group. The name of the group cannot be changed.
To edit a group:
- Go to the Administration menu > Users & Groups.
- Search a group and click on its name to open its card.
- Click on the Edit tab and modify the group's members.
Click on the Save button.
The users who are no longer members of the group are denied group's permissions. However they still have their individual permissions.
Deleting a Group
Only administrators and power users can delete groups.
To delete a group:
- Go to Administration menu > Users & Groups.
- Search the group to delete and click on its name to open its card.
- Click on Delete and confirm.
Vocabularies
Only administrators and power users can consult and manage vocabularies.
Vocabularies are the lists of labels used in the application, for instance in drop down lists. A vocabulary is composed of several entries, that are the options in the drop down lists. Some vocabularies are hierarchical, i.e. they have several levels. For instance, the Subjects metadata uses a two level vocabulary called I10nsubjects. First level is Topic. Second level is Subtopic and each entry is linked to a Topic entry.
Administrators and power users can only modify or delete vocabularies. They cannot create a new vocabulary from the user interface.
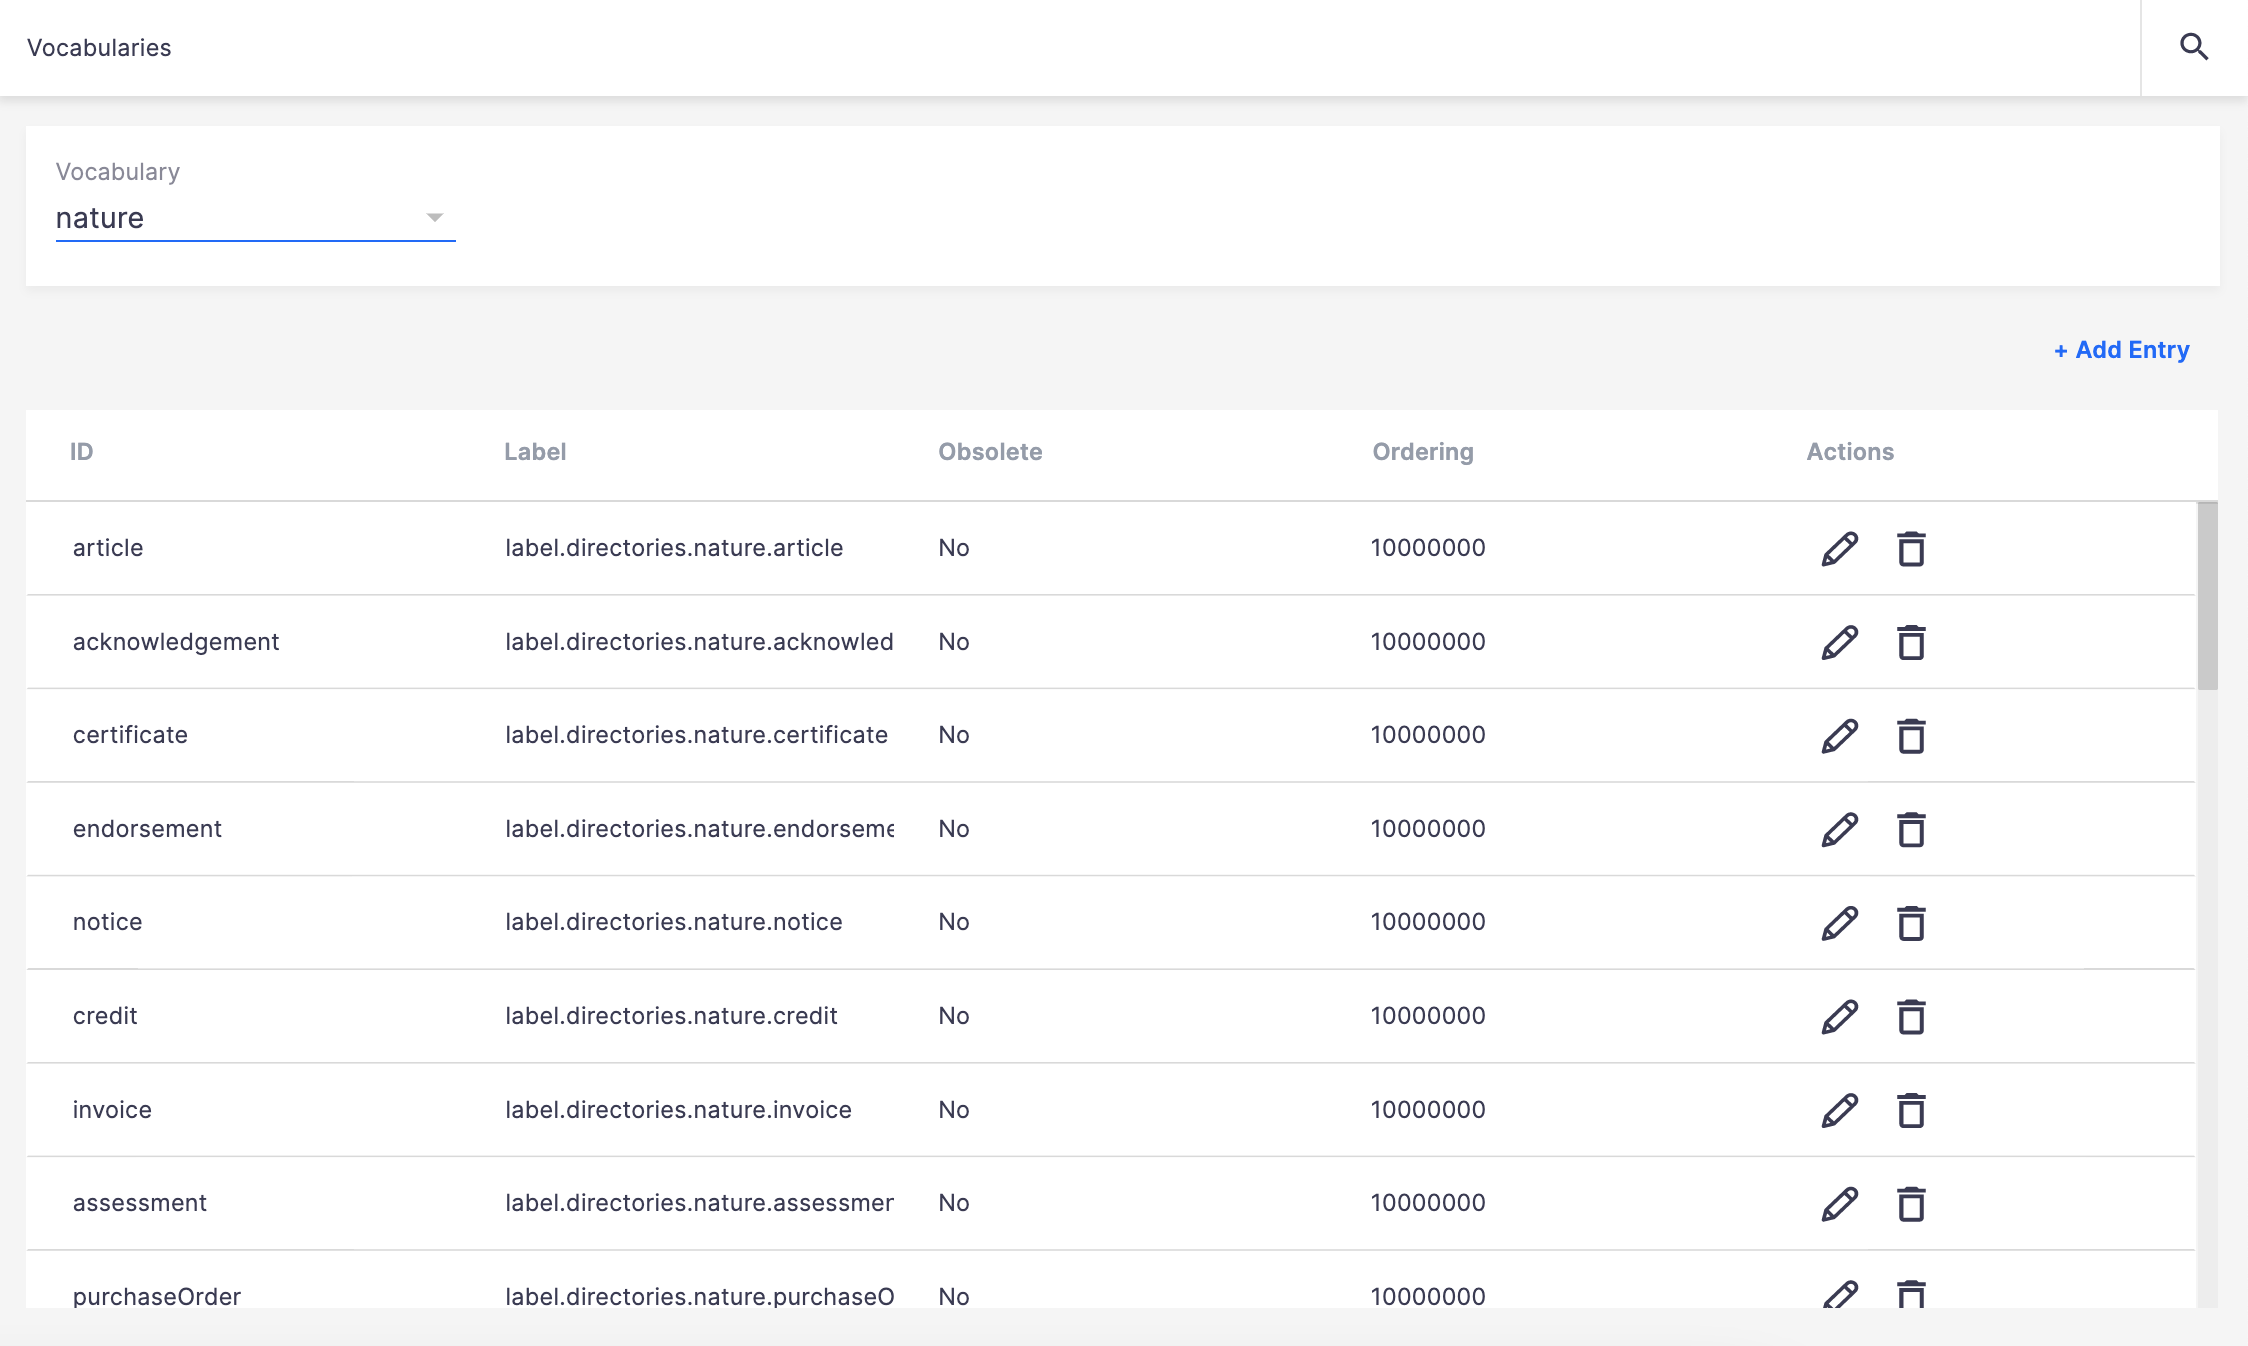
Consulting Vocabularies
All vocabularies editable from the user interface are listed in the vocabularies management interface.
To consult a vocabulary or its entries click on the Administration menu > Vocabularies submenu and select the vocabulary you want to consult in the drop down list.
Vocabulary Entries Parameters
Adding a Vocabulary Entry
To add an entry to a vocabulary, click on the Add Entry button of the vocabulary, fill in the entry creation form and click on the Save button.
The new entry is displayed in the list of the vocabulary entries. It is immediately available in the corresponding drop down list in the user interface.
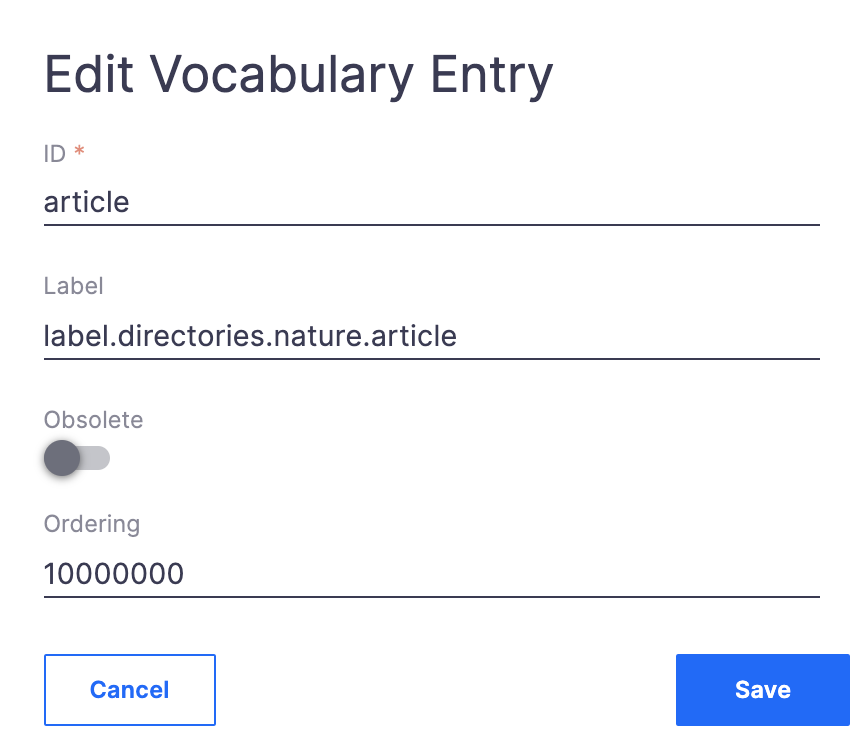
Editing a Vocabulary Entry
Editing a vocabulary entry can be changing its label, making it obsolete or changing its order. When you make an entry obsolete, it means that it will not be displayed in the available choices when you edit a document.
Deleting a Vocabulary Entry
To delete vocabulary entry, click on the Delete button ![]() of the entry to erase and confirm.The entry is permanently erased. The list of the vocabulary entries is displayed.
of the entry to erase and confirm.The entry is permanently erased. The list of the vocabulary entries is displayed.
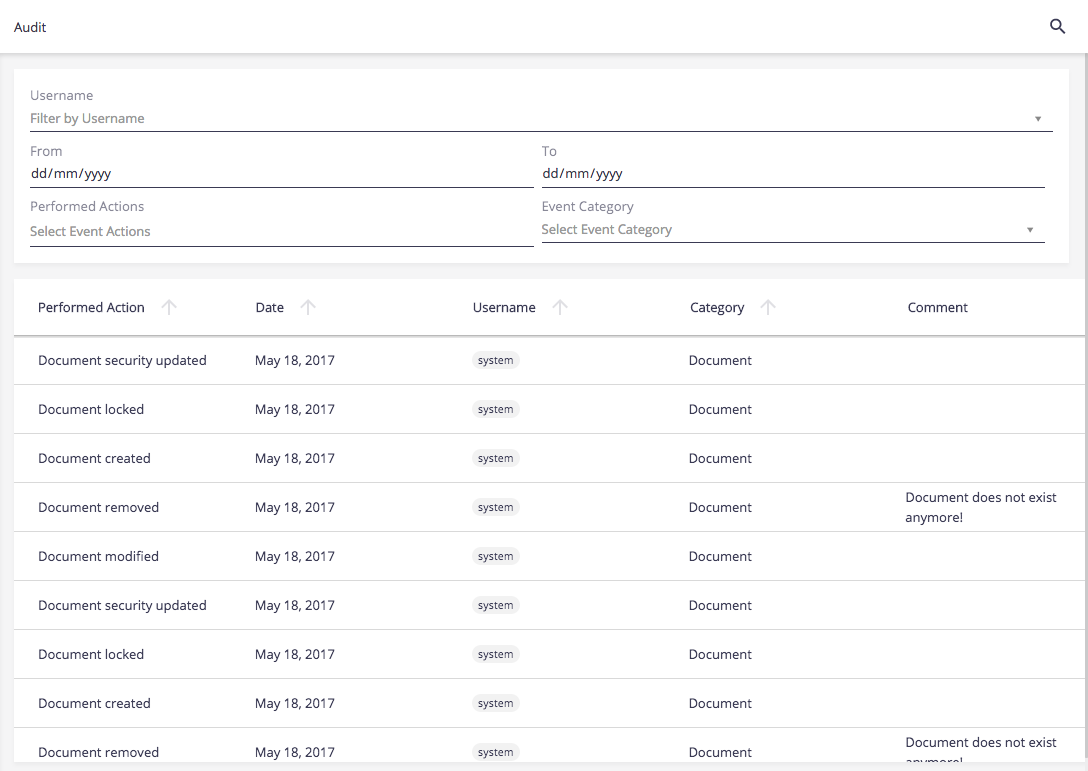
Audit
The Audit view enables you to query the application audit and get reports on the activities and actions on the repository.
Cloud Services
This section of the Admin tab enables administrators to manage the authentication with other applications using OAuth protocol.
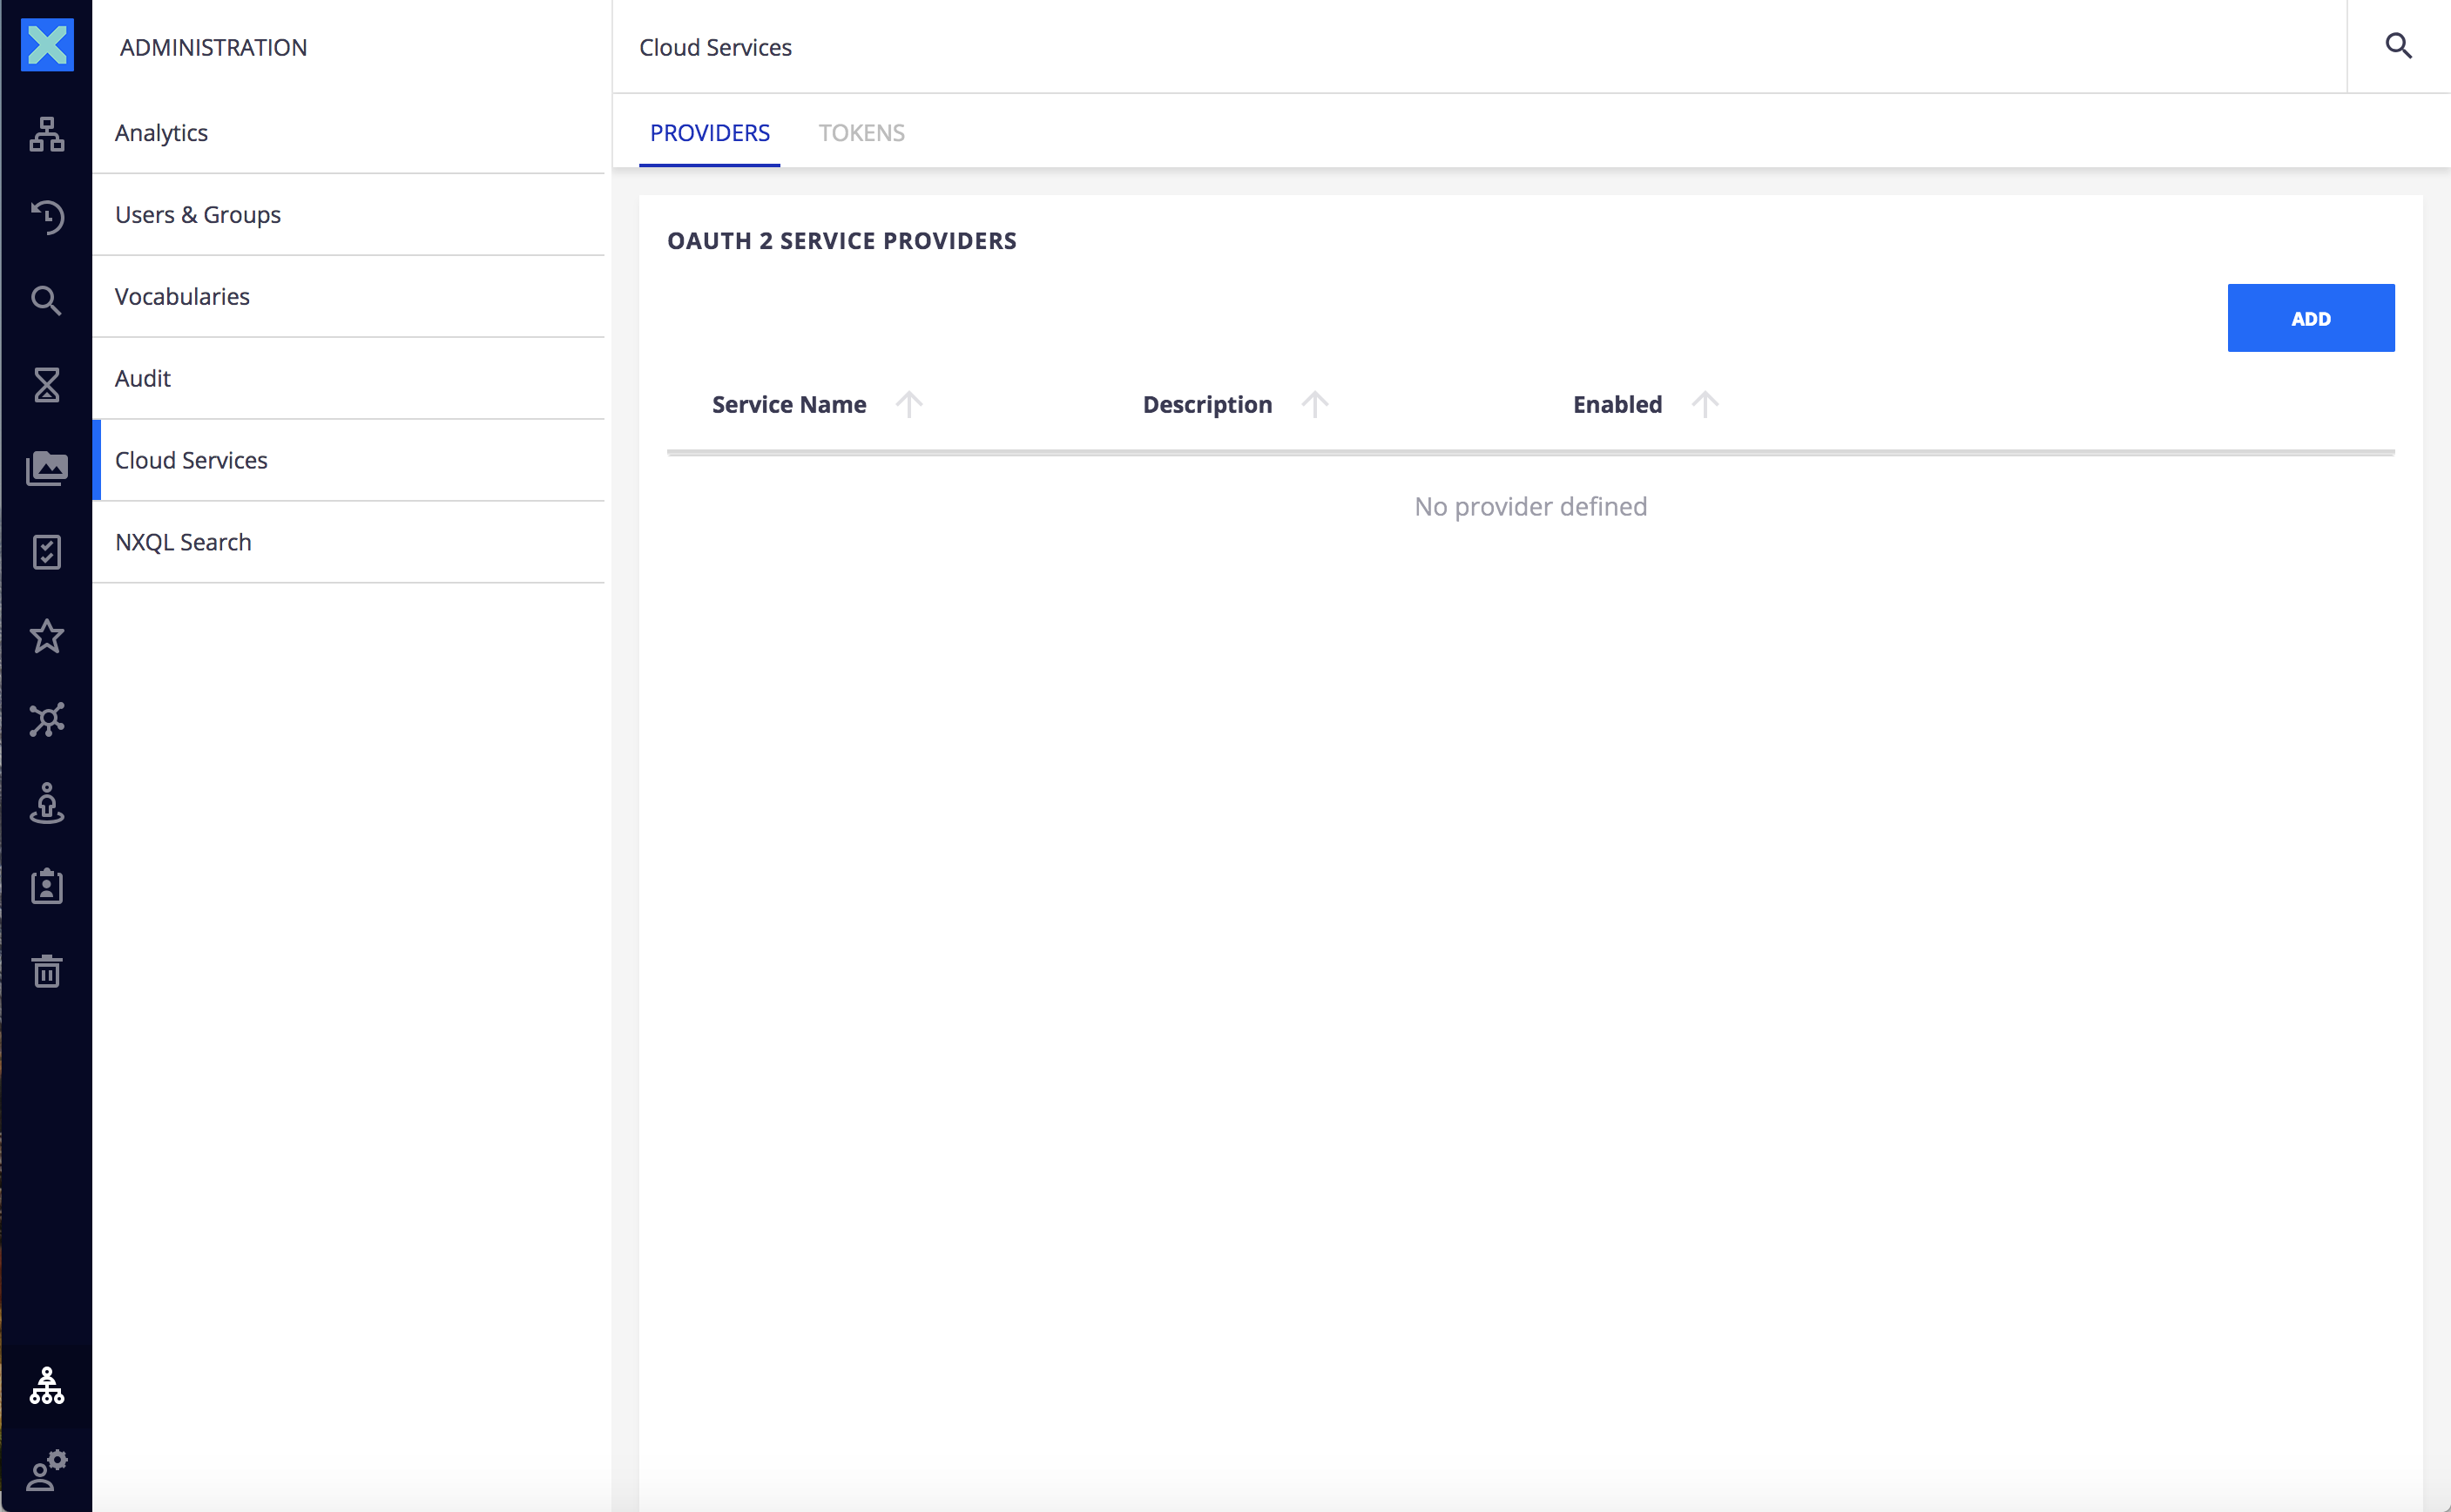
The Services Providers and Services Providers Tokens tabs enable to declare external applications to which the Nuxeo Platform will connect.
If you want to work with the Nuxeo Live Connect addon, this is where you will need to set up your configuration.
NXQL Search
NXQL search enables you to query the content of the platform using Nuxeo query language, giving you access to as many criteria as you need.
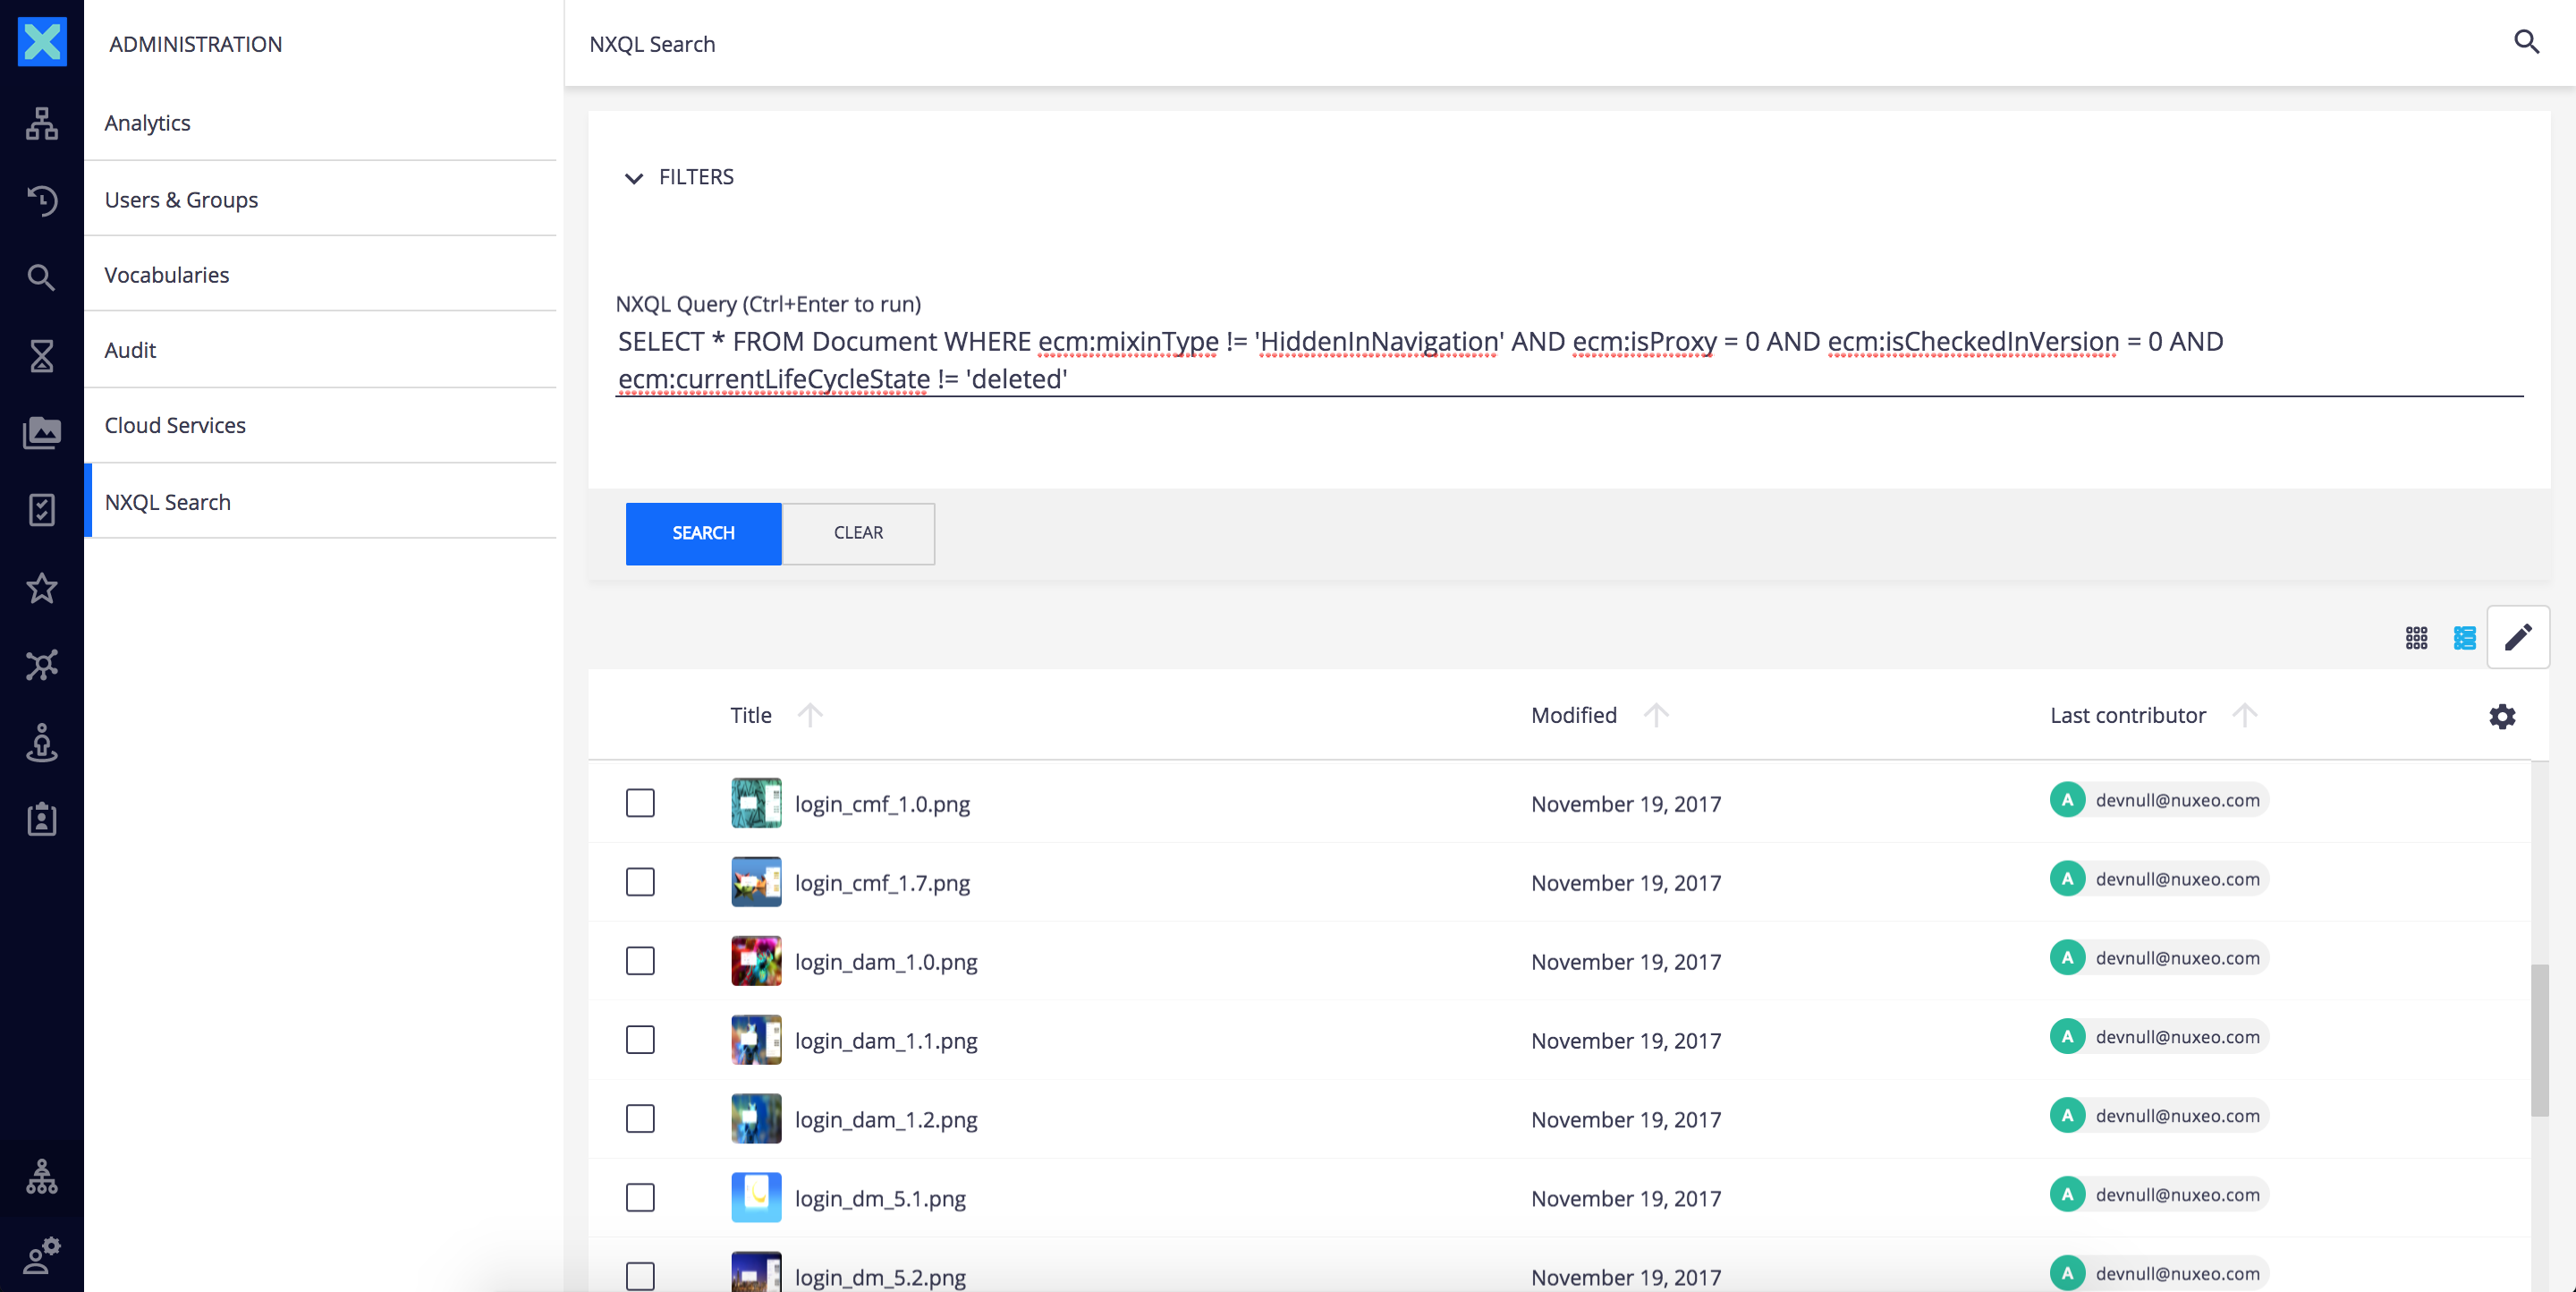
For more information about NXQL search, read the following documentation.