Users actions are UI elements that the user will use to do an action in the application. It can be a link, an icon, a button. There are different categories of actions, that determine where they are displayed and under which form (button, icon, etc.). Clicking a user action will then trigger an automation chain.
Adding a Button in the Web UI
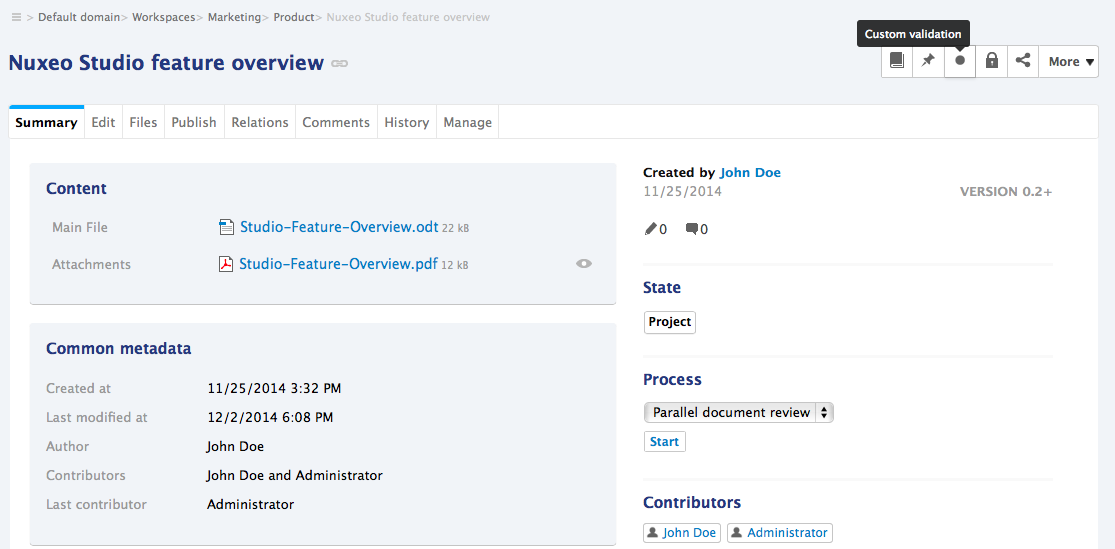
Let's add a new button to approve a document. This button should be displayed with the other icons in the top right corner of a document view. This is the user action category Contextual tools (see the page Actions Display for all categories). When the clicks that icon, the document should change life cycle state to Approved and its version should be incremented and its description updated with "Hello World".
To add a new button in the Nuxeo Platform web UI:
- In Nuxeo Studio, click on Automation > User Actions.
- Click on New and fill in the creation pop-up:
- Feature ID: custom_validation_action
- Label: Custom Validation
- Category: Contextual ToolsThe user action is created. You now need to indicate when it should be available and link it to an automation chain.
- Edit the action properties:
- Current user has one of the permissions: Write
- Current document has life cycle: project
In the Action execution section, click on the Create button to create a new automation chain.
If you are not already familiar with User Actions and Automation Chains, you might want to take a look at the How to Create an Automation Chain how-to first.
- Name the automation chain
custom_validation_chain. Build the following chain and save.
- Context.FetchDocument
- Document.SetProperty:
    xpath: "dc:description"
    save: "true"
    value: Hello World
- Document.CreateVersion:
    increment: Major
    saveDocument: "true"
- Document.SetLifeCycle:
    value: approve
- Seam.Refresh
Deploy your changes on your Nuxeo Platform. Here is the action on a Project document.
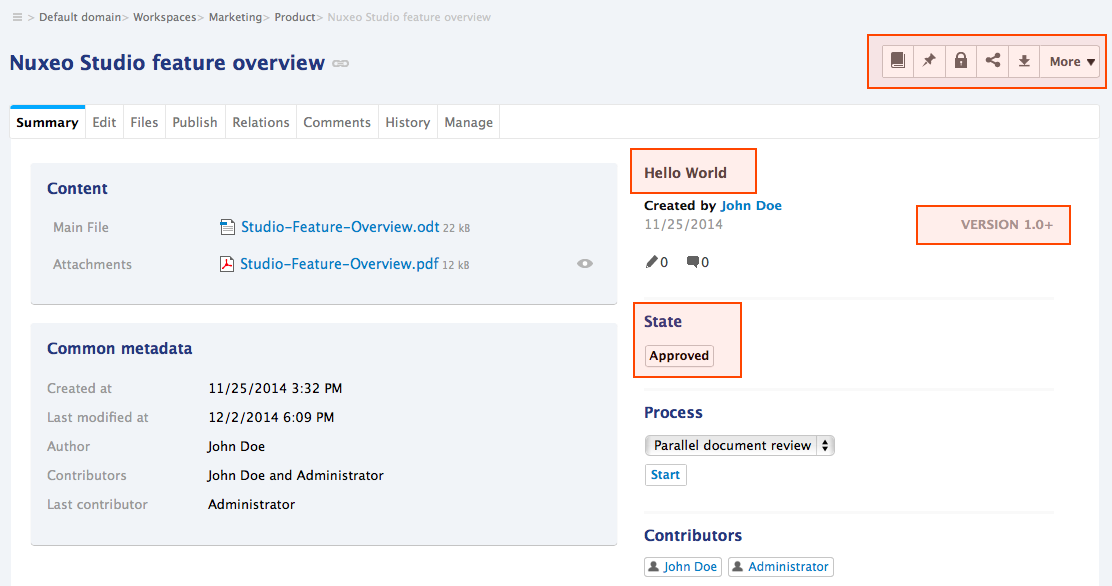
 And this is the same document after clicking the action.
Adding a Button on the Edit Form
Adding new button on the Edit form of a document takes the same configuration steps in Nuxeo Studio as in the previous section. The mandatory and specific elements to this use case are described below.
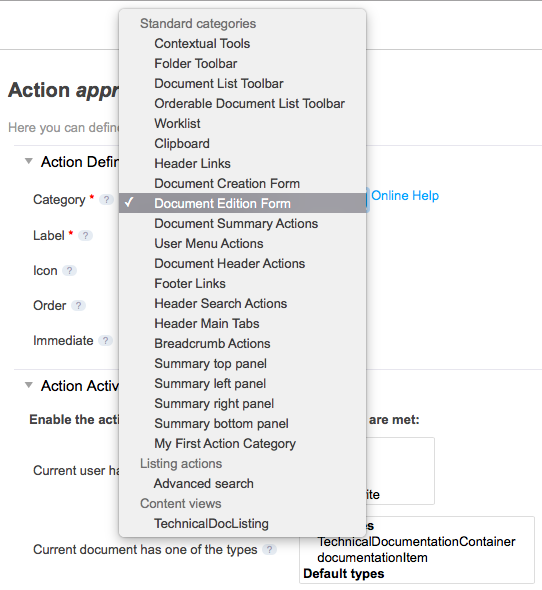
- On the user action side, you must select the category Document Edition Form.
Your chain must hold the following two mandatory operations:
- Seam.GetChangeableDocument
- Seam.SaveDocumentInUI
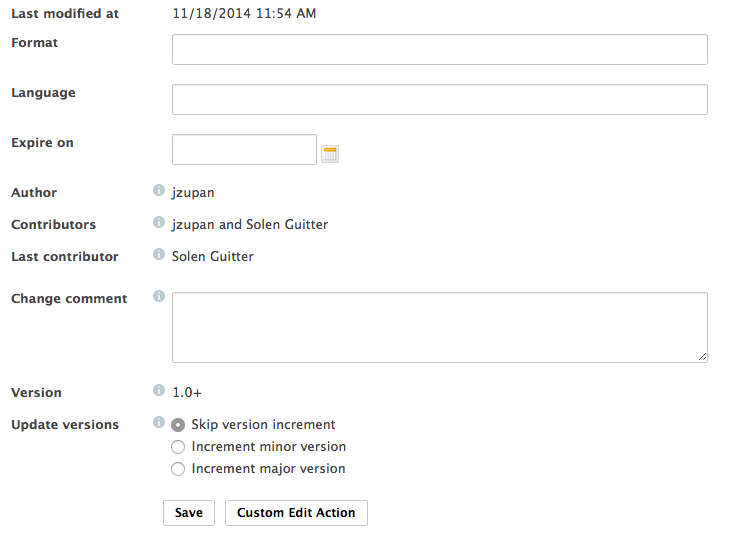
This is what you get after deploying your Studio configuration:
Adding a Button on the Creation Form
You can also add buttons on the creation form. After you created the user action, create the automation chains and use the operation UI > Create Document in UI.
If you want to filter the button you are adding to the form only for a specific document type, you can use an advanced filtering condition on the user action:
#{navigationContext.getChangeableDocument().getType().equals("myDocumentType")}
Removing the Default Create or Edit Button
You can contribute an XML extension to remove the default button:
<extension point="actions" target="org.nuxeo.ecm.platform.actions.ActionService">
<action id="CREATE_DOCUMENT"><filter-id>is_not_creating_for_type_T</filter-id> </action>
</extension>

<extension point="filters" target="org.nuxeo.ecm.platform.actions.ActionService">
<filter id="is_not_creating_for_type_T"> <rule grant="false"> <condition>#{navigationContext.getChangeableDocument().getType().equals("T")} </condition> </rule> </filter>
</extension>