Adding a New Entry in the Default Dashboard
Goal: Displaying the list of documents of type Contract recently updated
Creating the Content View
Let's create a content view that will get all the documents of type Contract that have been recently updated.
- In Nuxeo Studio, create a new content view and name it
list_contracts_updated. - In the Query & form tab, define the request to get all the documents of type Contract and we will order them by modification date.
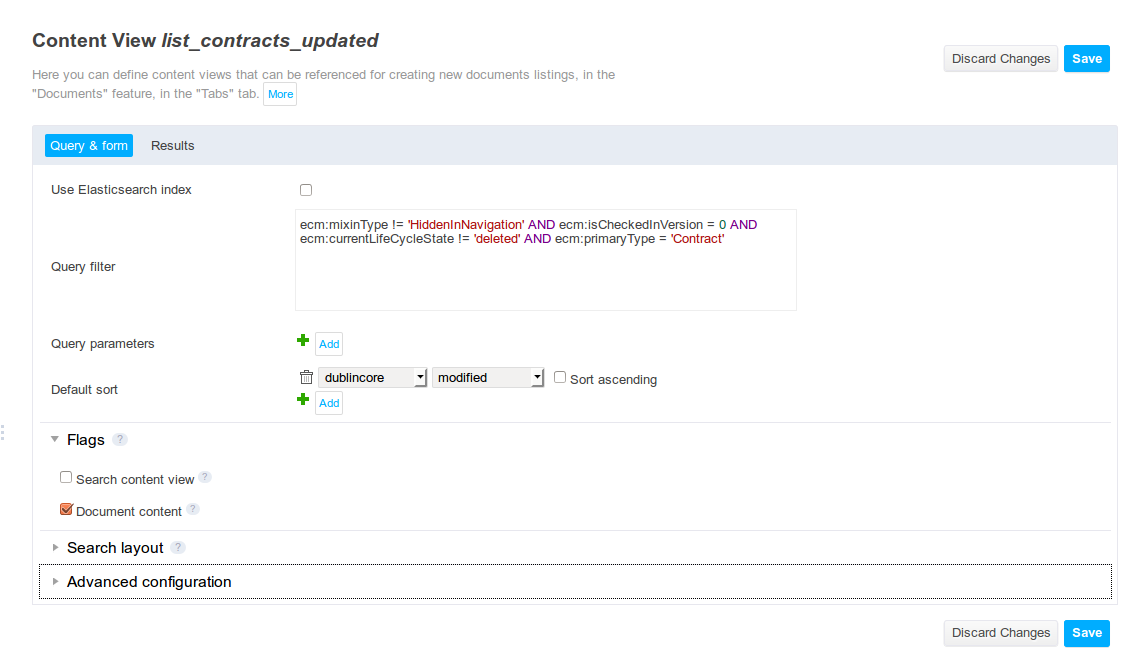
- The flag
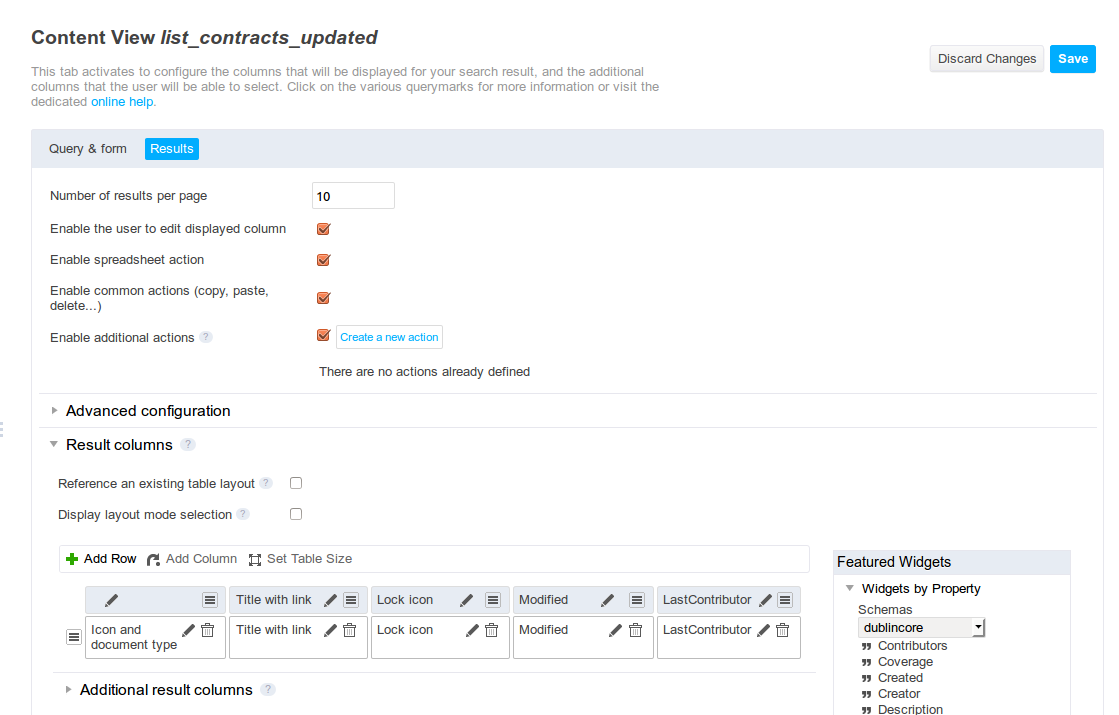
Document contenthas to be set because the Content view will display only Documents. - In the Results tab, configure the display of the results of the query. We want to display the following columns:
- The icon of the document
- The title with a link
- The date of the last modification
- The name of the last contributor
- In the Advanced configuration section, check that the following properties are not selected:>
- Show CSV export
- Show PDF export
- Show syndication links
- Set the property Title to define the element title that is going to be displayed on the dashboard.
Adding the Content View in the Dashboard
Now that our Content view is created, our next step is to contribute to the service defining the list of elements in the dashboard.
Create a new XML extension named dashboardContracts. We have to override these extension points:
- widgets: the widget used by the new entry is a widget of type
contentViewWithForms. In the properties, we must define the name of the content view we created in the first step. We can also add some properties to hide the widget if the content is empty or define it foldable, etc. - actions: a new entry in the Dashboard is actually an action. The action references the widget of the new entry, it is the widget we just defined above. There are two important attributes to define:
- category : we must define this action as an element of the dashboard. The dashboard defines two categories
DASHBOARD_LEFTandDASHBOARD_RIGHT.DASHBOARD_LEFTis to put the element on the left column of the dashboard andDASHBOARD_RIGHTto put it on the right one. - order: order is used to set the order of the elements in a dashboard column.
- category : we must define this action as an element of the dashboard. The dashboard defines two categories
<extension target="org.nuxeo.ecm.platform.forms.layout.WebLayoutManager" point="widgets">
  <widget name="dashboard_contracts" type="contentViewWithForms">
      <properties widgetMode="any">
        <property name="contentViewName">list_contracts_updated</property>
        <property name="foldable">true</property>
        <property name="hideEmpty">false</property>
        <property name="useAjaxPagination">true</property>
      </properties>
    </widget>
</extension>

<extension target="org.nuxeo.ecm.platform.actions.ActionService" point="actions">
  <action id="dashboard_contracts" type="widget" order="10">
      <category>DASHBOARD_LEFT</category>
      <properties>
        <property name="widgetName">dashboard_contracts</property>
      </properties>
    </action>
</extension>
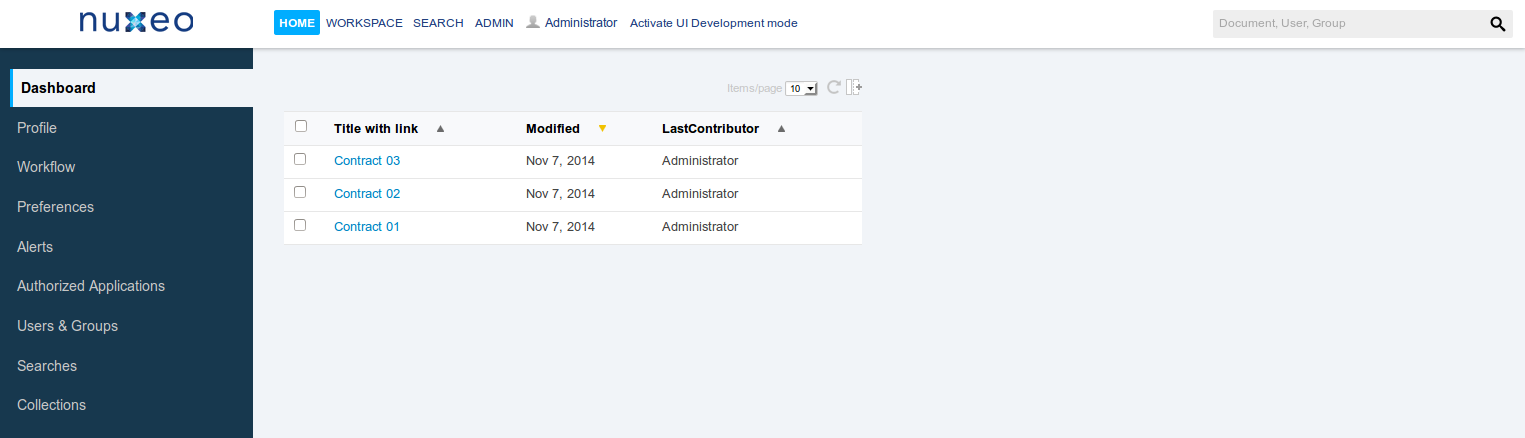
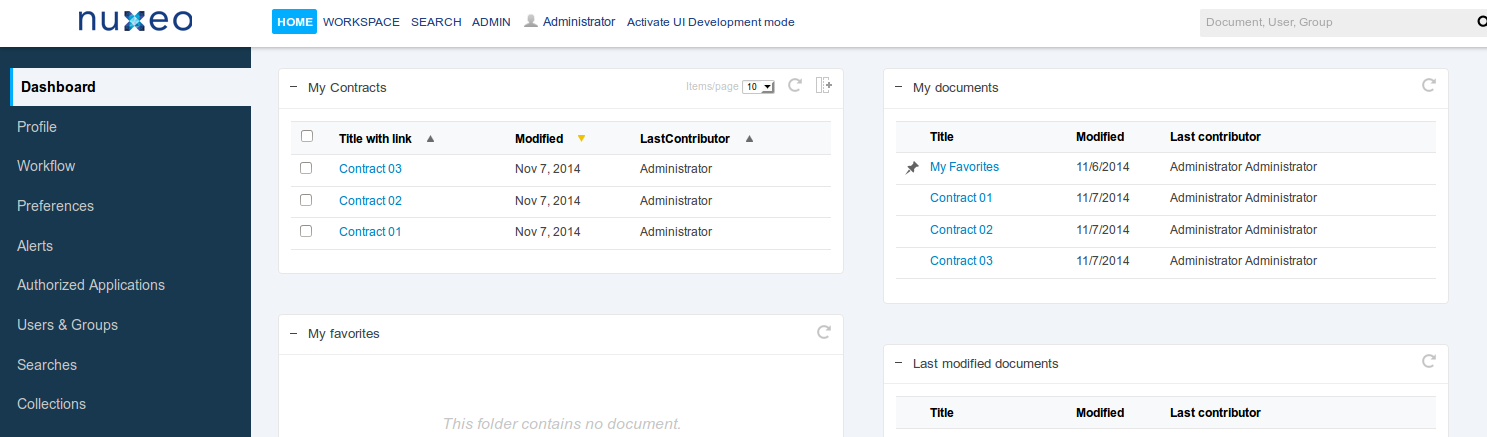
Deploying the Project
Deploy your Studio project on your Nuxeo Platform and go to the home page.
Overriding the Default Dashboard
In this how-to, we will go deeper in the customization of the dashboard. We are going to replace the default dashboard by a custom one.
Getting the Extension to Override
The extension defining the link Dashboard and the content of the tab is org.nuxeo.ecm.user.center.dashboard.jsf.actions :
  <extension target="org.nuxeo.ecm.platform.actions.ActionService"
    point="actions">
    <action id="Dashboard" link="/user_center_fragment.xhtml" label="user.center.dashboard" icon="/icons/dashboard.png" order="10">
      <category>USER_CENTER</category>
    </action>
    <action id="DashboardMain" link="/incl/dashboard/user_jsf_dashboard.xhtml" label="" order="10"
      type="admin_rest_document_link">
      <category>Dashboard_sub_tab</category>
    </action>
  </extension>
We need to override this contribution in order to define our custom dashboard instead.
Creating the New tab in Studio
For this example, we will create a tab displaying a content view listing the document of type Contract, ordered by modification date.
- In Studio, create a new tab.
- As we want to display the list of documents of type Contract, add a widget Content view and select the content view
list_contracts_updated.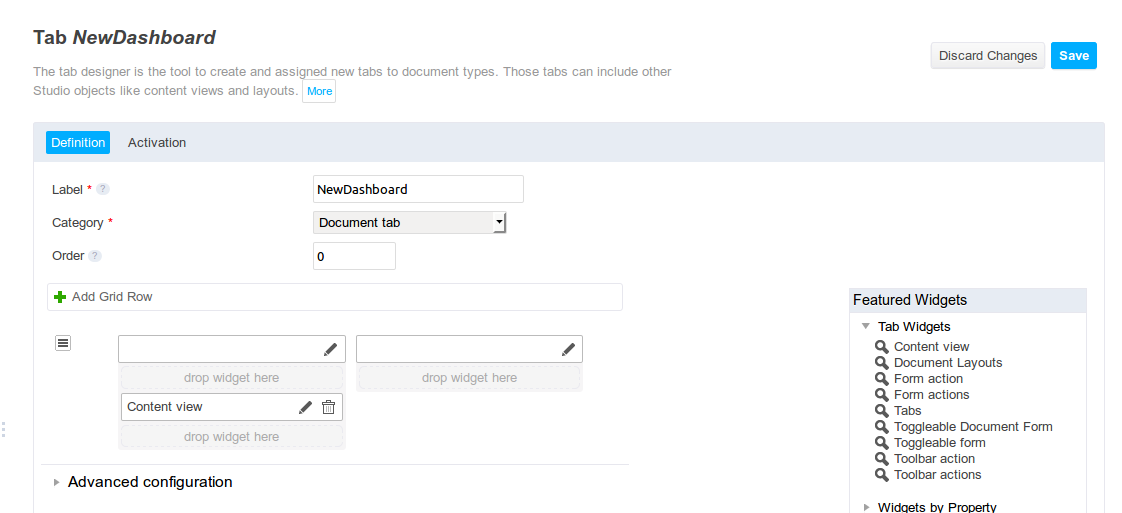
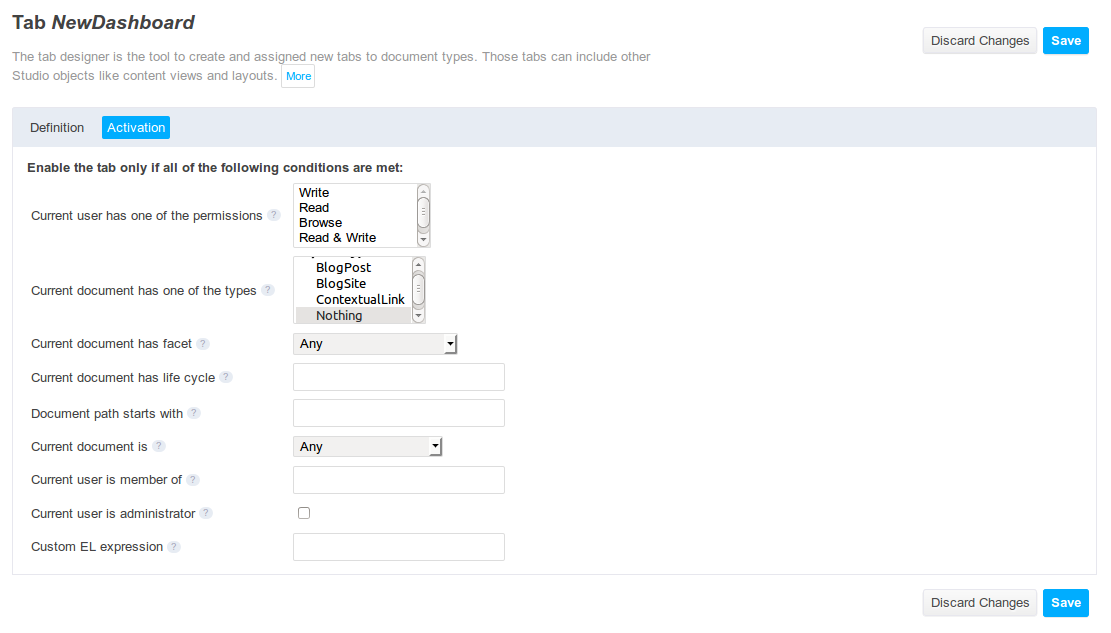
- In the Activation tab, select only the document type Nothing for the parameter Current document has one of the types.
The purpose is to let Studio creates an XHTML resource and then we will override the contribution for the default Dashboard tab.
Overriding the Default Dashboard
As viewed in the first step, the part we will need to override is:
  <extension target="org.nuxeo.ecm.platform.actions.ActionService"
    point="actions">
    <action id="DashboardMain" link="/incl/dashboard/user_jsf_dashboard.xhtml" label="" order="10"
      type="admin_rest_document_link">
      <category>Dashboard_sub_tab</category>
    </action>
  </extension>
- In Studio, create a new XML Extensions.
Copy the contribution above but replace the value of the parameter
linkwith the name of the generated XHTML by Studio. The name of the file will be/studio_tabs/studio_tab_XXX.xhtml, XXX is the name of the tab, so in our case/studio_tabs/studio_tab_NewDashboard.xhtml.<extension target="org.nuxeo.ecm.platform.actions.ActionService" point="actions"> <action id="DashboardMain" link="/studio_tabs/studio_tab_NewDashboard.xhtml" label="" order="10" type="admin_rest_document_link"> <category>Dashboard_sub_tab</category> </action> </extension>
Deploying the Project
Deploy your Studio project on your Nuxeo Platform and go to the home page.