Nuxeo Studio enables you to change all the images and colors used in the web interface, without requiring advanced CSS knowledge.
You can define several themes, but only one of them will be the default theme. The other ones will be available in the local configuration of the available spaces of your application (domains, sections, etc.). If you need to, you can define several graphical looks to address the different audiences of your application.
When you define a new theme for your application, you can define all the colors used on the application.
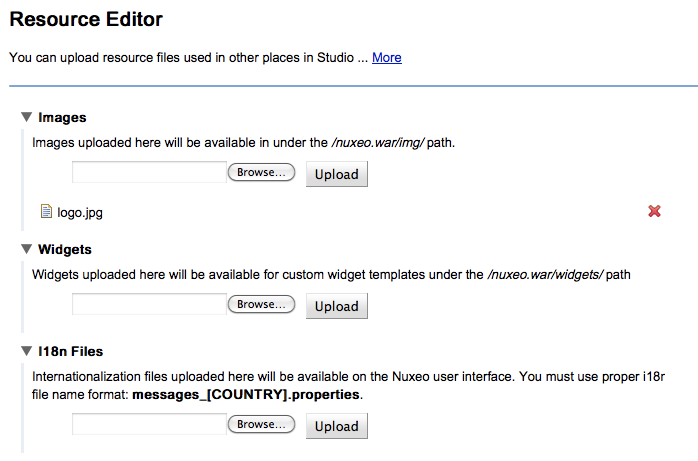
First, you may want to upload a new image to use as a logo in Resources.
You can then create your new theme.
- Click on the Branding Studio tree item.
- Click on the New button.
- On the window that pops up, give your theme a name and click on the Create button. The new theme is now created. By default, it inherits all the colors and presets of the default Nuxeo Platform theme and is selected as the default theme of your application.
Now, you can edit the theme.
If your theme should not be applied to the whole application by default, uncheck the Set as default theme box.
In Nuxeo Platform user interface, the default theme is automatically renamed with the Studio project's name.
- If you don't want the theme to be available in the local "theme configuration" list, check the box Disable theme branding.
- In the Logo image field, click on the Choose resource button to select the image you have just uploaded.
- Choose the main colors for backgrounds of the application.
- Design borders.
- Choose the fonts you want to use.
- Click on Save. All your changes will now be saved.
Of course, you can go further by exploring great Nuxeo theme capabilities; however, with the previous simple steps, your Nuxeo app is now branded for your organization.