In this tutorial you will learn how to add a new tab to your custom document type. This tab will help you to find other contracts created for the same contract owner. To do so, we'll be using a custom page provider linked to the Contract document type.
Prerequisites
- A Contract document type created in Nuxeo Modeler.
- Make sure that the Nuxeo Web UI addon is installed on your instance.
Once you are all set, you can navigate to Modeler to start creating your search.
Create a Page Provider
- In Studio Modeler, go to Configuration > Page Providers; click on New and name it
otherContracts. In the Query filter add the following line
AND ecm:primaryType='Contract'. This will enable to only search contract documents. You should end up with something like this:ecm:mixinType != 'HiddenInNavigation' AND ecm:isVersion = 0 AND ecm:isTrashed = 0 AND ecm:primaryType='Contract'
Now we will add aggregates to customize the search.
The search by owner of the contract:

- Add another new Predicates.
- Click on Edit binding and select
schema:contract>owner.
The search by date range:
- Next to Aggregates click on Add. A popup window appears.
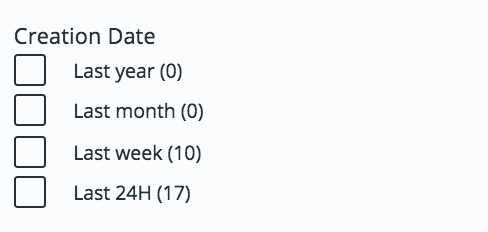
- Fill the popup window like this:
Field dc:created Date Ranges - Label:
Last yearFrom:now-1yTo:now-1M - Label:
Last monthFrom:now-1MTo:now-7d - Label:
Last weekFrom:now-7dTo:now-24H - Label:
Last 24hFrom:now-24HTo:now
- Label:
- Save your changes.
Once you are all set, click on Configure layouts in Designer at the top-right of your screen. You are now in Studio Designer, where you can configure the layouts of your Search.
Configure Layouts
- In Studio Designer, go to UI > Layouts > Page Providers.
You will find the page provider created previously. - Click on form and then Configure, it will automatically create the
nuxeo-othercontracts-search-formlayout. - Click on result and then Configure, the
nuxeo-othercontracts-search-resultslayout is created.
Configure Labels
You now need to add your labels to your translations file to display them correctly in the UI. To do so:
- In Studio Designer and from the UI tab, open the Translations menu.
- Create a new
messages.jsonfile. - Create a new entry in the JSON file with key
label.ui.aggregate.<label>and the label as value. Here it's:{ "label.ui.aggregate.from_now-1y_to_now-1M":"Last year", "label.ui.aggregate.from_now-1M_to_now-7d":"Last month", "label.ui.aggregate.from_now-7d_to_now-24H":"Last week", "label.ui.aggregate.from_now-24H_to_now":"Last 24H" }
You can now save your changes and go to the Designer.
Create a Listing
From the Page Provider screen for otherContracts:
- In Bind more elements, select Tab.
- Name it
other-contracts. - Fill in the creation form like this:
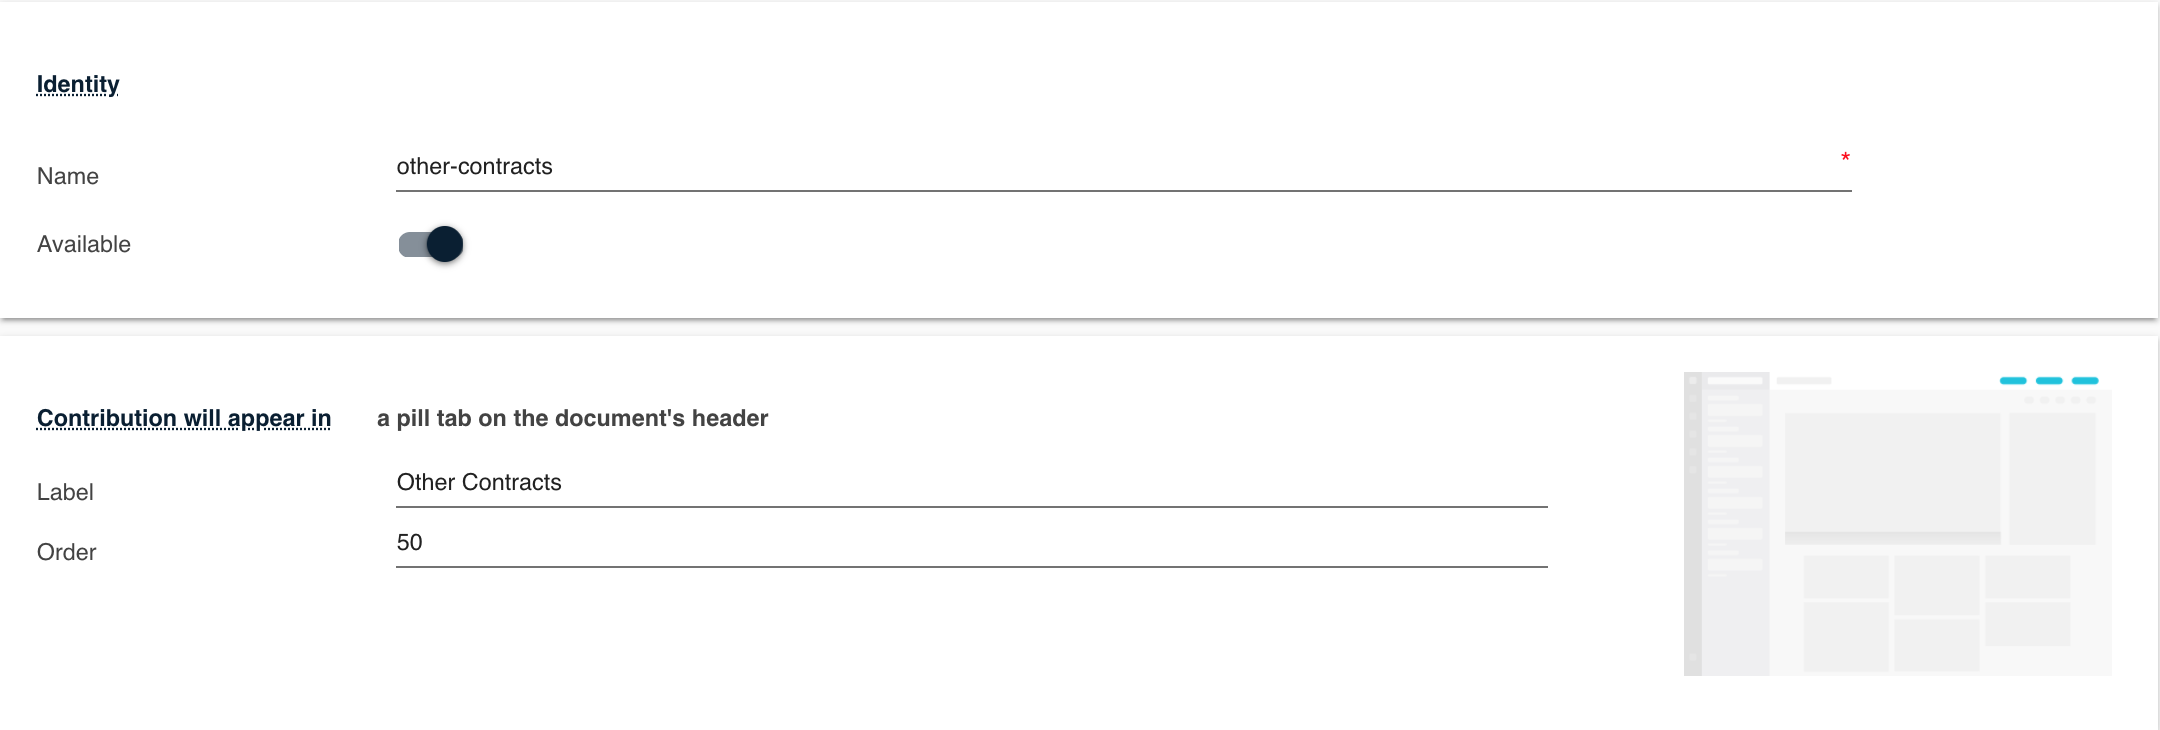
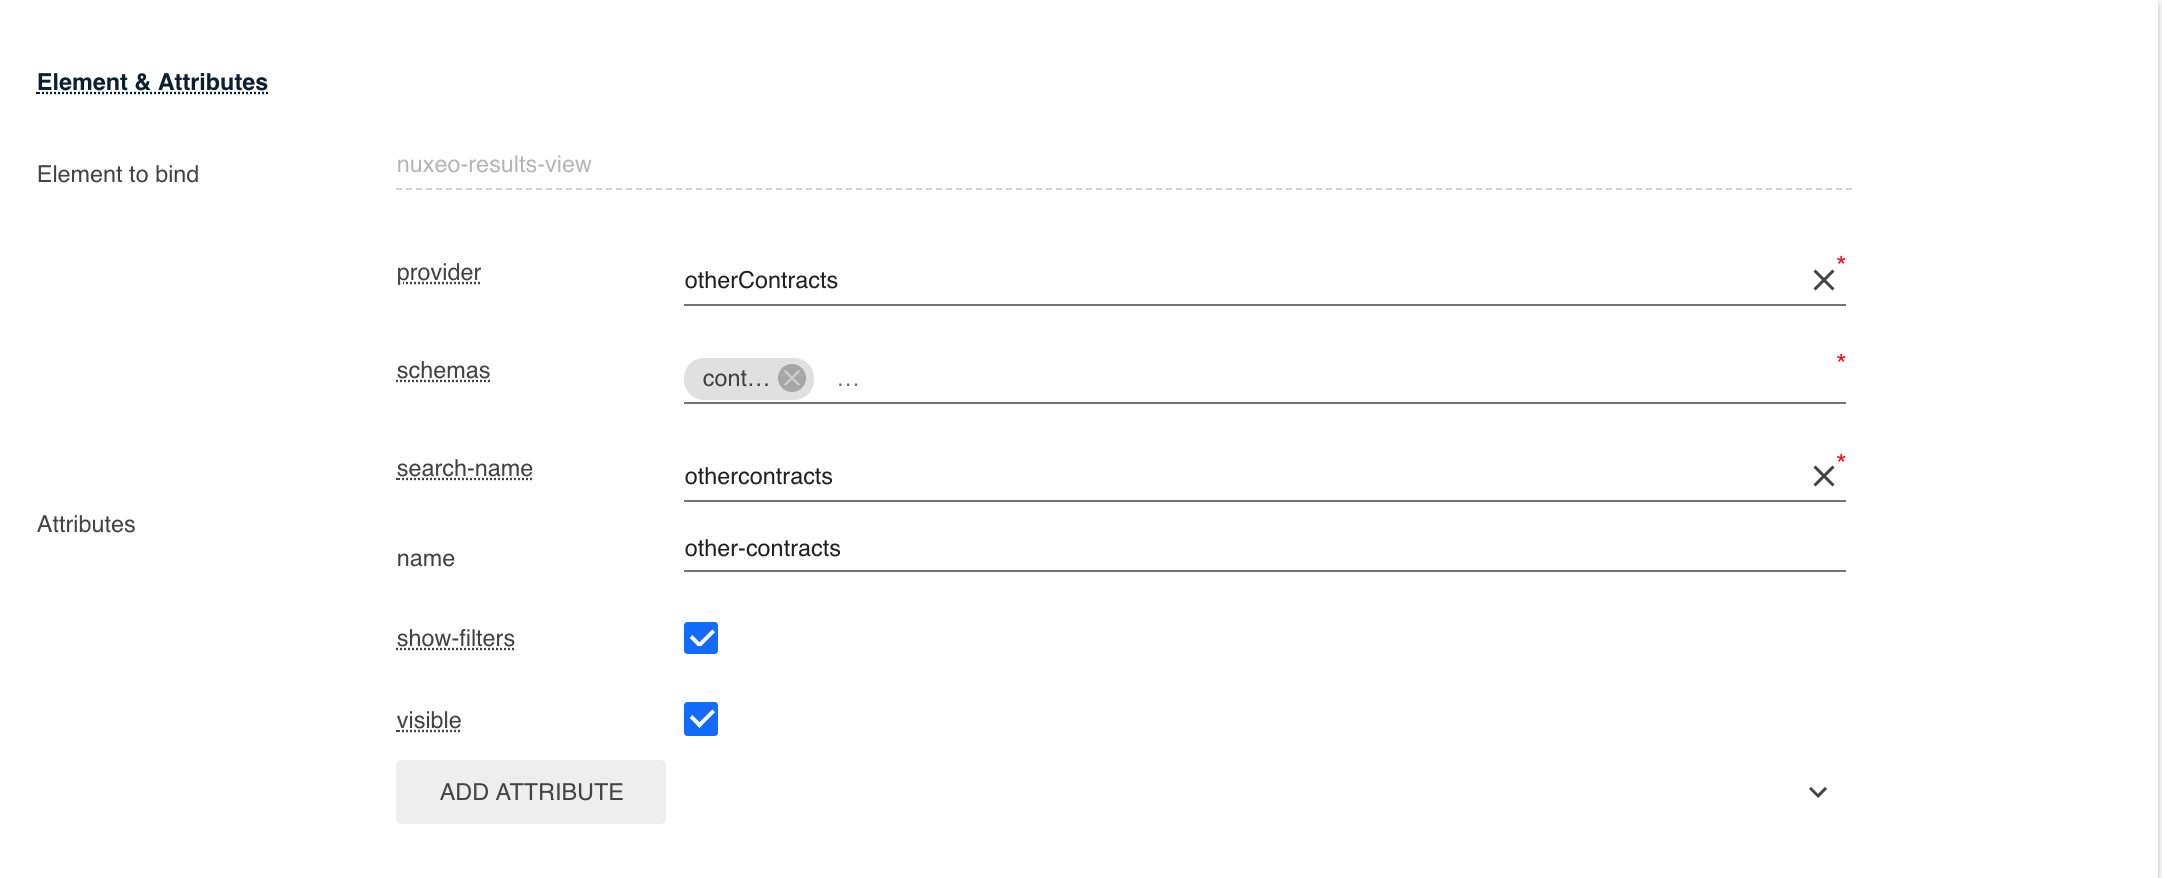
- Fill in the Element & Attributes section like this:
- Fill in the Filters section like this:
- Document has one of the types:
Contract - User has at least one of the permissions:
ReadWrite
- Document has one of the types:
- Save your changes.
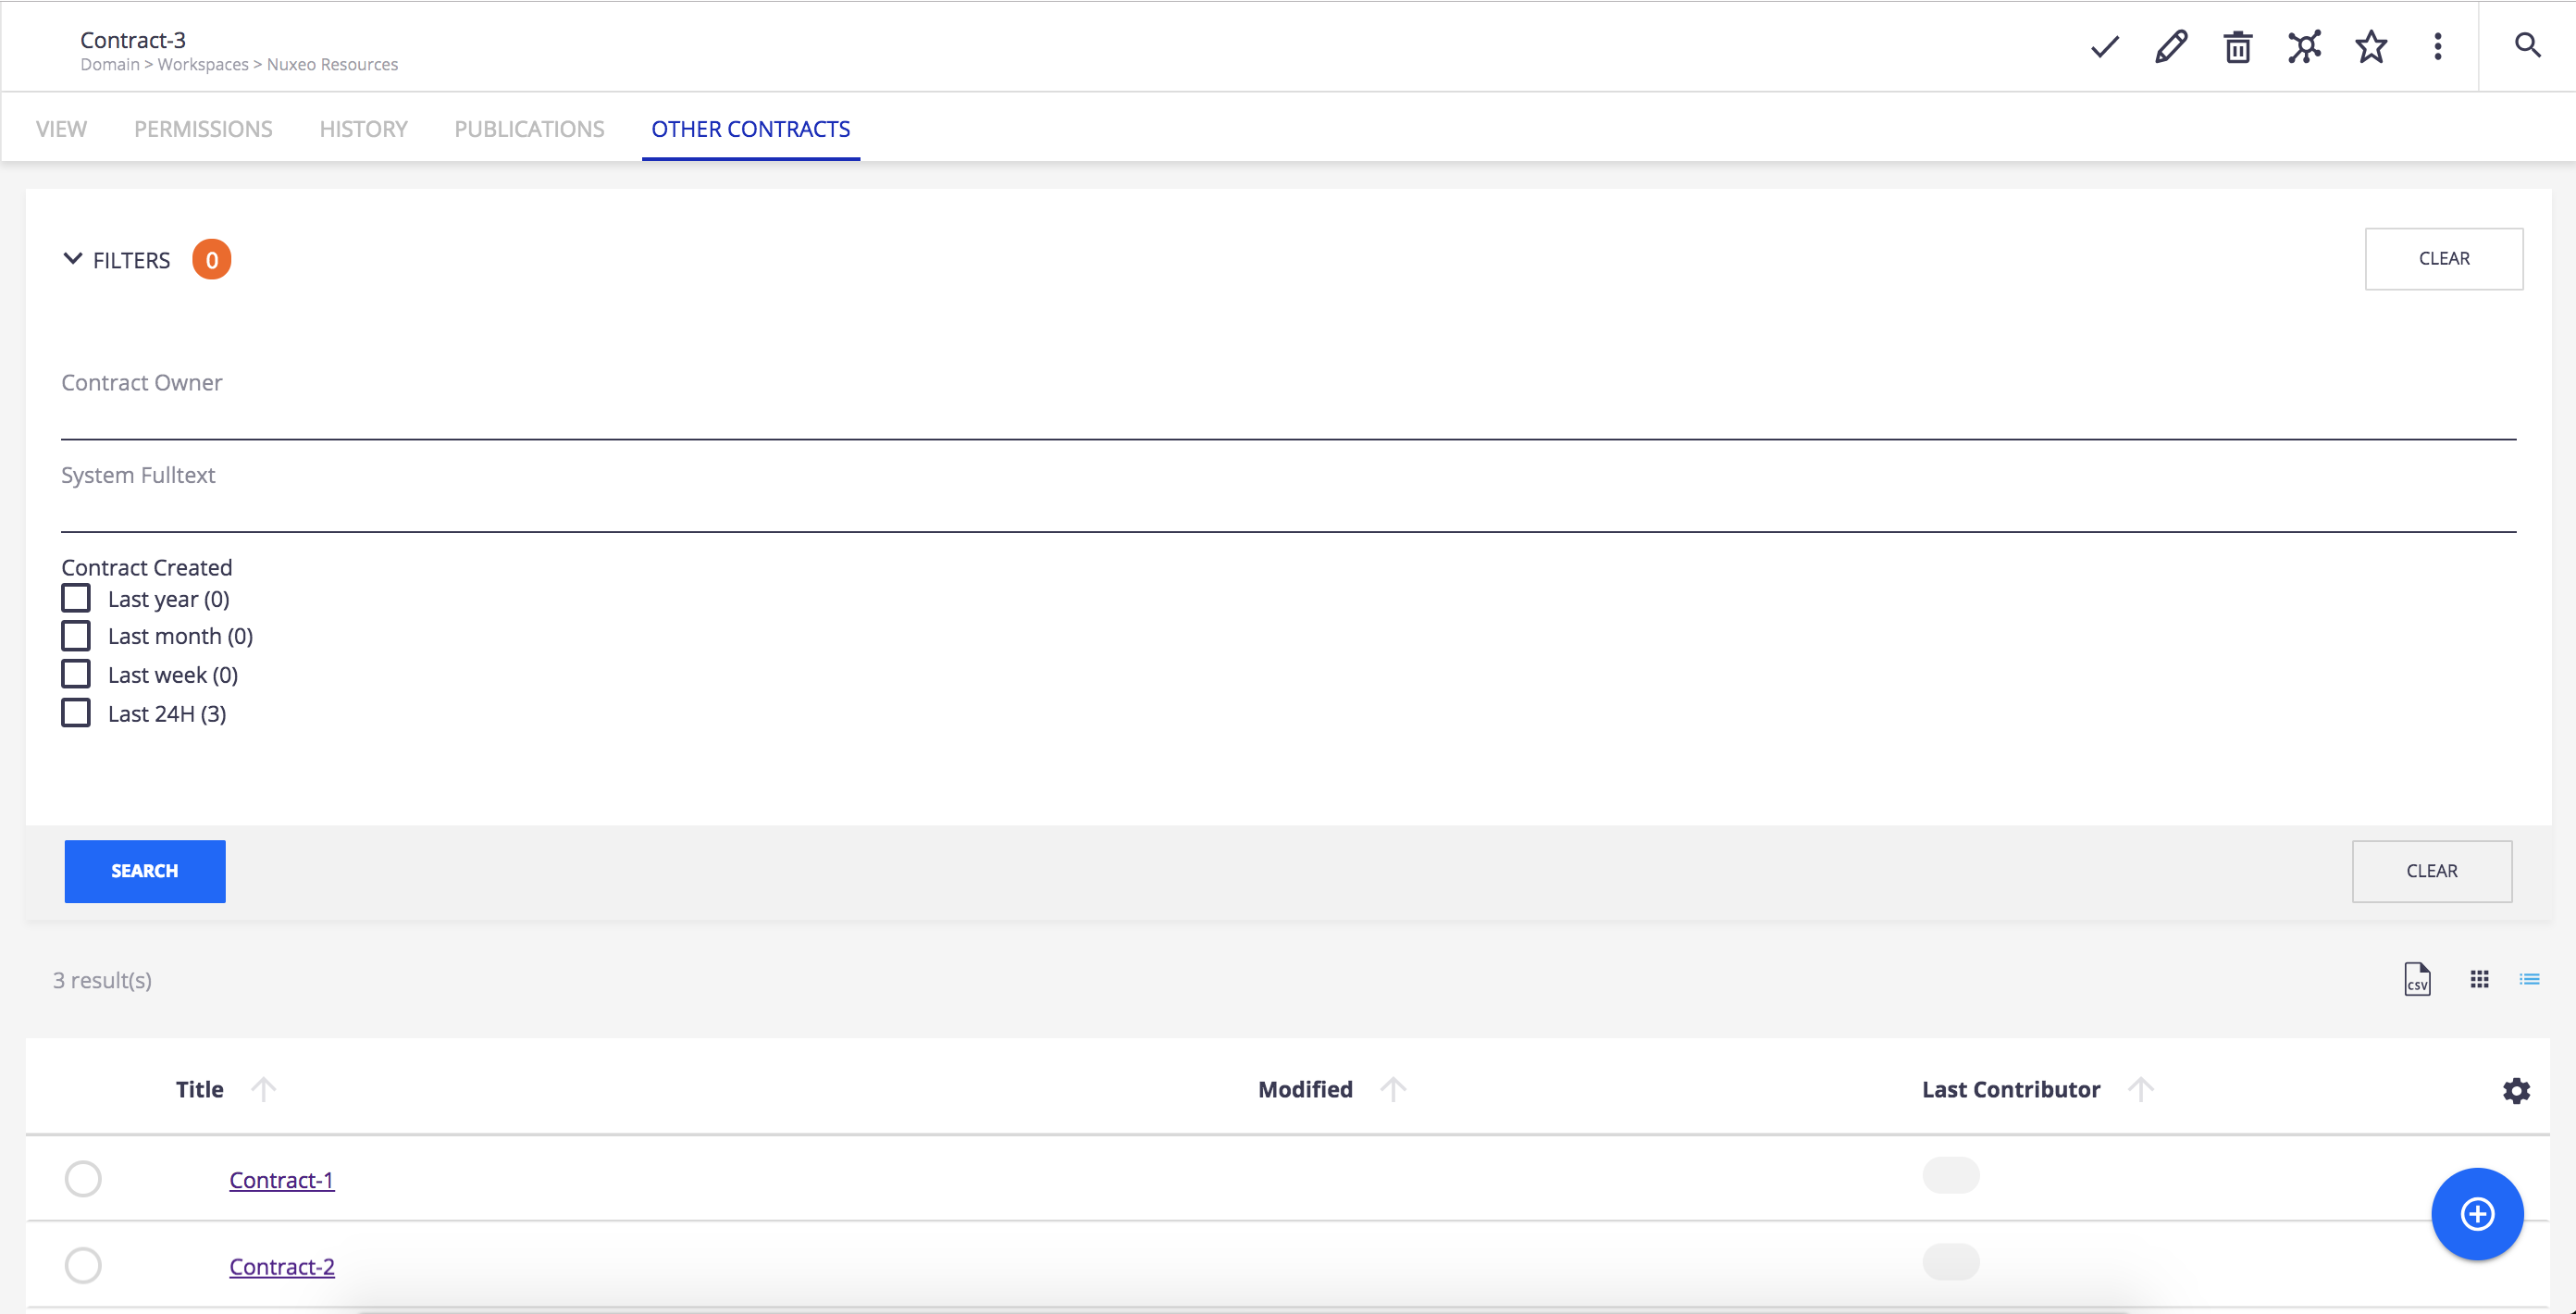
You can now deploy your project on your instance and see what it looks like!