The Nuxeo Platform provides you with easy access to the configuration of your Nuxeo server, thanks to the Admin tab and the Startup Wizard. For advanced configuration or a simple review, manual edition of Nuxeo's configuration file, called nuxeo.conf, and a template system is also available.
Startup Wizard
The first time you start the Nuxeo Platform and go the URL http://localhost:8080/nuxeo, a Startup Wizard will guide you to the main configuration steps and enable you to choose which addons you want to enable on the Platform. For each step, a default setting is proposed that enables you to test the application. You can change this default configuration to adapt it to specific environments.
The settings defined during the initial setup can be changed afterward by editing Nuxeo's configuration file manually. Addons can also be added or removed afterwards with nuxeoctl.
The Startup wizard will be run only if the configuration sets nuxeo.wizard.done=false. You can edit the value in order to replay the wizard (using the Admin tab or editing the nuxeo.conf file manually), or simply run nuxeoctl wizard.
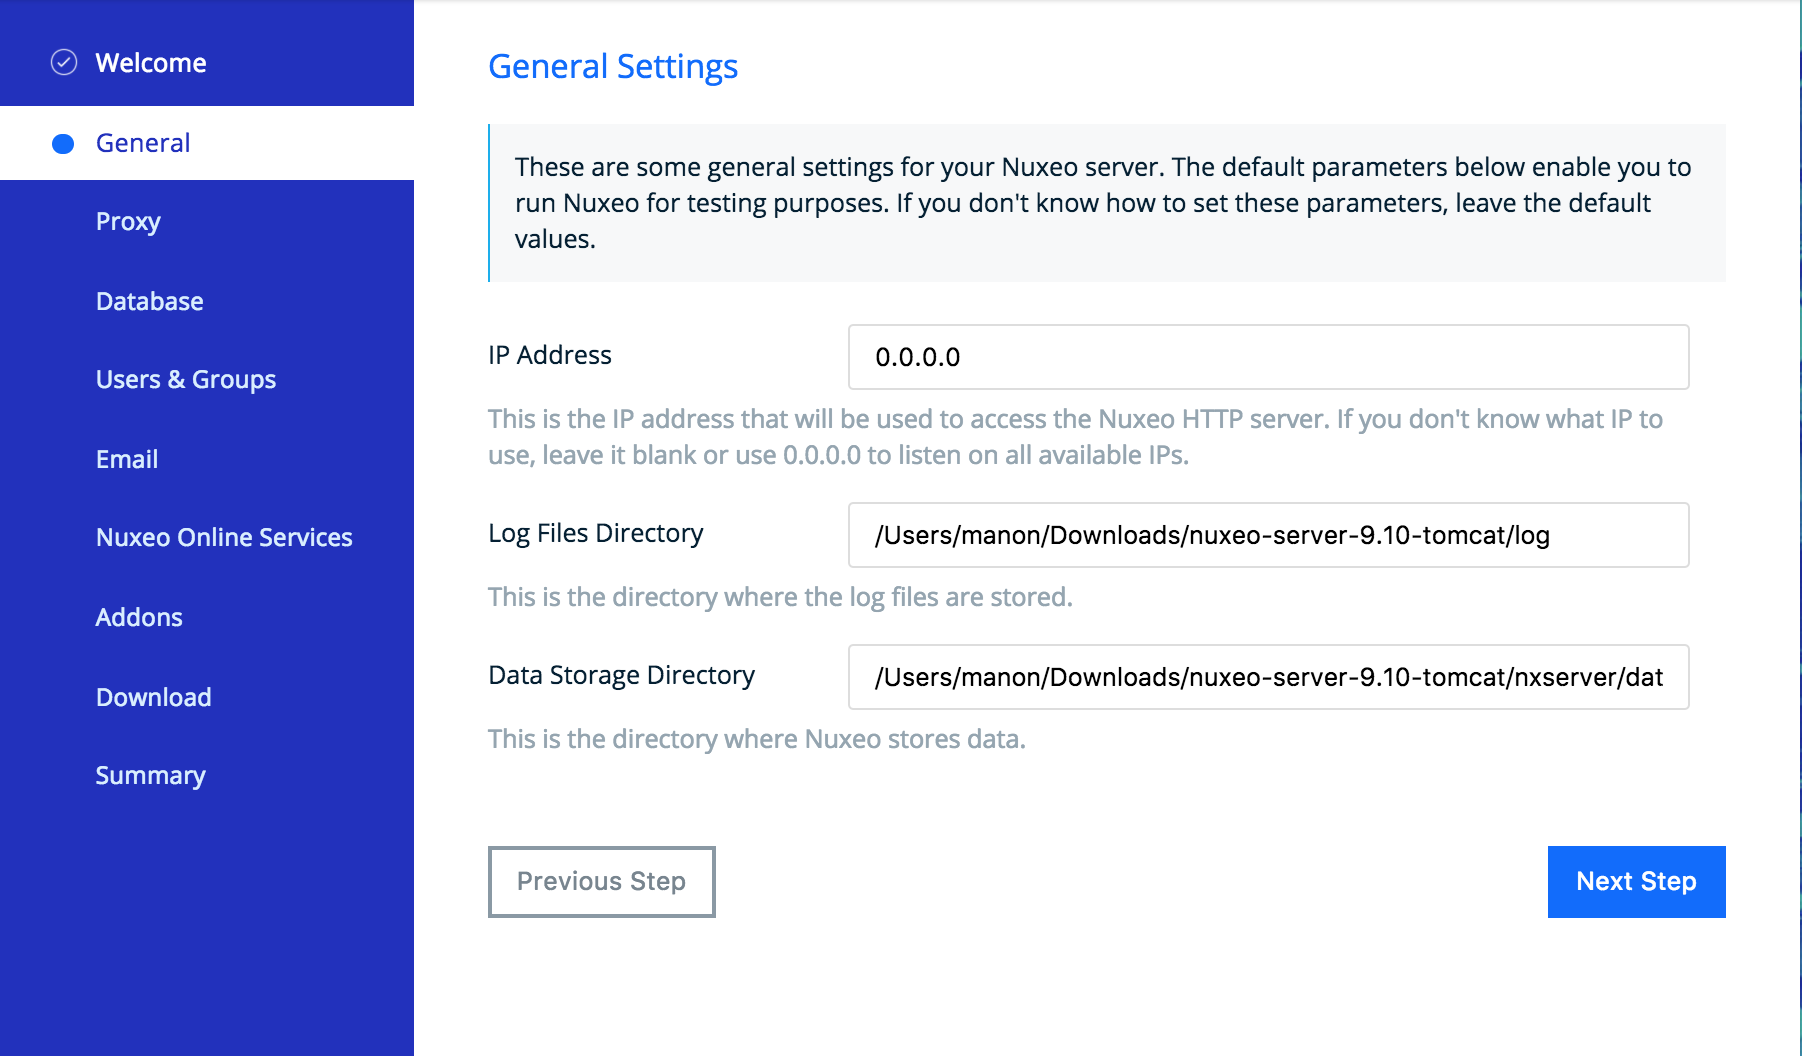
Server General Settings
This step enables you to change the default IP address of the server and where the logs and data are stored.
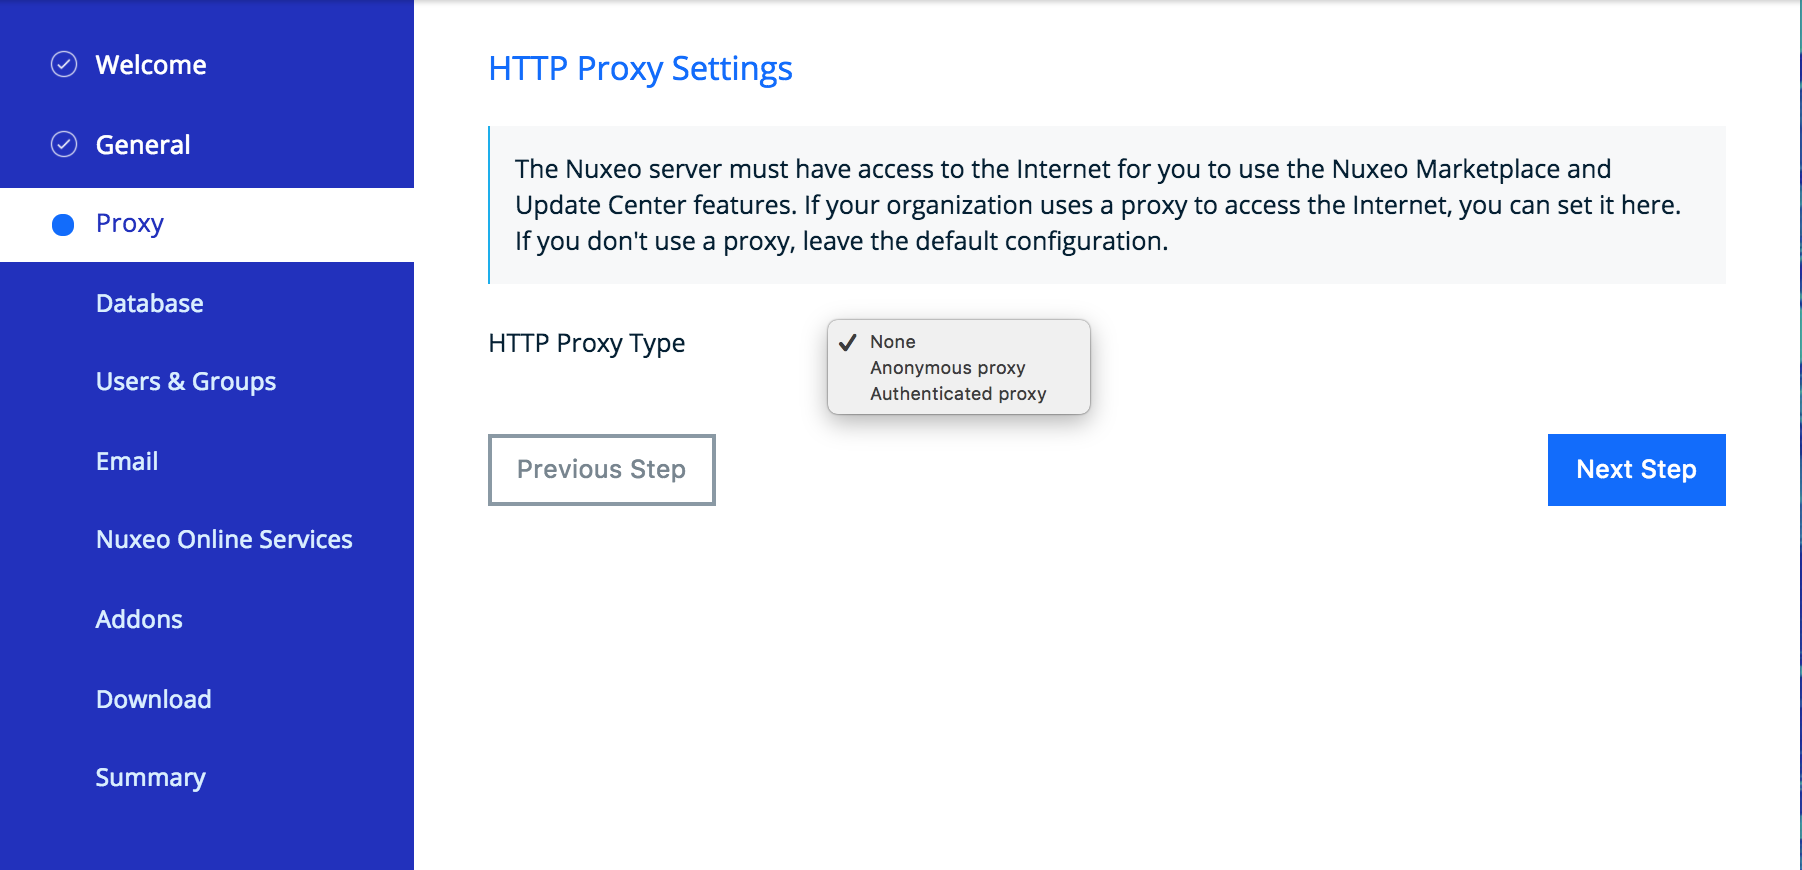
Proxy Settings
Some features of Nuxeo applications requires to access the Internet. If you have installed Nuxeo JSF UI, that's the case of the Update Center from which you can access to the Marketplace addons and plugins, updates for your application, your Studio customizations.
Database Settings
Nuxeo applications embed a database by default, called H2/Derby. This database enables you to fully test and evaluate the application. However it is not recommended to use this embedded database for production and load testing. Select the database you want to use and provide the connection information to the database. Possible databases are:

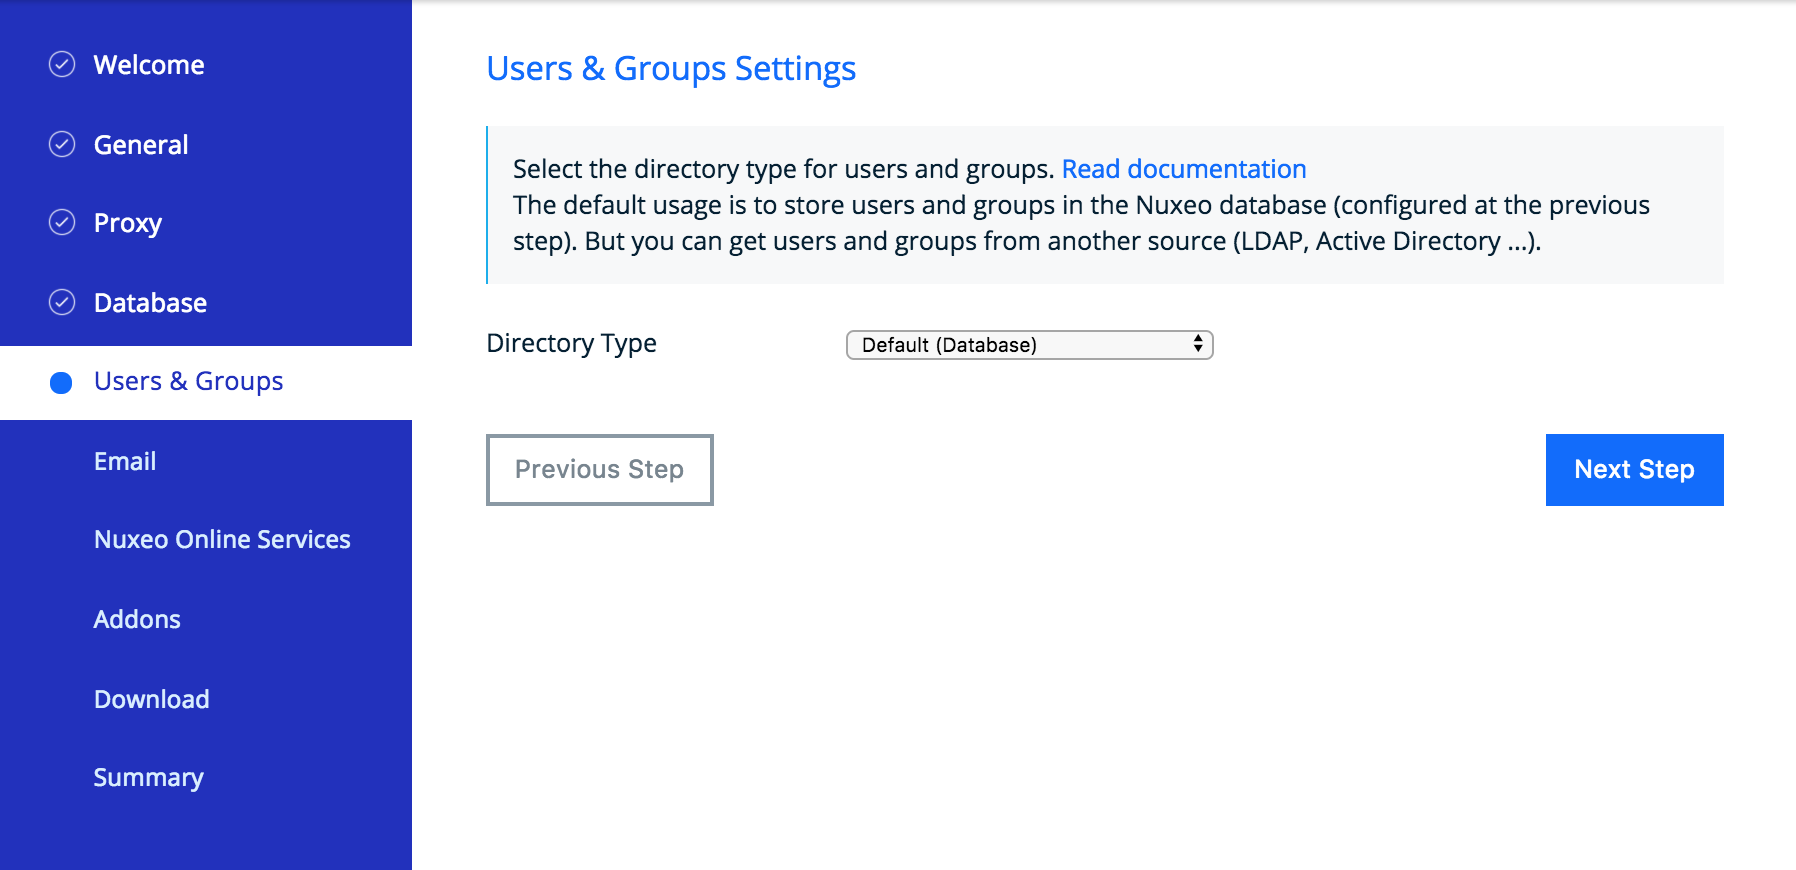
Users & Groups
By default users and groups are stored in the embedded database. You can however set up the platform from the beginning to use your own users and groups directory.
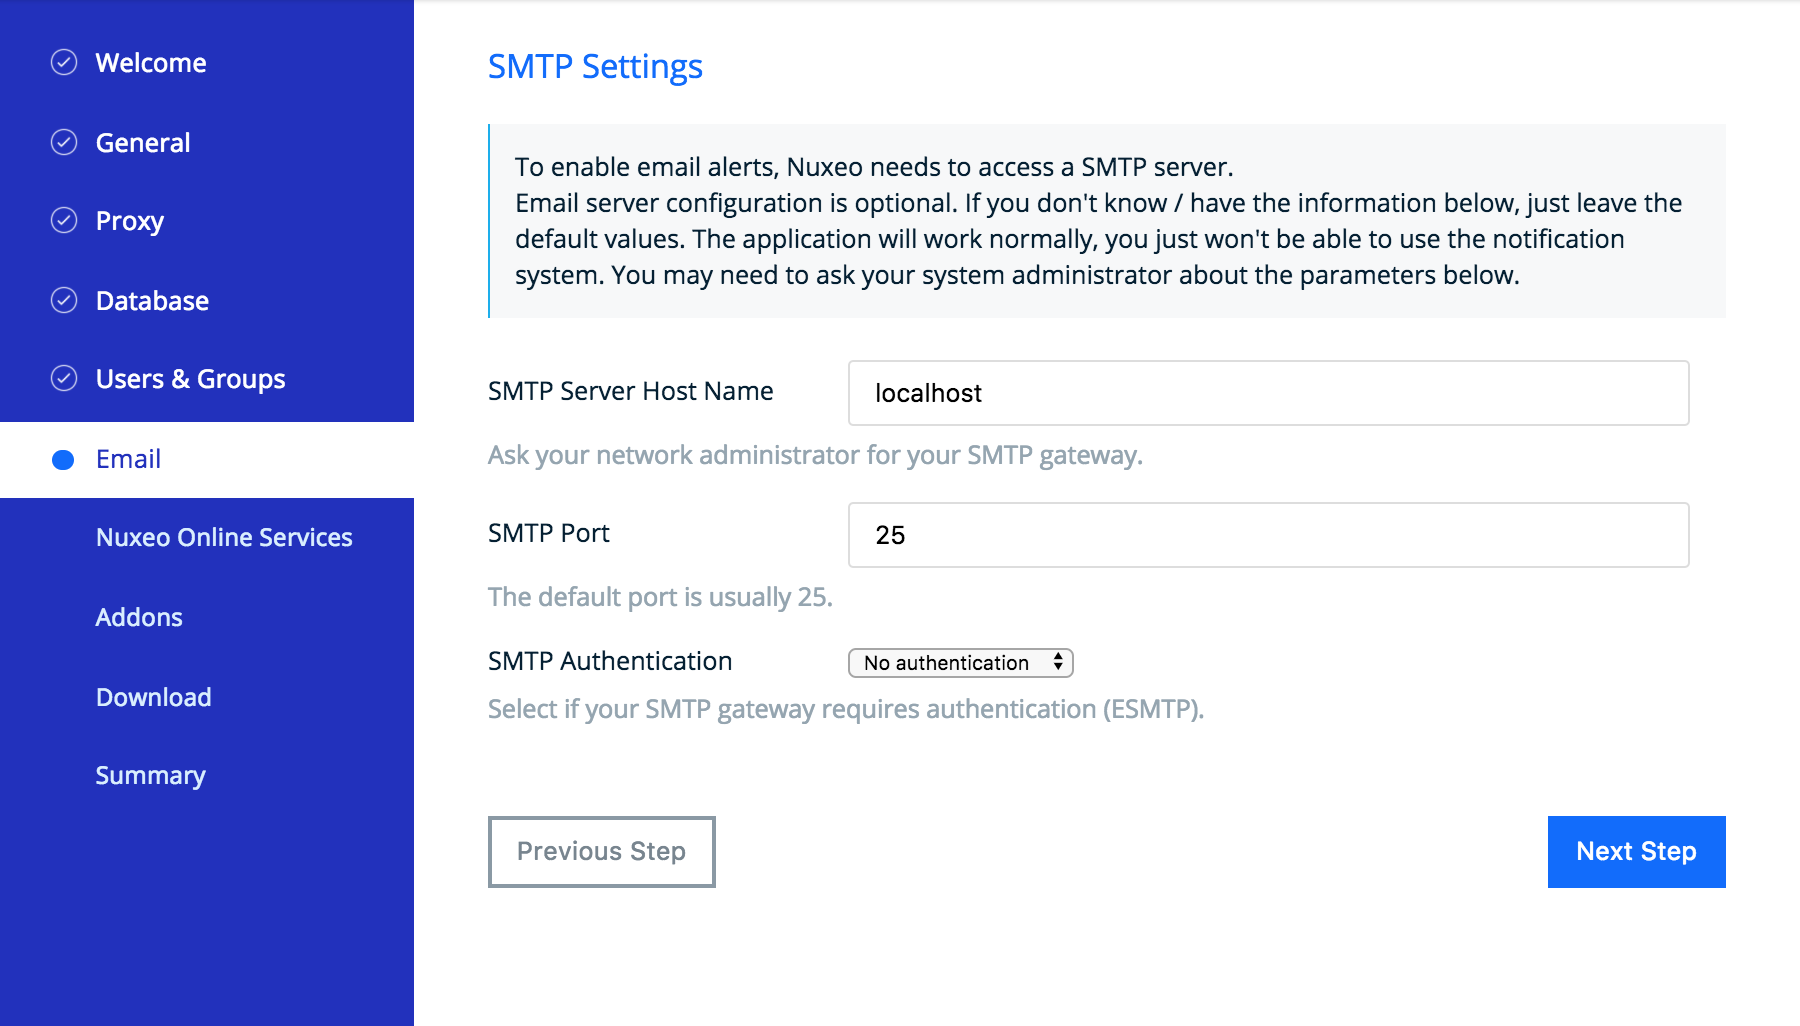
Mail Settings
Nuxeo applications include email alert features. By default, no SMTP configuration is enabled and therefore no email alerts will be sent to users. You can refer to the email alerts section for more information about the SMTP configuration.
Nuxeo Online Services Settings
From this step, you can subscribe to a free 30 days trial offer of Nuxeo Online Services which gives you the possibility to evaluate and fully leverage the Marketplace catalog and Nuxeo Studio, the online Nuxeo customization environment. If you subscribe to the trial offer of Nuxeo Online Services, you will be sent an email confirming your subscription and your credentials and giving you the links to access the Nuxeo Online Services Portal and Nuxeo Studio.
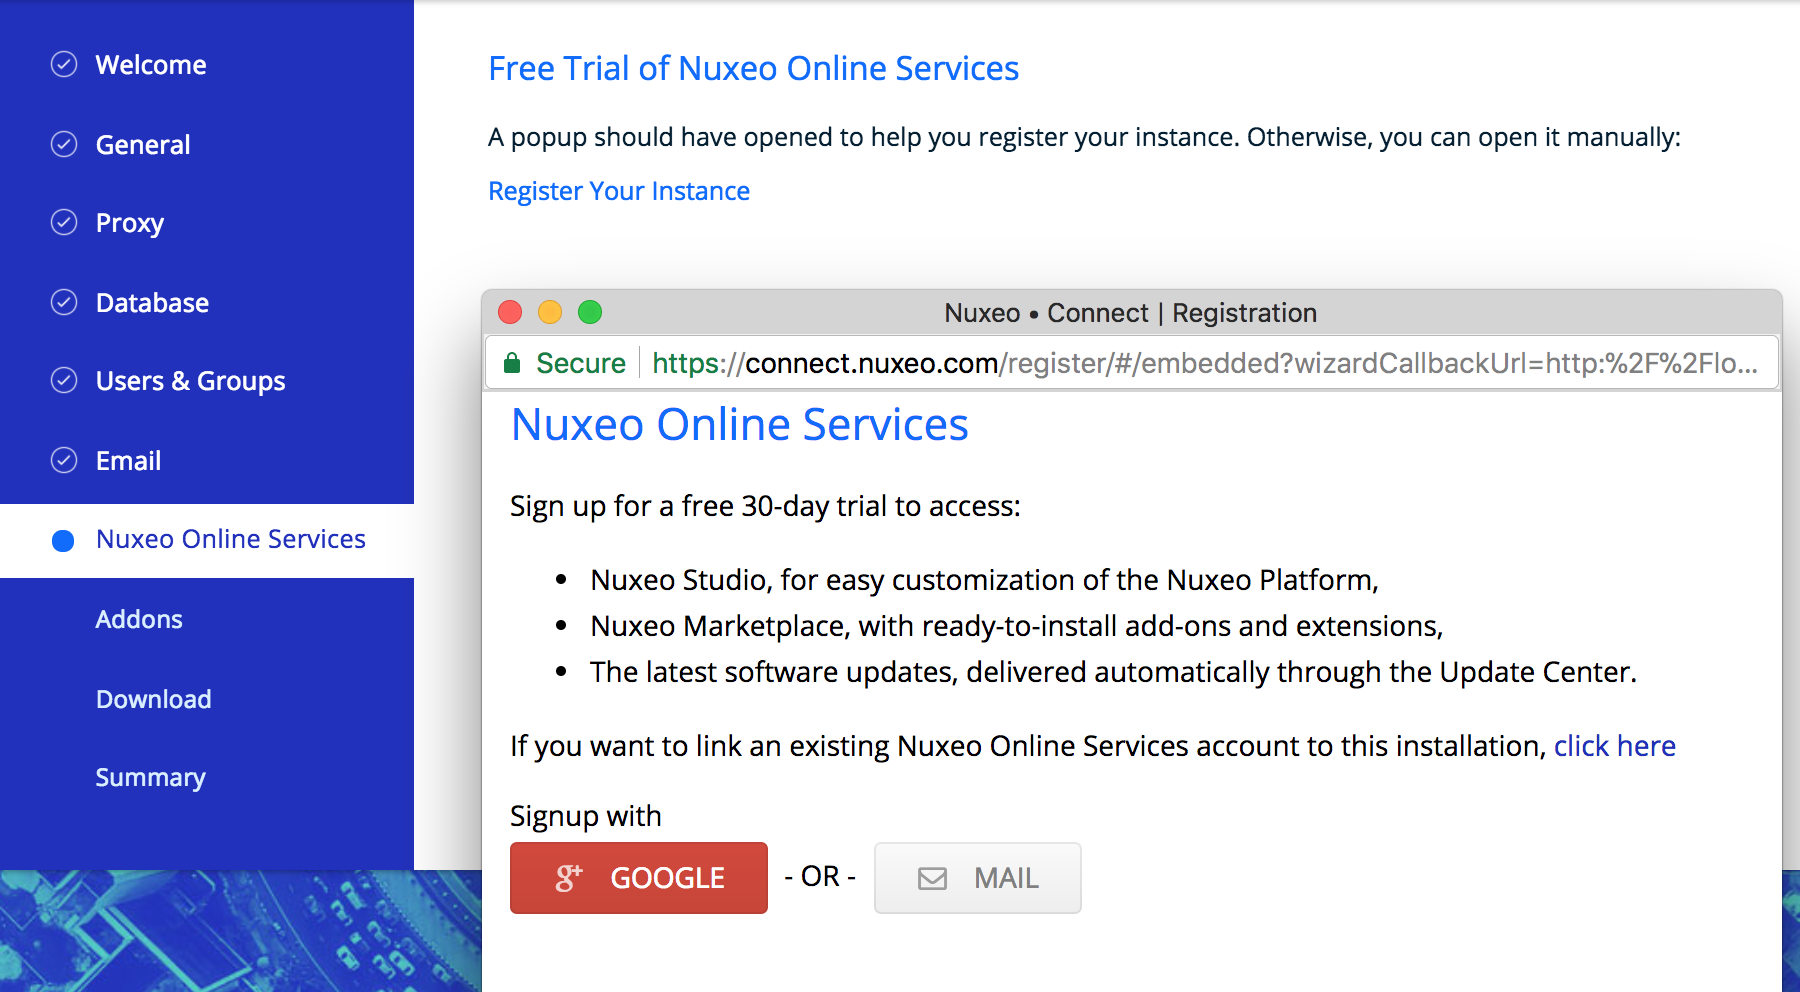
If you already have a Nuxeo Online Services account, you can register your Nuxeo instance from this step to directly be able to apply your Nuxeo Studio customizations and the installation of Nuxeo Addons in your instance.
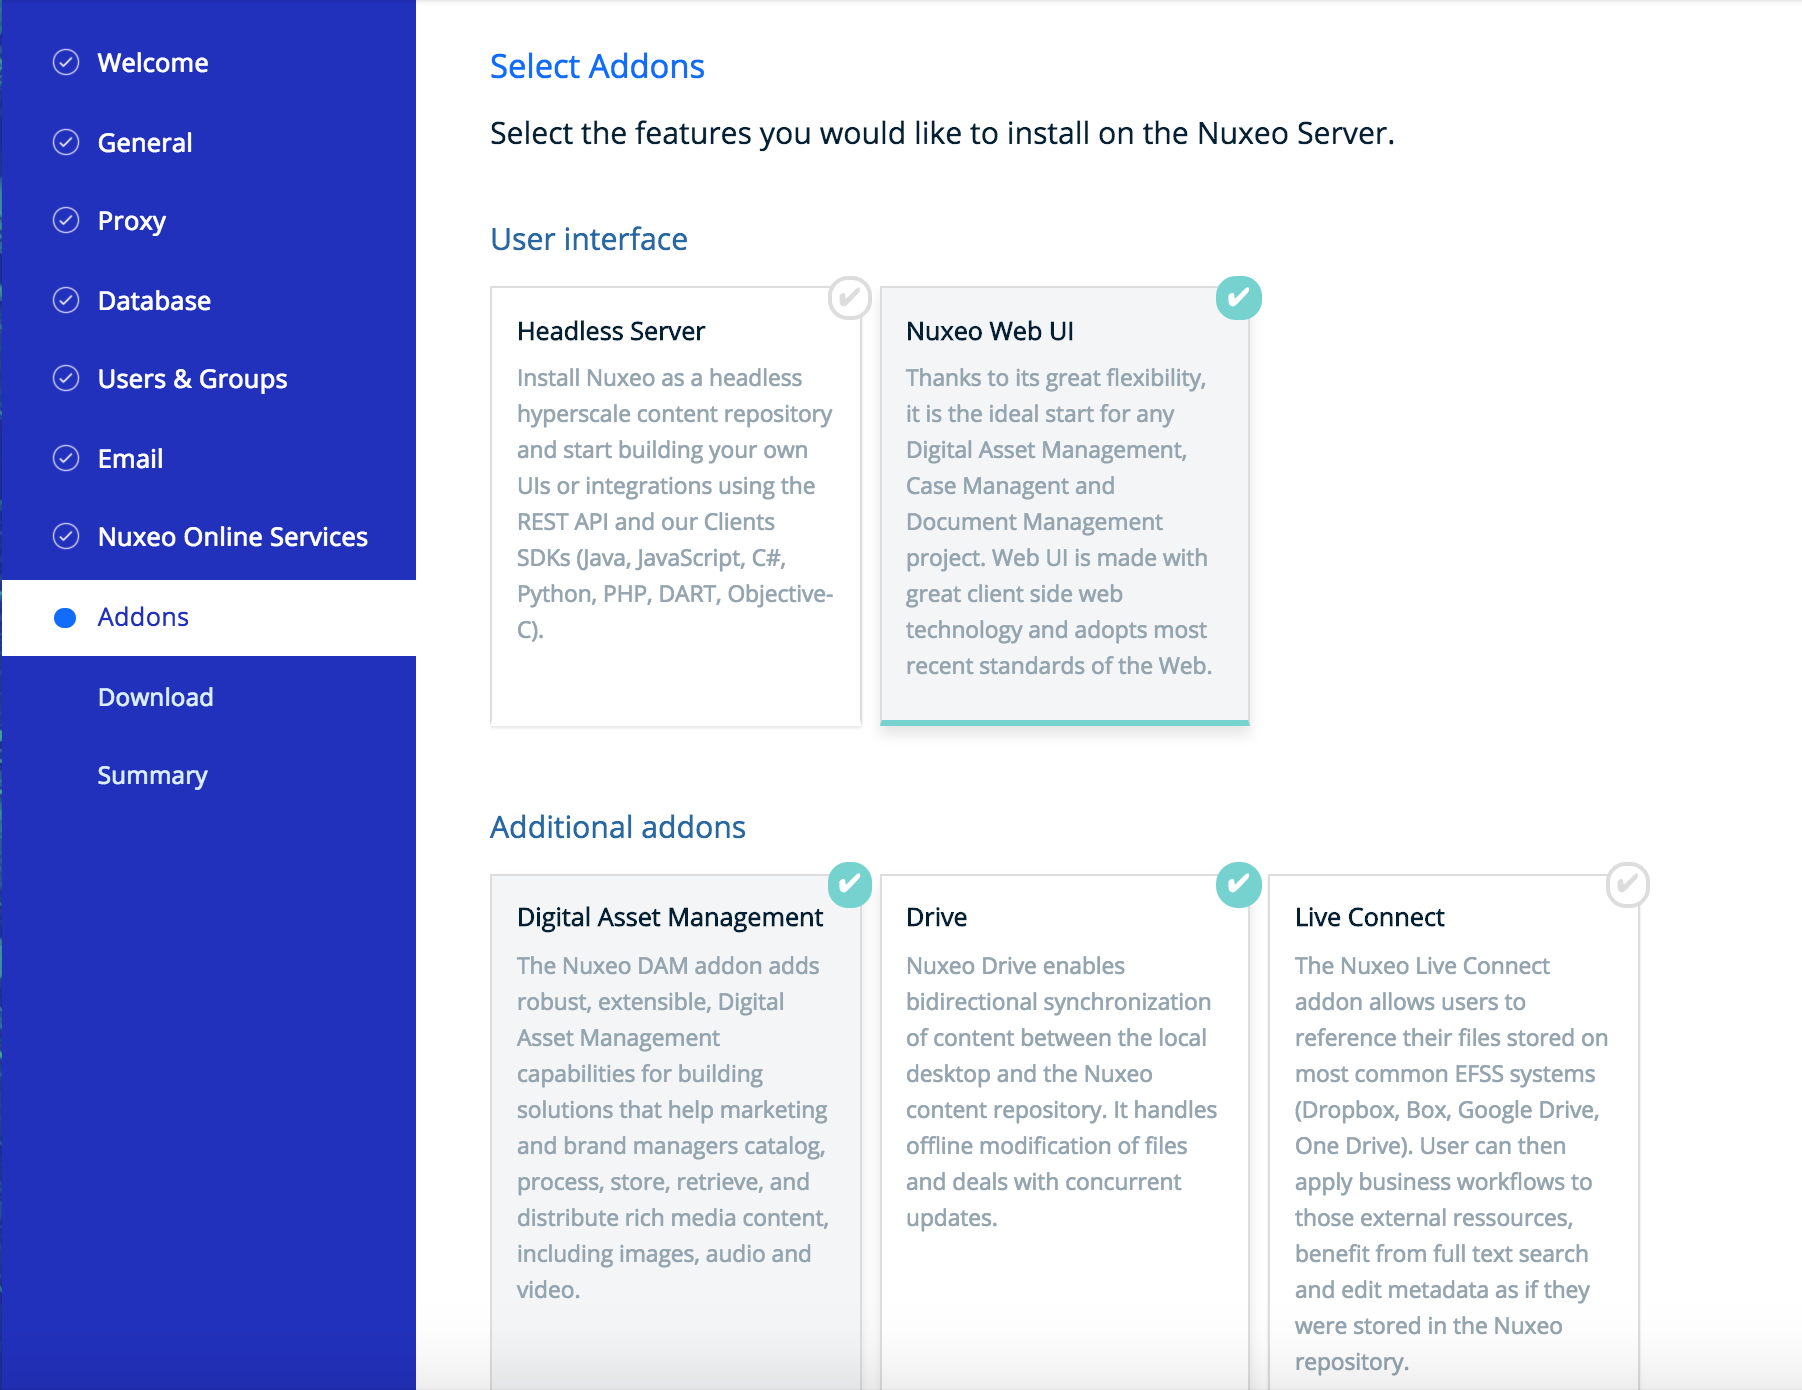
Module Installation
Select the additional features you want to install on the Platform. You can also just keep the naked Nuxeo Server.
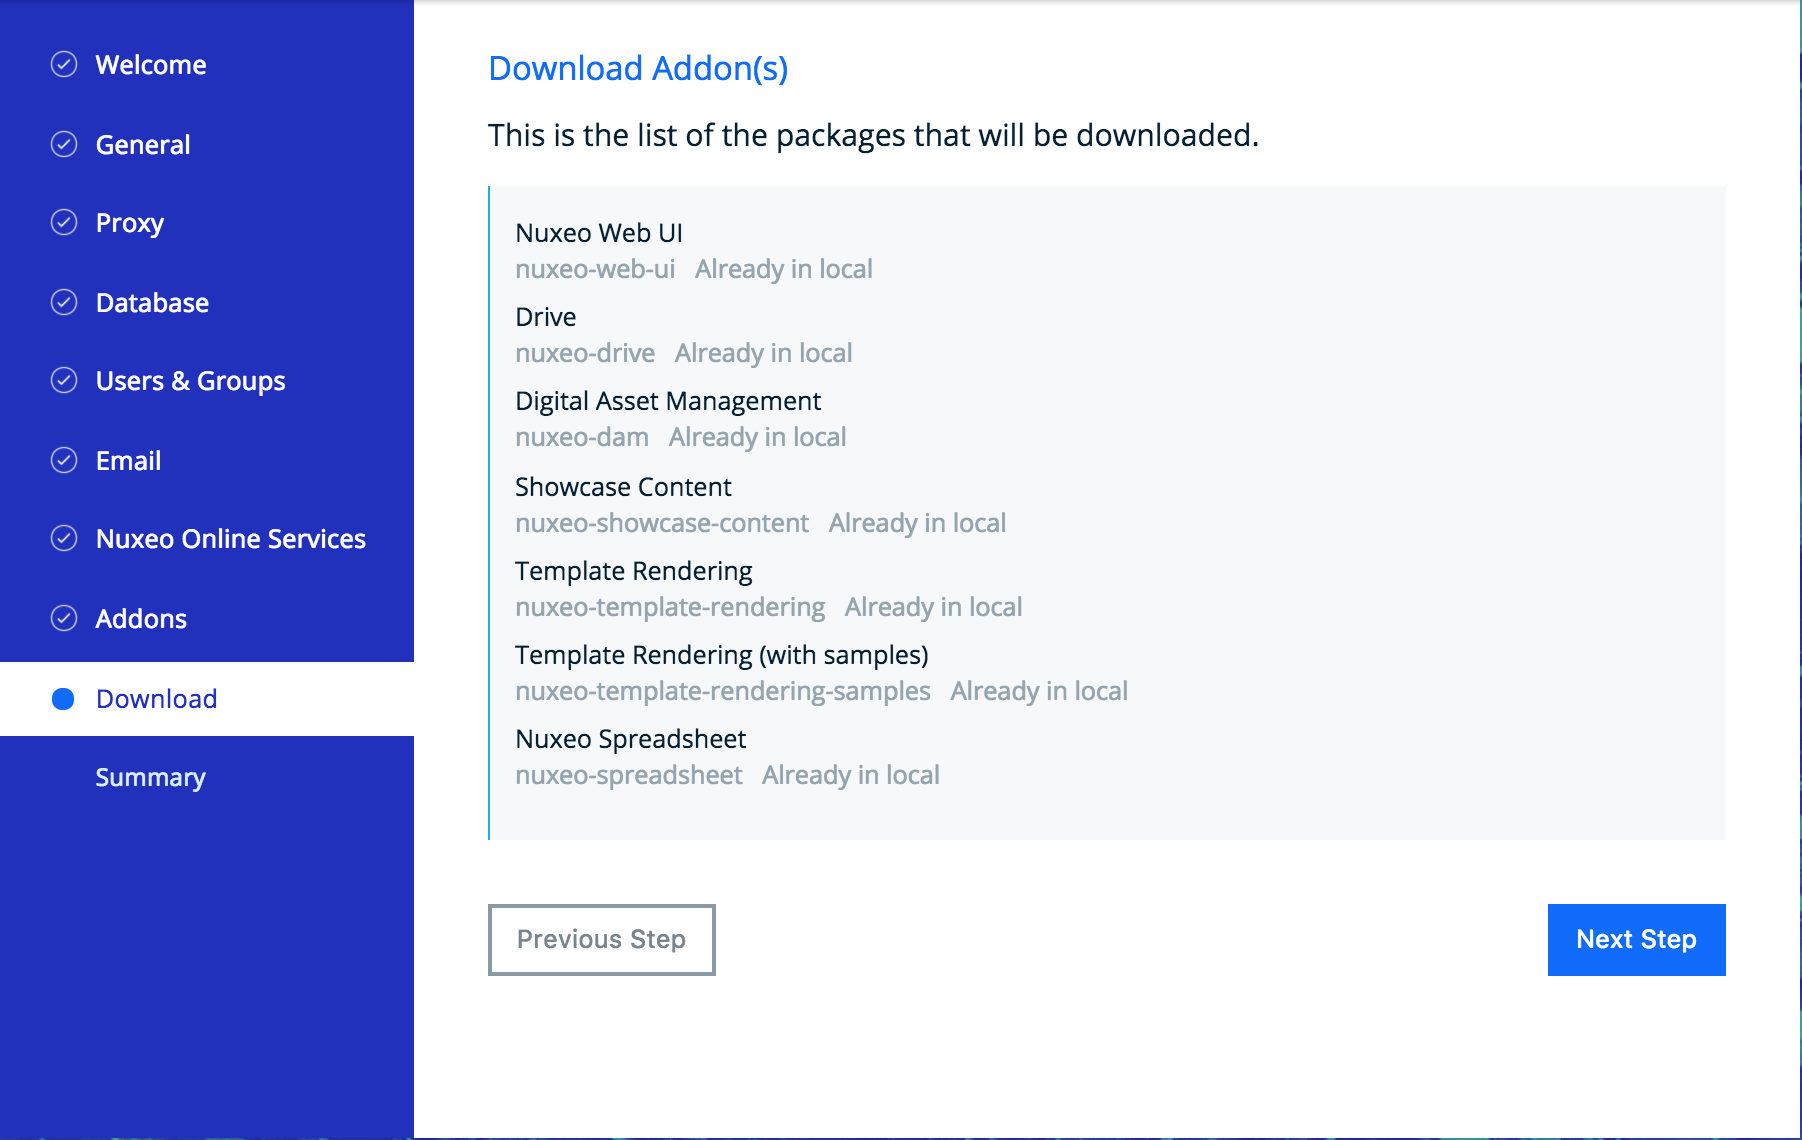
And if needed, download the addons packages. Packages most probably are already included in the Platform.
Summary
A final Summary step provides you with a screen on which you can see all the configuration parameters that you set in the previous steps so you can review them and possibly go back to a step to change them.
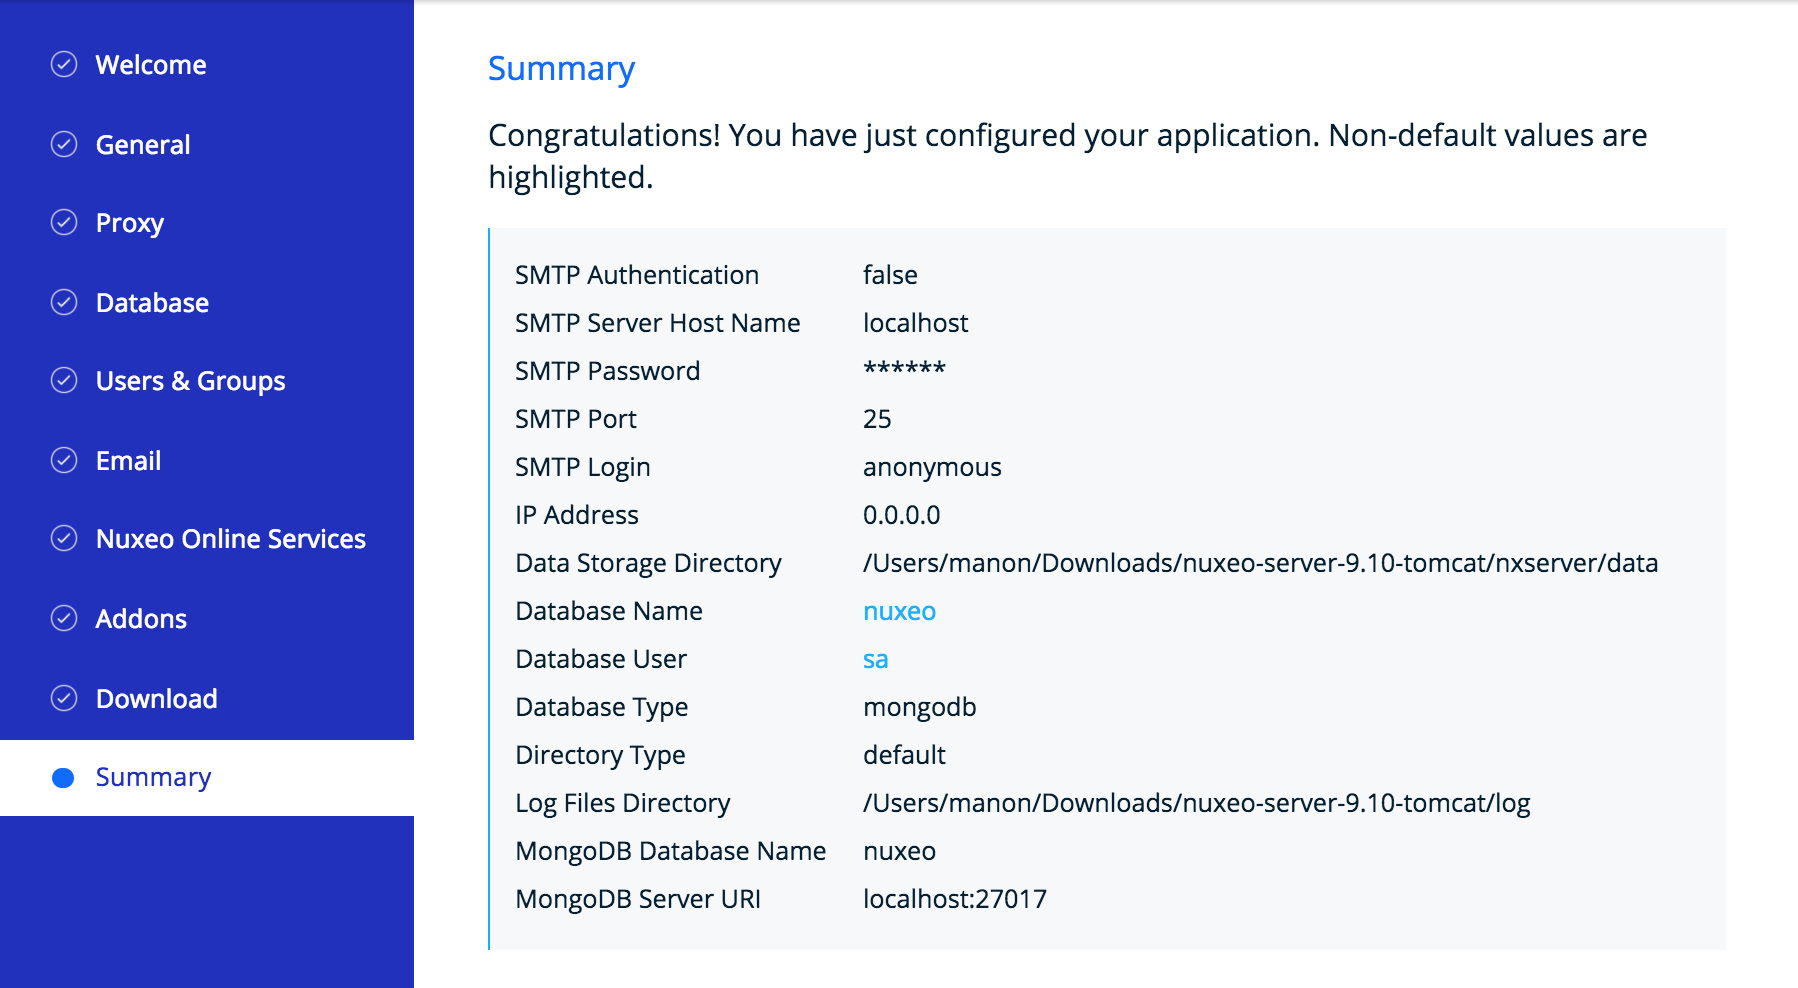
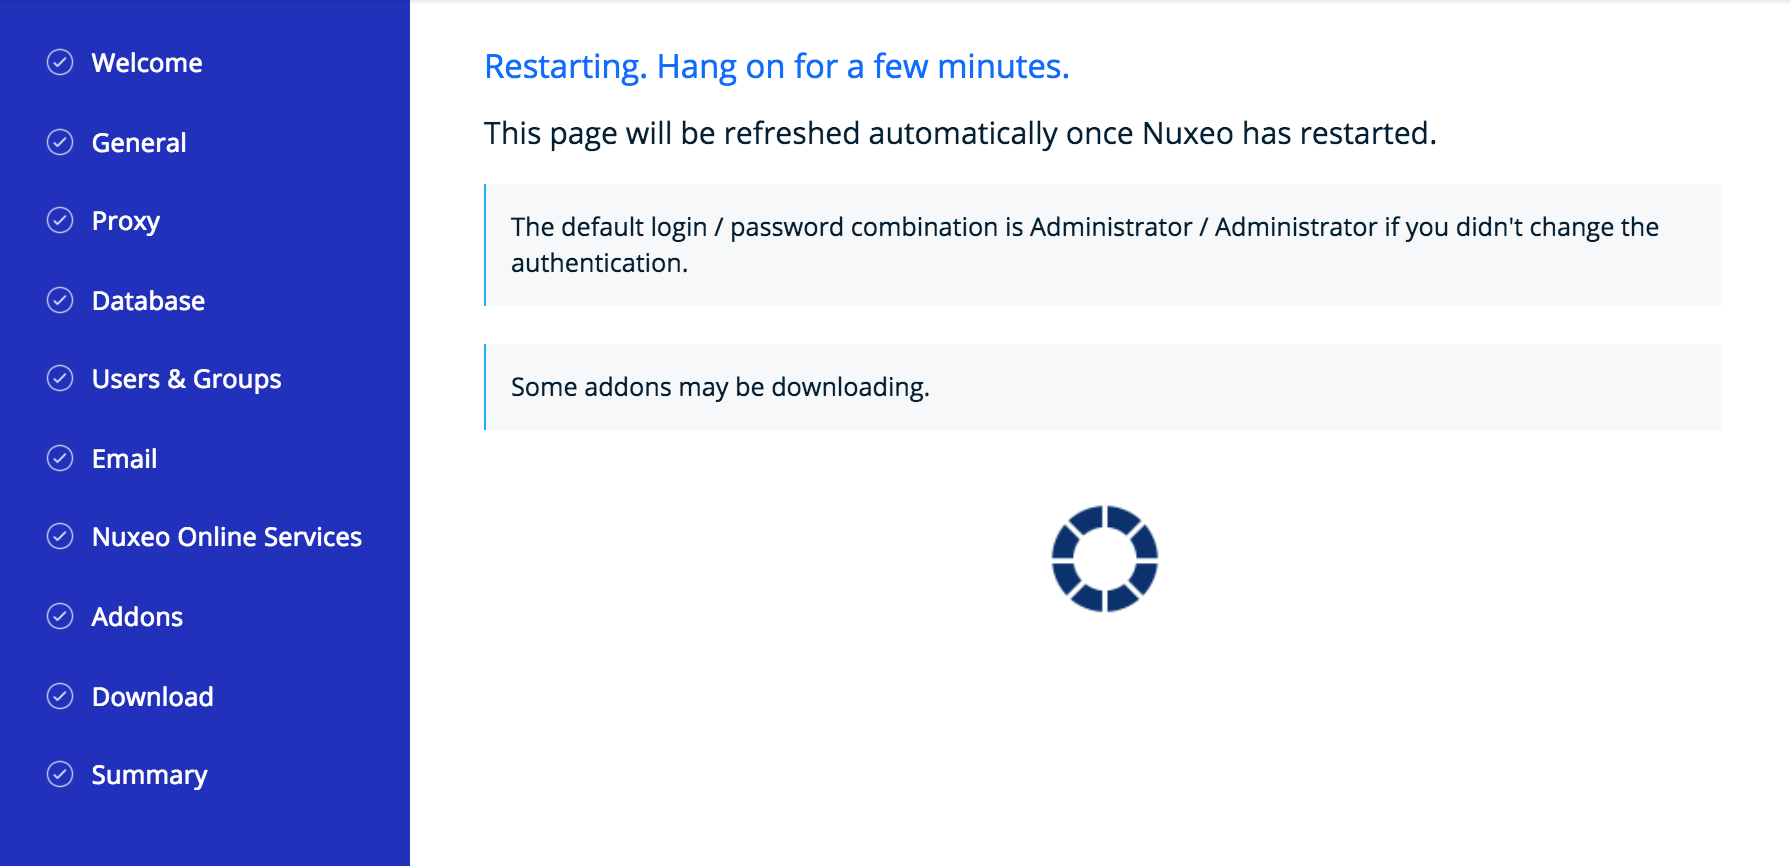
To validate your configuration, click on the Start button. The server will automatically restart and your configuration will be applied.
Once the server is restarted, you are displayed the login page. Log in to your application the Administrator user name and the Administrator password.