This guide explains how to create and configure an automation chain using Nuxeo Studio.
This is done in two steps:
- Create the chain.
- Bind it to a button, an action, or an event handler.
Create an Automation Chain
To create an automation chain:
- In the left menu, click on Automation and then on Automation Chains.
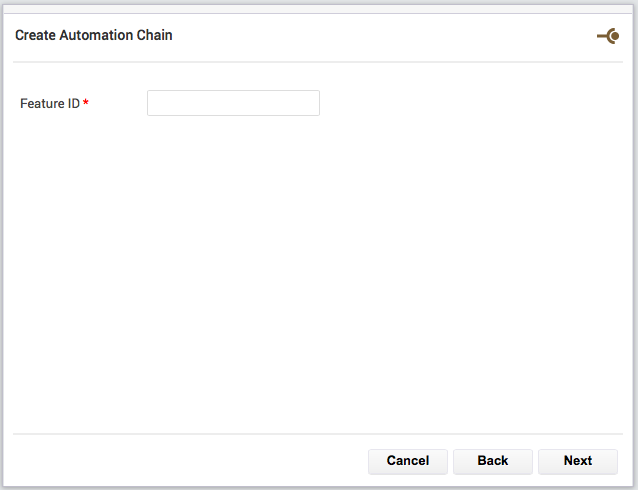
- Click on the New button.
- Give your automation chain an ID and click on the Next button.
 The automation chain editor is displayed. The Fetch > Context Document(s) is automatically added as the first operation of the chain.
- If needed, remove the Fetch > Context Document(s) and replace it with another Fetch operation. The Fetch operation feeds the chain with some document input, whether it is one document or a list of documents. There are various ways to fetch:
- Context document will bring either the UI Current document, or the document attached to the event (depending on what you bound your operation chain, see later).
- Fetch Query will bring back the result of the query as a document list.
- Get Document fetches a document by its path.
Start to drag and drop operations in the flow, respecting their input and output types. Leverage context and scripting capabilities to capture and reuse information all along the flow.
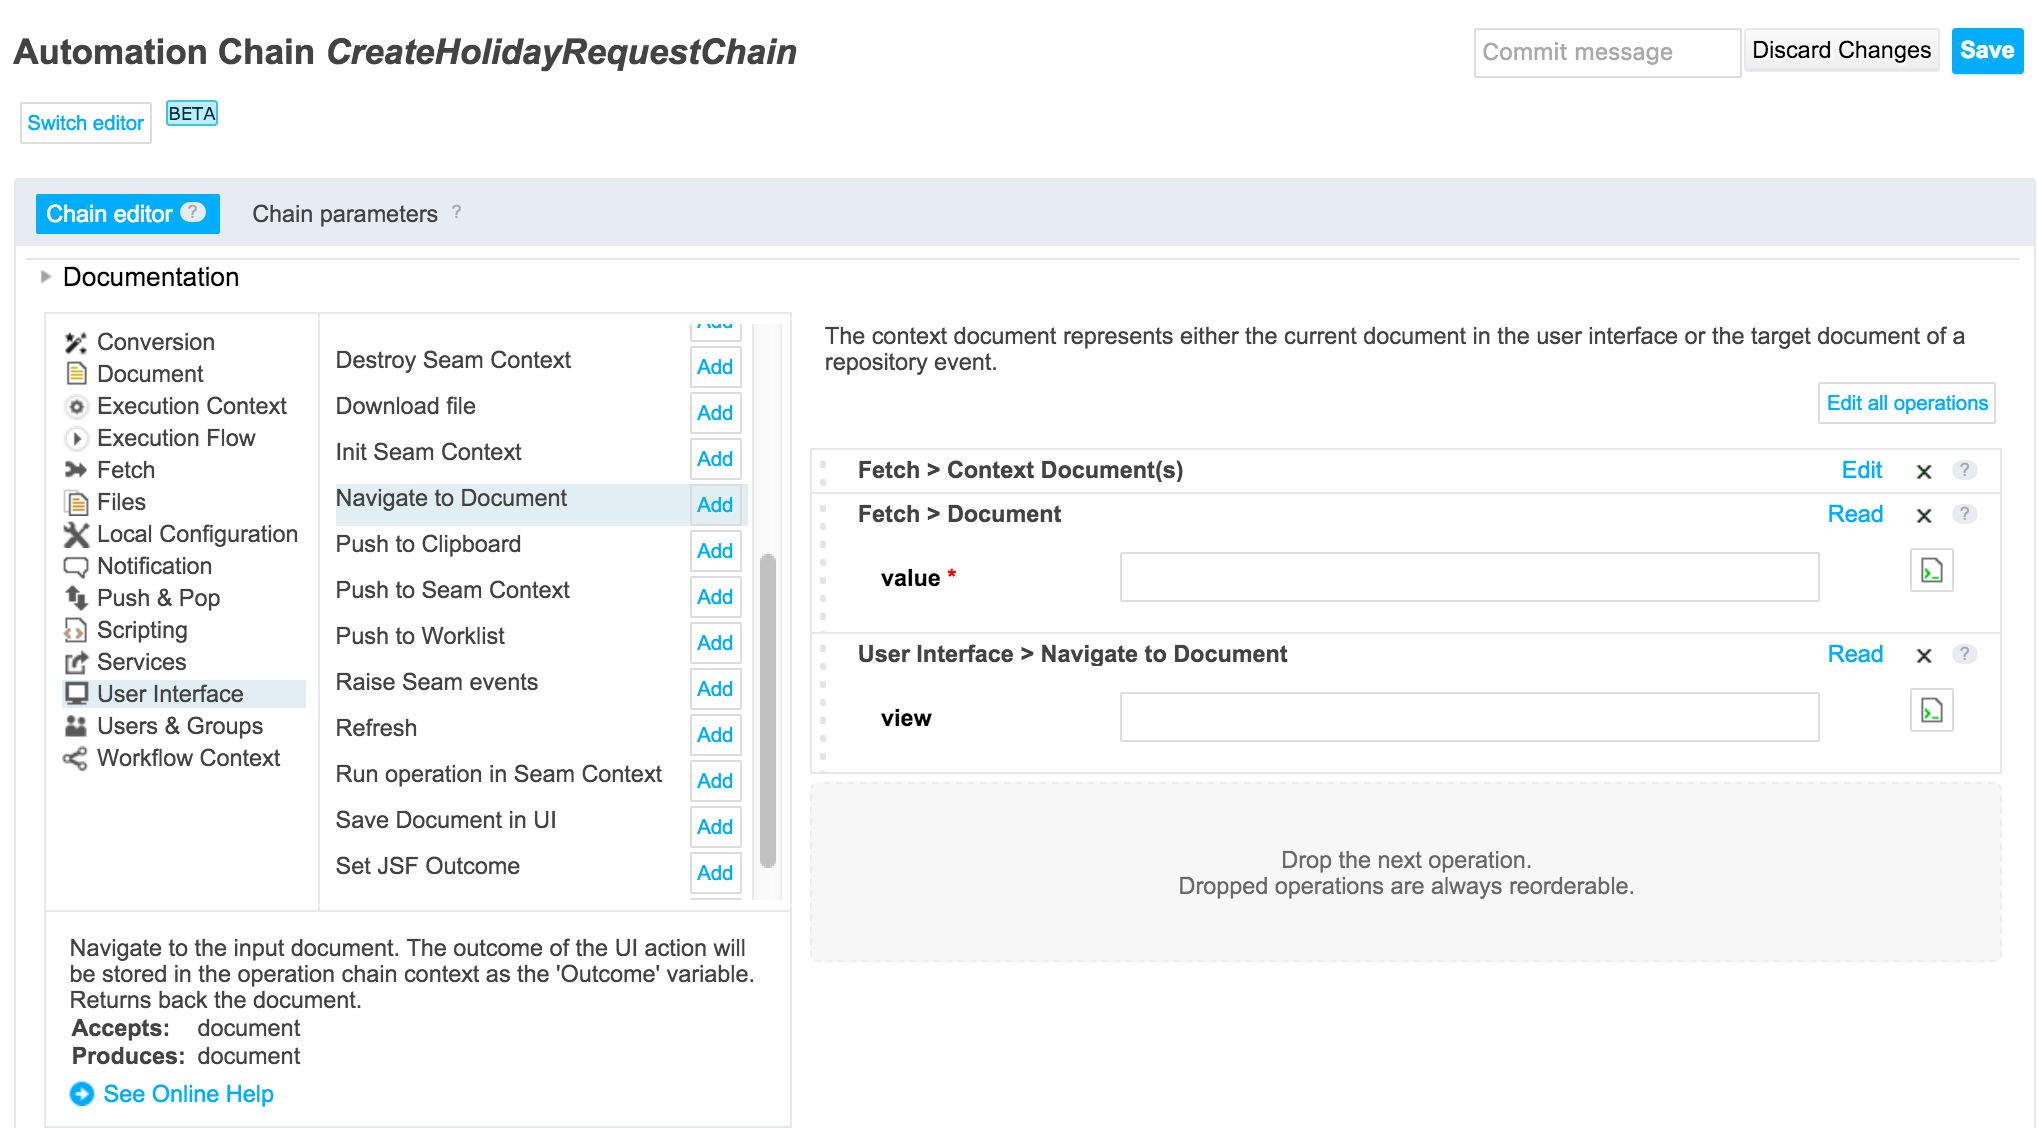
Click on the Switch editor button to write your chain in YAML or paste a chain copied from a how-to for instance.
- Save your chain. You now need to bind your automation chain by creating a new action or a new event handler.
Automation Chain Binding
Binding the automation chain to a button, an action or an event handler is done in the User action and event handler edition forms.
Binding to an Action
To bind the chain to a button/action:
- Create a new user action from the Studio tree:
- In the Automation menu entry, click on User Actions.
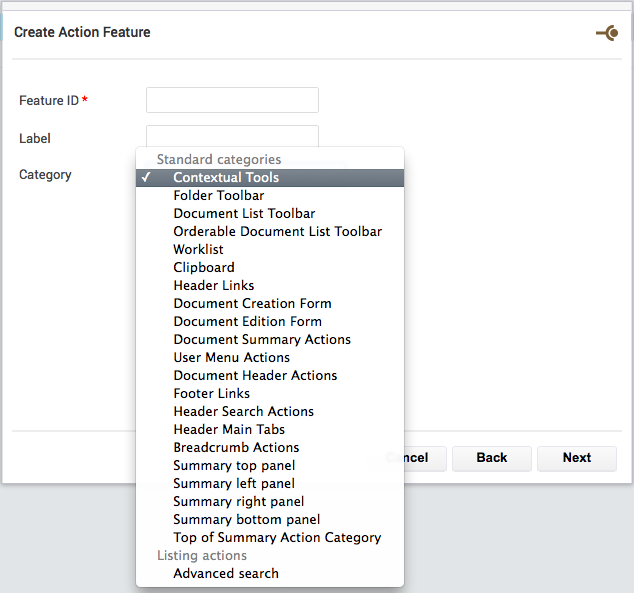
- Click on the New button.
- On the pop up window displayed, give the action an ID, a name and select to which category of actions it should be tied (contextual icons, folder bar buttons, clipboard actions, user links...) then click on Next.
 The action edition form is displayed.
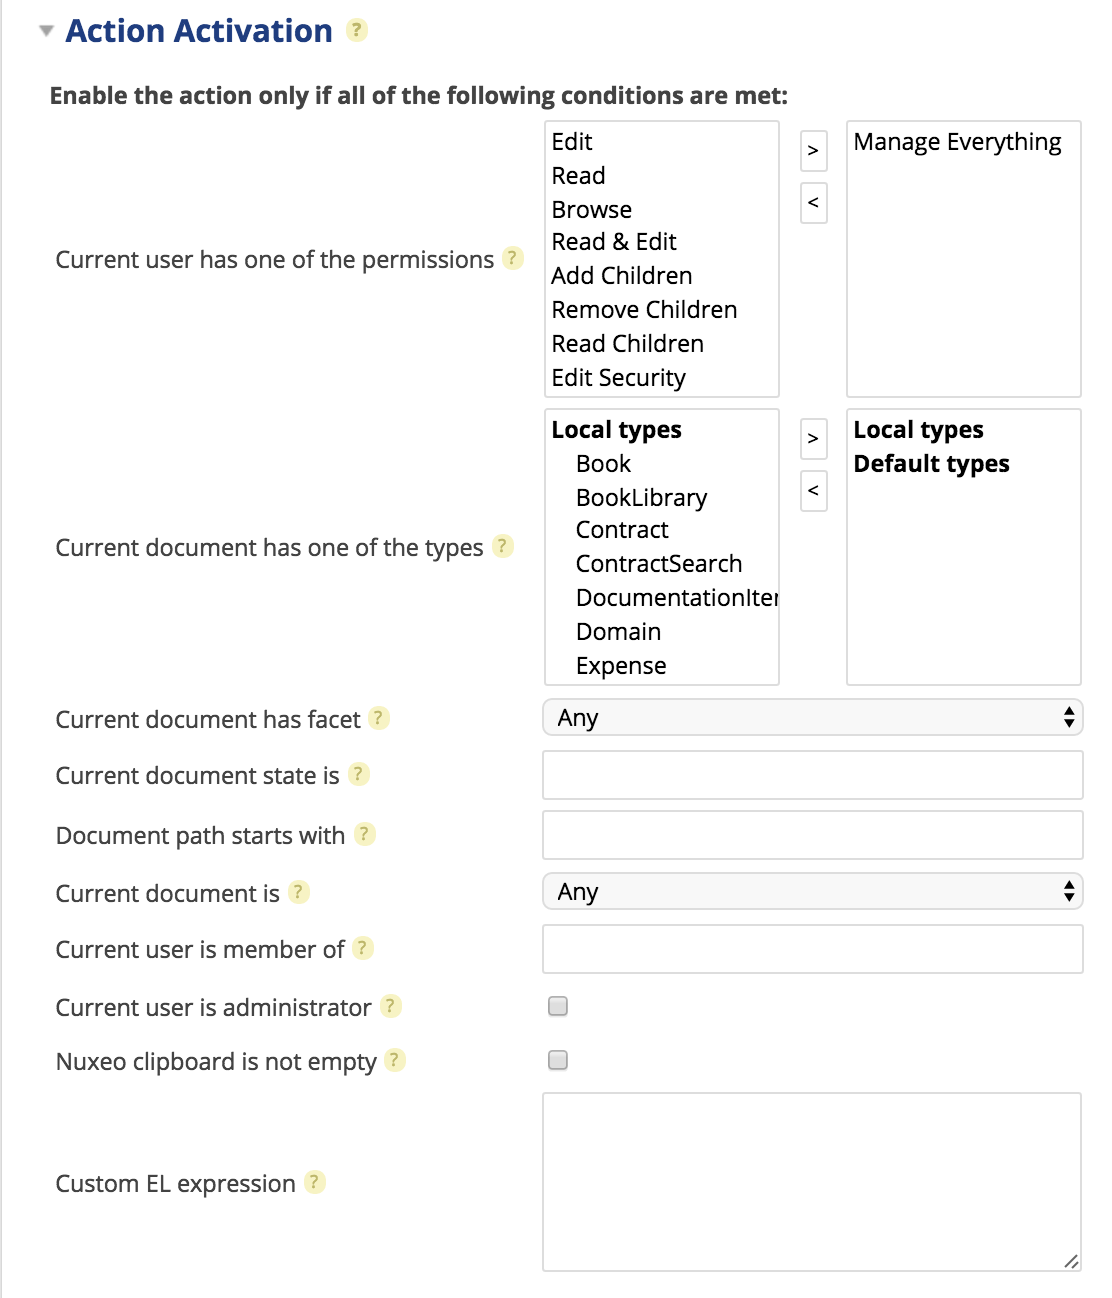
- Fill in all the required information : Label, icon, ...
- In the Action Activation section, give the necessary filtering information, to target your action to the right context.
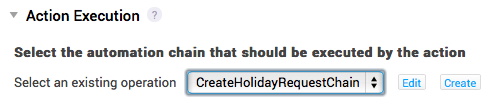
- In the Action Execution section, select the automation chain to which you want the action to be bound.
- Click on the Save button.
Binding to an Event Handler
To bind the chain to an event handler:
- Create a new event handler from the Studio tree:
- In the Automation menu entry, click on Event Handlers.
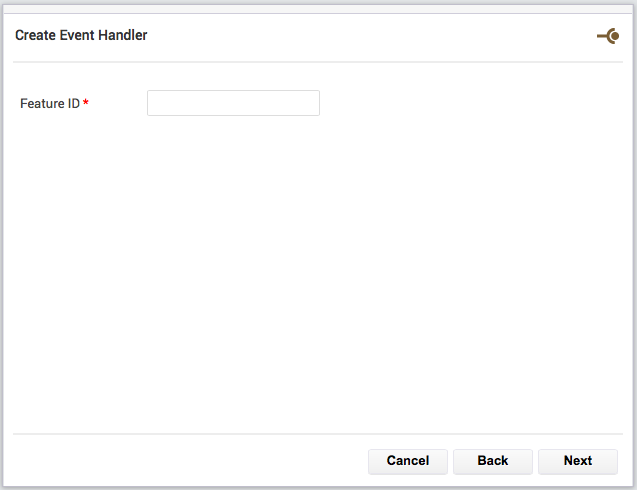
- Click on the New button.
- On the pop up window displayed,, give the event handler an ID and click Next.
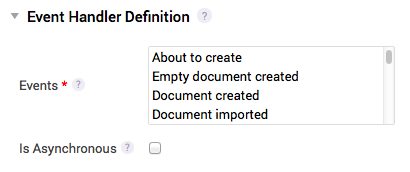
- Choose to which events the event handler should be bound (documentCreated, documentUpdated...) and indicate whether the chain should be run synchronously or asynchronously.
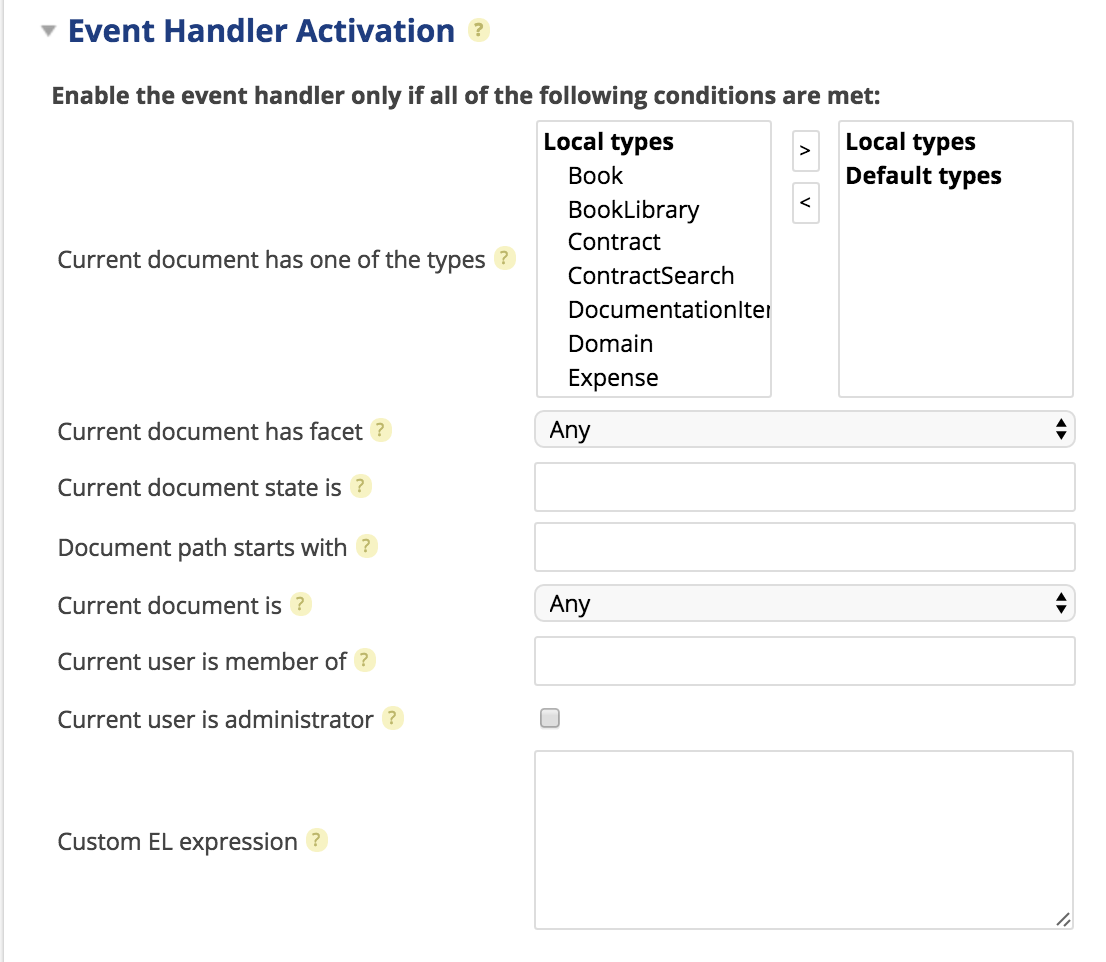
- In the Event handler Activation section, fill in the filtering information, to target your event handler to the right context.
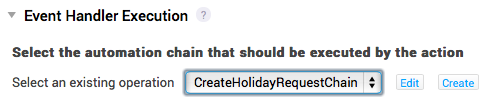
- Choose the automation chain to which you want the event handler to be bound.
- Click on the Save button.