Aggregation is a function where the data are grouped together according to certain criteria to form a single value of more significant meaning or measurement. Aggregates work as a data analytics tools by building analytic information over a set of documents. One of the most known aggregate is the Term Aggregate as known as facet.
Before you start using aggregates you may want to take a look to the document about the different type of aggregates supported and the Page Provider.
Nuxeo Platform supports six different types of aggregates: Terms, Significant Terms, Range, Date Range, Histogram and Date Histogram. This how-to will help you to understand how to use them.
For more information about aggregates, see the Elasticsearch Documentation about Aggregation
This how-to aims at showing you how to use the different types of aggregates available in Nuxeo Platform with a Contract document type. This how-to will guide you through the different steps of this process:
- Create a contract document type
- Create a new search content view
Prerequisites
Studio Project Dependencies
Make sure that the Nuxeo JSF UI target package is checked in your project's Application Definition to get all the needed features in Nuxeo Studio.
Required Studio Elements
Before starting this how-to you will need to create the following elements in Studio:
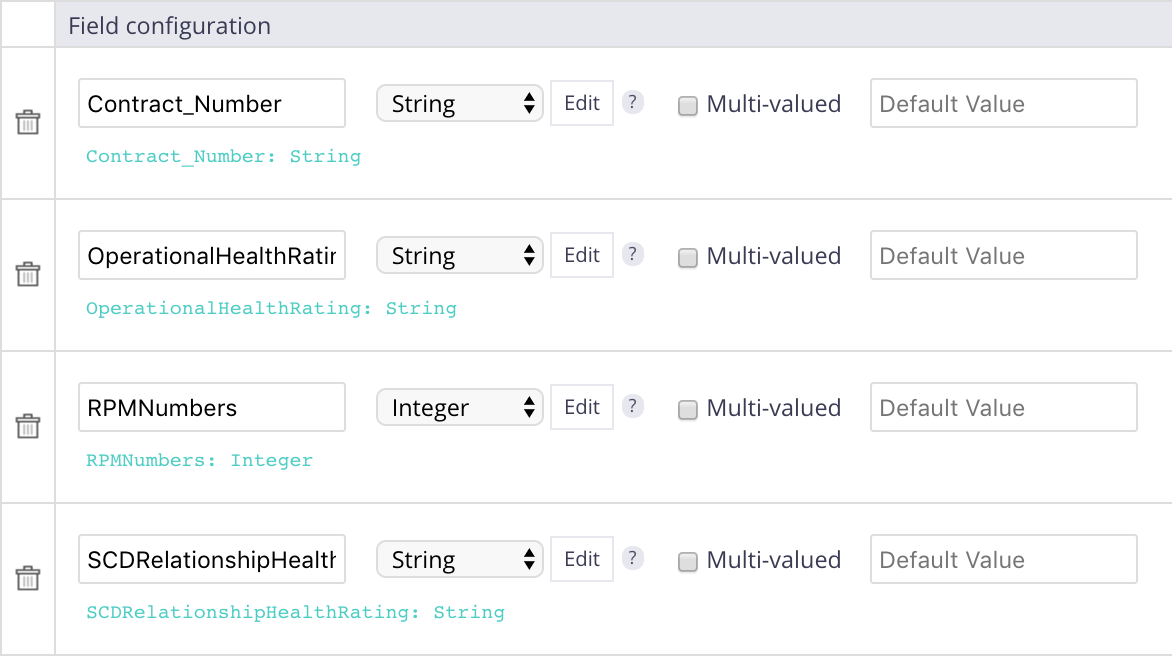
A Contract document type with 4 metadata: ContractNumber, OperationalHealthRating, RPMNumbers and SCDRelationshipHealthRating.
See the how-to How to Define a Document Type for more detailed steps.
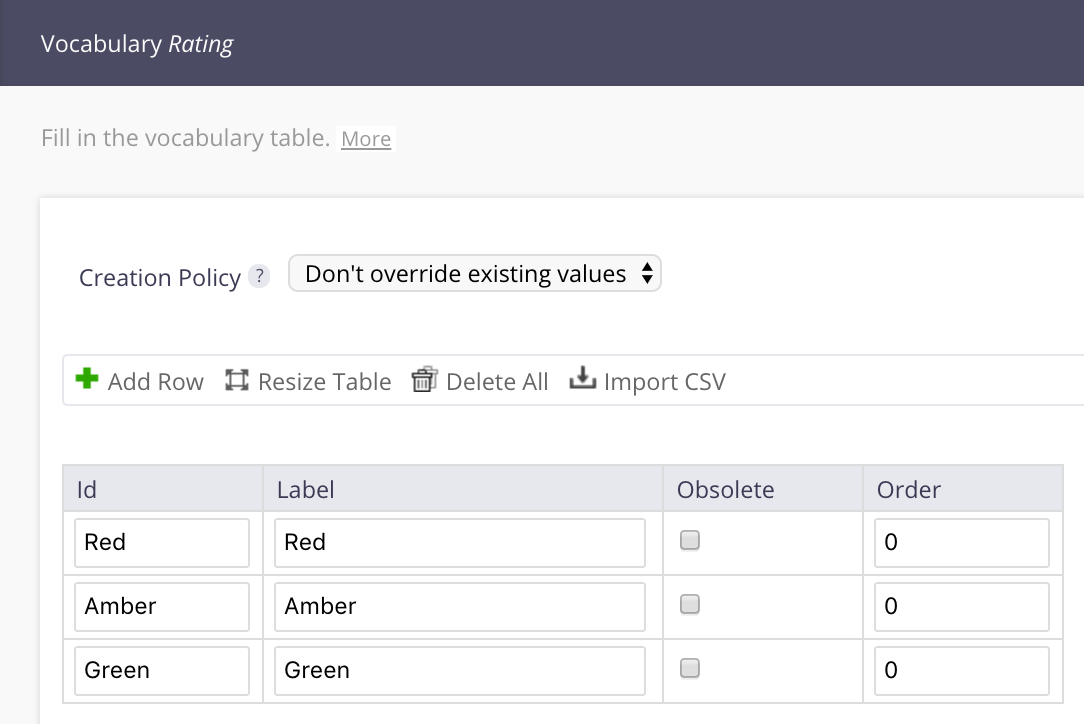
A simple vocabulary Rating assigned to the OperationalHealthRating and SCDRelationshipHealthRating elements:
For more details on vocabularies, see the Data Lists and Directories section.
You should end up with something like this:
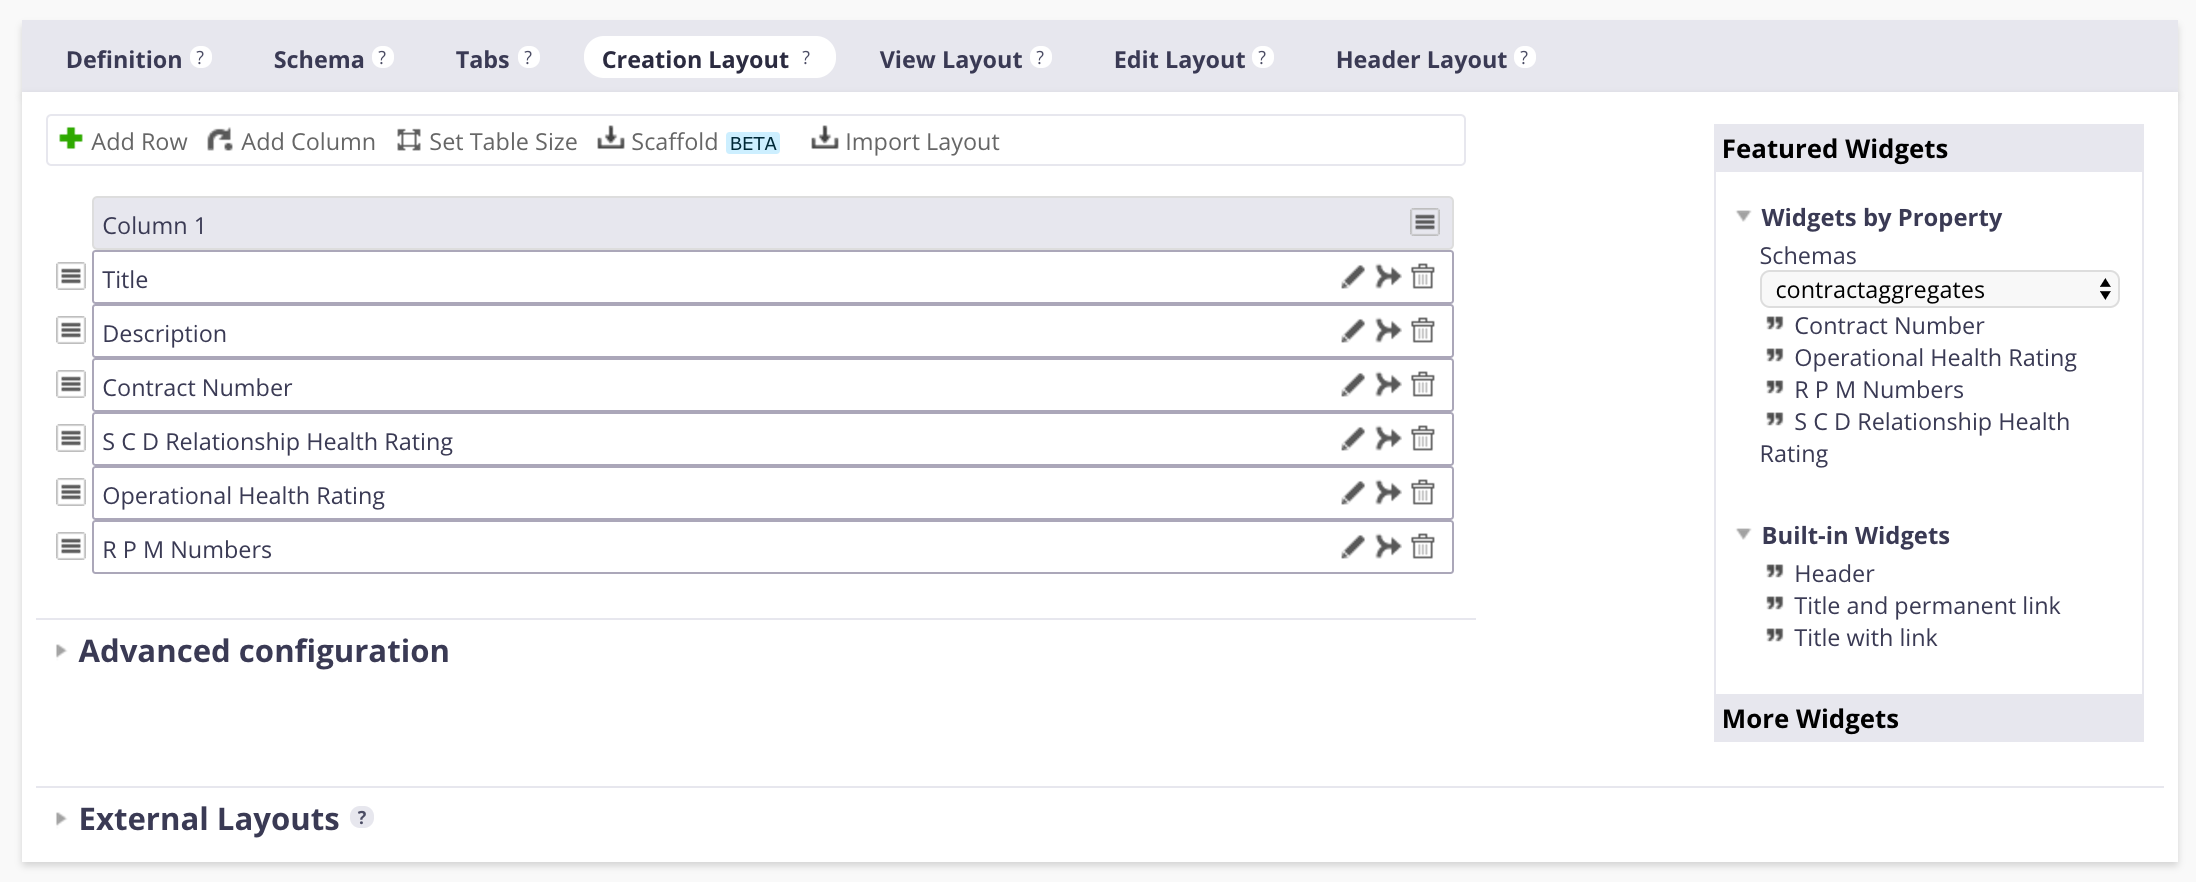
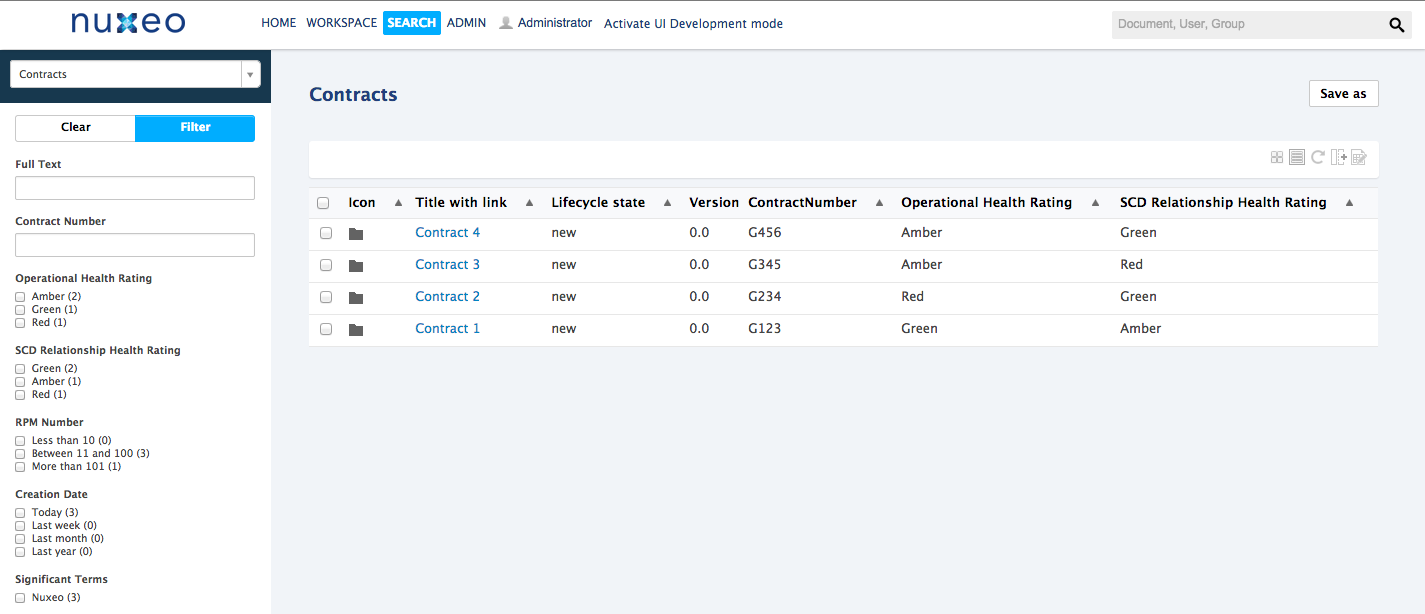
Creating a New Search Content View with Aggregates
- Go to Listing and Views > Content Views.
- Create a new content view called Contracts.
- Fill in the Query & form page like this:
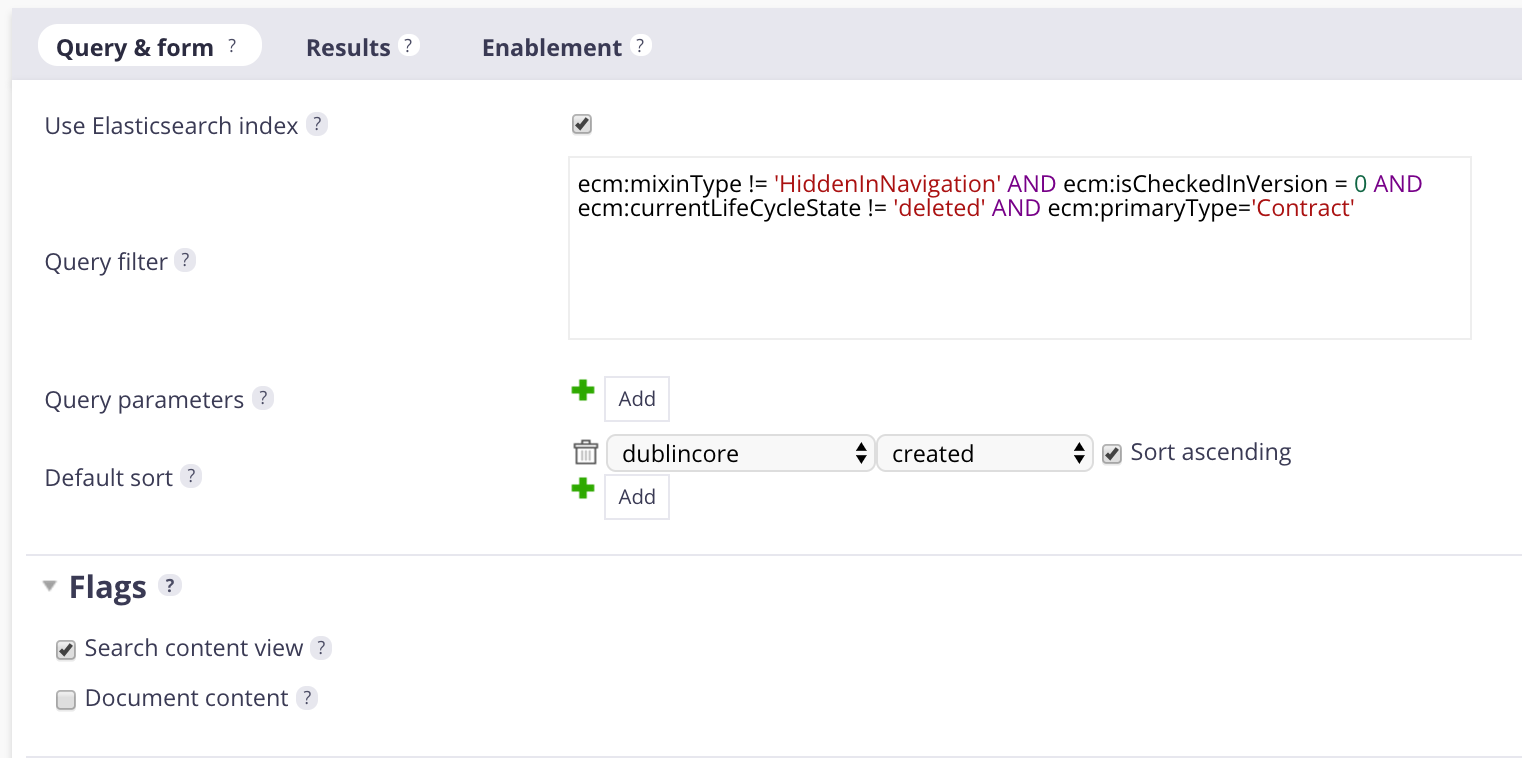
Now that you have created your content view, you can customize it by adding different types of widgets and aggregates depending on your needs in the Search Layout part of the page.
Full Text Widget

This widget allows you to do a full-text search on a particular field of a document.
- Drag and drop a Container widget from the right to the grid.
Edit the container:
Studio Label Container Contract Number Label Contract Number Handle Label Yes Display Block (Label on top) Click on
 , drag and drop the Contract Number widget from the right to the grid and edit it:
Studio Label Contract Number Label Contract Number Hide Label Yes Click on Save.
Click on Go back to previous page.
Terms Aggregate
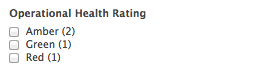
The Terms aggregate works with text properties like vocabularies, here we work with the vocabulary Rating created at the beginning.
Drag and drop a Container widget from the right to the grid.
Studio Label Container Operational Health Rating Label Operational Health Rating Handle Label Yes Display Block (Label on top) Click on
, drag and drop the Terms aggregate from the right to the grid.Select Contract > OperationalHealthRating > Ok.
Fill the Layout widget Editor:
Studio Label Terms Label Operational Health Rating Hide Label Yes Widget Type Directory Checkbox Vocabulary Rating Layout Page direction Click on Save.
Click on Go back to previous page.
Significant Terms Aggregate
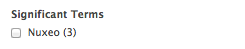
This aggregate returns significant occurrences of terms in a set, not just the most used ones. A term is judged "significant" if there is a noticeable difference in the frequency in which a term appears in the subset and in the background.
- Drag and drop a Container widget from the right to the grid.
Edit the container:
Studio Label Container Significant Terms Label Significant Terms Handle Label Yes Display Block (Label on top) Click on
, drag and drop the Significant Terms aggregate from the right to the grid.Select dublincore > Source and click on OK.
Fill the Layout widget Editor:
Studio Label Significant Terms Label Significant Terms Hide Label Yes Widget Type Checkbox Layout Page direction Click on Save.
Click on Go back to previous page.
Date Range Aggregate
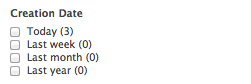
This aggregate is dedicated to date values. It allows you to see the documents created over a certain period of time. Note that the "From" values are included and the "To" values are excluded for each range defined.
- Drag and drop a Container widget from the right to the grid.
Edit the container:
Studio Label Container Creation Date Label Creation Date Handle Label Yes Display Block (Label on top) Click on
, drag and drop the Date Range aggregate from the right to the grid.Select dublincore > Created and click on OK.
Fill the Layout widget Editor:
Studio Label Creation Date Label Creation Date Hide Label Yes Date Ranges - Label:
Last yearFrom:now-1yTo:now-1M - Label:
Last monthFrom:now-1MTo:now-7d - Label:
Last weekFrom:now-7dTo:now-24H - Label:
Last 24hFrom:now-24HTo:now
Widget Type Date Range Checkbox Layout Page direction - Label:
Click on Save.
Click on Go back to previous page.
Range Aggregate
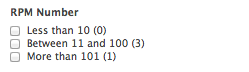
This aggregate allows you to define a set of ranges and works as the date range aggregate. You can, for example, create range with price, ages etc. Here we will range by RPM Numbers.
- Drag and drop a Container widget from the right to the grid.
Edit the container:
Studio Label Container RPM Numbers Label RPM Numbers Handle Label Yes Display Block (Label on top) Click on
, drag and drop the Range aggregate from the right to the grid.Select Contract > RPMNumbers and click on OK.
Fill the Layout widget Editor:
Studio Label RPM Numbers Label RPM Numbers Hide Label Yes Ranges - Label:
Less than 10From:0To:10 - Label:
Between 11 and 100From:11To:100 - Label:
More than 100From:101To:100,000
Widget Type Range Checkbox Layout Page direction - Label:
Click on Save.
Click on Go back to previous page.
Deploying Changes on Your Nuxeo Platform Instance
- Go to your Nuxeo Platform instance,
- Connect as Administrator with Administrator password,
- Click on Admin Center > Update Center > Nuxeo Studio,
- Click on the Update button,
- Go in a workspace and create a new Contract.