Finding the Extension Point Where to Contribute
Regardless of the tool you're using (Nuxeo Studio or Nuxeo CLI), the first step is to find the open door configuration where you want to contribute. We call these open doors Extension points.
Nuxeo lists all extension points for a given version in the Nuxeo Explorer:
Click on Extension points.
Maybe use the search filter.
Click on the extension point you're interested in. The documentation of this extension point is displayed.
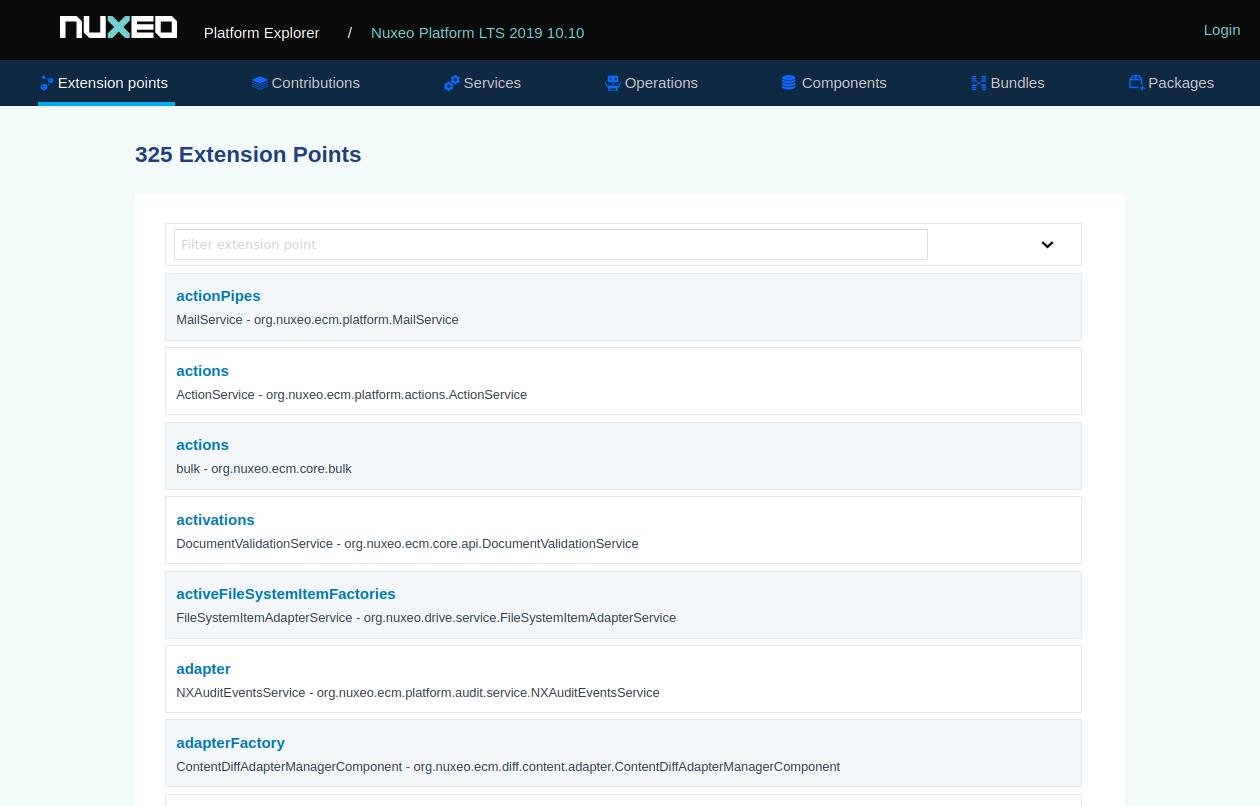
Then, if you click on any link in the Contributions section, you will see all the default contributions implemented into the documented Nuxeo instance. There are hundreds of configuration possibilities.
Contributing Using Nuxeo Studio
In the Advanced Settings > XML extensions, click on the Ok button.
Give the extension an ID and click on the Next button.
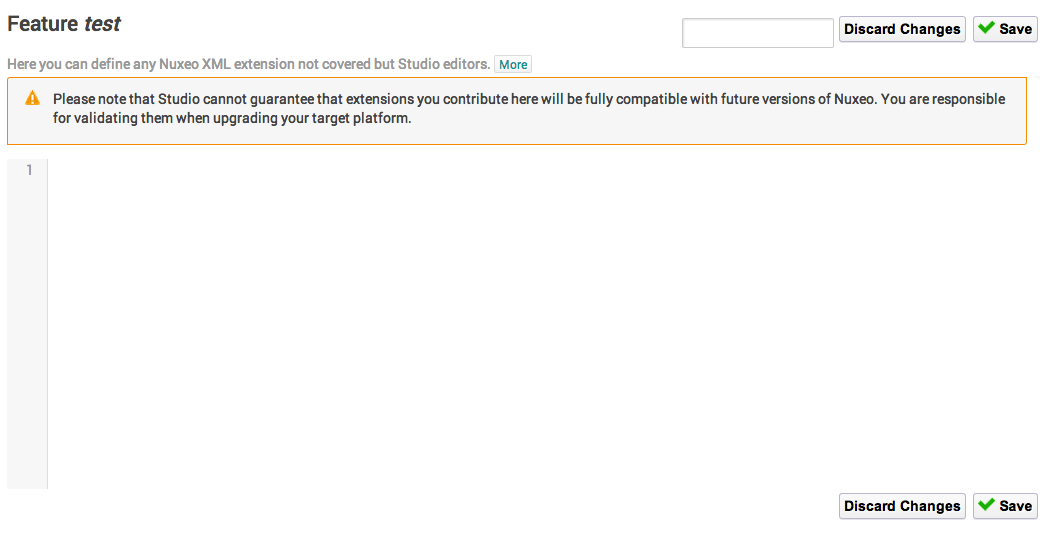
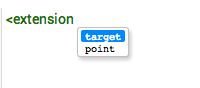
Type the content of your extension directly in the area. The editor helps you: start typing
<and it will suggest possible values. While you are typing, some suggestion happens sometimes when typing on space, and you can always call the suggester using the key CTRL+space.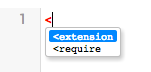
Click on Save.
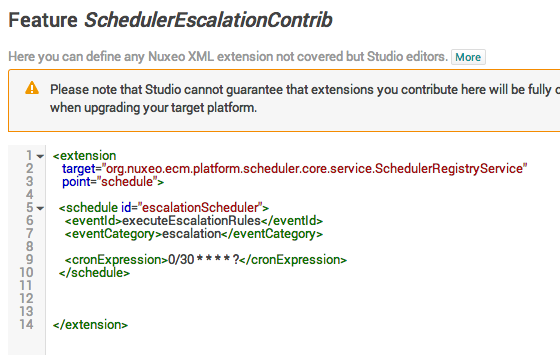
<extension> element.
There is a minimal check done so as to avoid defining incorrect XML.
In some particular situations, the <require> element can also be used, see
overriding contributions.
The documentation element can also be used, alongside the <extension> element (that will document the whole feature), or inside it (that will document the contributions to the target extension point). This documentation is extracted for display by the Explorer addon.
Several extension points can be contributed to the same XML Extensions feature. This is useful to group extensions that are contributed for the same high-level functional goal.
Contributions to the same extension point can also be stacked inside the same <extension> tag, although they can also be duplicated for specific documentation.
Thus, you can have:
<extension target="component_A" point="point_A">
  <!-- here goes the configuration XML fragment -->
</extension>
or
<extension target="component_A" point="point_A">
  <!-- here goes the first configuration XML fragment -->
  <!-- here goes the second configuration XML fragment -->
</extension>
or
<documentation>
  Documentation for all contributions below
</documentation>
<extension target="component_A" point="point_A">
  <documentation>
    Documentation for this contribution
  </documentation>
  <!-- here goes the configuration XML fragment -->
</extension>
<extension target="component_A" point="point_A">
  <documentation>
    Documentation for this contribution
  </documentation>
  <!-- here goes the configuration XML fragment -->
</extension>
<extension target="component_B" point="point_B">
  <documentation>
    Documentation for this contribution
  </documentation>
  <!-- here goes the configuration XML fragment -->
</extension>
or
<extension target="component_A" point="point_A">
  <documentation>
    Documentation for contributions below
  </documentation>
  <!-- here goes the first configuration XML fragment -->
  <!-- here goes the second configuration XML fragment -->
</extension>
<extension target="component_B" point="point_B">
  <!-- here goes the configuration XML fragment -->
</extension>
etc.
Contributing Using Nuxeo CLI
Contributing to an extension using Nuxeo CLI requires more steps than using Nuxeo Studio.
Here we assume that you have installed Nuxeo CLI and follow the page Develop with Nuxeo Platform to understand the basics.
Creating an XML Extension in Nuxeo CLI
Once you have found the extension point that you want to contribute to:
Create a file named like
service-to-contribute-to-contrib.xmlinto thesrc/main/resources/OSGI-INF/directory of your project.Declare an empty component into this file, with a unique name within the target application, you can follow the suggested naming conventions to avoid conflicts:
<?xml version="1.0"?>
<component name="org.mycompany.myproject.target-extension-point-to-contribute-to.contrib">
</component>
Naming your componentIn Nuxeo bundles, we tend to follow this naming convention:org.mycompany.myproject.target-extension-point-to-contribute-to.distinctive-words. You can follow your way but should be careful to avoid conflicts. If the component name is not unique, it will not be deployed, and the server startup will be aborted.Add the XML fragment for the contribution expressing the target configuration. The format is the following:
 <?xml version="1.0"?>
 <component name="org.mycompany.myproject.target-extension-point-to-contribute-to.contrib">
   <!-- target and point attributes below are given by the extension point definition -->
   <extension target="name.of.the.component.declaring.the.extension.point" point="point.name">
     <!-- here goes the configuration XML fragment -->
   </extension>
 </component>
Here is a sample:
 <?xml version="1.0"?>
 <component name="org.mycompany.myproject.DocumentAdapterService.contrib">
   <extension point="adapters" target="org.nuxeo.ecm.core.api.DocumentAdapterService">
     <documentation>
       Adapter mapping for persisted documents using type NXBundleGroup.
     </documentation>
     <adapter class="org.nuxeo.apidoc.api.BundleGroup" factory="org.nuxeo.apidoc.adapters.AdapterFactory"
       type="NXBundleGroup"/>
   </extension>
 </component>
Declaring a Contribution in a Bundle
In the previous section, the configuration has been created. Now it needs to be declared by the containing bundle,
so that it's deployed by the Nuxeo server. This declaration is made through the
src/main/resources/META-INF/MANIFEST.MF file.
Create a new entry
Nuxeo-Component, if it does not exist:Manifest-Version: 1.0 Bundle-ManifestVersion: 2 Bundle-SymbolicName: org.mycompany.myproject.mybundle Nuxeo-Component: OSGI-INF/extensions/doctypes-contrib.xmlIf the
Nuxeo-Componententry already existed with another component declaration, separate them by commas:Manifest-Version: 1.0 Bundle-ManifestVersion: 2 Bundle-SymbolicName: org.mycompany.myproject.mybundle Nuxeo-Component: OSGI-INF/extensions/doctypes-contrib.xml, OSGI-INF/extensions/adapters-contrib.xml,
The trickiest and most important part of a MANIFEST.MF file is its formatting. One mistake and the OSGi context can't be correctly started, leading to unexpected issues and an unreachable bundle. Here are the three formatting rules to respect:
- Each property name:
- begins at the first character of the line;
- ends with a colon without space between the name of the property and the colon itself.
- Each value:
- must be preceded by a space;
- ends with a "end of line" with eventually a comma before it.
- There MUST be an EMPTY LINE at the END OF THE FILE.
Overriding the Nuxeo Default Configurations
The Nuxeo application comes with runtime contributions, relying on the extension point system for default settings.
Changing one of these configurations can be done by overriding the XML fragment from an existing Nuxeo component, by following the steps for your preferred tool (see above) combined with the specific steps below:
Identify this component: using Nuxeo Explorer, go to the extension point definition (see the first section), for instance.
Click on the contribution to be overridden: the explorer provides a dedicated link to help with overrides, that you can take as an example.
Notice the contributing component name: you will need to require it to make sure this new configuration is applied after the original one.
Write a custom component with a specific name, and declare it in your bundle. You should have something like:
<?xml version="1.0"?>
<component name="org.mycompany.myproject.extension.point.where.we.contribute">
<require>name.of.the.original.component.to.be.overridden</require>
  <!-- target and point attributes below are given by the extension point definition -->
  <extension target="name.of.the.component.declaring.the.extension.point" point="point.name">
    <!-- here goes the new configuration XML fragment -->
  </extension>
</component>