Editing a document means modifying its content (i.e. the attached file of a file document, the text of a note, etc.), or simply editing the title, description or any metadata of the document. You can edit documents individually using an edit form or apply modifications to several documents using the bulk edit form.
Content and Metadata Edit Form
To edit a document, you can:
- Click on the Edit tab of the document
- Right click on the document and click on Modify
Both ways show you the document's Edit tab that displays a form to edit the content of the document and its metadata.
In the Edit tab type your modifications and indicate if you want to update the document's version. Type a comment if you want to indicate why you modified the document (this comment is logged in the document's history and helps other users know what has been changed on the document). Once it's done, click on Save.
Edit Form Customization
The Edit form can be customized to show your business metadata, using the Edit layout. You can define your Edit tab to show organized groups of metadata and make some fields editable depending on a user property or document property.
Metadata Overview
Metadata are information describing some properties of the workspace, so that they are more accurately referenced. Some metadata are automatically filled in by the system, but most of them need to be filled in by users. When you create a document (file, note, workspace, section, or any other document type), its metadata are empty.
The Nuxeo Platform uses Dublin Core metadata by default. They are listed below:
| Field | Description |
|---|---|
|
Nature |
Nature of the document. Values come from the nature vocabulary. |
|
Subjects |
Topic(s) of the document. Values come from the I10nsubjects vocabularies. |
|
Rights |
Information about the reproduction rights of the document. Rights informations often encompass Intellectual Property Rights and Copyright. |
|
Source |
The references of the resource from which the document's content is derived (totally or partially). |
|
Coverage |
Information about the geographic reach of the document. Values come from the I10ncoverage vocabulary. |
|
Created at |
Date automatically filled in by the system when the document is created. |
|
Last modified at |
Date automatically filled in by the system when the document is modified. |
|
Format |
Format of the document, if any is preferred. |
|
Language |
Language used in the document. |
|
Expire on |
Date on which the document stops being valid. Click on the calendar icon to select a date. This date is not indexed in the system. It is just in indication for users but it is not processed by the application. |
|
Author |
User who created the document. This field is automatically filled in by the system. |
|
Contributors |
Users who modified the document. This field is automatically filled in by the system. |
|
Last contributor |
Last user who modified the document. This field is automatically filled in by the system. |
Although metadata are not mandatory, filling them in will make your documents easier to find using Nuxeo search engine.
Coverage and subjects are used for virtual navigation, available as an addon.
To fill in or change the metadata of the document, just edit the document.
Safe Edit
The Nuxeo Platform includes a safe edit mechanism that prevents you from inadvertently leaving an edit form without saving. This mechanism consists in displaying a popup for you to confirm you really want to quit without saving when you edit a document and try to quit the edit form or close the browser's window without clicking on the Save button.
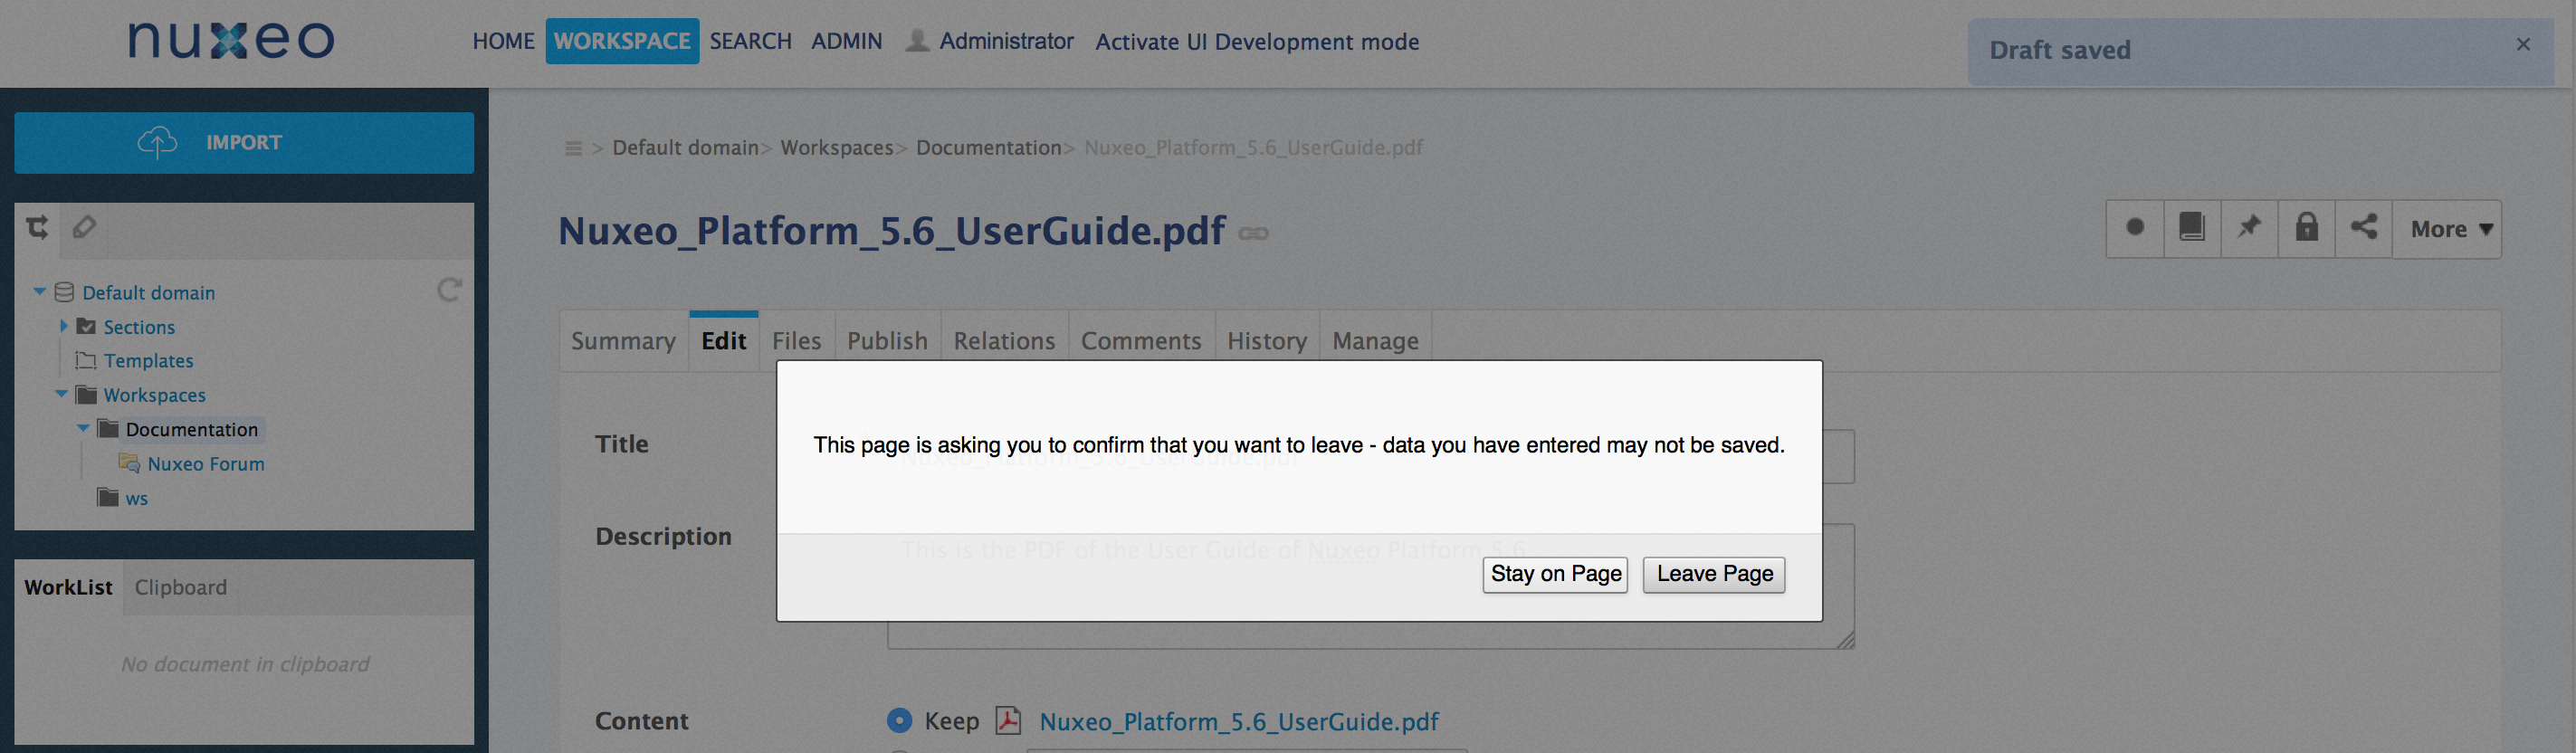
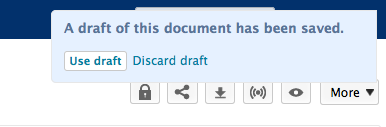
In browsers that allow it, a draft is automatically saved for recovery.
Bulk Editing
It is possible to edit several documents at the same time. When you bulk edit documents, you can edit a set of their metadata. You can bulk edit documents from:
- A folder Content tab
- Search results, whatever the search you are using
- A virtual navigation list of documents
To edit several documents at the same time, select the documents to edit using the checkboxes on the documents list and click on Edit at the bottom of the page. Fill in the relevant metadata and leave other values empty by default. Note that if you edit metadata for which the document(s) already had a value, the previous value will be replaced by the one you select on the bulk edit form. Once it's done, click on Save.
It is possible to change the default bulk edit versioning policy. See the page Bulk Edit in the developer documentation.
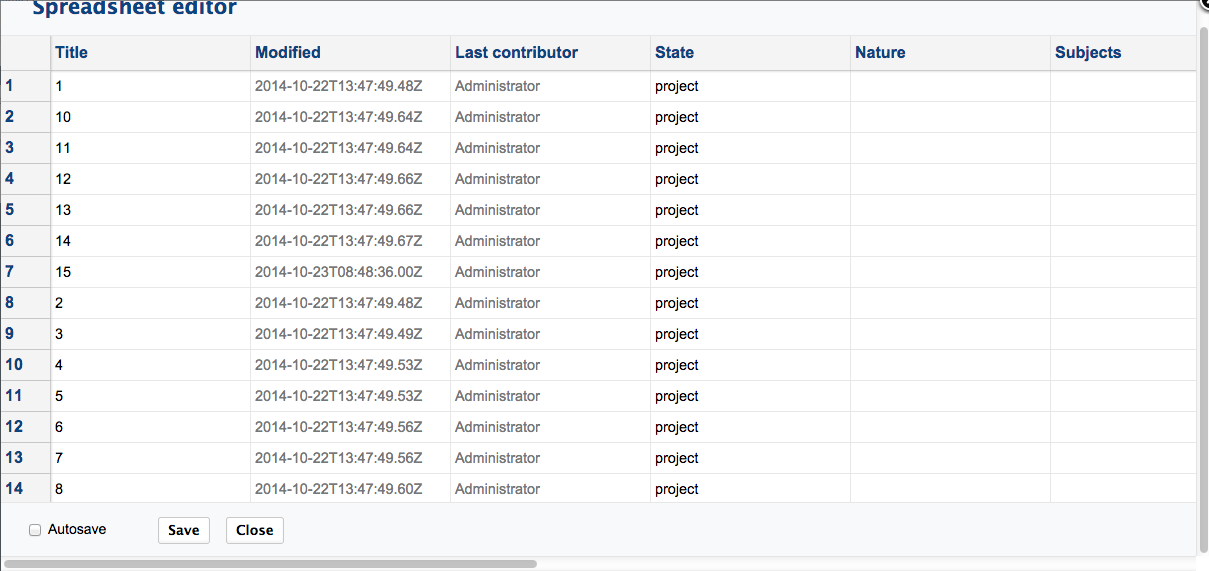
You can also use, Nuxeo Spreadsheet to edit several documents at the same time in your repository as if you were in a spreadsheet-like grid, like copy and paste by dragging the cell's value.
When you navigate from page to page, your selection is not lost and you can bulk-edit documents that are not on the same page.
There is a drawback: You must make sure to bulk-edit only the correct documents (i.e. there are no checked documents in other pages that, in fact, you don't want to edit.).
Versioning Overview
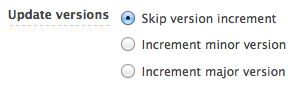
To create a new version of your document:
- Click on the Edit tab of the document.
- At the bottom of the form, in the Update version, select your versioning option and click Save.
 Versions are accessible from the History tab of the document.
Nuxeo Drive Versioning Policy
When you edit a document, either from your Nuxeo Drive folder or using the online editing, a new version is automatically created on the Platform and the version number is updated:
- If you are not the last contributor of the document
- Or if your last edit is more than an hour ago
Then, if your document's version was 1.0 before modification for instance, it automatically becomes 1.1+ after you edited it from the Nuxeo Drive folder and the 1.1 is archived as it is created. Otherwise, a simple modification is done on the document and logged in the document's History.
See the page How to Customize Nuxeo Drive Versioning Policy to change this behavior.
Relations
Relations are information that connect the application's documents with other documents or external resources. Documents are thus part of a coherent and organized structure.
Available relations are:
- reference relation (references, is referenced by),
- basis relation (is based on, is base for),
- replacement relation (replaces, is replaced by),
- requirement relation (requires, is required by),
- compliance relation (conforms to, has conform).
A summary of the document's relations is displayed in the Summary tab.
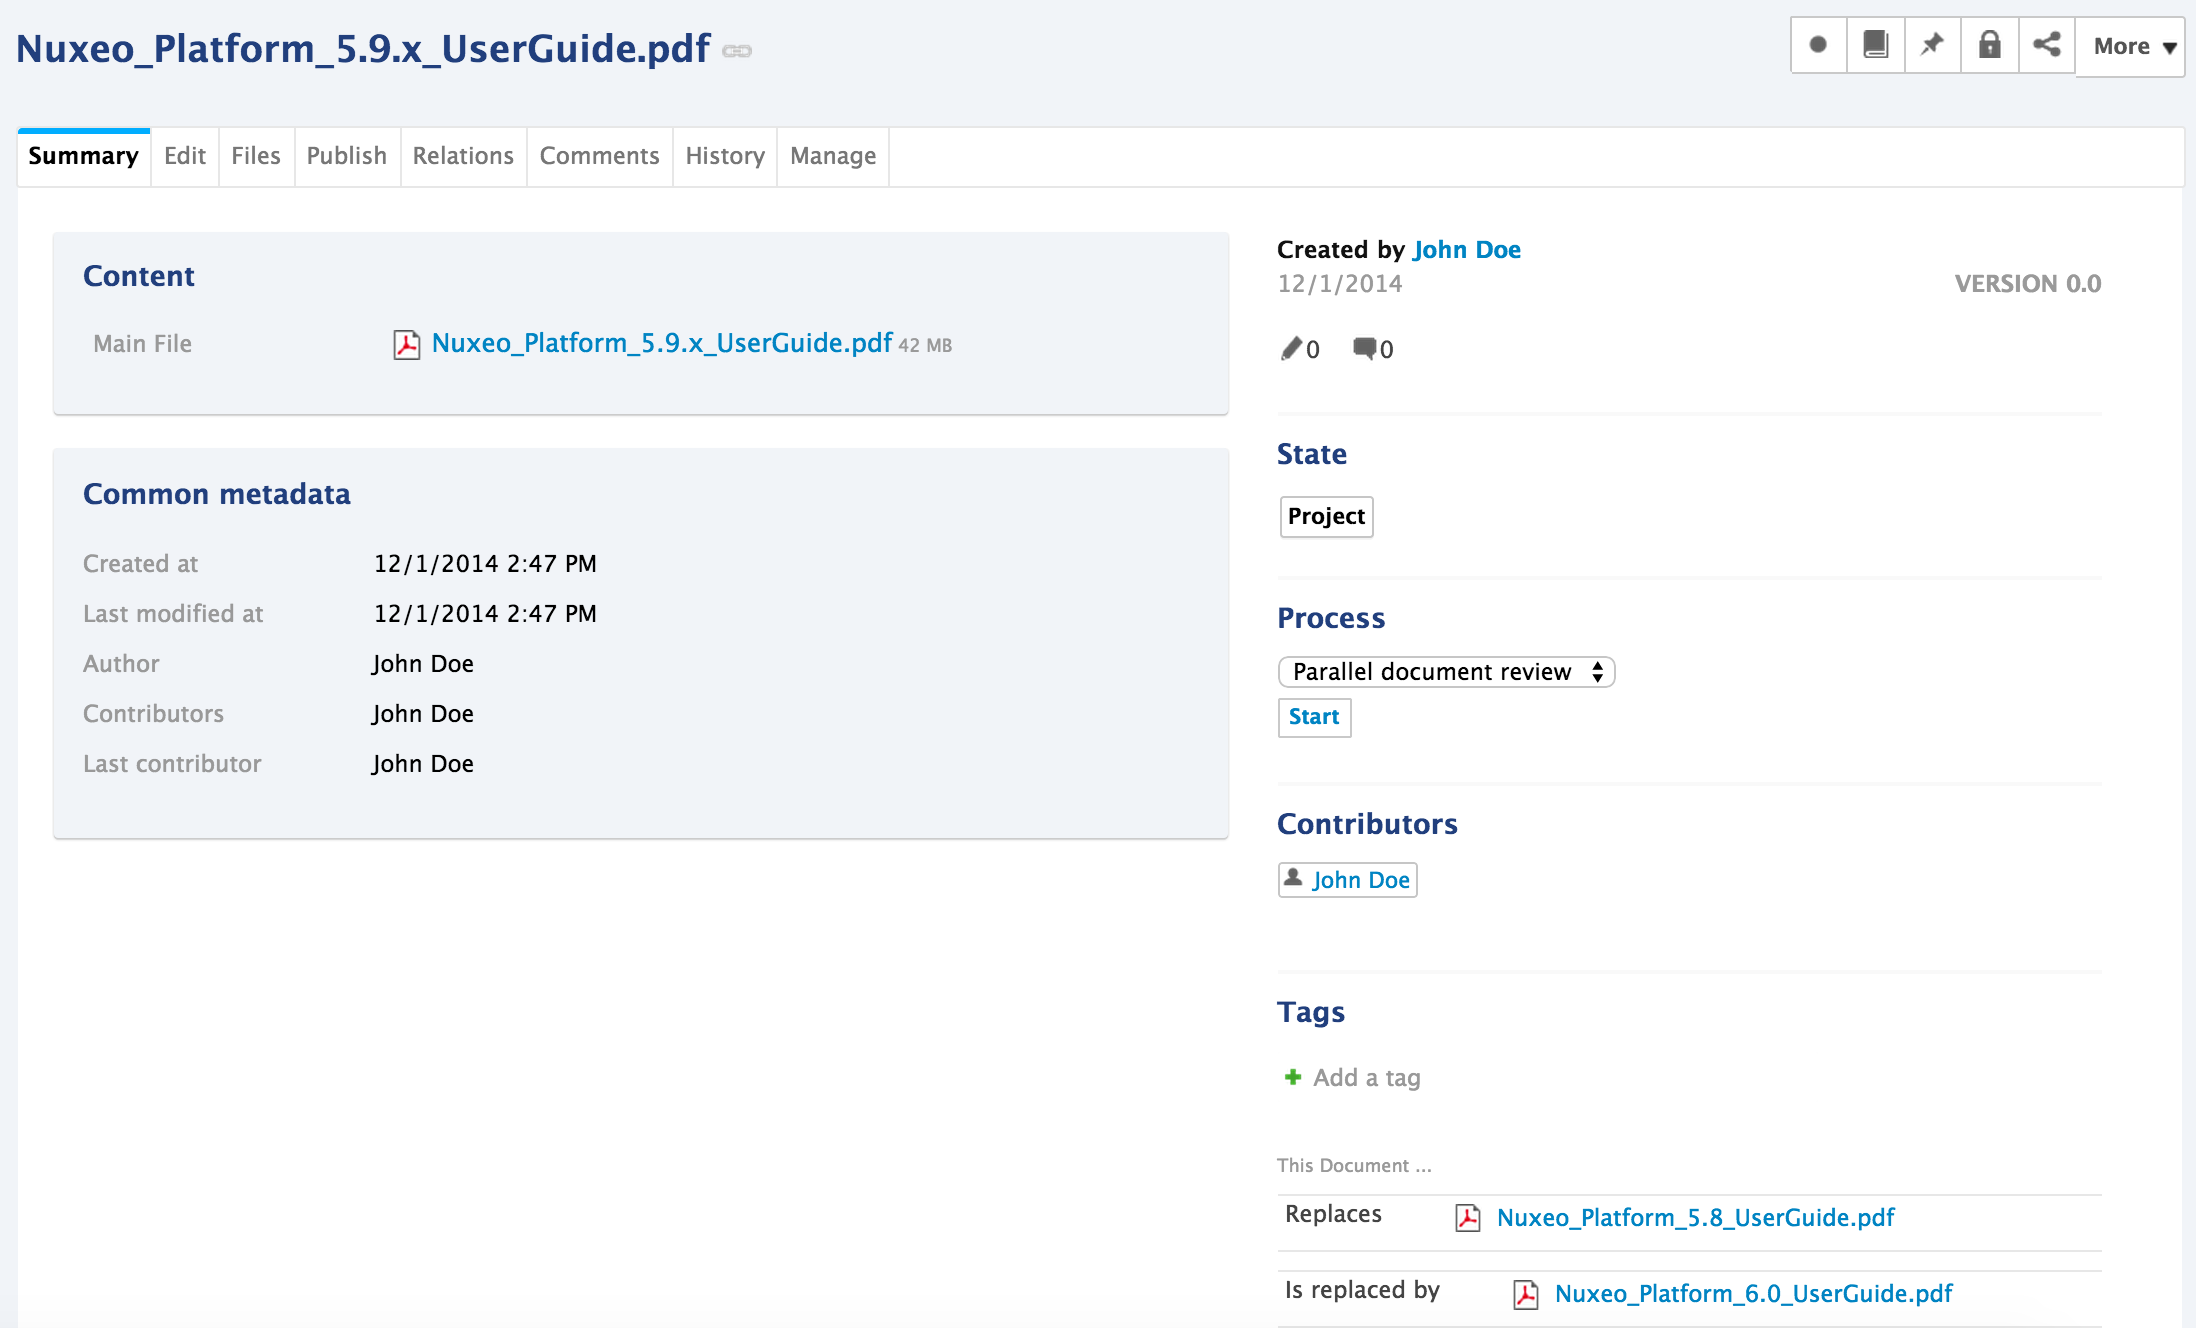
You can also see all the document's relations in the Relations tab of the document. In Relations tab, relations are sorted by outgoing and incoming relations. Outgoing relations are relations that were created from the current document. Incoming relations are relations which were created from another document and to the current document.
The objects of the relation are hyperlinks: Click on the object's name to consult it.
Managing Relations
You need to have editing or management permissions to add or delete relations on a document.
You can create a relation from a document to:
- Another document on the application
- An external document (using URI)
- A text
You can create relations between documents from different workspaces or domains.
When you add a relation on a document, it creates what we call an "outgoing" relation. The document to which you added the relation automatically has an "incoming" relation. You can delete outgoing relations only.
To create a relation:
In the Relations tab of the document, click on Add a new relation link, fill in the relation creation form and click on Add.
The relation is displayed as an outgoing relation, under the relation creation form. An incoming relation is automatically created in the target document's Relations tab, that directs to the source document of the relation and Relations are also displayed in the Summary tab of the document.

To delete a relation:
In the Relations tab of the document, click on the Delete link corresponding to the relation. The relation is deleted and does not appear in the table anymore. It is also removed from the incoming relations of the target document.

If you want to go further, you can follow this HOWTO: Add New Relation Types.
Copying and Moving Documents
Copying and moving documents requires to have at least Read permission on the original document and Edit permission in the target workspace. Copy and move are possible in workspaces and workspaces templates. To copy a document in a section you need to publish it in the new section. To move it from a section to another, you need to unpublish it from the first section and publish it in the second one.
Copying and Moving are done using the clipboard and worklist, which are located in the left part of the screen, below the navigation tree.
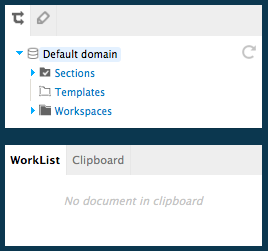
Clipboard and Worklist
What is the difference between the clipboard and the worklist?
Both are used to select documents and apply actions on these documents. Possible actions are:
It is possible to add your own actions in the clipboad or the worklist.
There are two differences between the clipboard and the worklist:
- The clipboard is a one-shot selection: when you select one or several documents and add them to the clipboard, it replaces the previous selection. On the contrary, putting documents to the worklist adds them to the existing selection.
- The worklist content is kept when you log out: your selection is still available when you log back in, until you remove documents from the worklist. The clipboard selection is lost when you log out.
Copying Documents
There are two ways to copy documents:
- If you need to copy one document or more from the same workspace, use the clipboard.
- If you need to copy several documents from different workspaces, use the worklist.
From the Same Workspace
In the workspace Content tab, check the box(es) corresponding to the document(s) you want to copy and click on Copy button below the table. The selected documents are added to the clipboard, which is displayed instead of the worklist. You can now go to the workspace where you want to copy the document(s) and click on the Paste button in the Content tab or the Paste in current folder link in the clipboard.
From Different Workspaces
To do that, you need to add documents to your worklist instead of copying them. Go in a workspace, check the box(es) corresponding to the document(s) you want to copy and click on the Add to worklist button below the table. Repeat these steps as many times as you need. Once you have added all the documents you need to your worklist, go in the workspace where you want to paste the documents and click on the Paste button in the Content tab or the Paste in current folder link in the worklist.
Moving Documents
From the Same Workspace
To move one or several documents from a single workspace at the same time, you can use either the clipboard or the worklist. Check the box(es) corresponding to the document(s) you want to move and click on the Copy button below the table. Go to the workspace where you want to move the document(s) and click on the Move in current folder link in the clipboard.
You can also move documents one by one by dragging their icon from the Content tab to the target workspace in the navigation tree.

From Several Workspaces
To move several documents from different workspaces at the same time, check the box(es) corresponding to the document(s) you want to move and click on the Add to worklist button below the table. Repeat these steps as many times as you need. Go to the workspace where you want to move the document(s) and click on the Move in current folder link in the worklist.