The Nuxeo Sitecore Connector gives Sitecore users the ability to search content stored in Nuxeo, select renditions to use, then copy the content into the Sitecore Media Library for use in Sitecore-authored pages.
The majority of the installation and configuration is on the Sitecore server. There are some modifications/configurations that are necessary on the Nuxeo server, within the nuxeo.conf file, that will require work by a Nuxeo Administrator.
Requirements
- Sitecore - version 9.x or newer
- Nuxeo - version 10.10 or newer
Installation
There is nothing to install on the Nuxeo Server. All packages necessary for The Nuxeo Sitecore Connector are deployed on the Sitecore Server instance. For access to the necessary install package, please contact your Nuxeo Account Executive.
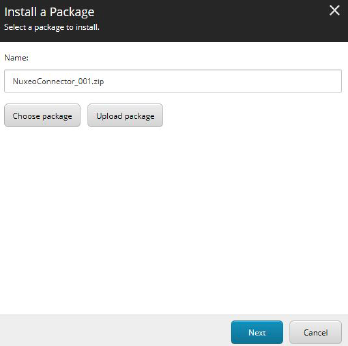
To deploy the Nuxeo for Sitecore Connector package, have your Sitecore Administrator login to Sitecore.
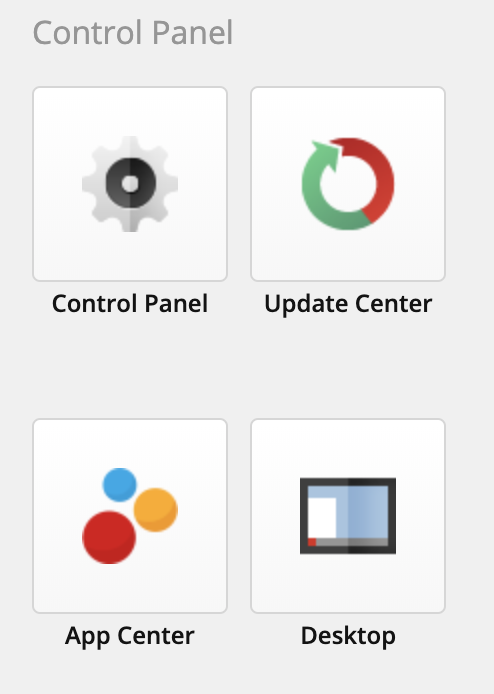
- From the LaunchPad dashboard, choose Control Panel
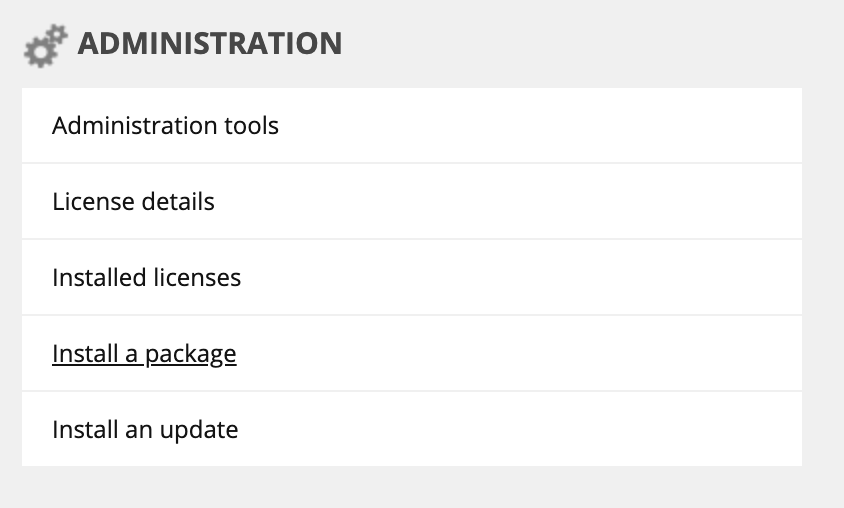
- Within the Administration section, click Install a Package
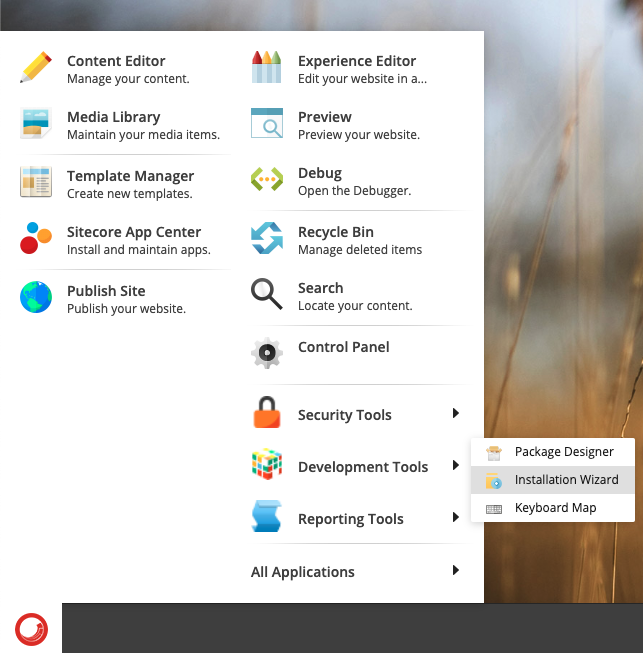
- ALTERNATIVELY - You can go through the Desktop Application > Development Tools > Installation Wizard
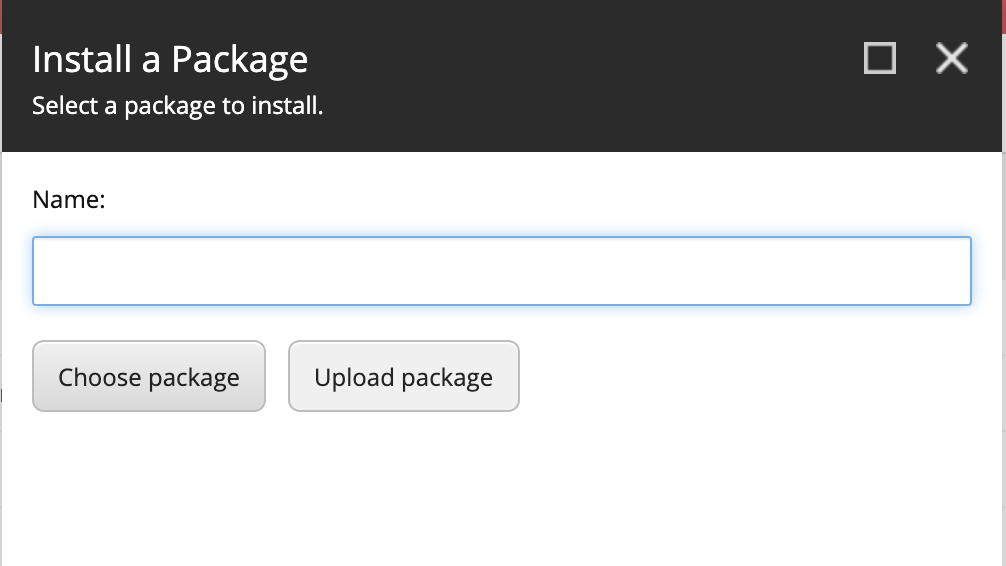
- On the Install a Package dialog, choose Upload Package
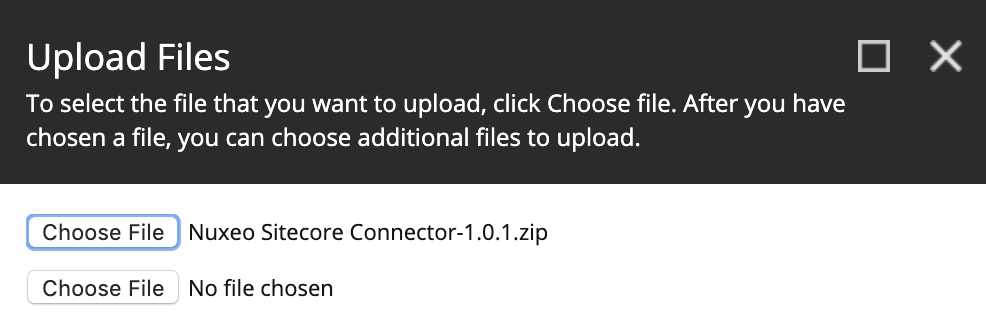
 This brings up the Upload files dialog which you will use to browse to the package you want to install.
- Navigate to the Package and select it, then click Next
- You’ll be asked to Overwrite existing files? - this is in case anything in the system is named the same - it’s probably safe to select this regardless, but if you don’t, it will append a string of numbers to the filename before uploading. Choose Next.
- You’re now ready to install, so click the Install button.
The next confirmation/warning box is going to ask what you want to do with items that already exist in the Sitecore Master and CORS databases.
The most notable item for the Nuxeo Connector is the item at:
/sitecore/templates/System/Media/Unversioned/Jpeg
We add a base template to this template to extend the media type with EXIF fields. If you have not modified the template before, it’s fine to choose Overwrite. If you have, choose Merge - Append.
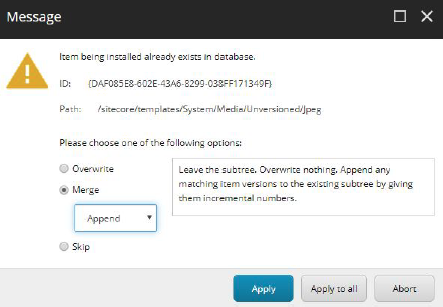
Merging options can be confusing, especially given the out of the box explanations.
The correct description of what each option does should be something like this:
| Option | Description |
|---|---|
| Overwrite | Items with the same ID (along with it's descendants) will be removed and replaced by items from the package. |
| Skip | Items with the same ID from the target database will remain unchanged; the item from the package will be skipped. |
| Merge - Clear | All existing versions for a language of the item being installed are removed prior to adding new versions. This options 'clears out' the versions of the language and creates one new version. |
| Merge - Append | Item versions from the package are added 'on-top' of the existing versions of the item. This preserves history, but numbers the package versions with numbers higher than the existing version numbers. A user can merge information between versions afterwards. |
| Merge - Merge | If there is a version with the same number in the item, the Installation Wizard will overwrite it, otherwise a new version with the specific number is added. This makes it possible to replace specific versions of items. |
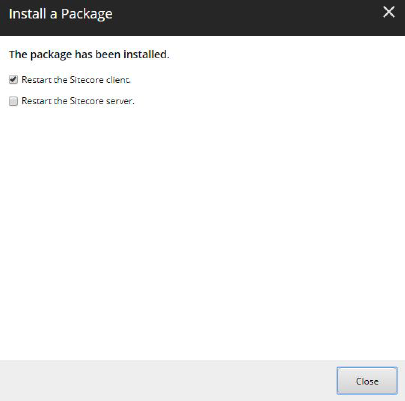
Upon successful installation, you’ll see the next dialog box, where you can simply choose Close.
web.config file in your sitecore instance. This is new in 9.3 and should not be necessary for older versions. To do:
In your
web.config on your Sitecore instance, add to your existing Content-Security-Policy the following (if you already have a specific security policy entry, you will need to add the Nuxeo info to that existing policy, just note in the example below the placement of the various URLs):
<add name="Content-Security-Policy" value="default-src 'self' 'unsafe-inline' 'unsafe-eval' https://apps.sitecore.net https://code.jquery.com https://yournuxeoservername.com/nuxeo/; img-src 'self' https://yournuxeoservername.com/ data: https://yournuxeoservername.com/ https://yournuxeostoragebucket.s3.amazonaws.com; style-src 'self' 'unsafe-inline' https://fonts.googleapis.com; font-src 'self' 'unsafe-inline' https://fonts.gstatic.com; upgrade-insecure-requests; block-all-mixed-content;" />
There is nothing to install on your Nuxeo instance. See Configuration section for necessary additions to your nuxeo.conf file.
Configuration
Sitecore
In the Modules/Settings menu, you must add information related to your Nuxeo server. As part of the configuration, you will need to give Sitecore information related to your Nuxeo instance. In Sitecore/System/Modules/Nuxeo Connector, click on Standard Configuration to expose the following settings:
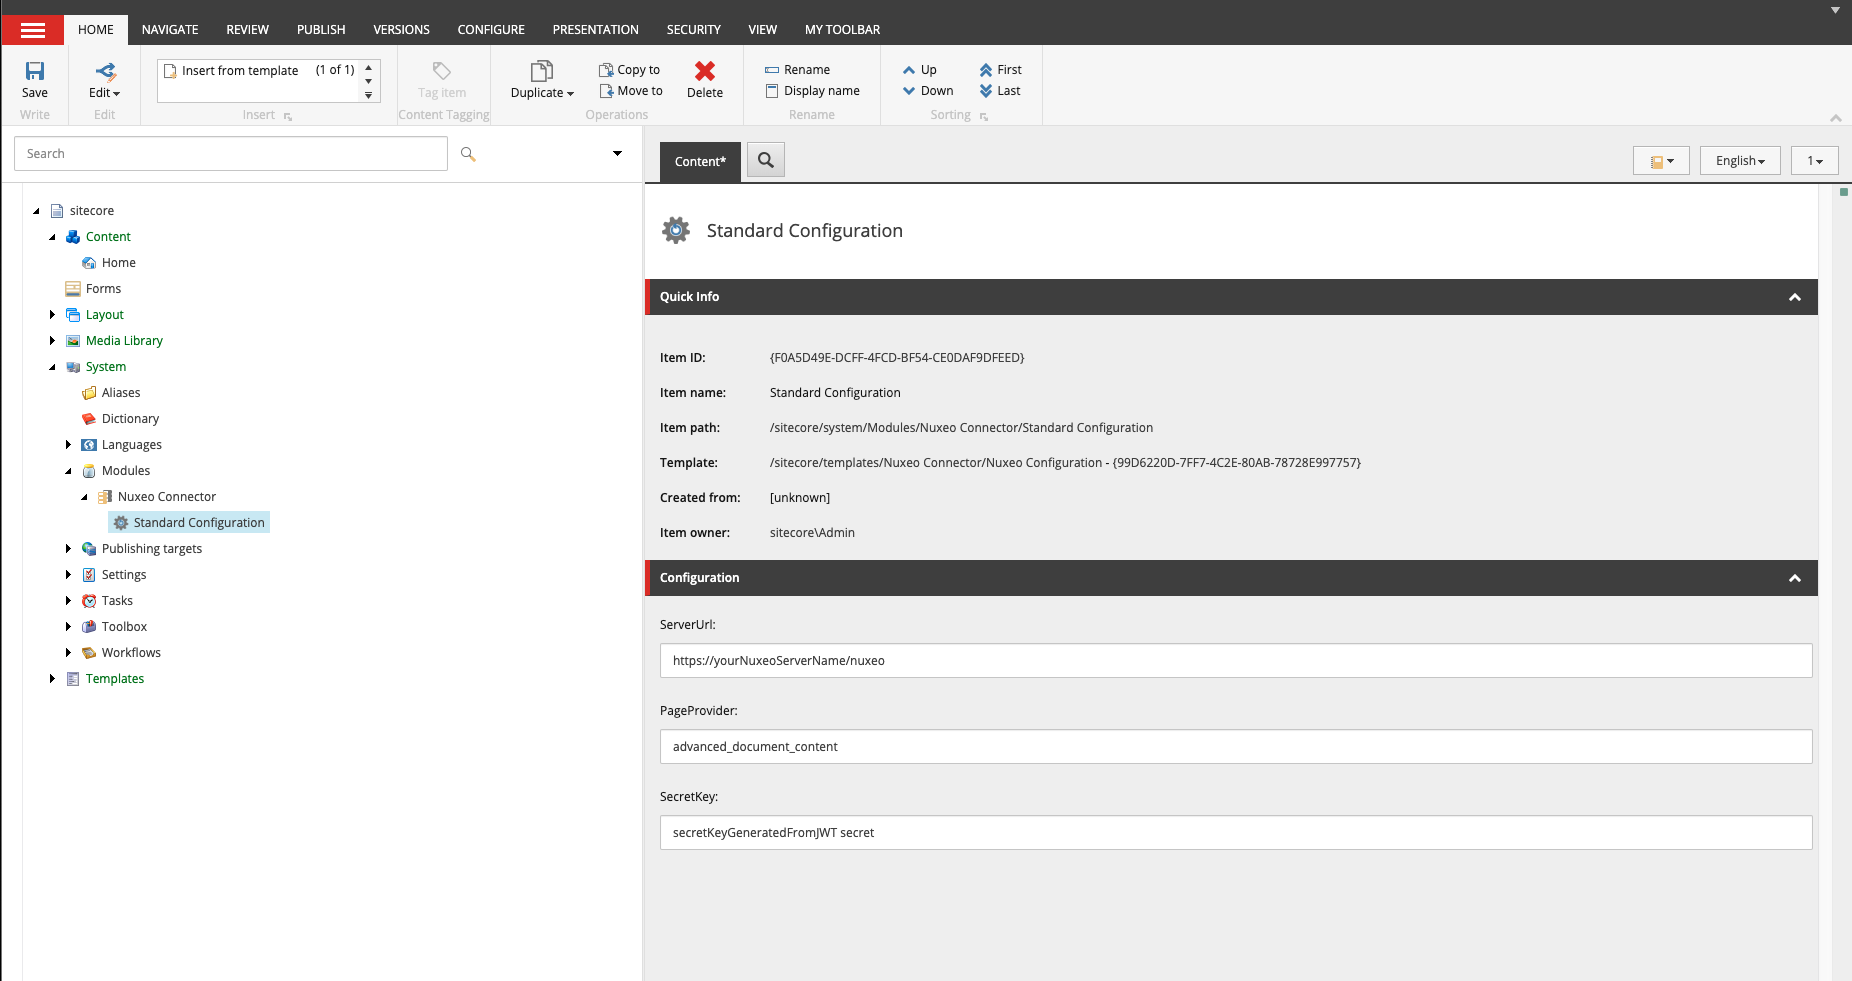
ServerUrl: the URL for your Nuxeo application. Be sure to include
/nuxeoat the end of your URL. This should match what was added to your Content-Security-Policy in yourweb.config.PageProvider: by default, we use the out of the box Nuxeo
advanced\_document_contentpage provider to query/display the Nuxeo content. As such, it includes ALL content in the repository, regardless of document type. You might want to create a new page provider to address your specific content (i.e. to only include particular content). If you want to override this default page provider, simply modify the value used in this field. It must match exactly a value that exists in your Nuxeo project. It can be one specifically created for use in Sitecore (to isolate the types of files you want in expose for Sitecore use) or any other existing page provider you have. For more information on Nuxeo page providers, please see Nuxeo documentationSecretKey: The secret goes hand in hand with the JWT secret setting referenced below in the Nuxeo Configuration section. The SecretKey is a base64 value of the secret entered in the
nuxeo.conffile. You can use a site like Base64 to generate the base64 value of your secret.
It's possible that you might already be using a JWT secret with Nuxeo. If so, you can use the same value with Sitecore.
Nuxeo
Within the Nuxeo application, there is nothing to install and very little configuration that needs to be done. Your Nuxeo system administrator will need to make some additions to your nuxeo.conf file. See [Nuxeo Documentation] (https://doc.nuxeo.com/nxdoc/configuration-parameters-index-nuxeoconf/) for information on where that is located.
JWT Secret: In your
nuxeo.conffile, add the following entry:nuxeo.jwt.secret=my\_jwt\_secret_valueYou can enter any value you’d like here. You will need to take this value and plug it into a base64 encoding site to generate the base64 value that is used in your Nuxeo Sitecore SecretKey as described above. It's possible that you might already be using a JWT secret with Nuxeo. If so, you can use the same value with Sitecore.
Page provider: By default, the Nuxeo Connector for Sitecore uses the
advanced\_document_contentpage provider to expose content. If you want to be more explicit in the content available to your Sitecore users, your Nuxeo Admin can create a custom page provider. You can name it however you choose, just be sure to modify the PageProvider setting in your Nuxeo Module settings in Sitecore (as described above) with the name of your custom page provider.
Functional Overview
The Nuxeo Connector for Sitecore is designed so “downstream” Marketers can continue to work in applications they are familiar with, while at the same time, allowing the creative work to continue in a separate process. With the Connector, Sitecore users can browse and search items In Nuxeo and then save the renditions they need in Sitecore. Once items are saved in Sitecore, users can place them in Sitecore pages. The Connector takes advantage of existing EXIF information and maps that to the corresponding fields in Sitecore.
Benefits:
- Work where you want to work. Use Nuxeo to create content using workflows and task as desired and use Sitecore to serve first class pages using the content
- Use permissions to show Sitecore users only approved content
- Map existing EXIF data to Sitecore
- Access multiple renditions to get what you need
How-to
Nuxeo content is accessed via the Sitecore Content Editor.
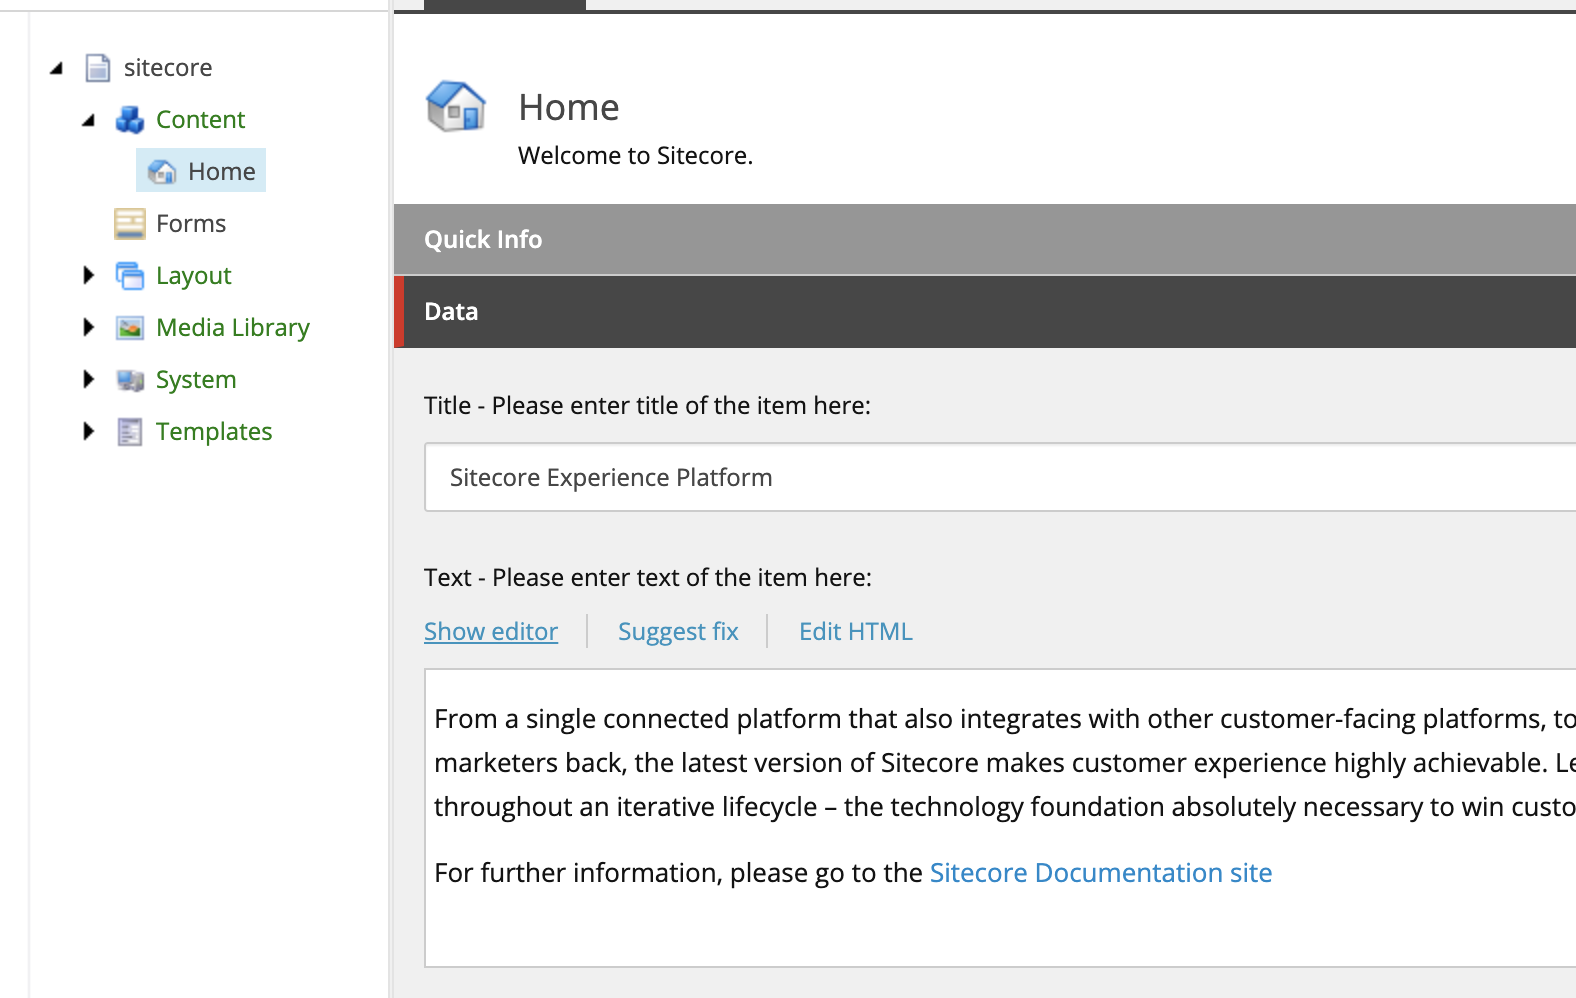
While authoring your page/content in Sitecore, place your cursor where you want content to be placed. If you do not place the cursor on the page, the content will still be added to the Media Library/destination folder, but not placed in the page.
From any Sitecore page, click on the Show Editor link.
Click on the Nuxeo logo in the menu bar:
Log into Nuxeo with your Nuxeo credentials, if you haven’t already. (SSO will be enabled in upcoming releases).
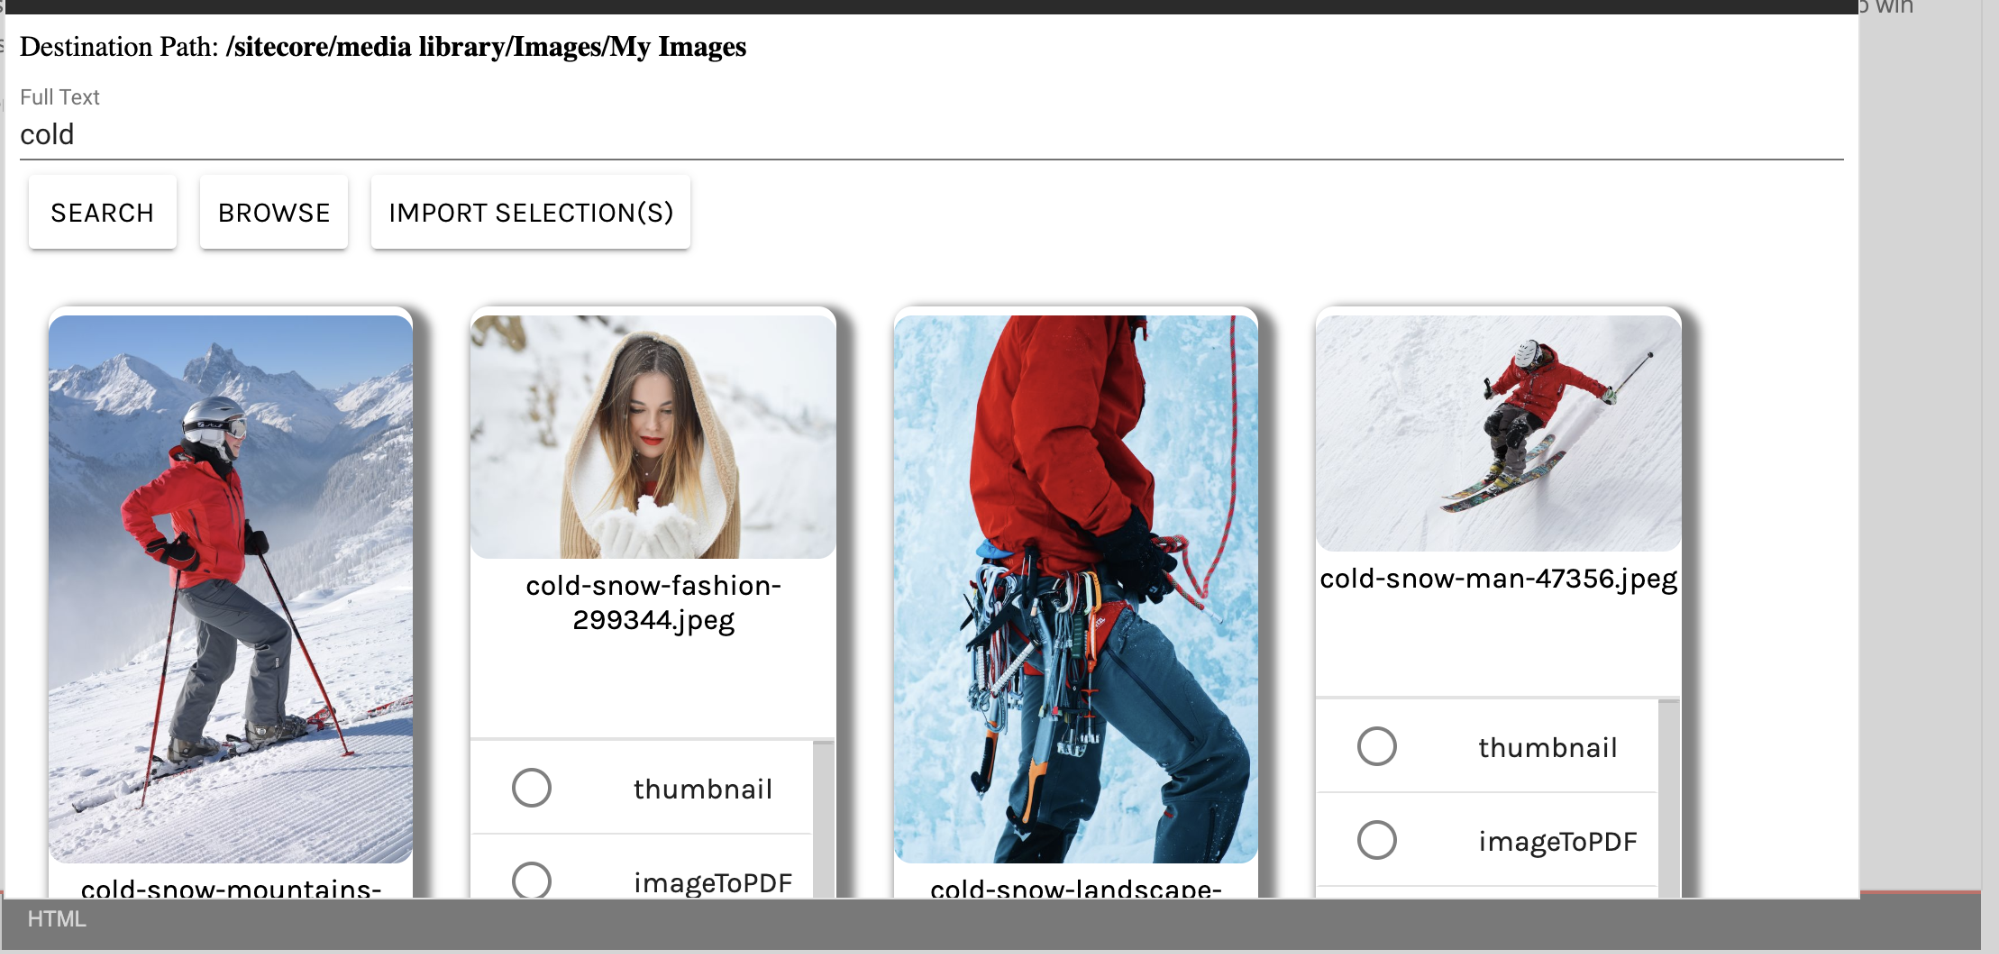
Choose the destination path for the items to be stored in Sitecore:
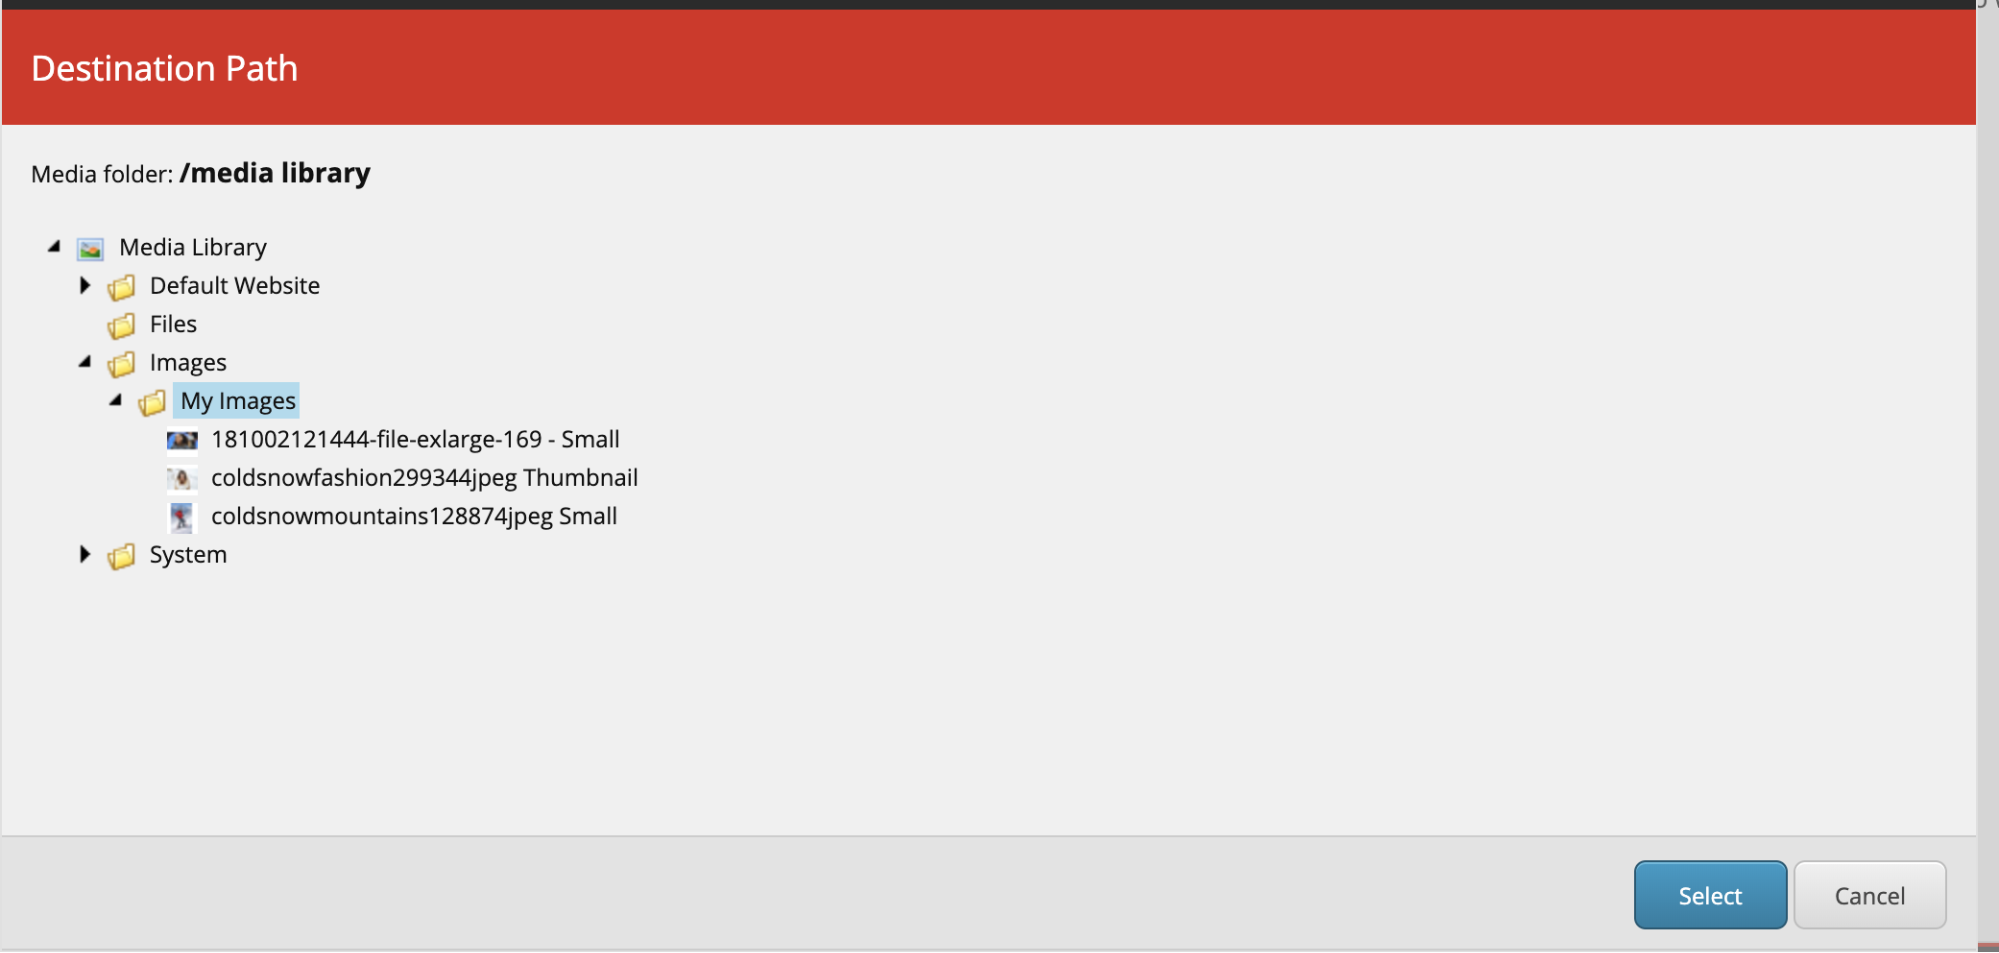
Click Select.
Search/browse content:
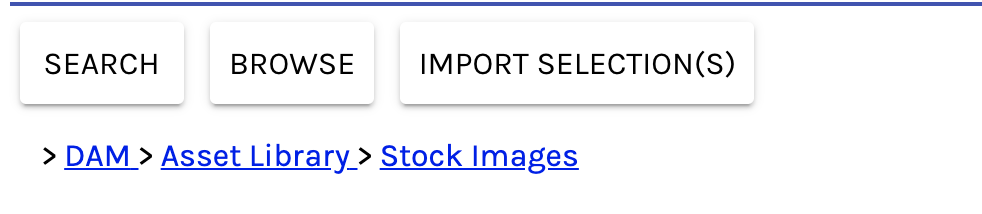
To search, type in the term(s) and click Search. To browse, click on the Browse button you see on folder items. path
Once you start browsing, you will see a clickable breadcrumb:
Select the rendition(s) you’d like for import into Sitecore.
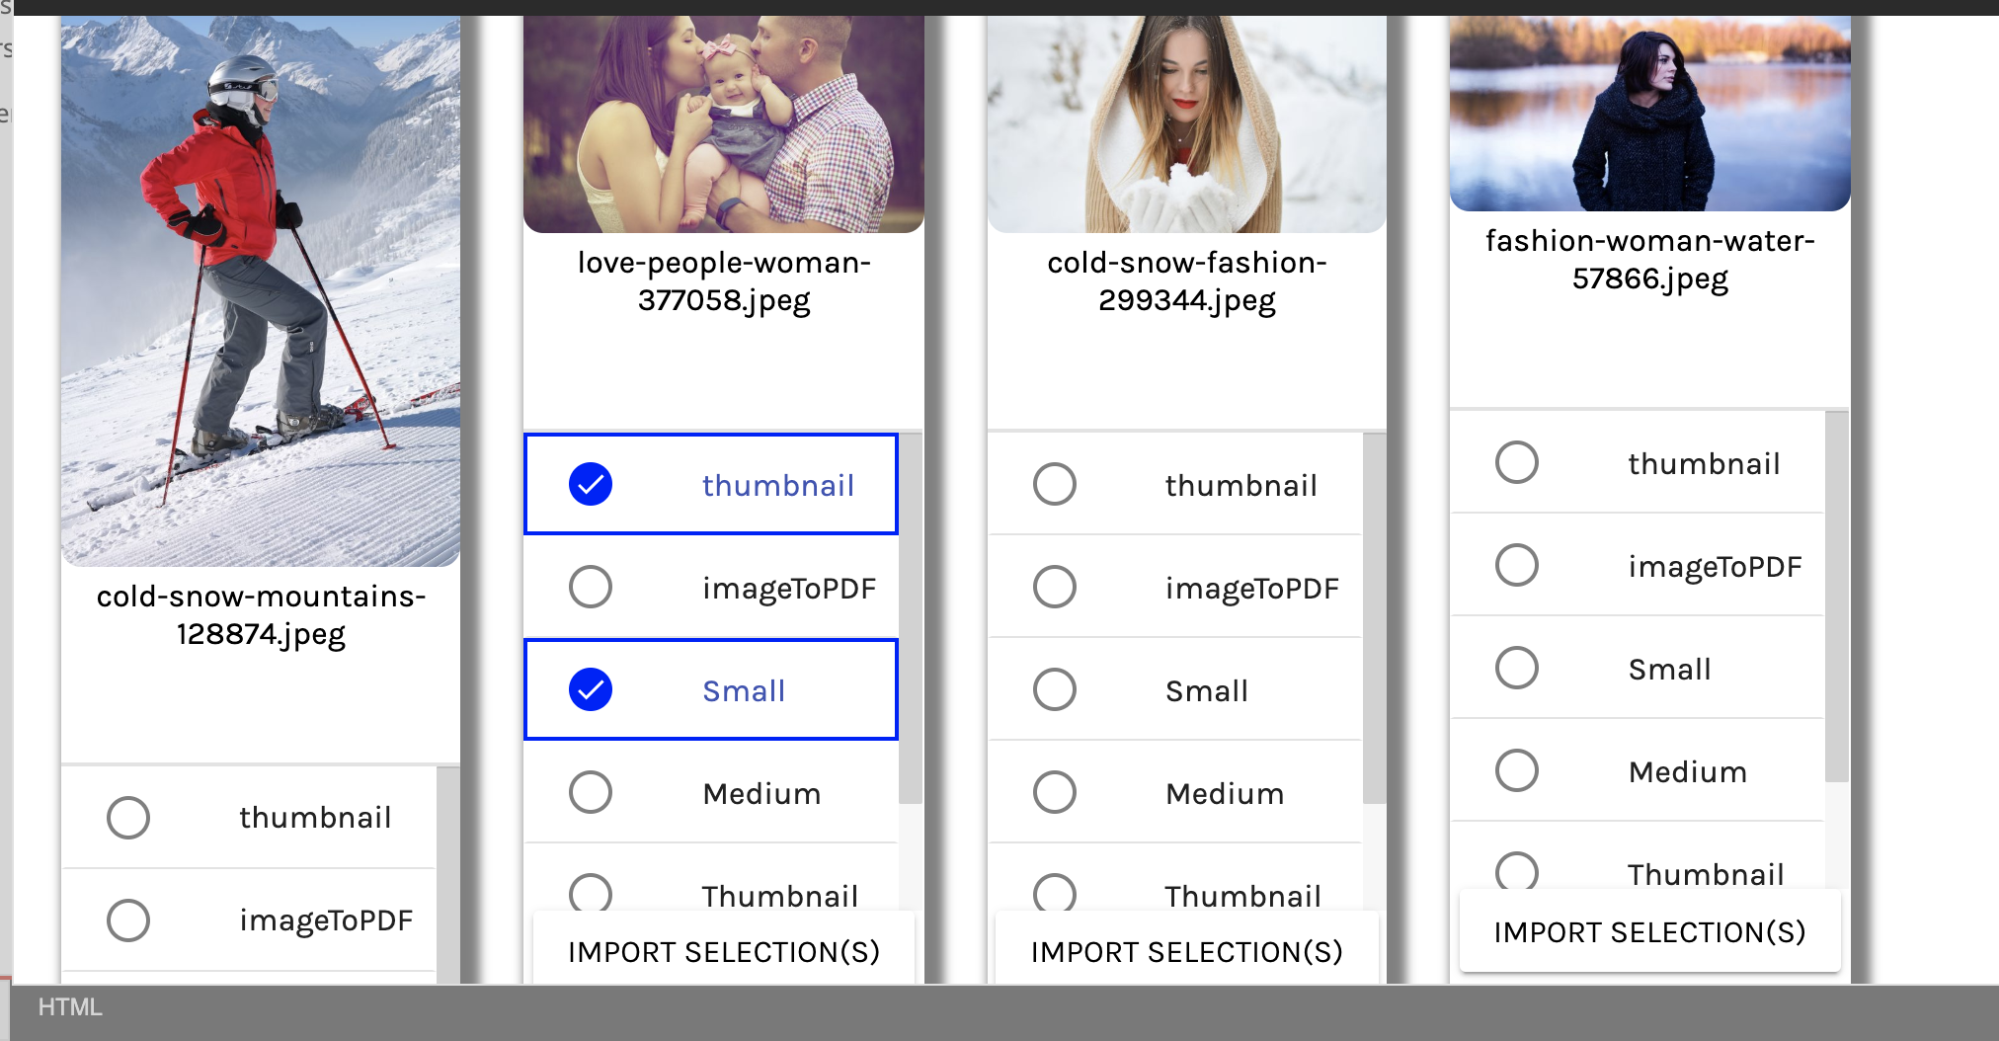
Click import renditions at the top of the page or below the item renditions list. Accept/reject changes to your page. You will only see the renditions that exist in Nuxeo (making rendition requests are scoped for a later version).
Once in Sitecore, you may need to validate some information, depending on your required fields (like alt info). You can remove content from your page without removing it from the library. Once items are in the library, you can make modifications to the image and save as normal in Sitecore, the “connection” back to the Nuxeo instance is “cut” and changes will not be reflected in Nuxeo.
Place your cursor to add to the library AND the page directly, or simply click on the Nuxeo icon to add to the library.