Introduction
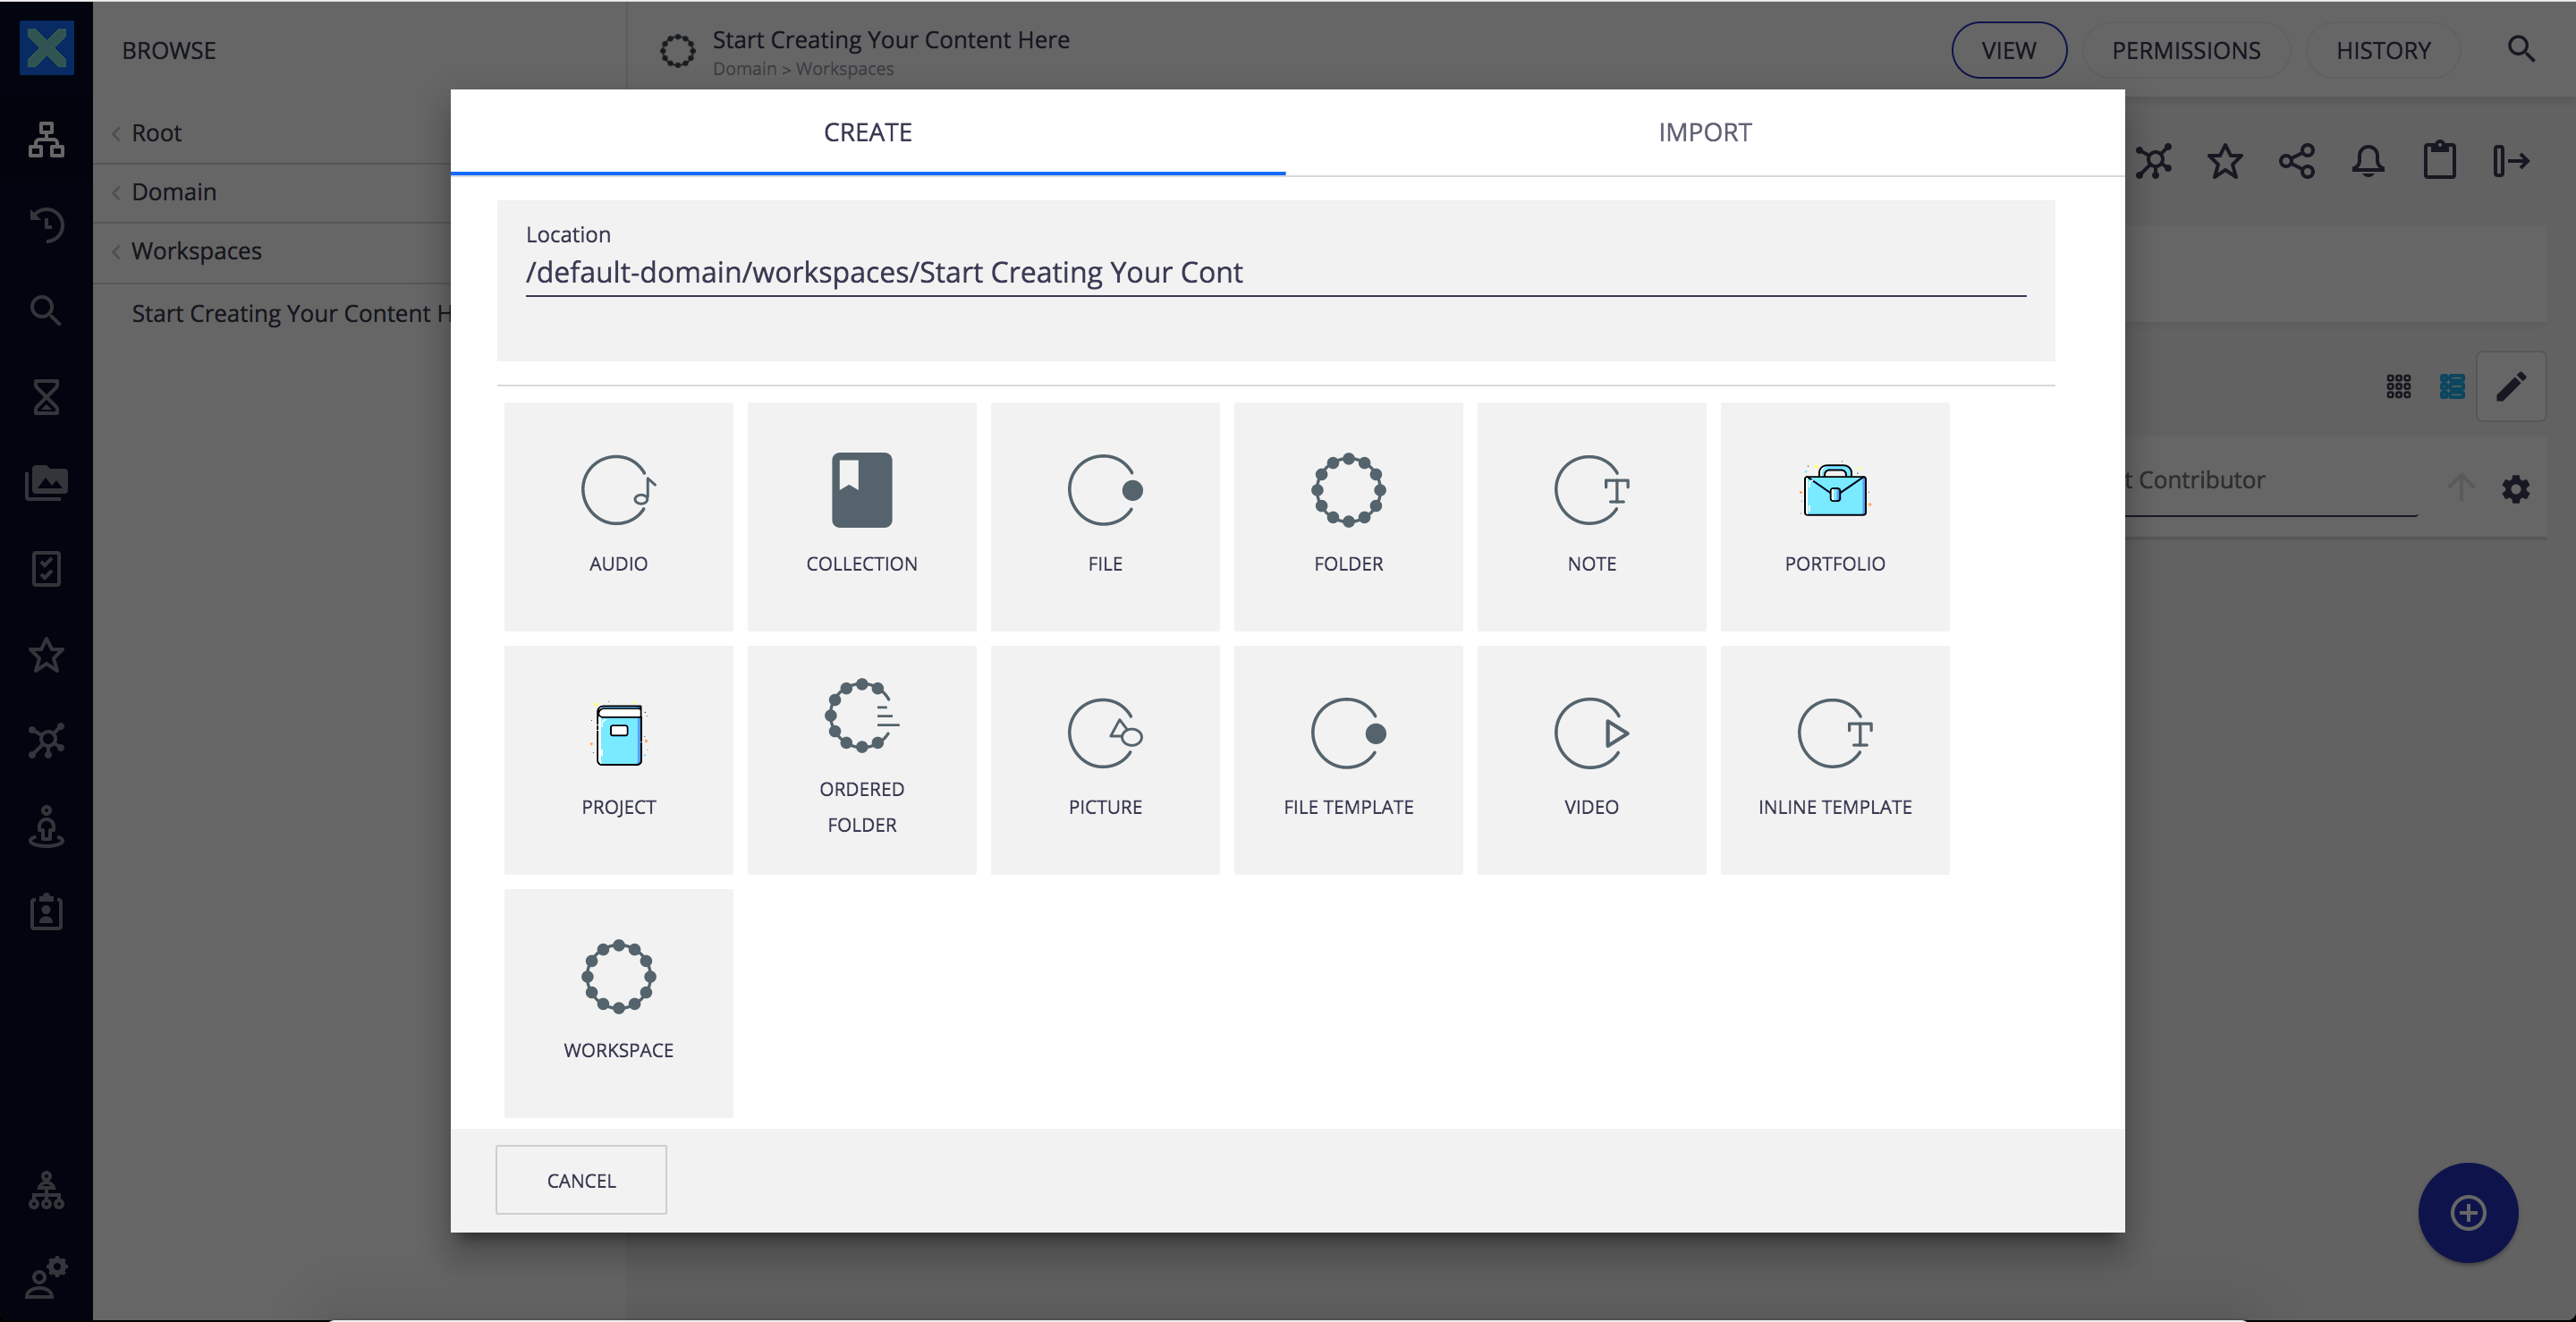
When you want to create a new document in your application, you need to select the type of document you want to create:
Nuxeo Studio enables to create as many document types as needed. This how-to explains every step to create your own.
Since content is at the center of our configuration, the definition of a new document type is related to many other features of the Nuxeo Platform.
Nuxeo Studio Modeler and Designer
Nuxeo Studio consists in:
- Nuxeo Studio Modeler: which defines all your custom core components (workflows, lifecycles, document structure, automations...) such as building the definition and structure of your document types.
- Nuxeo Studio Designer: which allows you to configure the layouts associated to your document types. It is dedicated to all configuration items linked to the user interface.
Defining a Document Type
- Open Nuxeo Studio Modeler.
- Go to Content Model > Document Types and click on the New button.
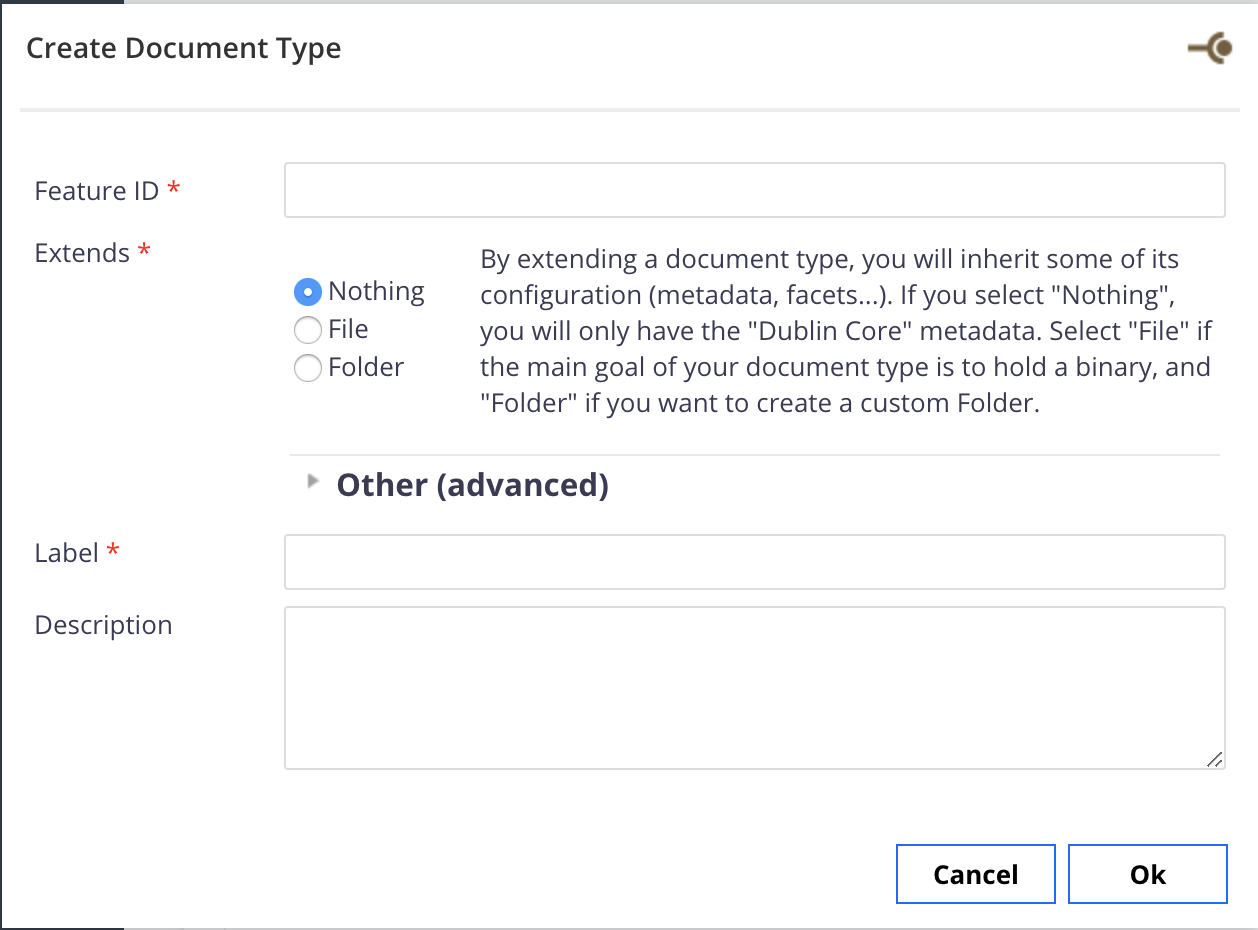
On the creation form:
Fill in the ID, label and description of your document type.
You can override built-in types definition (File, Folder, ...) by creating a type with the same name. See the dedicated how to override existing document types.In Extends, select the document type to inherit characteristics from.
Common inheritance choices are Folder for a folderish document type and File for a "file-based" document type.Click OK.
 Your document type is created. Now, you need to configure its characteristics: schema, lifecycle, etc.
Fill in the Definition tab.
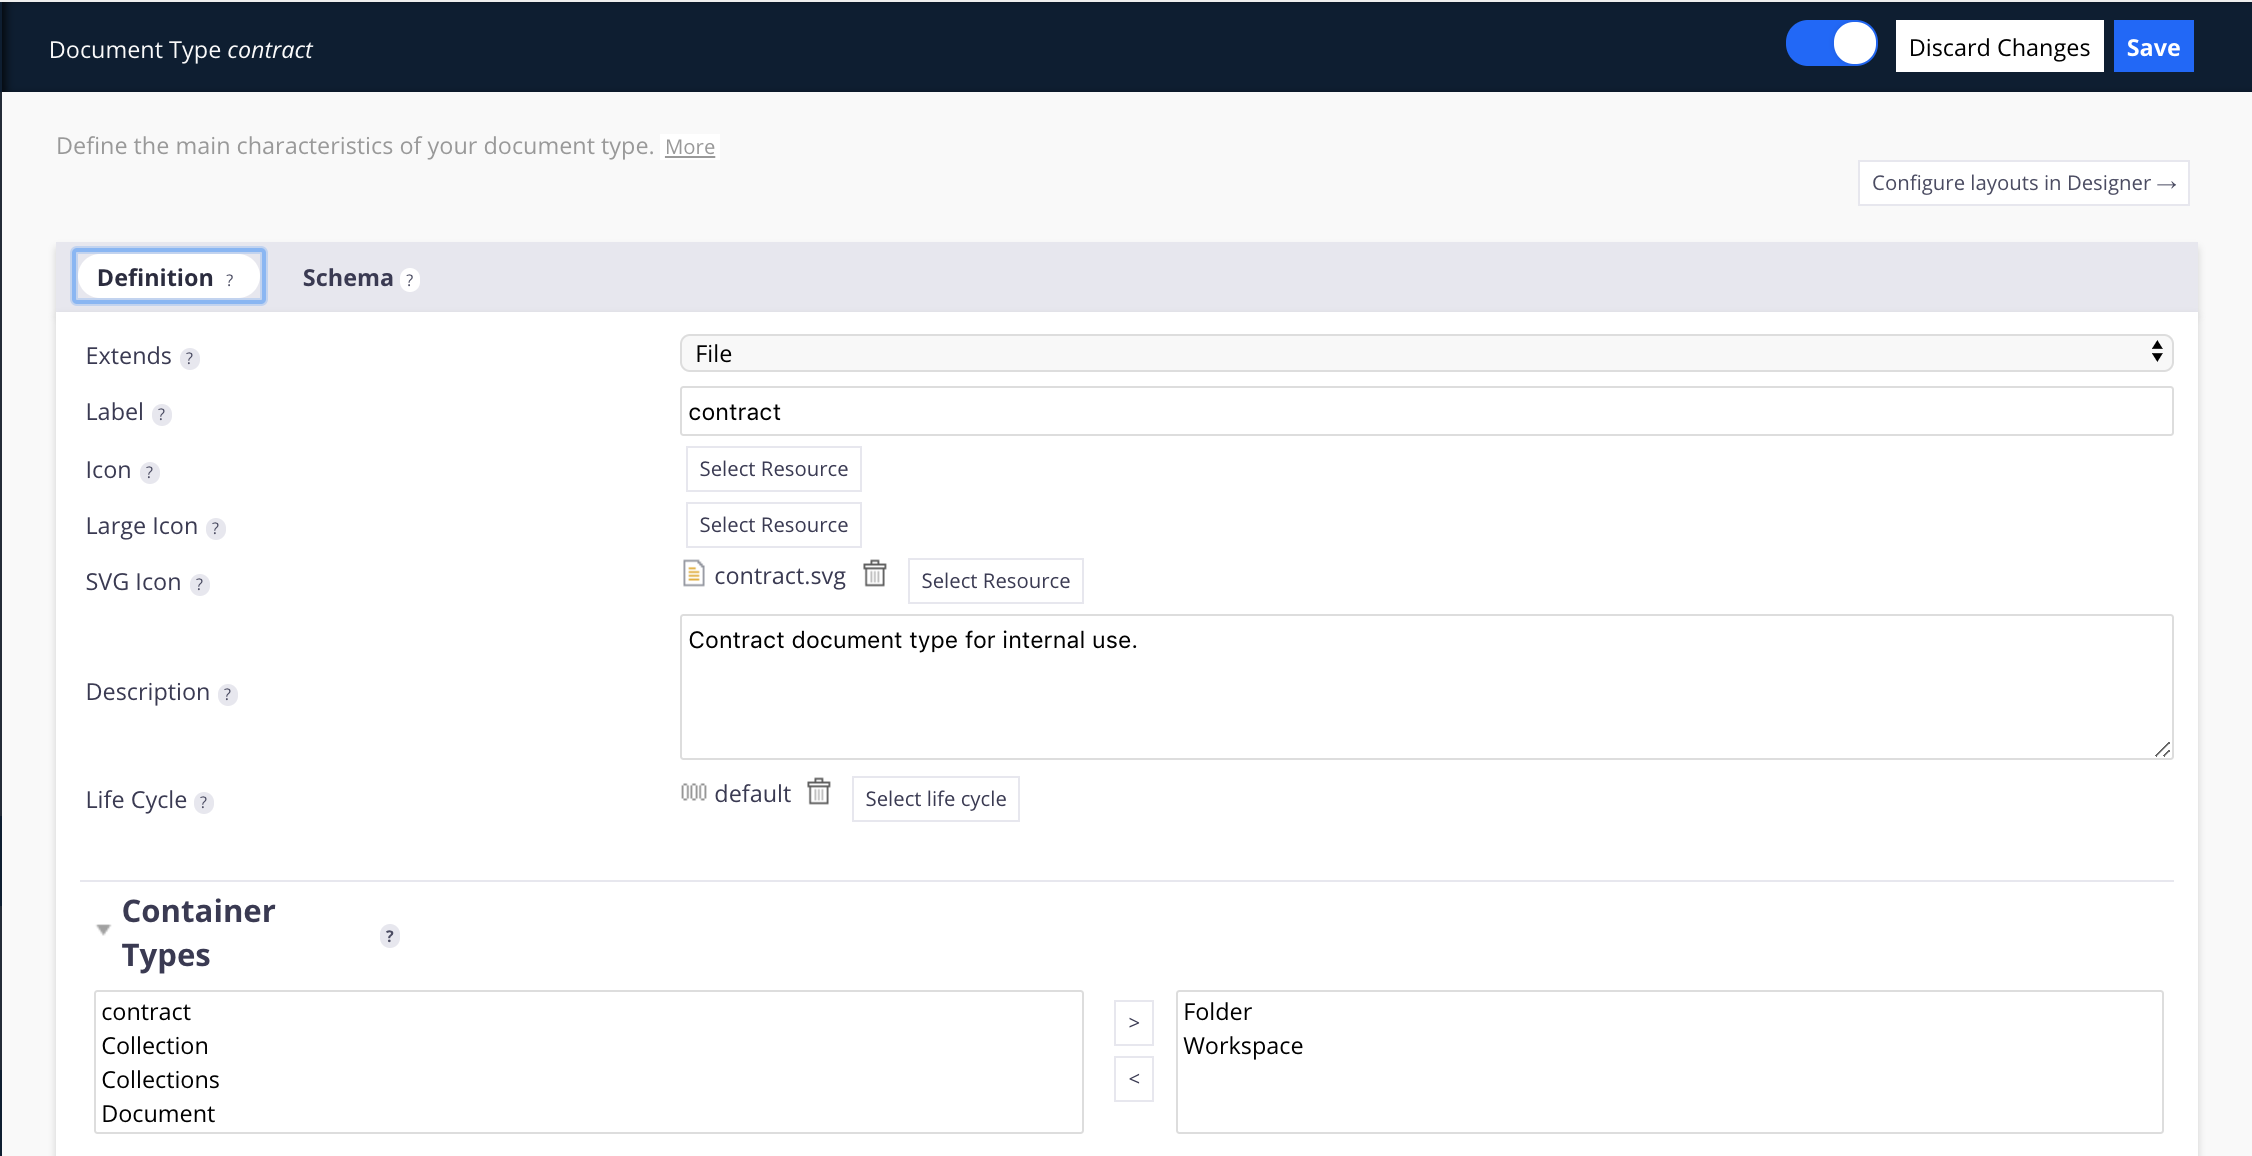 For more information on each parameter, click on the question mark.
To customize icons, click on Select Resource button to select any PNG/SVG file available in the Studio project resources or upload your own.
In order for an icon to work on every different views, you need:
- A .png icon for the Icon and Large Icon fields.
- An .svg icon next to the SVG Icon field.
If the icons and lifecycle resources for your document type do not exist yet, you can create them from:- for Icons: Resources.
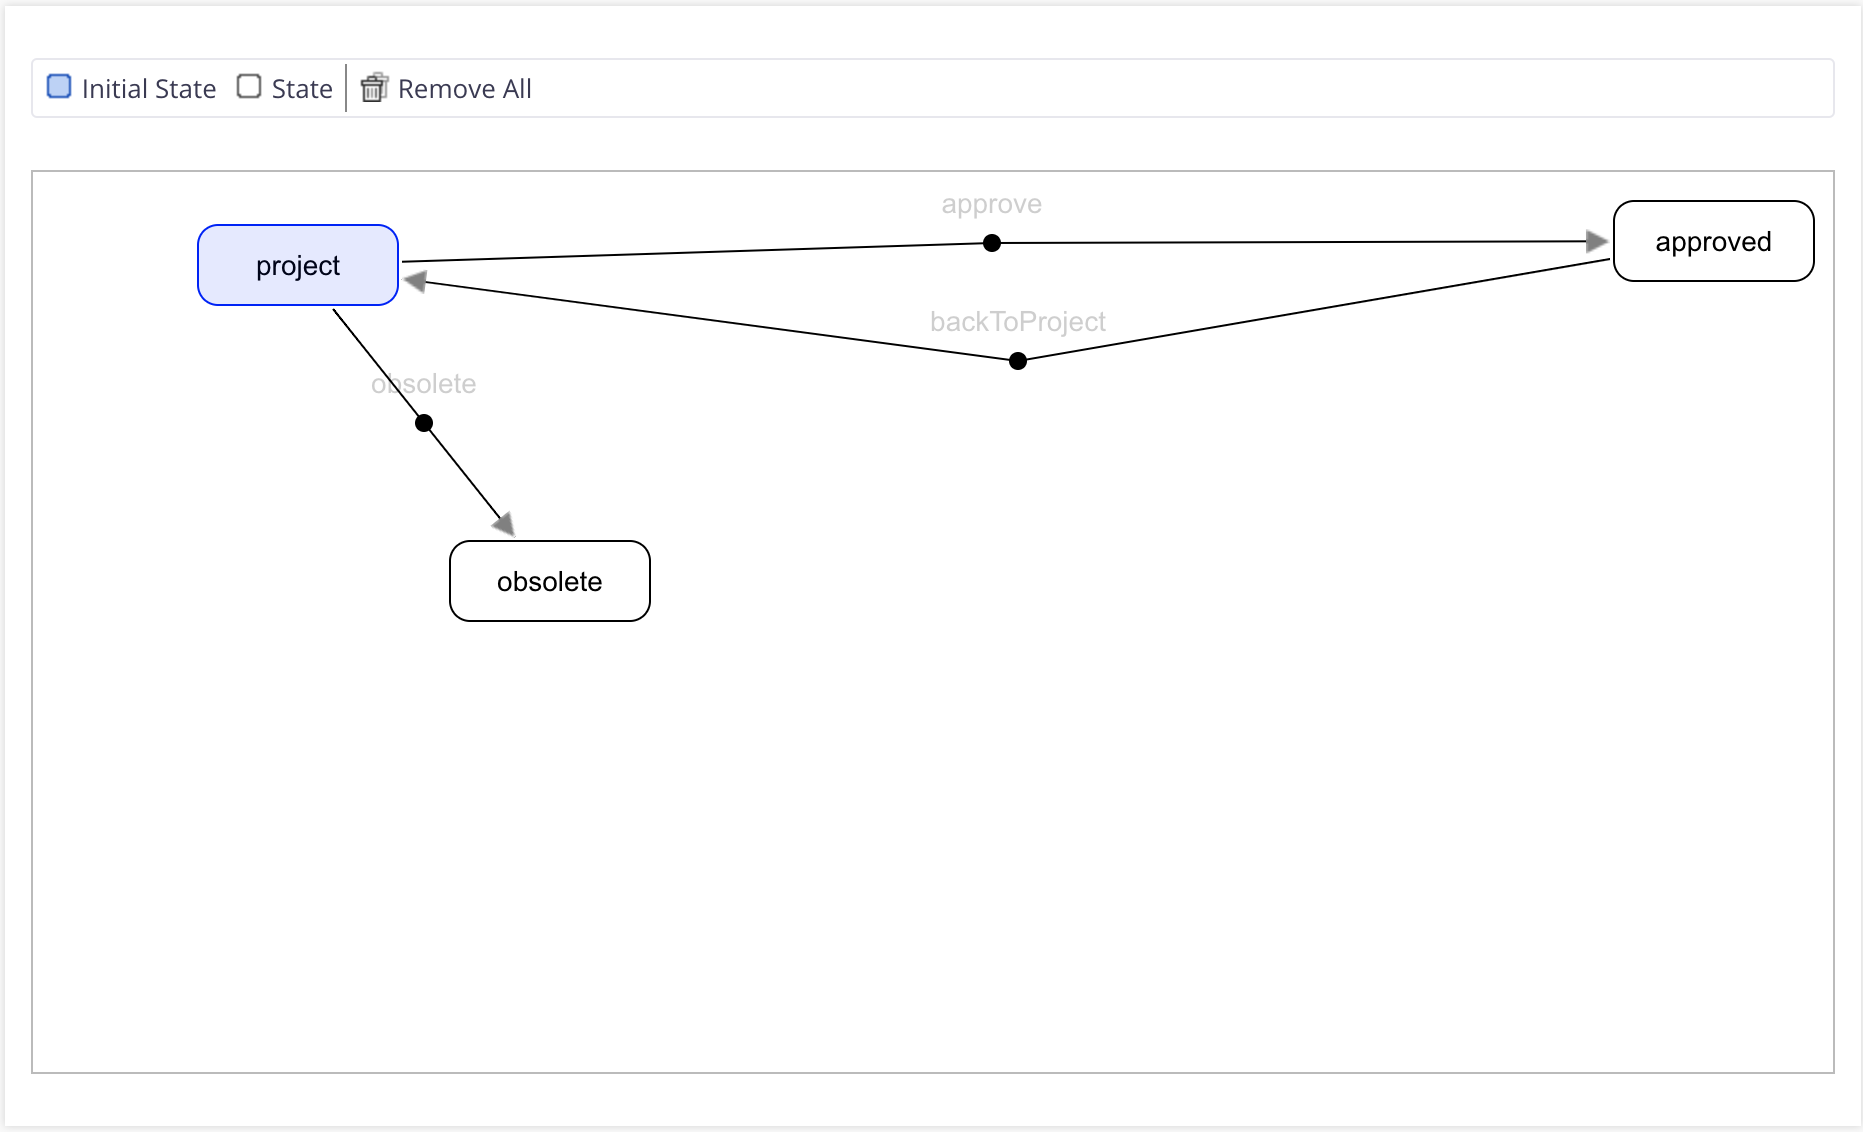
- for Lifecycle: Content Model > Life Cycles.
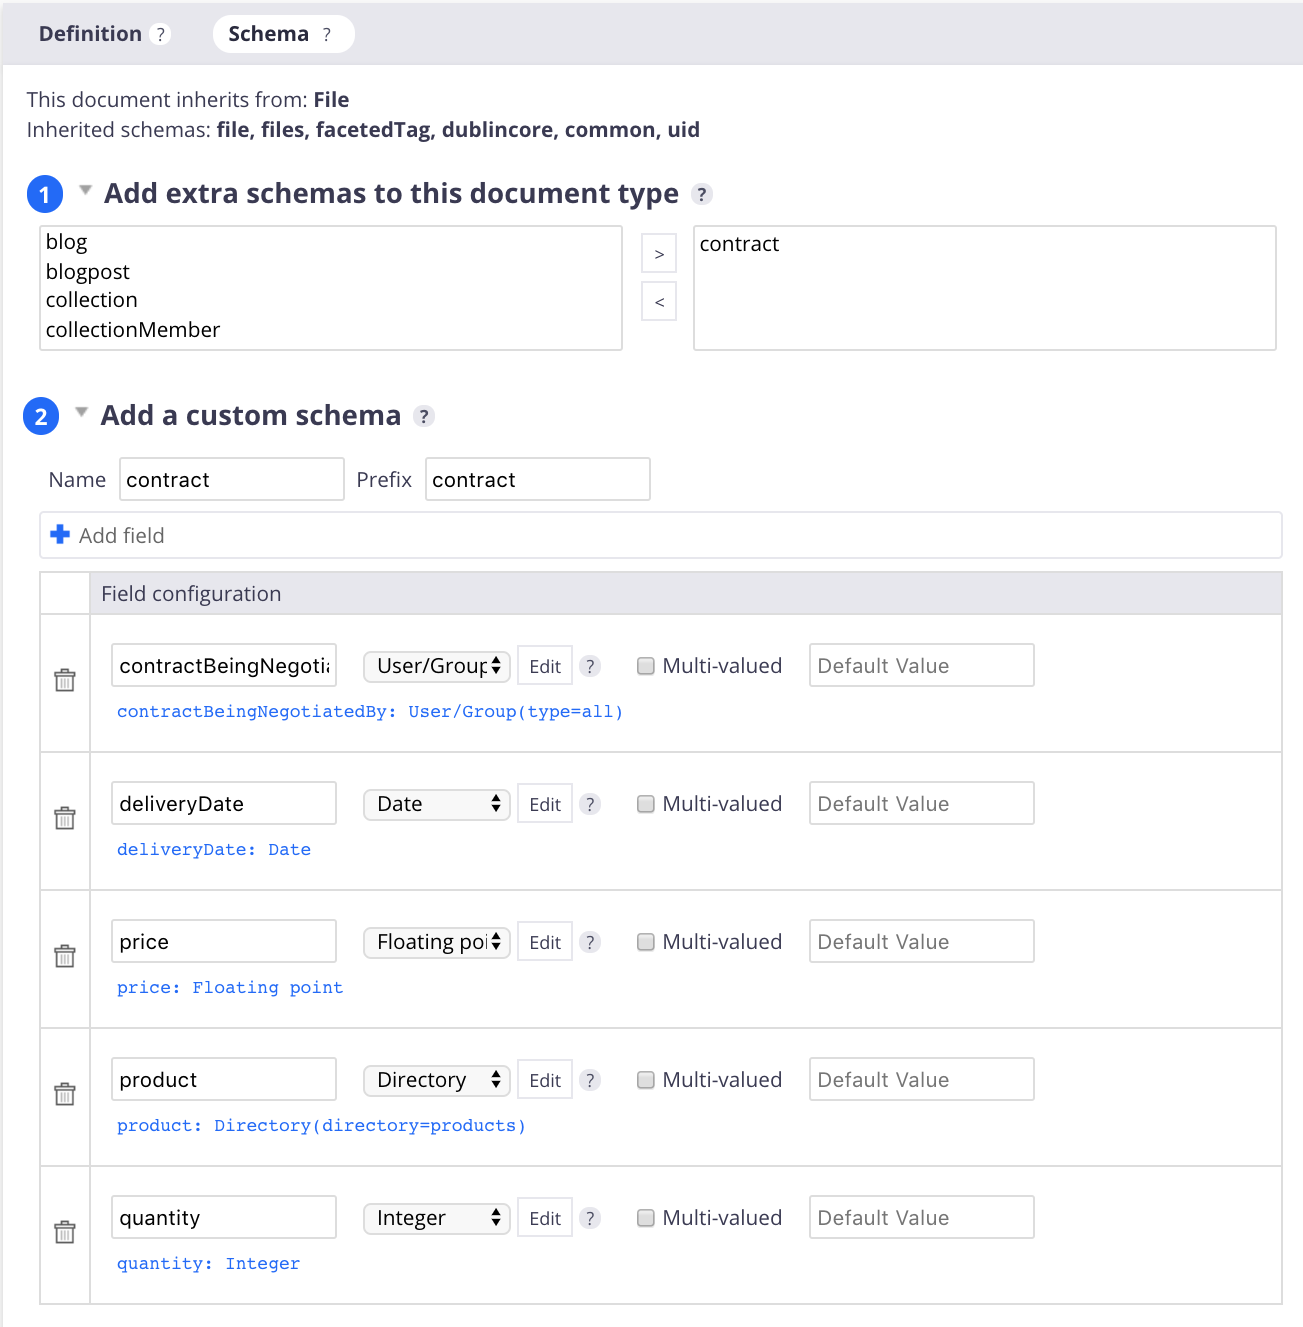
Fill in the Schema tab with specific properties you need:
- Name your schema. By default, it will be named after the document type id.
- Add your properties fields. To create fields, you need to enter at least the name and the type of the metadata.
Configuring Document Type Layouts
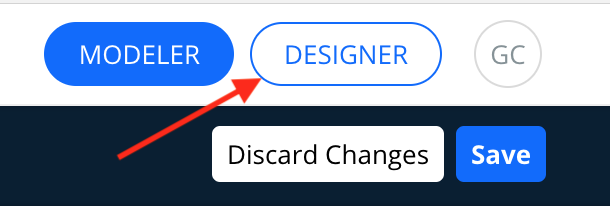
Open Nuxeo Studio Designer.
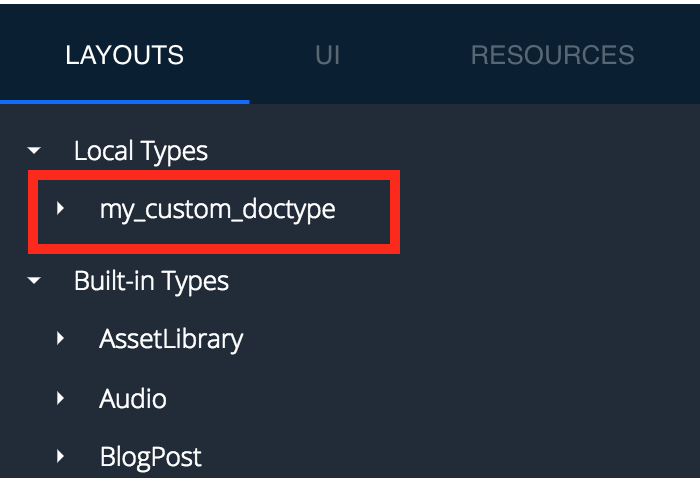
Go to UI > Layouts > Local types. You should find your document type here.
To edit the creation layout, select the create entry and click on Configure.
Drag and drop all the properties you need into the main view.
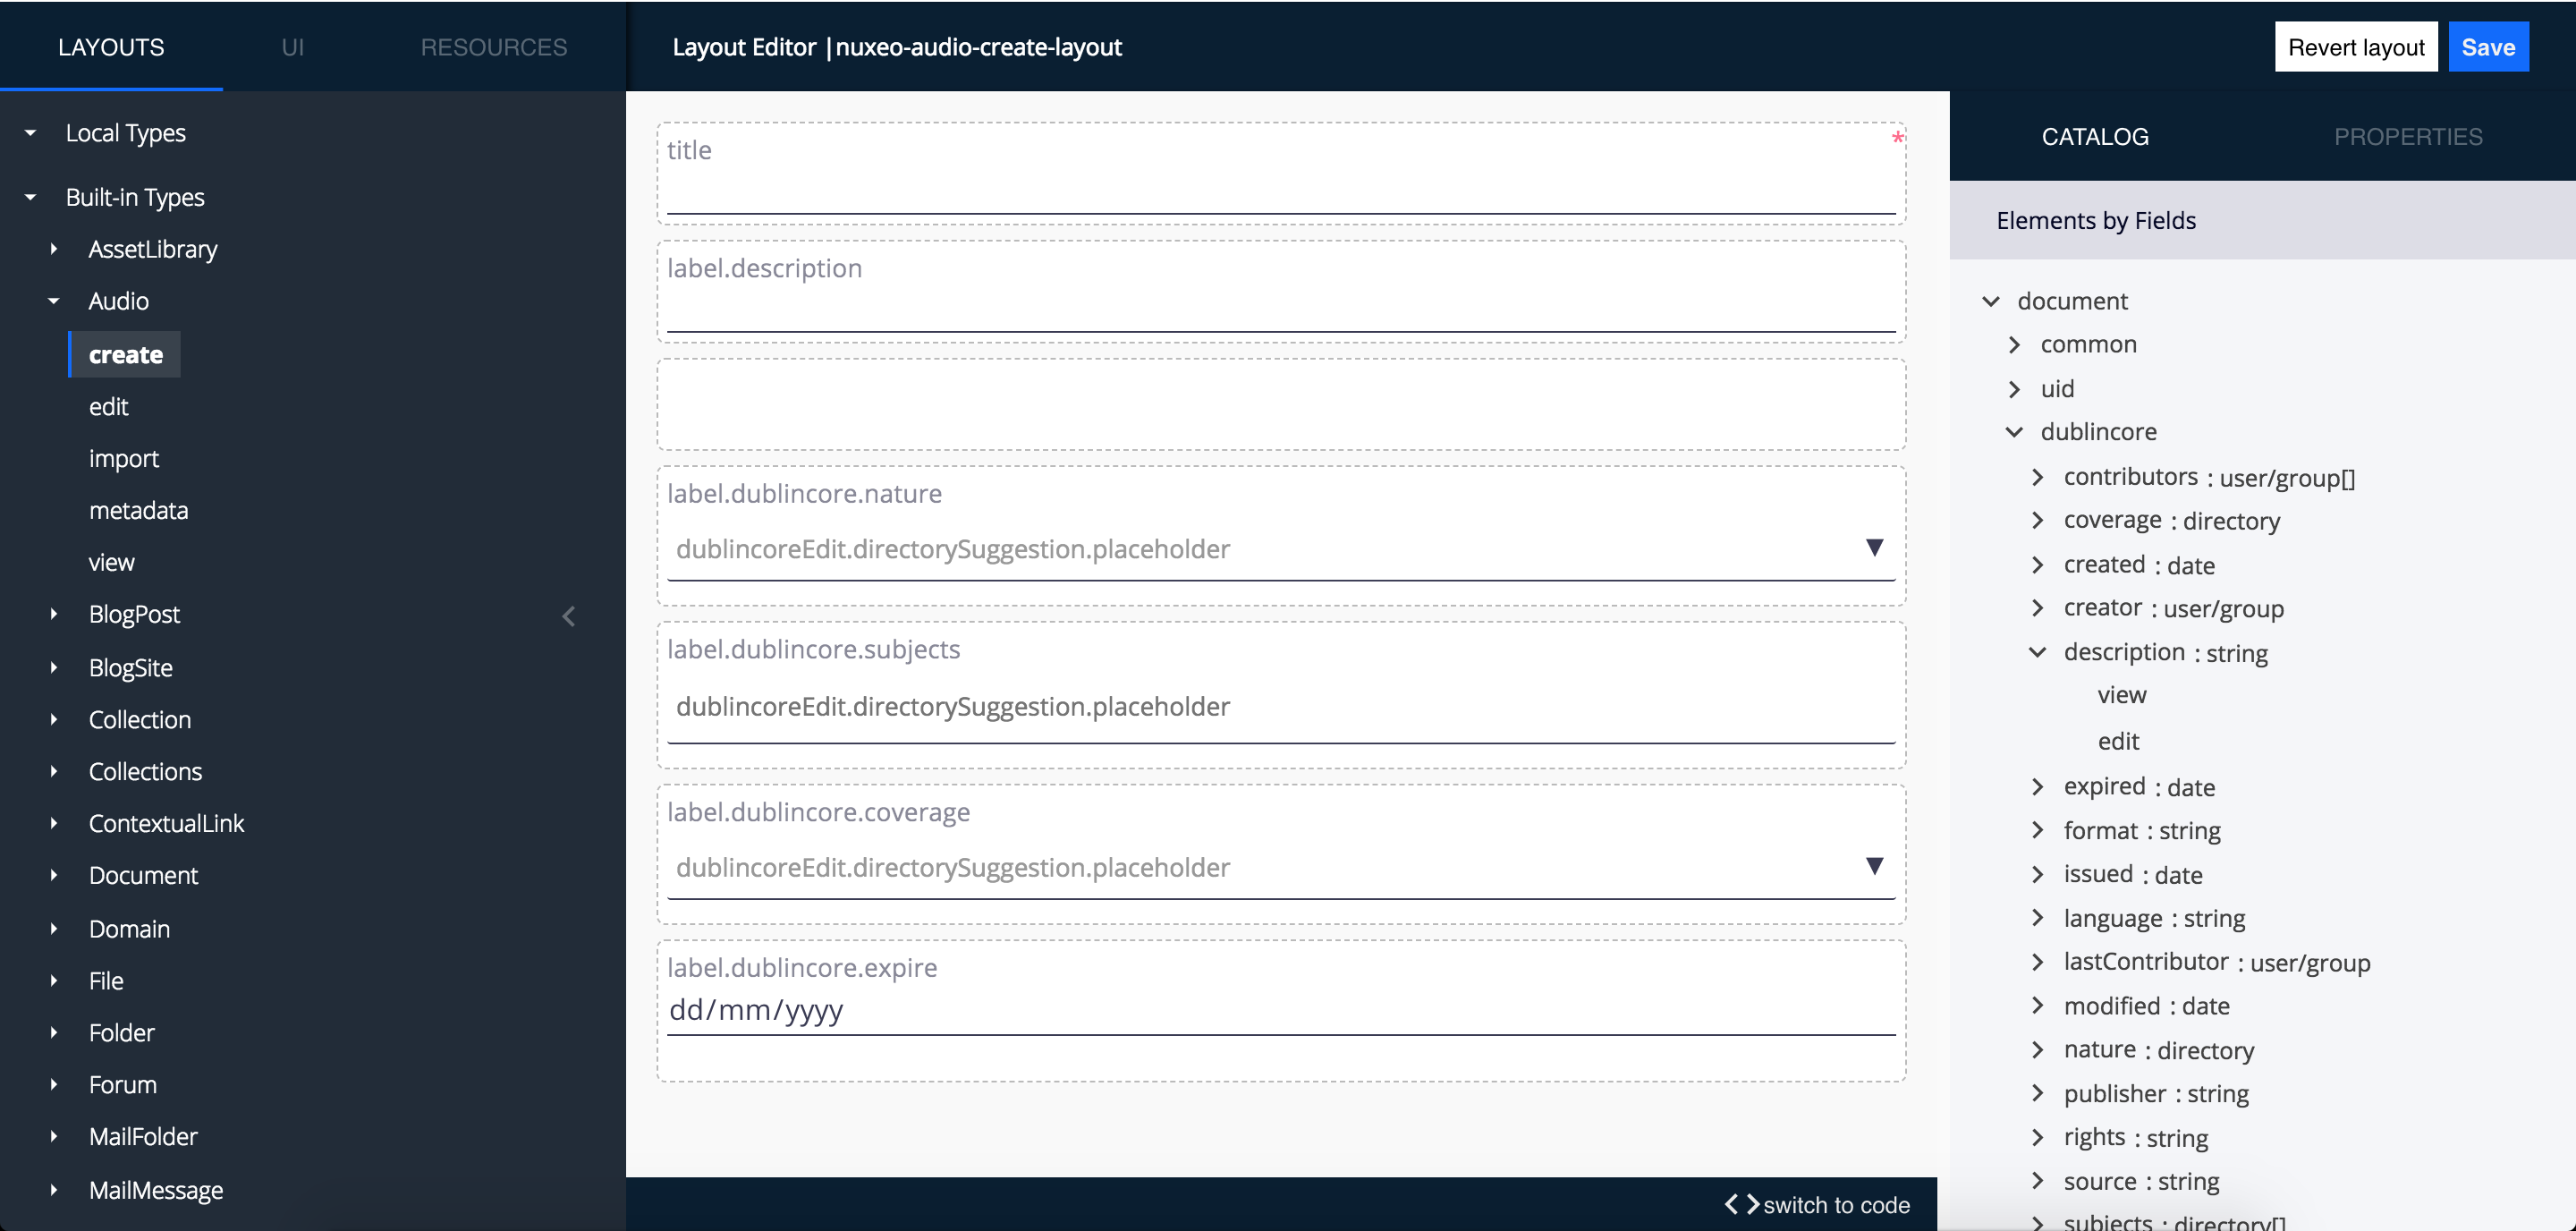
Save your configuration and repeat with the edit, import, metadata and view layouts.
Use the edit mode of the properties for editable value, and the view mode for read-only values).
Click Configure Missing Layouts to configure by default the rest of the layouts for this document type. The configured layouts will consist in the title, description and required fields of your document type.
- Go to UI tab, and open the Translations menu.
To translate your document type properties, click Edit on the
messages.jsonfile and enter: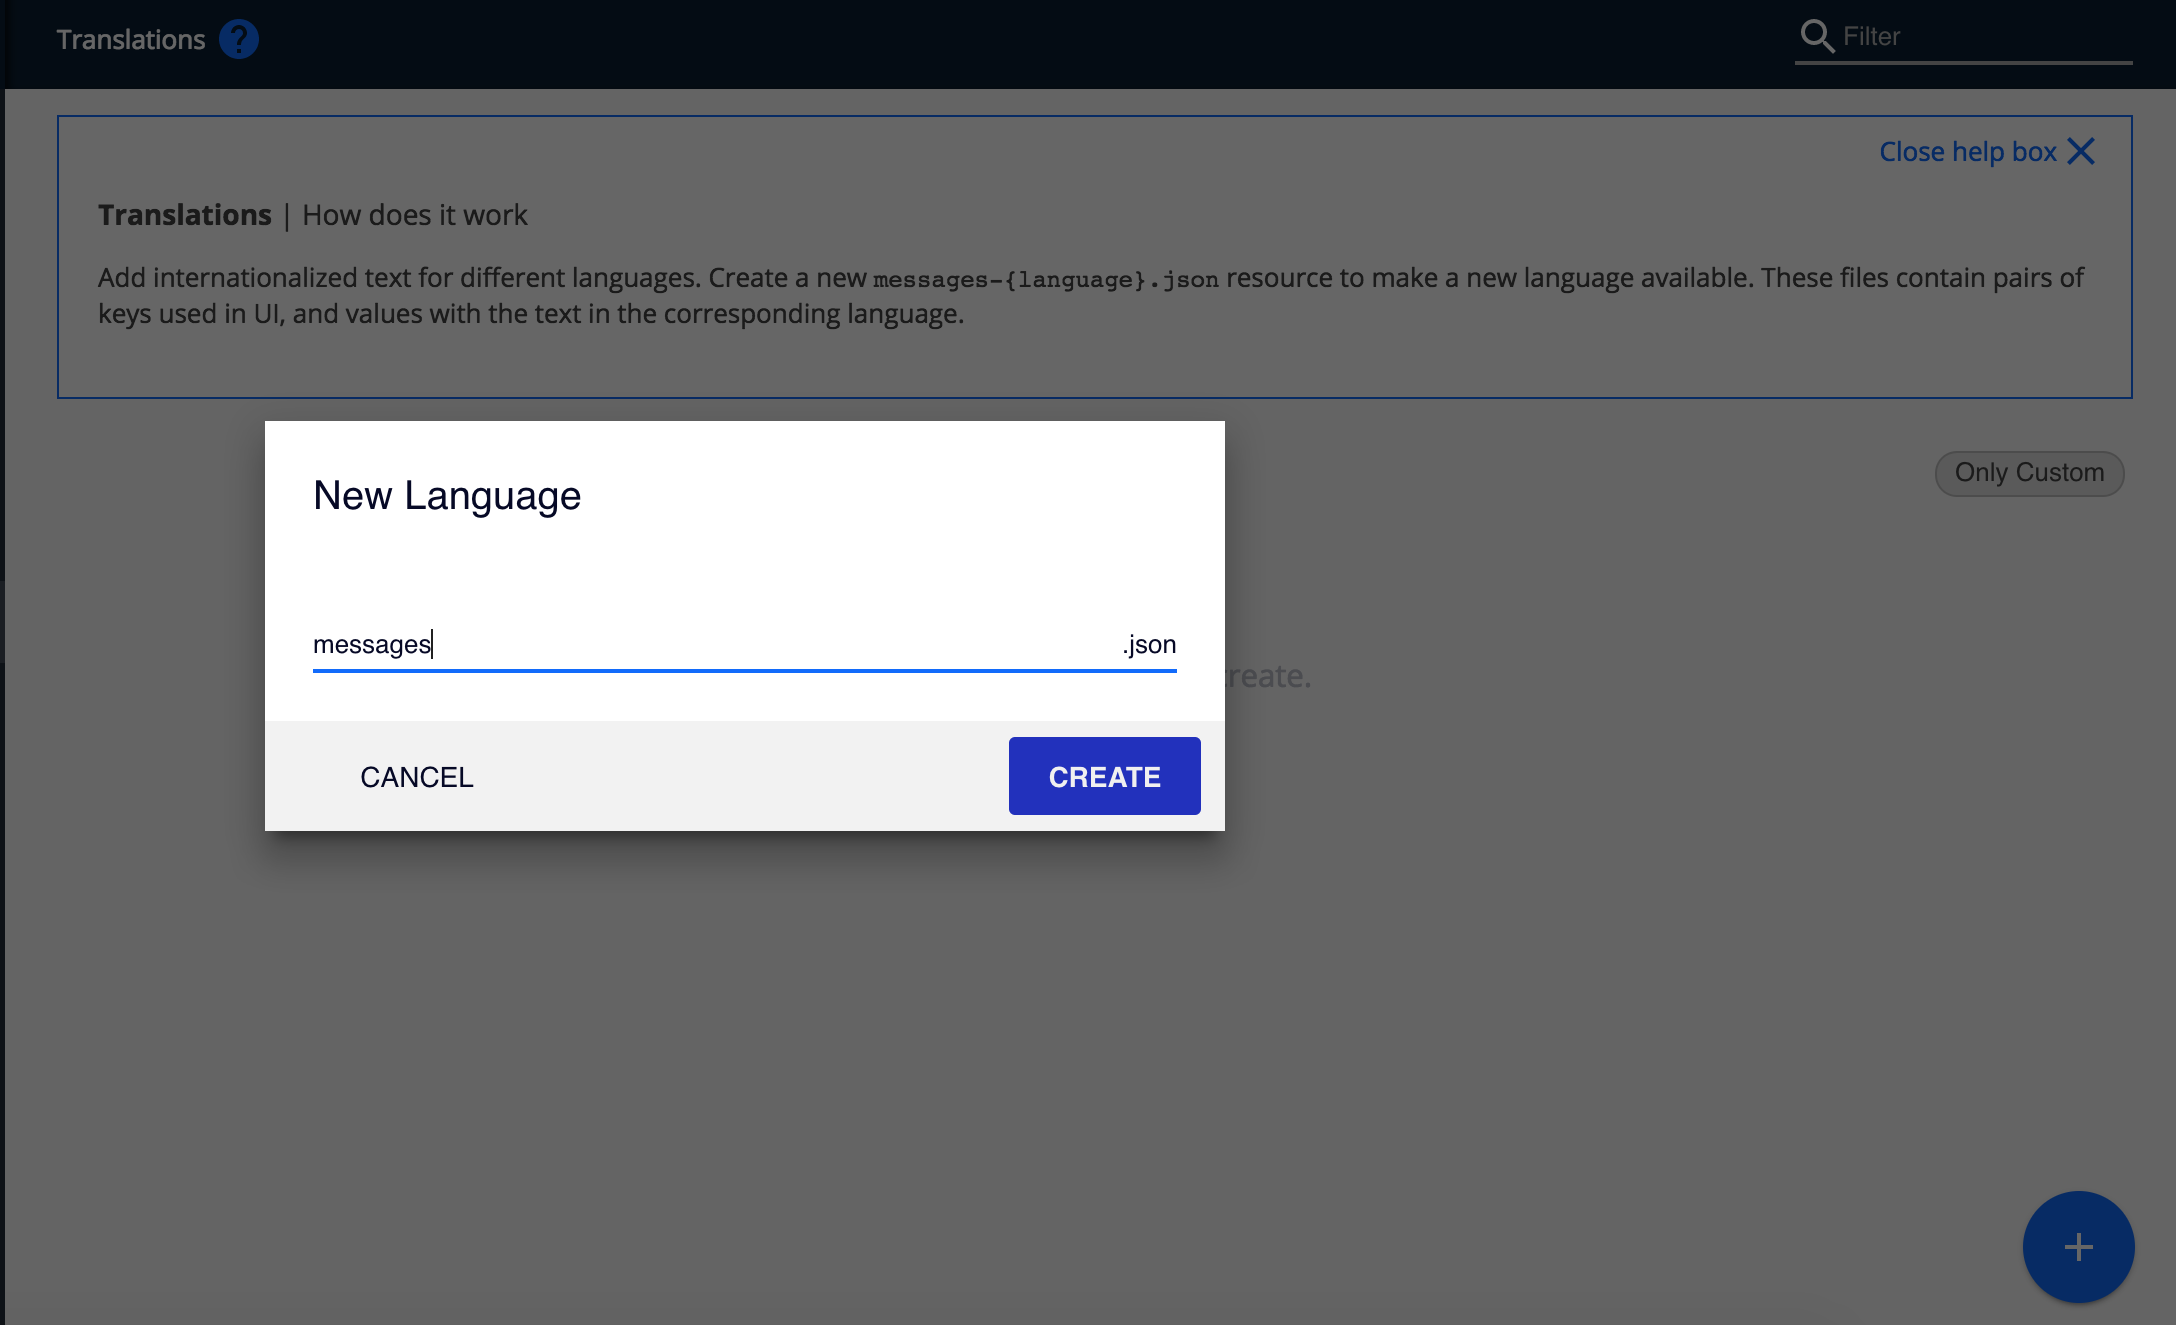
- For document type labels:
"label.document.type.<name_of_your_doctype>":"<label_of_your_document_type>" For a document type property:
"label.doctype.<name_of_your_doctype>.<name_of_your_property>":"<label_of_your_document_type_property>"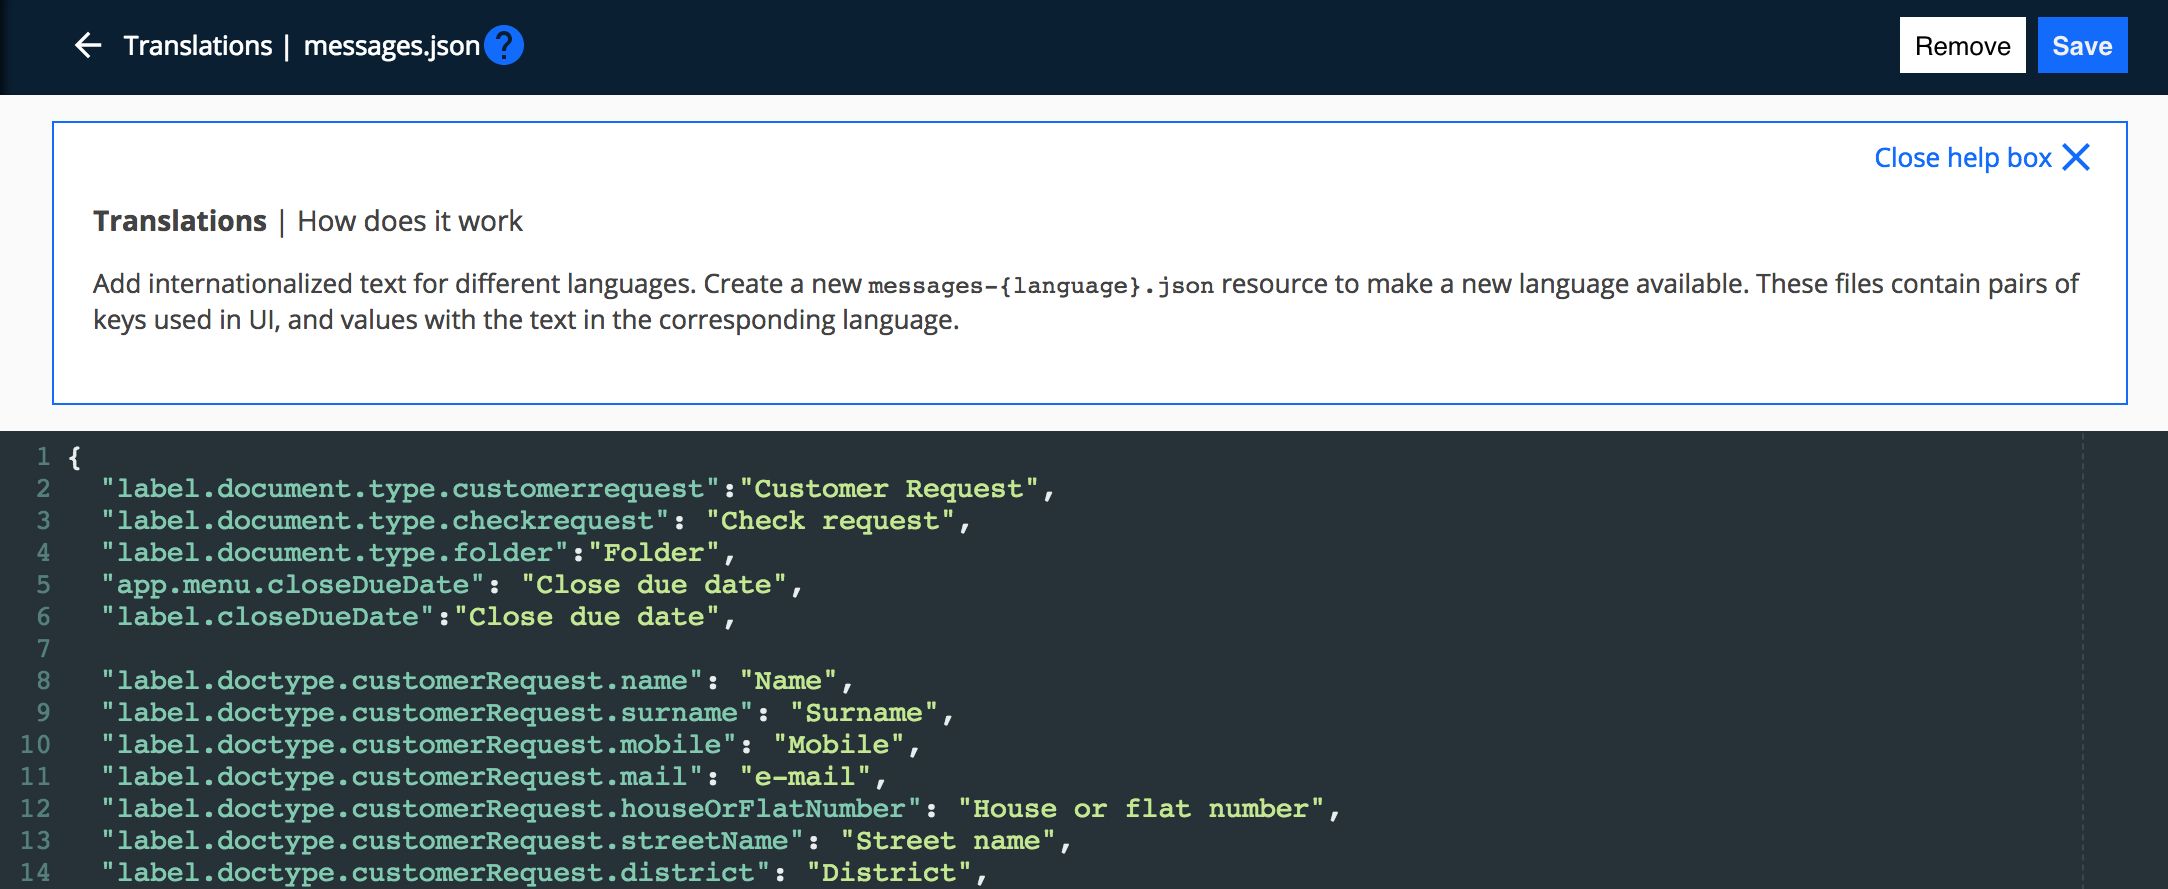
- For document type labels:
Deploying a Document Type
- Click on Save to save your configuration.
- Deploy your configuration on your Nuxeo Platform instance.
- Start your Nuxeo Server. Your new document type is displayed in the Available document Types popup window.
To create a document, click on the Create button and select your document type.
Content Type Layouts Configuration with JSF UI (deprecated)
If you need to a create a document type layout for JSF UI, then you have to use Nuxeo Studio Modeler. In this case, you need to ensure that Nuxeo JSF UI is selected as one of the target packages of your Settings > Application Definition.
- Open Nuxeo Studio Modeler.
- Go to Content Model > Document Types and click your document type.
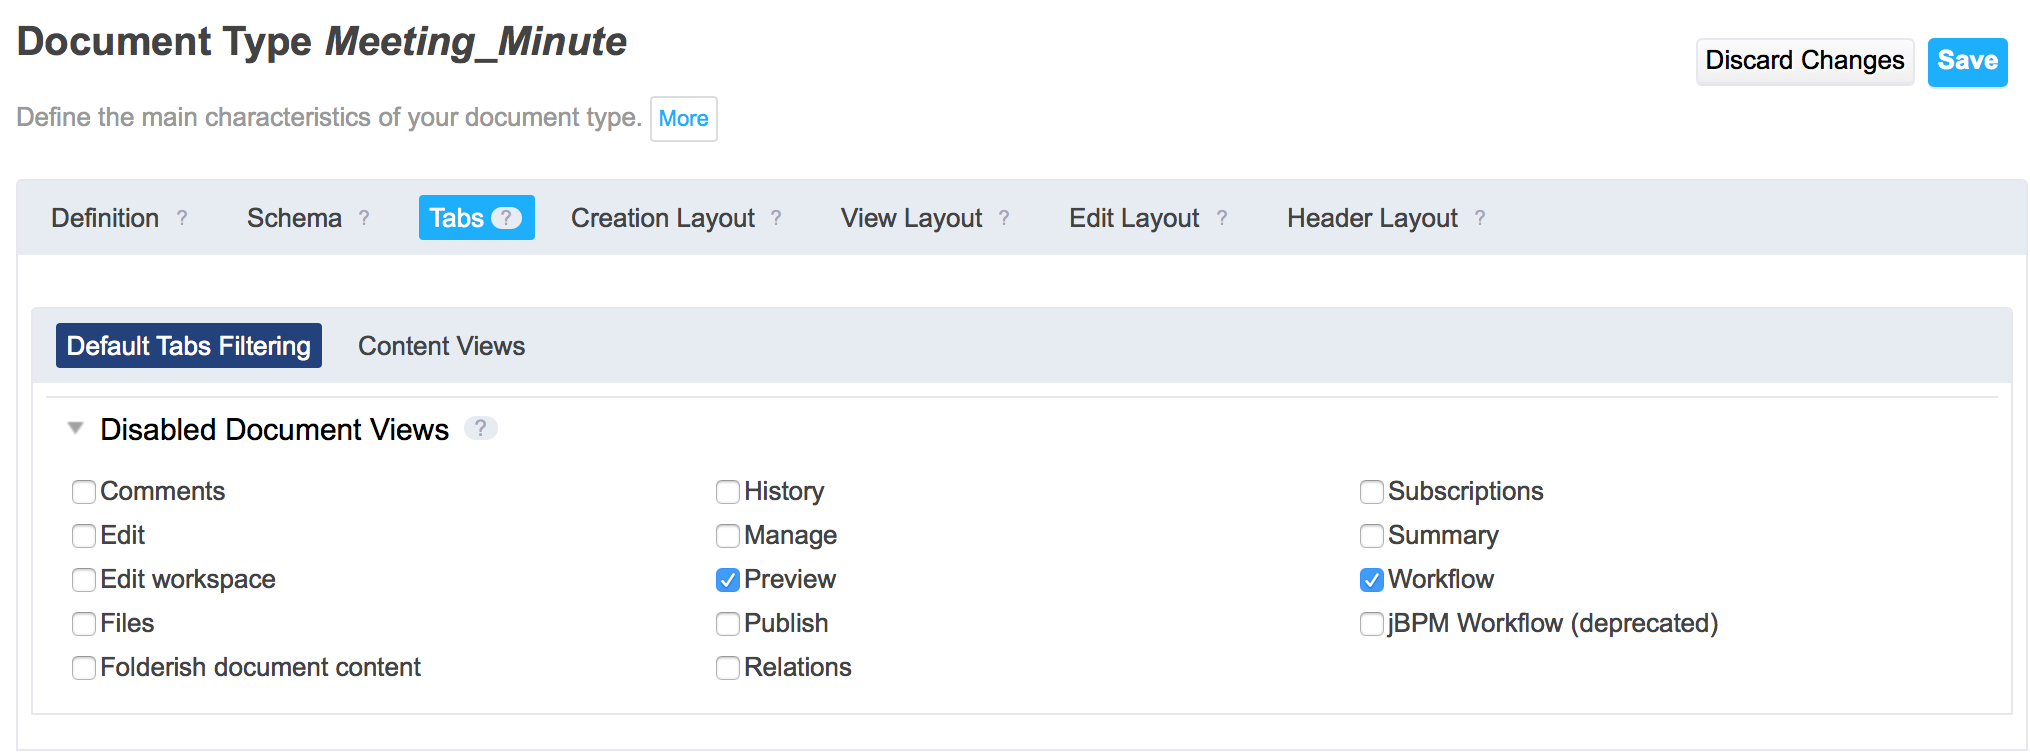
- In Tabs:
- Check the views you want to disable for your document type.
- If you created new content views, go to Content views and add them.
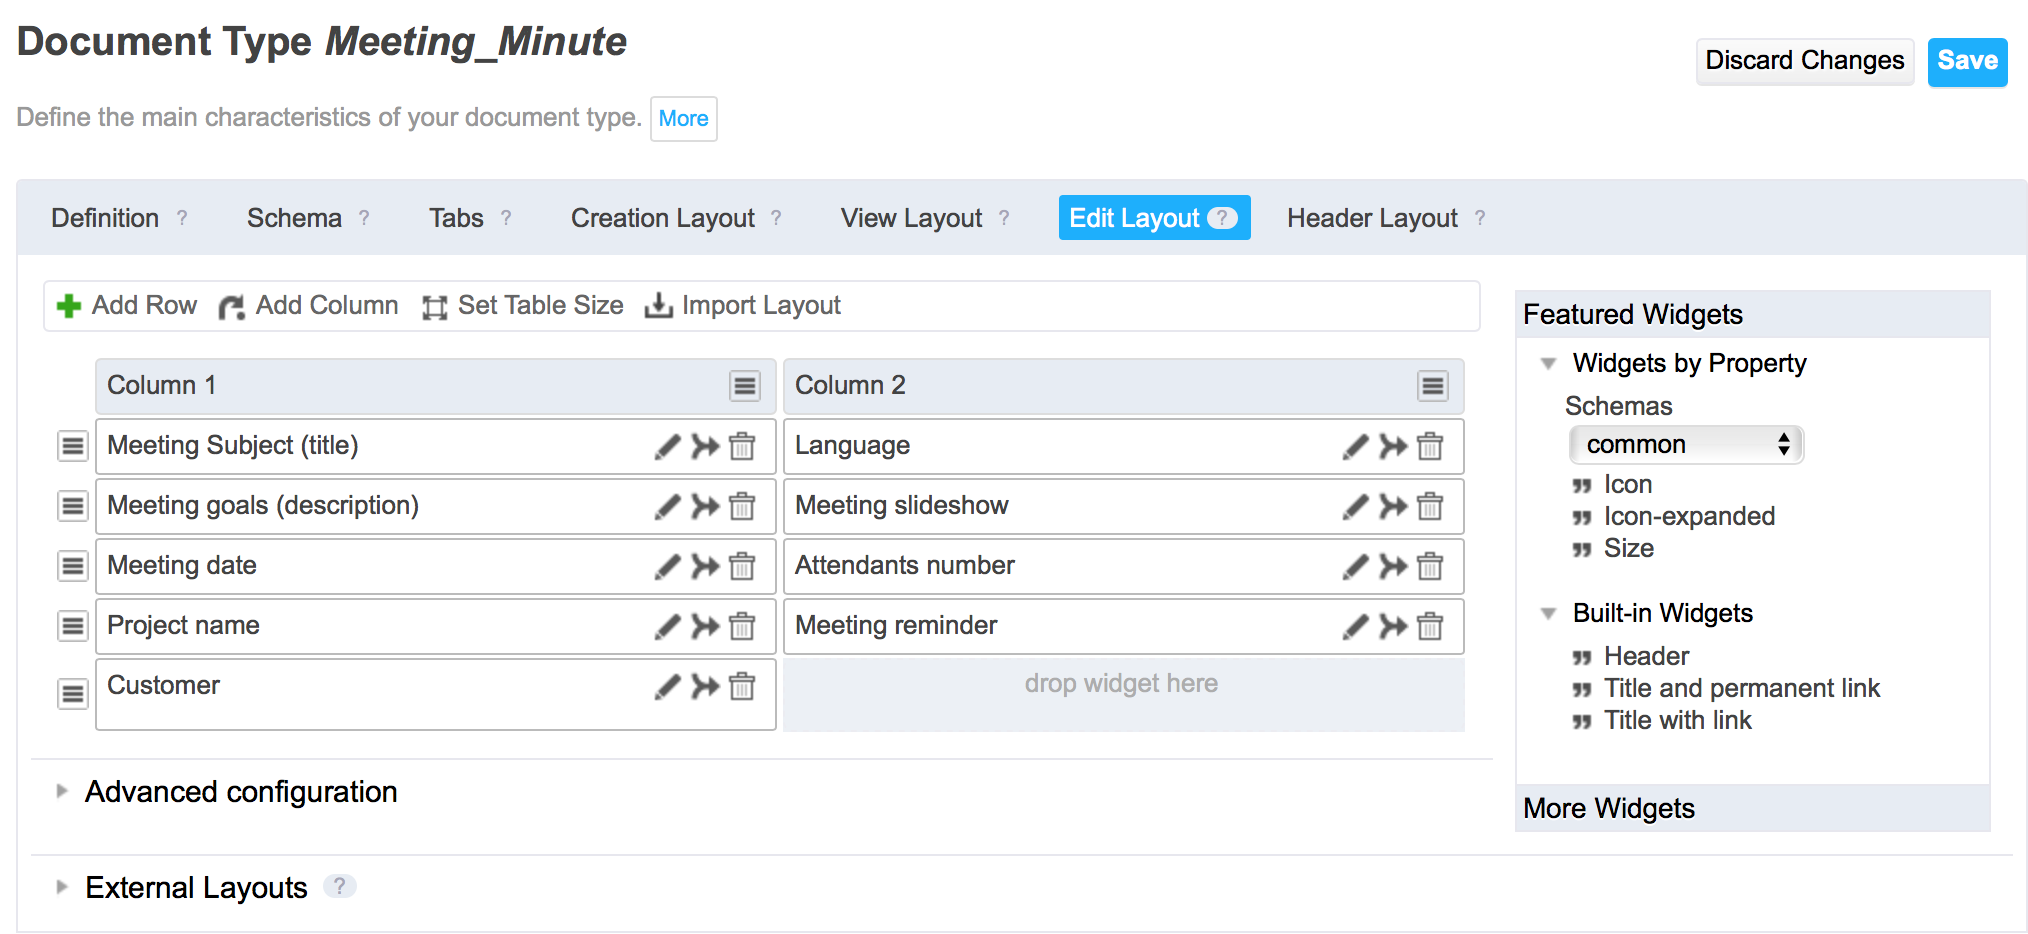
Specify the creation, edition and view forms layouts in the corresponding tabs:
- Drag and drop fields names from the right to the grid.
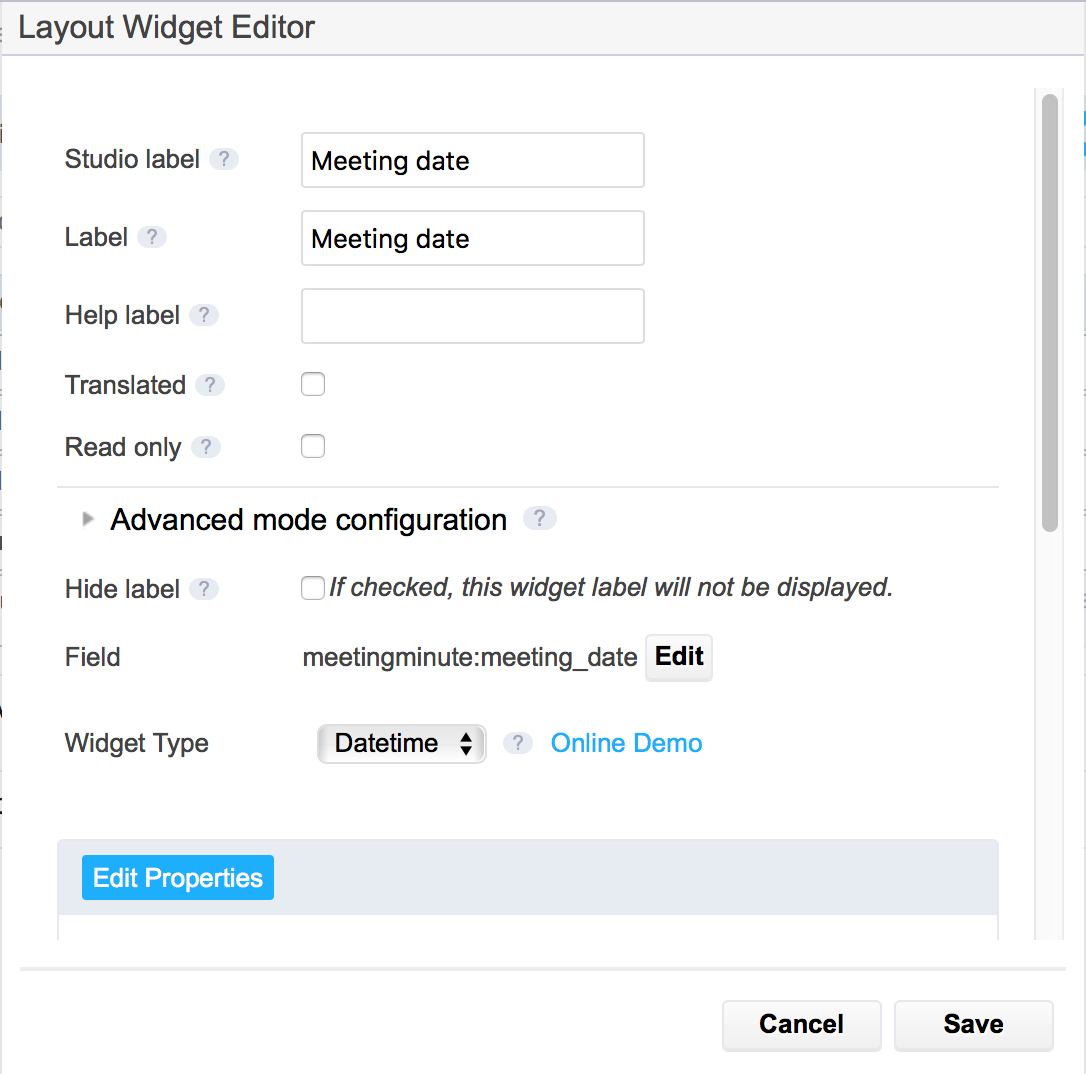
Edit the corresponding widget properties.
 If the vocabularies you want to use in your layouts don't exist, you can create them in Vocabularies .
- Drag and drop fields names from the right to the grid.