This add-on is deprecated since Nuxeo Platform 6.0.
This page describes the information available on the different assets types, and how to consult and edit them.
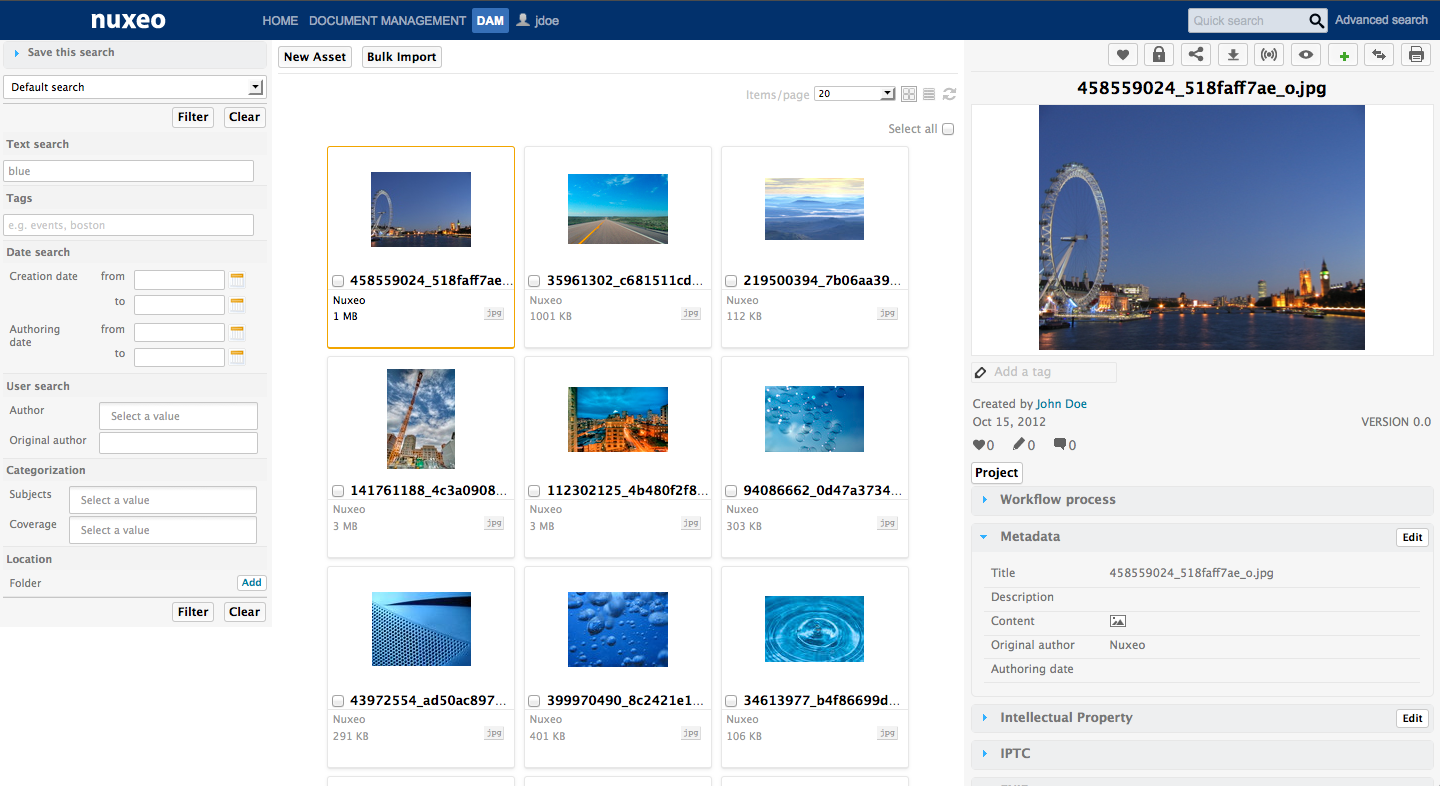
Consulting Assets
Users can see assets when they have at least "Read" permission on the folder in which the asset is located. By default, assets are created at the root of the Asset library domain, but they can be reorganized in folders from the Document Management interface.
To consult assets, you can either:
- Click on their thumbnail, to access their full screen view (available for pictures only),
- Click on their title to access their metadata and actions (available for all asset types).
Full Screen View
A full screen view is available for pictures. When you click on the picture thumbnail, the picture is displayed in full screen. You can navigate to the previous and next pictures using the left and right arrow keys. If the list of assets is displayed on several pages, browsing pictures in full screen mode will automatically switch to the next or previous page when you press the right or left arrow key.
If other types of assets are listed, they are skipped in full screen view when you navigate between assets.
Asset Detailed View
When you click on an asset title, you have access to the information and actions below:
Metadata: the set of metadata that correspond to the asset type (see below):
- Generic undefined: same set of metadata as in Document Management;
- EXIF and IPTC metadata: picture specific metadata, extracted automatically;
- Storyboard: thumbnails that segment videos;
- IP rights information: information about permissions for use of the asset;
- Like,
- Asset preview: full-size view of the asset from which you can annotate the asset;
- Locking,
- Download,
- Permanent link to the asset,
- Follow the asset: get email notifications to follow what happens on the asset;
- Add the asset to the worklist to easily copy, move or export it;
- Document management view of the asset, to have access to complete document management features (history, relations, publishing),
- Print view of the asset.
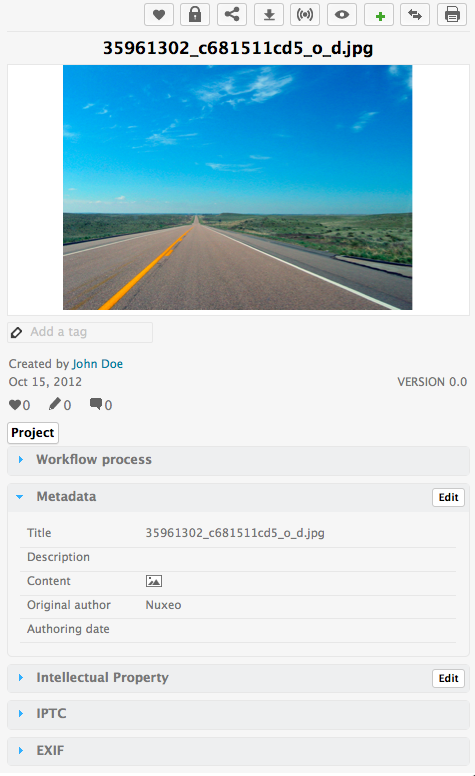
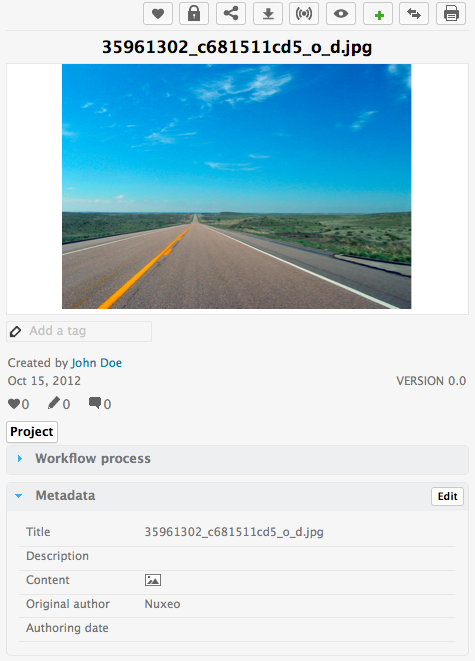
Consulting a Picture
When you browse and search a picture, you just need to click on its thumbnail to see it full screen or click on its title to preview it on the right column of the page and consult its metadata.
To see its full-size version, click on the icon ![]() . You can annotate the picture from this view.
. You can annotate the picture from this view.
Consulting Office Documents
From the list of assets, click on an office document to see its metadata in the right column. No small preview is available in this column for office documents, but you can click on the icon ![]() to have a full-size preview, on which you can add annotations.
to have a full-size preview, on which you can add annotations.
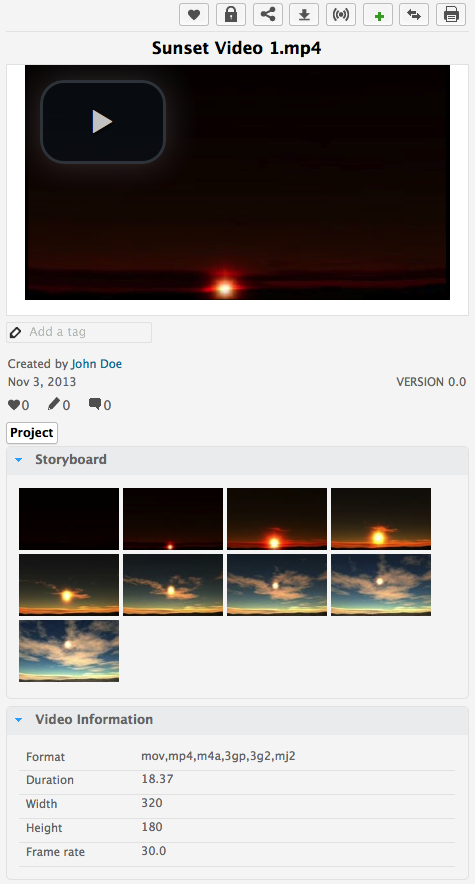
Consulting a Video Asset
When a video is imported, thumbnails that segment the video are automatically created to constitute a storyboard.
You can view the chapter you were looking for by clicking on the corresponding thumbnail.The video will play in the preview, starting at the image you selected.
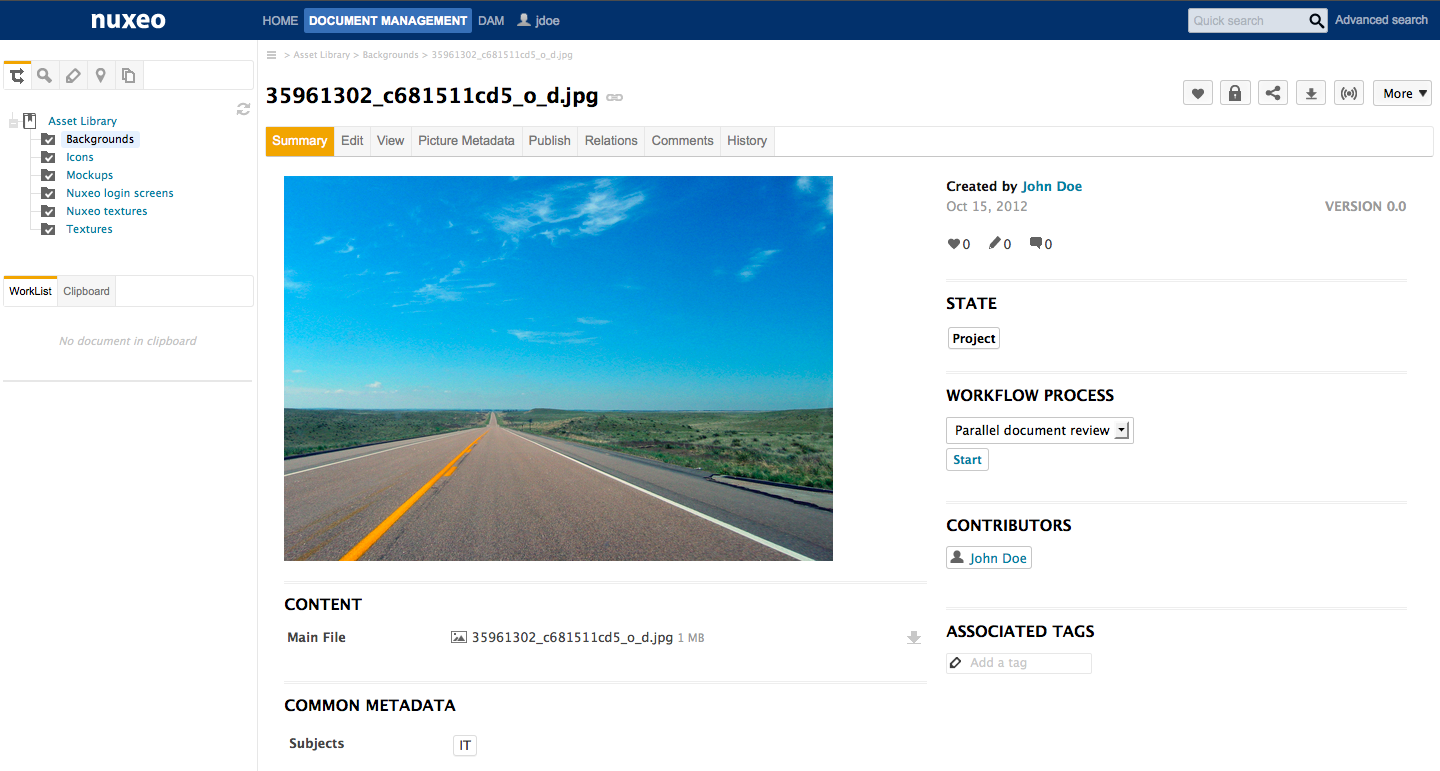
Consulting the DM View of Assets
The Asset library domain in which assets are created is available from the Document Management tab. Assets are thus also available from this tab, with all the Document Management features.
You can easily go to the DM view of the asset by clicking on the icon ![]() .
.
Consulting the Asset's Metadata
Metadata
Some of the asset's metadata are automatically filled in by the system.
Picture metadata view mode:
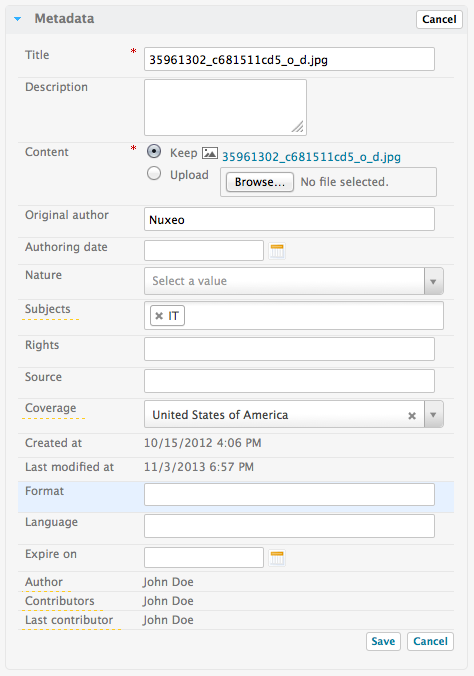
Picture metadata edit mode:
| Title | Description |
|---|---|
| Title | Name of the asset, displayed under the preview |
| Description | Description of the asset |
| Original Author | Person who created the asset, manually indicated when the asset was imported. |
| Nature | Type of the asset, selected in a list |
| Subject | Topic(s) of the asset |
| Rights | Information about the reproduction rights of the document. Detailed rights are available in the IP Rights tab of the asset. |
| Coverage | Geographic or temporal coverage of the resource, the geographic applicability of the resource, or the jurisdiction under which the resource is relevant |
| Created at | Date automatically filled in by the system when the asset is imported. |
| Last modified at | Date automatically filled in by the system when the asset is modified. |
| Format | Format of the asset, if any is preferred |
| Language | Language of the asset |
| Expiration date | End of the asset's validity |
| Author | User who imported the document. This field is automatically filled in by the system. The author can be different from the original author. |
| Contributors | Users who modified the asset. This field is automatically filled in by the system. |
| Last contributor | Last user who modified the asset. This field is automatically filled in and updated by the system. |
| Size | Size of the asset |
| Height | Height of the full size asset |
| Width | Width of the full size asset |
| Duration | Duration of the video and audio assets. This is only displayed on video and audio assets. |
IPTC and EXIF Metadata
When assets are imported, the system extracts the metadata embedded in the resource if it exists:
- EXIF (Exchangeable image file format) is a specification for the image file format used by digital cameras.
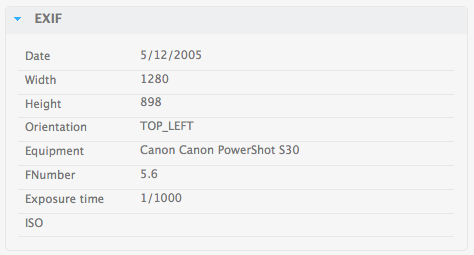
- IPTC defines a set of metadata attributes that can be applied to text, images and other media types.
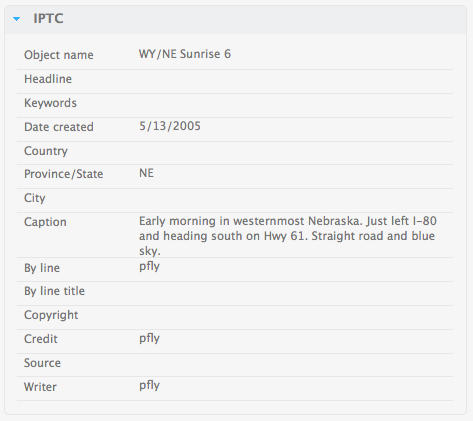
These metadata cannot be edited.
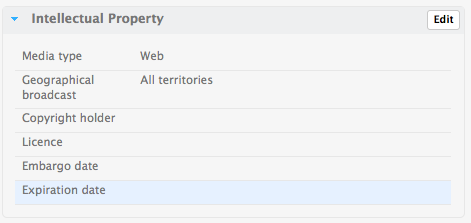
IP (Intellectual Property) Rights
Assets also have an IP Rights box, in which you can specify permissions for use of the file.
You can specify geographical restrictions for broadcast, copyright, Creative Commons Licence, embargo and expiration date.
The embargo and expiration date are only informative fields, there is no automatic process on those dates.
History
The history of the asset is available on its DM view.
Editing Assets
Editing an Asset's Metadata
You need to have at least "Write" permission to be able to edit the properties of an asset and enrich it. When you edit an asset, you can modify its main metadata and its IP rights.
The size, height, width and duration information are not editable.
To edit an asset:
- Click on an asset to preview it and see its metadata.
- Click on the Edit button of the Metadata box.
- Edit the information you wish.
- Click on the Save button. The new values are saved. The asset's history is updated and the fact that you edited the asset is tracked.
- Click on the IP Rights Edit button if you want to edit them.
- Update the Intellectual properties information.
- Click on the button Save. The new values are saved. The asset's history is updated and the fact that you edited the asset is tracked.
The Main metadata can also be edited from the Document Management view.
Editing several assets
It is possible to edit the metadata of several assets at the same time. Like for editing a single asset, you need at least "Write" permission.
Note that the values you set from the bulk edit form will overwrite any value previously set on the documents.
To edit several assets metadata:
- Select the assets you want to edit using the checkboxes.
- Click on the Edit button at the bottom of the list.
- On the bulk edit form, indicate the metadata the documents should now hold.
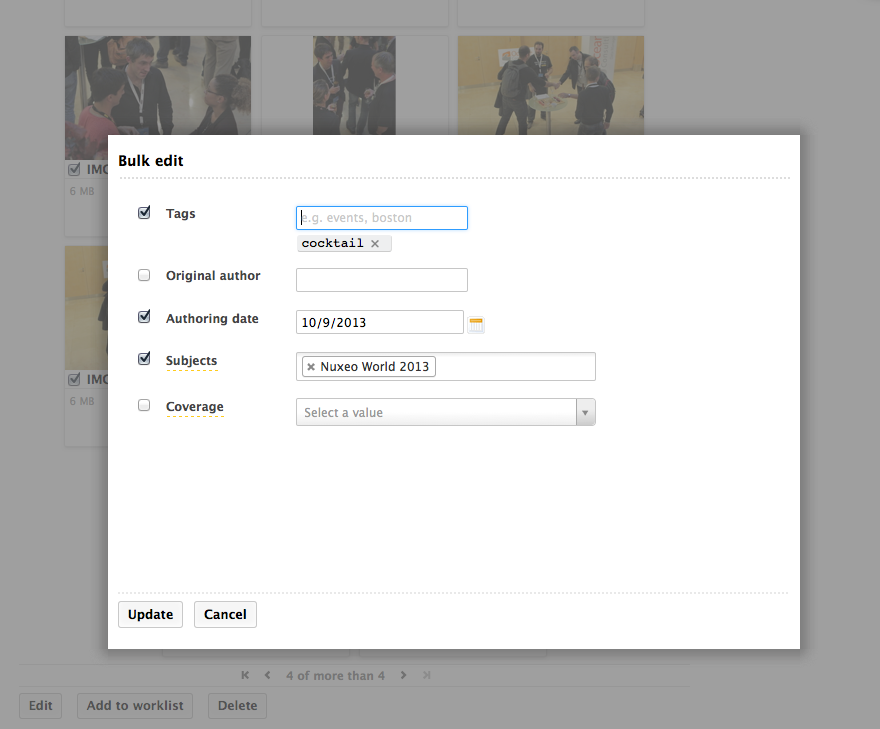
- Click on the Update button. The new values are saved and replace possible previous values. The assets' history is updated and the fact that you edited the asset is tracked. A minor version of the assets is automatically created, except for the tags, that will be added to the tags already set on the documents.