Collections are a folder-like document in which you can classify existing documents. Documents are not actually copied or moved into the collection, which only holds a link to the document in its original location.
It enables users to create their own organization of the content without duplicating content and having the size of the content growing uncontrollably.
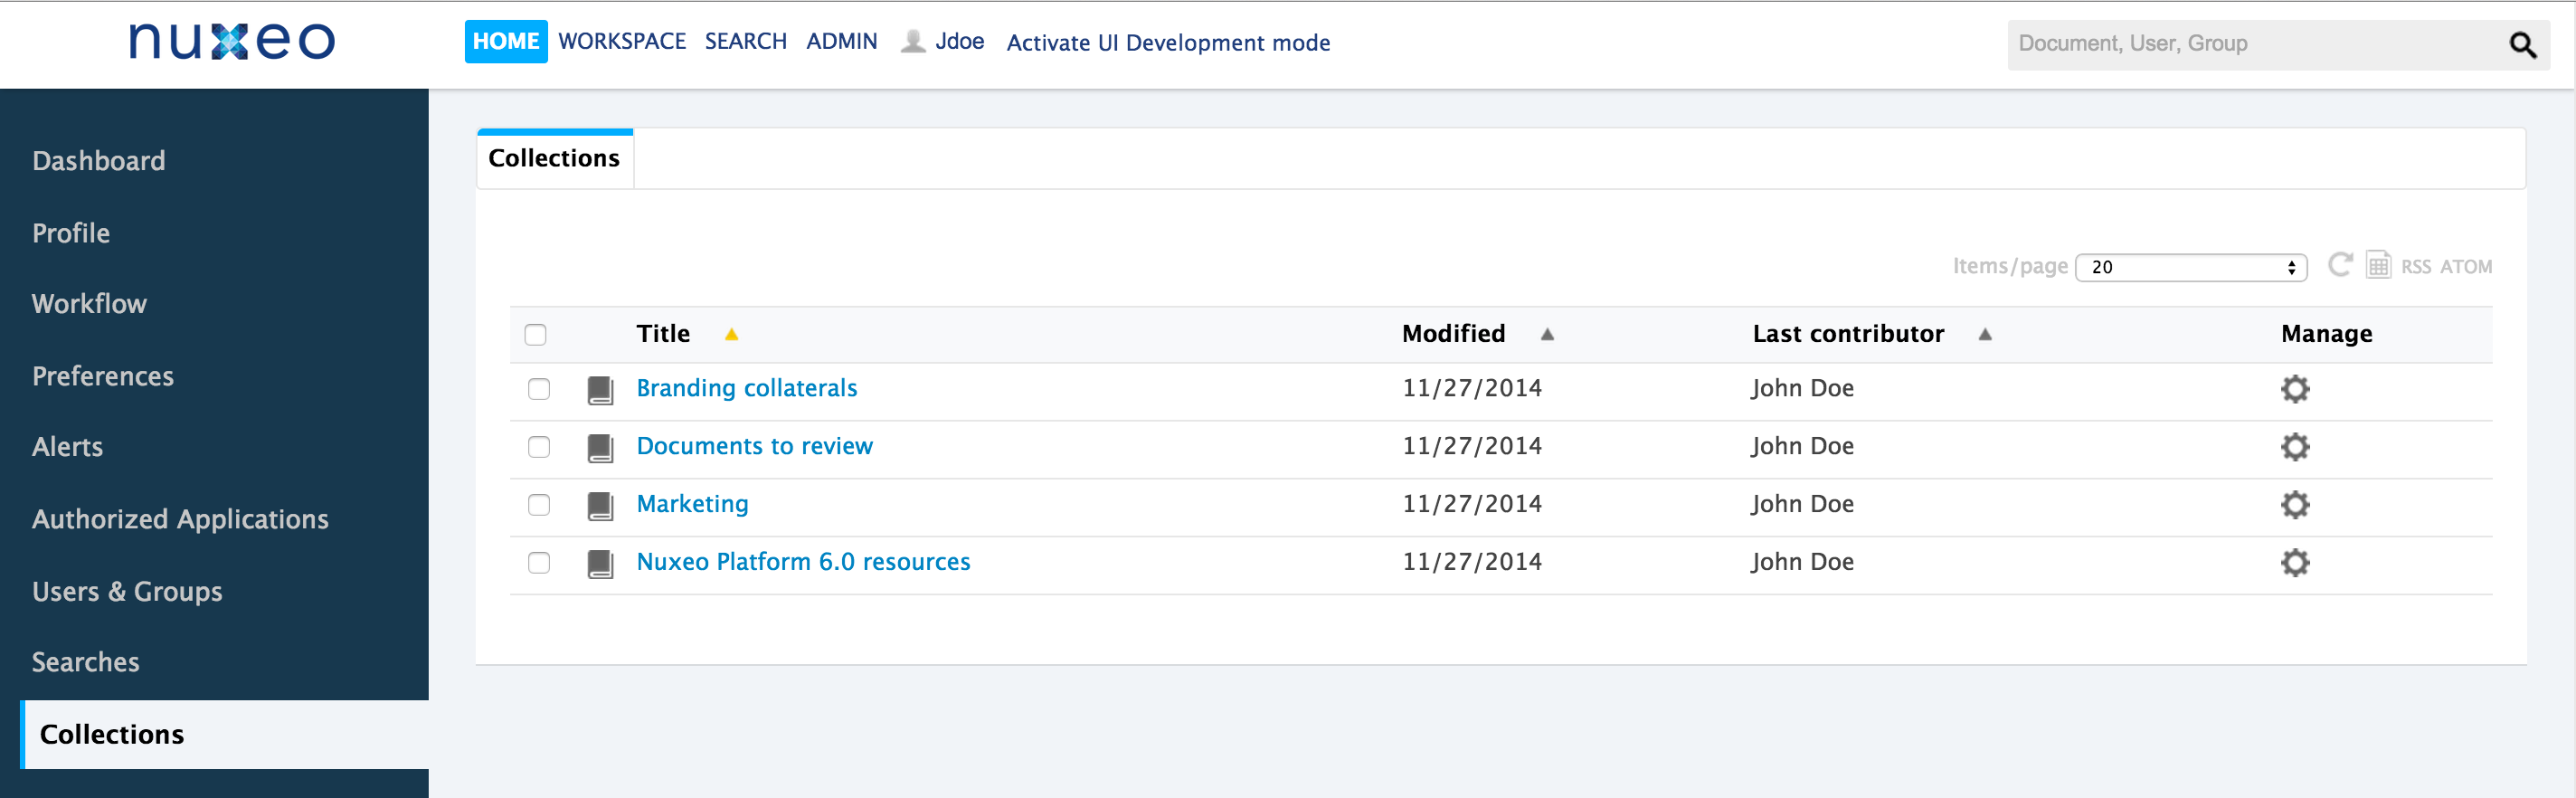
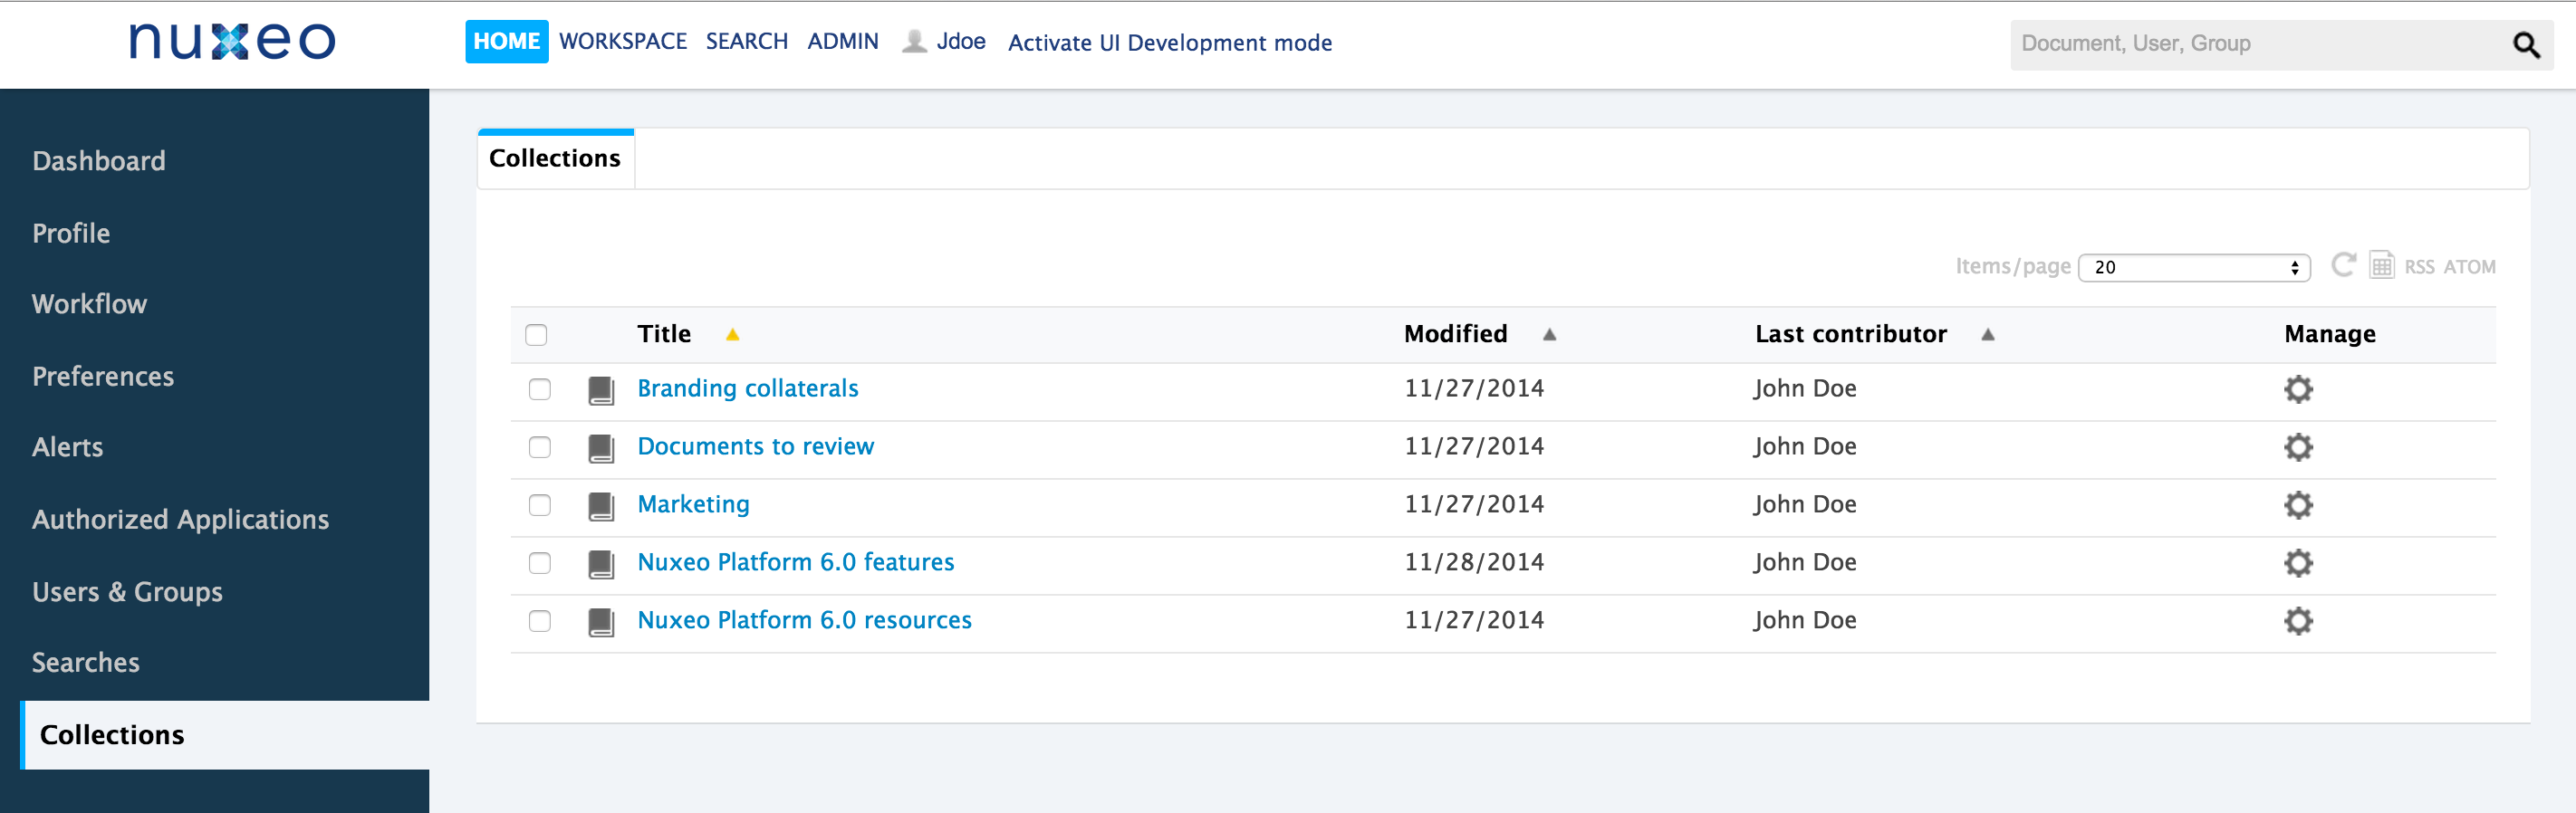
The list of collections available to a user is available from his Home, in the Collections tab.
Creating Collections
Collections can be created in:
- workspaces,
- folders.
They can be created like any other document, using the New button, but they can also be created directly from the Collect form.
To create a collection using the New button:
- In the Content tab of the workspace, click on the New button.
- On the window Available document types, click on the desired document.
- Fill in the document's creation form.
- Click on the Create button.
The collection is created in the workspace or folder. You can now collect documents in it. It is available from the Collections tab of your Home.
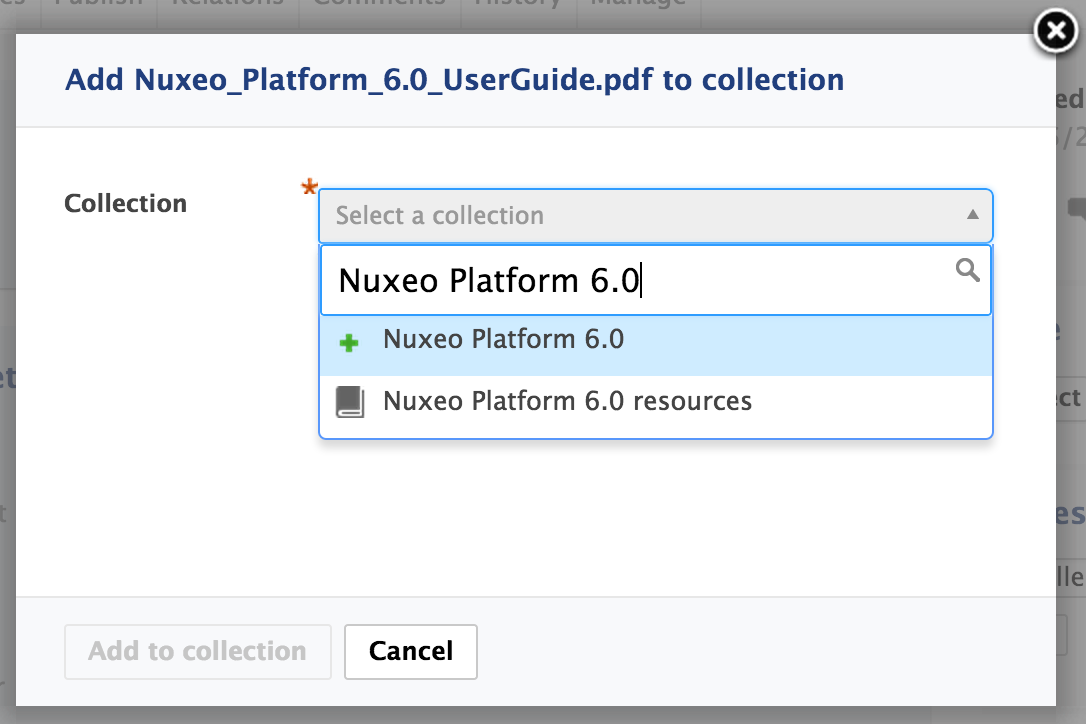
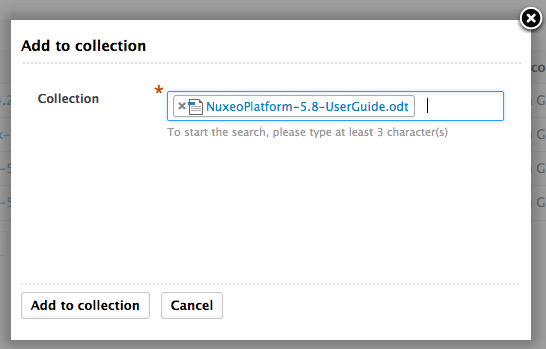
To create a collection from the Add to collection form:
- On the Add to collection form, start typing the name of the new collection.
- Click on the collection name with the icon
 .
.
- Give the collection a description.
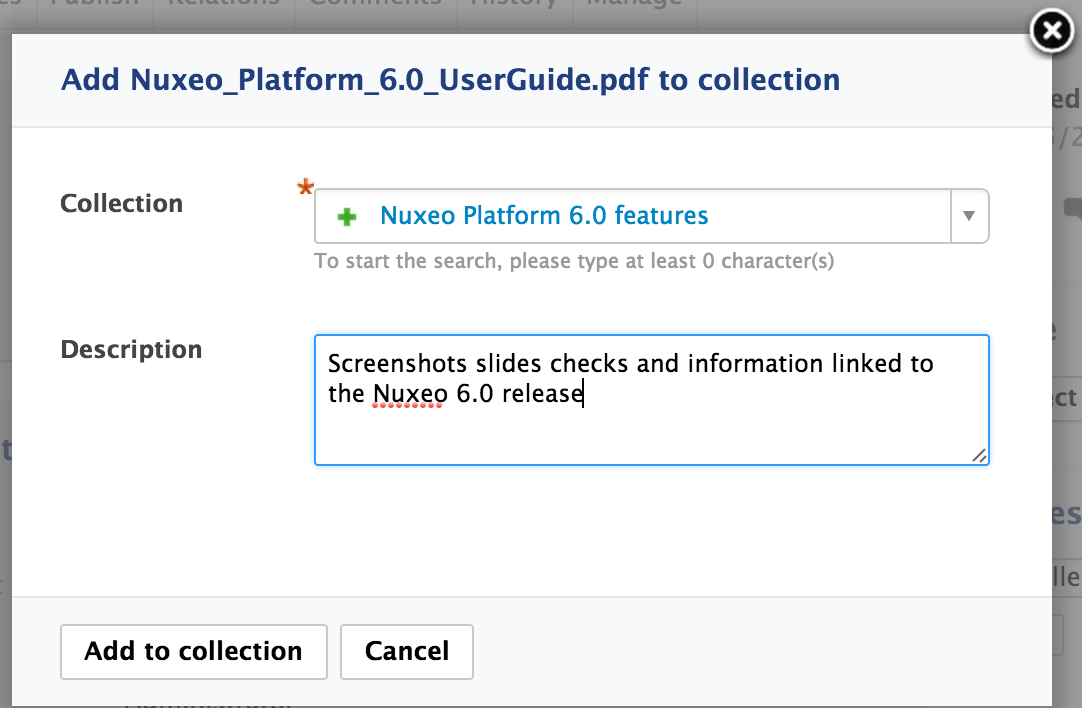
- Click on the Add to collection button.
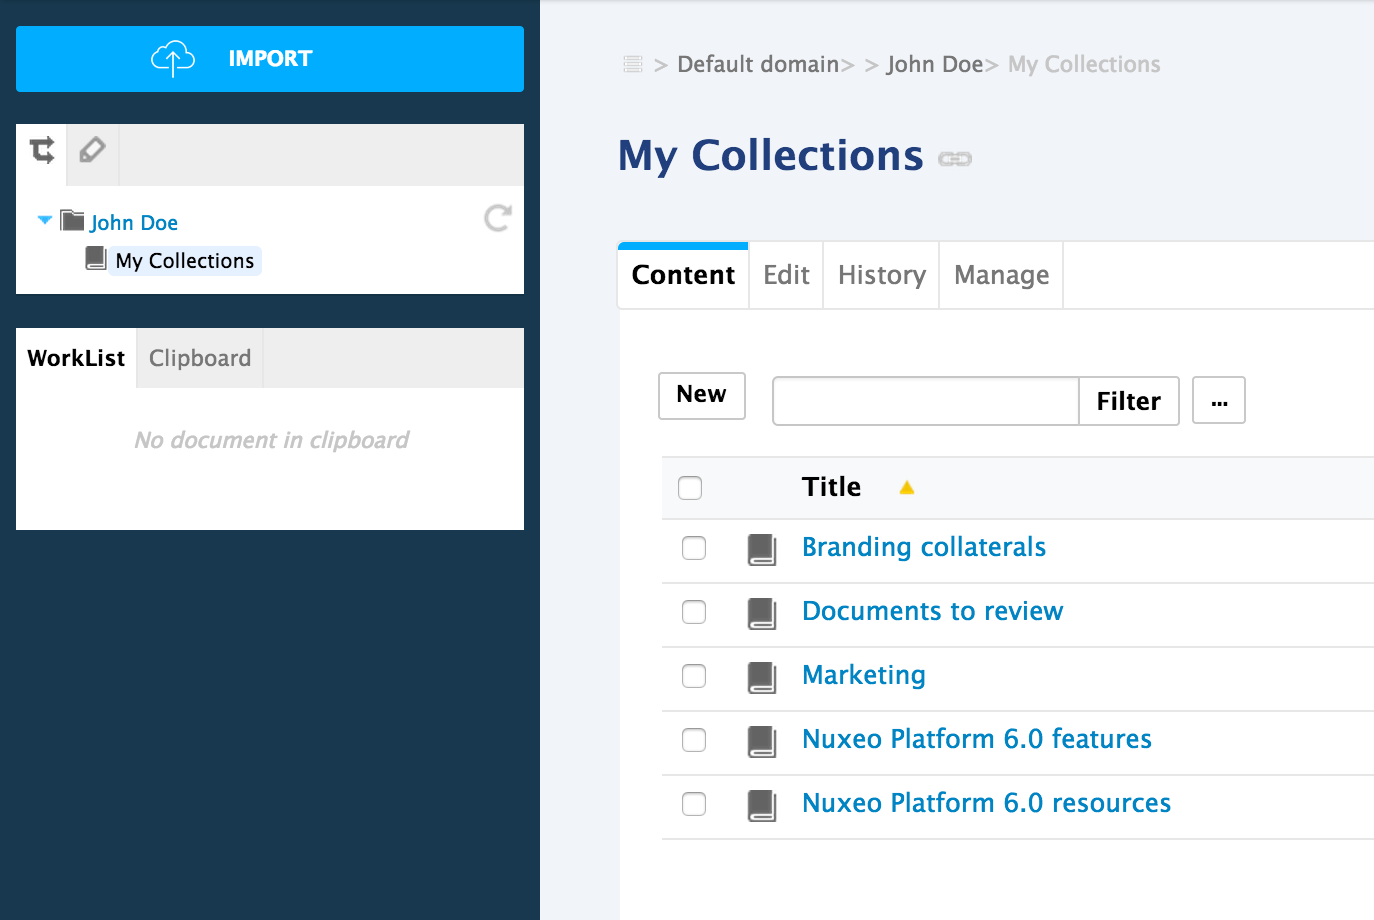
The collection is created in your personal workspaces, in a My Collections parent.
Collecting Documents
Collections can hold links to any type of document. You just need to have Read access to the document to be able to collect it. Collecting a document doesn't give you more access rights on the document: your rights are the one defined on the original parent of the document.
Documents can be collected individually or by batch.
Collecting a Single Document
- Click on the icon
 of the document to collect.
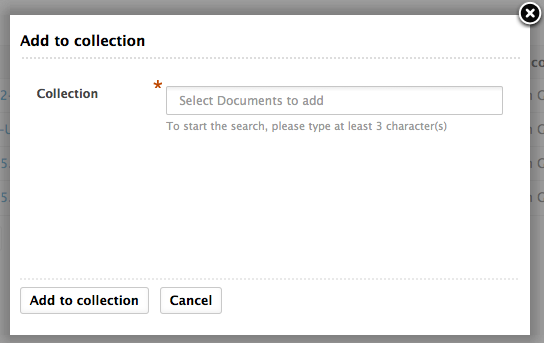
The Add to collection popup is displayed.
of the document to collect.
The Add to collection popup is displayed. Select the collection to collect the document into. You can either:
- Browse the collections,
- Start typing the collection name and select it,
- Type a new collection name to create it.
The Collection list shows all the collection you have access to, even collection in which you cannot collect documents. Collections you can add content to are highlighted in blue while collections you only have read access to are not highlighted when you browse the list.
Click on the Add to collection button. The document is immediately available from the collection.
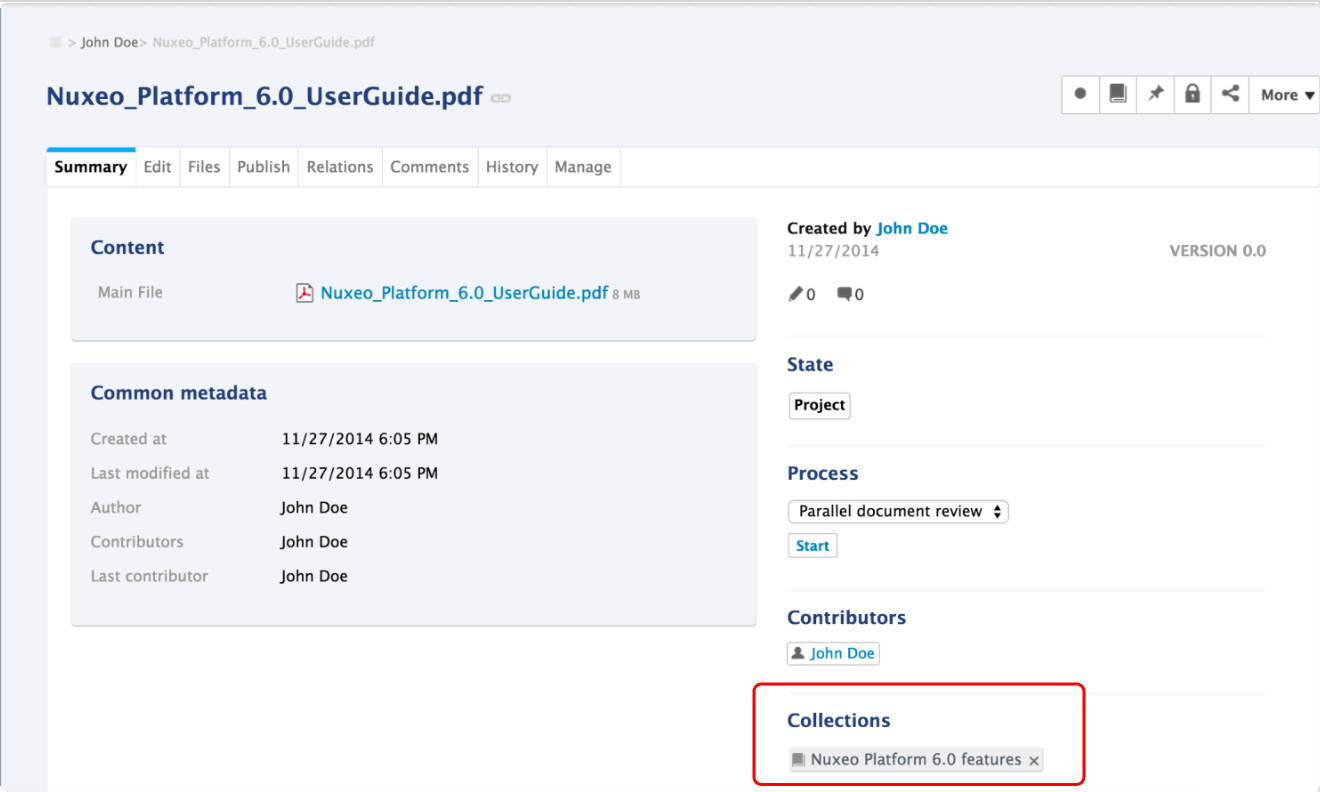
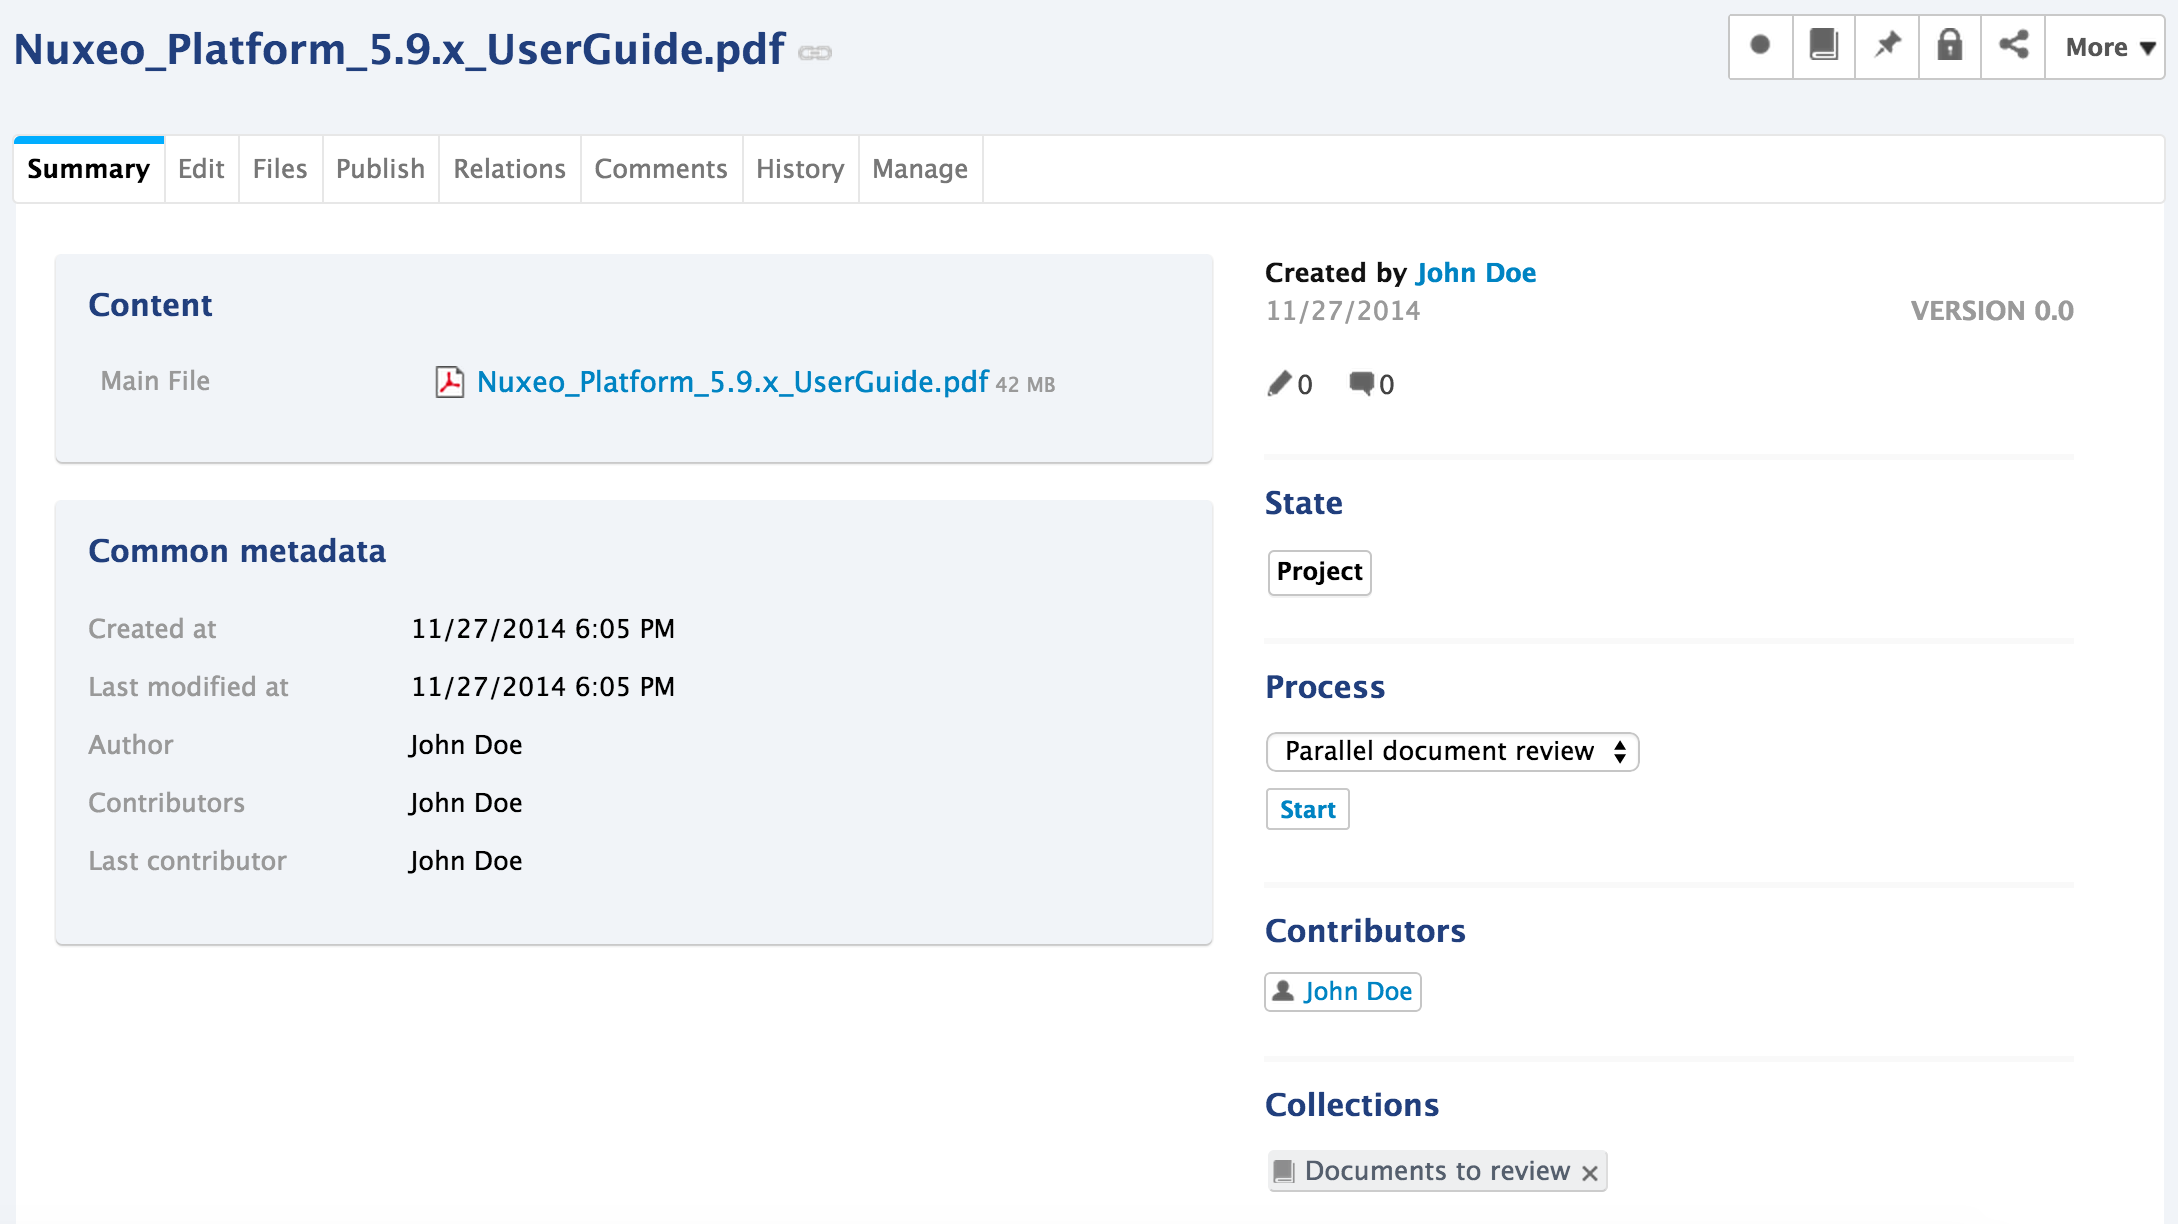
A new Collections item is displayed on the Summary of the document, showing the collection the document has been collected in.
Collecting Several Documents at the Same Time
- Select the documents to collect using the checkboxes on the documents list.
- Click on the Add to collection button below the document list. The Add to collection popup is displayed. It shows the collection drop down list and the list of selected documents.
Select the collection to collect the document into. You can either:
- Browse the collections,
- Start typing the collection name,
- Type a new collection name to create it.
- Click on the Add to collection button. The documents are immediately available from the collection.
Collecting Documents from a Collection
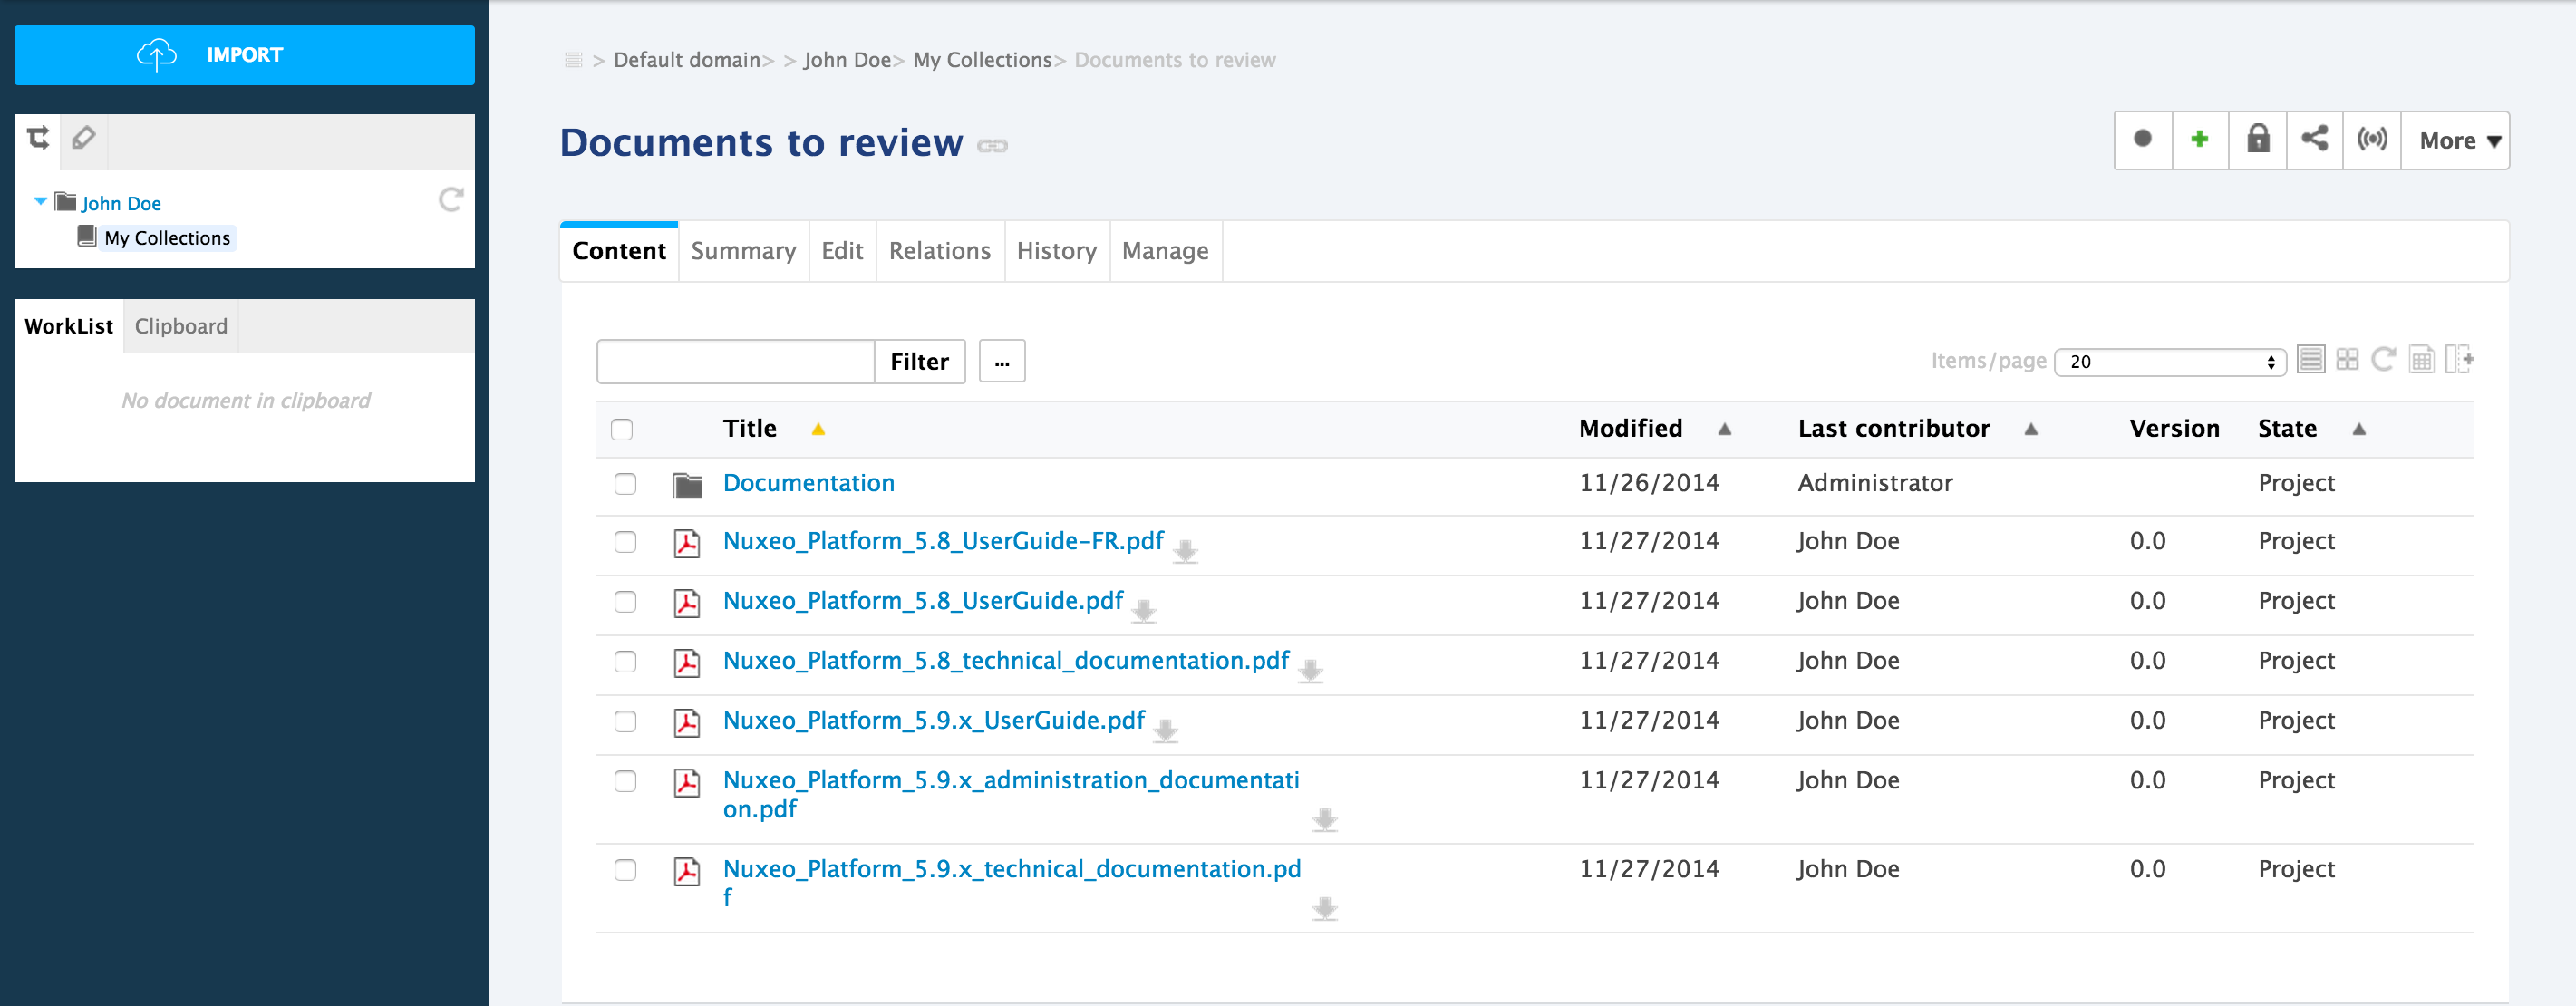
From the Home Collections tab, click on the collection title to go on the collection. The list of of documents classified in the collection is displayed.
Click on the icon
 to add documents to the collection.
The Add to collection form appears.
to add documents to the collection.
The Add to collection form appears.
- Start typing the name of the document that you want to add to this collection.
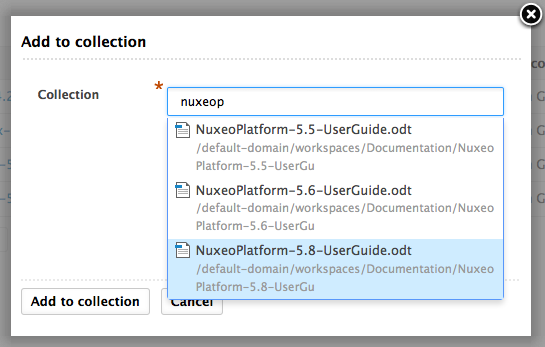
- Select it in the suggested documents.
- If needed search and select other documents.
- Click on the Add to collection button. The document is added to the collection. The collection name is displayed in the Collections widget on the Summary of the document.
Consulting Collections and Collected Documents
A Collections tab is available in your Home, that displays the list of all the collections you have access to.
The collections you have Manage everything rights on are indicated using the icon ![]() . It enables you to easily access the Manage tab of the collection.
. It enables you to easily access the Manage tab of the collection.
- From the Home Collections tab, click on the collection title to go on the collection.
The list of documents classified in the collection is displayed.
- Click on a document to consult it.
You are moved out of the collection to be displayed the document inside its original location.
Sharing a Collection
Sharing a collection means giving access rights to users on the collection. Collections created in the default domain in a shared workspace or folder are automatically shared to all the workspace or folder's users, following the rights inheritance principle.
Collections created in your personal workspace are by default private. You need to grant access rights to it if you want to share it. Granting access rights to a collection makes the collection available to users from their Home. The list of documents displayed inside the collection depends on the rights of the user on each of the documents.
Beside the generic access rights, collection have a specific right, called "can collect". When you share a collection, you can choose to:
- Give read access: By giving them Read right, you enable users to see the collection in their Home and the documents inside it depending on their rights on each document;
- Enable users to add documents to the collection: By giving the access right "Can collect", you enable users to add documents to the collection and remove them;
- Give write access: By giving the Write right, you enable users to add documents to the collection, remove them and to edit the collection;
- Make them manager for the collection: By giving them Manage everything right, you enable users to manage the content of the collection and who can access it.
Removing Documents from Collections
From the Collections Content Tab
- From the Home Collections tab, click on the collection title to go on the collection. The list of the documents classified in the collection is displayed.
- Select the document(s) that you want to remove from the collection using the checkboxes on the documents list.
- Click on Remove from collection. The document is removed from the collection.
From the Document Summary Tab
Click on the document that you want to remove from your collection.
On the right of the Summary tab, click on the icon
 of the collection that you want to remove it from.
Your document is removed from the collection.
of the collection that you want to remove it from.
Your document is removed from the collection.