Concept
The Nuxeo workflow engine provides the usual features you would expect from a workflow engine and leverages the main modules of the platform: the repository, the Automation service, layouts for all the user interactions and process implementations. It provides high level features regarding task management such as filterable tasks lists, reminders, task reassignment, task delegation, task reminders. You need to understand correctly those concepts before playing with the workflow engine.
A workflow is conceptually defined using a graph. Workflow graphs are configured from Nuxeo Studio.
The workflow engine provides means to implement most of BPMN concepts: Fork, merge, decision, branching point, exclusiveness, inclusiveness, looping, human tasks, services tasks, multiple instances, events, data objects, subprocess, join. Note that those standard concepts are not all exposed as is on the graph editor, but can still be implemented leveraging what is provided.
Understanding Workflow:
- Useful Definitions
- Simple Workflow Example (tutorial)
- How to Assign a Workflow Task to a User Depending on a Metadata (tutorial)
Default Available Workflows
The Nuxeo Platform proposes two default workflows that showcase the possibilities of the Workflow.
They are also available as an application template in Nuxeo Studio so as to enable you to see how they are configured. This application template is called Default Nuxeo Platform Workflows Configuration.
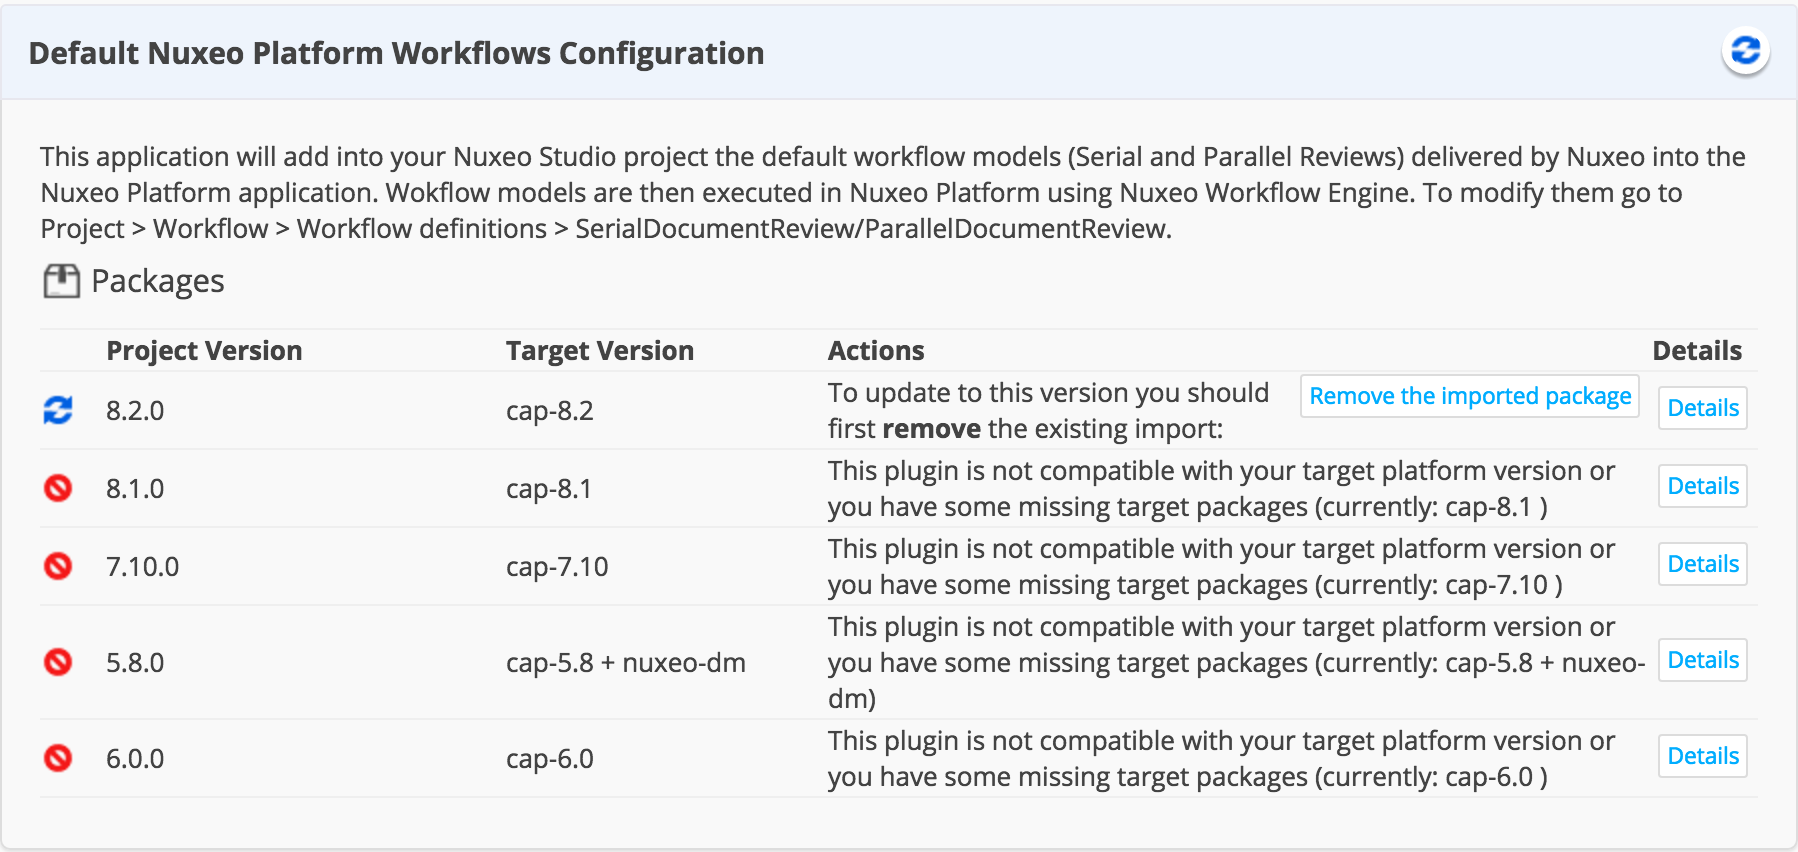
It is possible to import this package from your Studio project : Go to Configuration > External Templates > Default Nuxeo Platform Workflows Configuration and click on Import.
See the pages Serial Document Workflow and Parallel Document Workflow for more details about showcased default workflows.
Configuring a New Workflow
To create a new workflow, simply go to the workflow section of Studio, click New and choose a name.
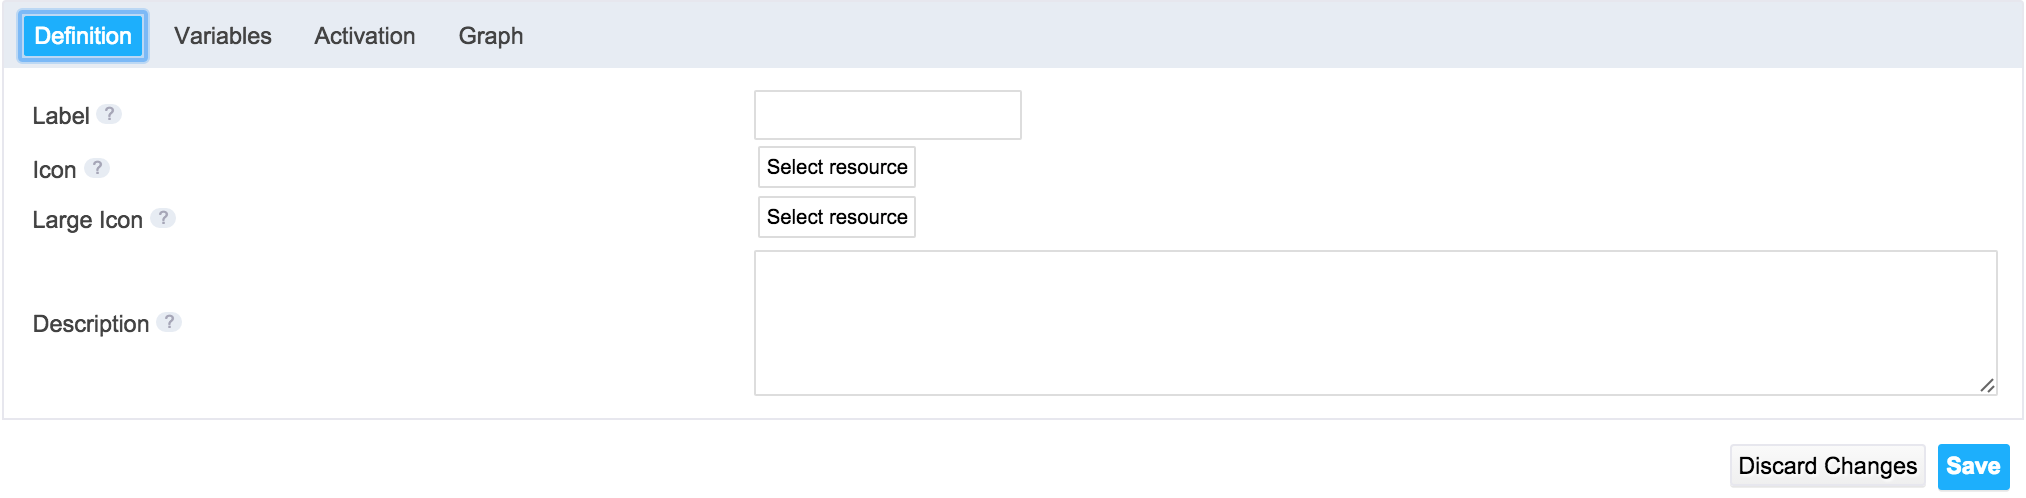
A workflow can be configured through four tabs:
- Definition: Where you select the name and label of the workflow.
- Variables: Where you can manage the Workflow variables that will be used through-out the different steps of the workflow, like comments, user inputs...
- Availability: Where you define the filter to enable or not the workflow.
- Graph: Where you define all the workflow steps and their transitions. This is the most important tab. After you create your workflow, it's normal you get validation error, pending the creation of the graph.
Starting the Workflow
A workflow must start with a node for which the "start node" property is checked and have at least one end node with the "end node" property checked. To make it simpler, Studio provides a node template library (on the left), from which a Start node and an Stop node are available.
To start the workflow graph:
- Click on the Graph tab.
- Drag the Start node and drop it on the graph.

- Repeat this operation for every node and transition that you need to create your own workflow. Click on one node to open the editor to edit its properties and add possible transitions. Each possible transition is represented as an endpoint on the node.
Working with Workflow:
- Workflow Variables
- Instance Properties - Workflow Node Properties
- Node General Tab in Studio Documentation
- Workflow Naming Conventions
Discover More
To go further, read the page Simple Workflow Example, and follow the creation of a workflow step by step with a specific use case.