Nuxeo offers an API Playground, an interactive way to discover the Nuxeo Platform API. This module runs fully client-side in JavaScript. You can use it on any server as long as you deploy a CORS configuration on it.
Functional Overview
Nuxeo API Playground can be used online or locally at http://NUXEO_SERVER/nuxeo/playground after you install the Nuxeo Package on your server (see the Installation and Configuration section).
Note that the online version of API Playground connects to our demo.nuxeo.com instance by default, but you can use it with your own Nuxeo server.


Repository
Playing with the API will modify the content of the repository. The Repository section of the playground will let you verify the impact of your API call attempts.

The content is represented in a tree structure which allows you to navigate the repository. Unfold the tree and click on a document. Its content is retrieved through REST API with JSON responses and headers displayed in the right panel.
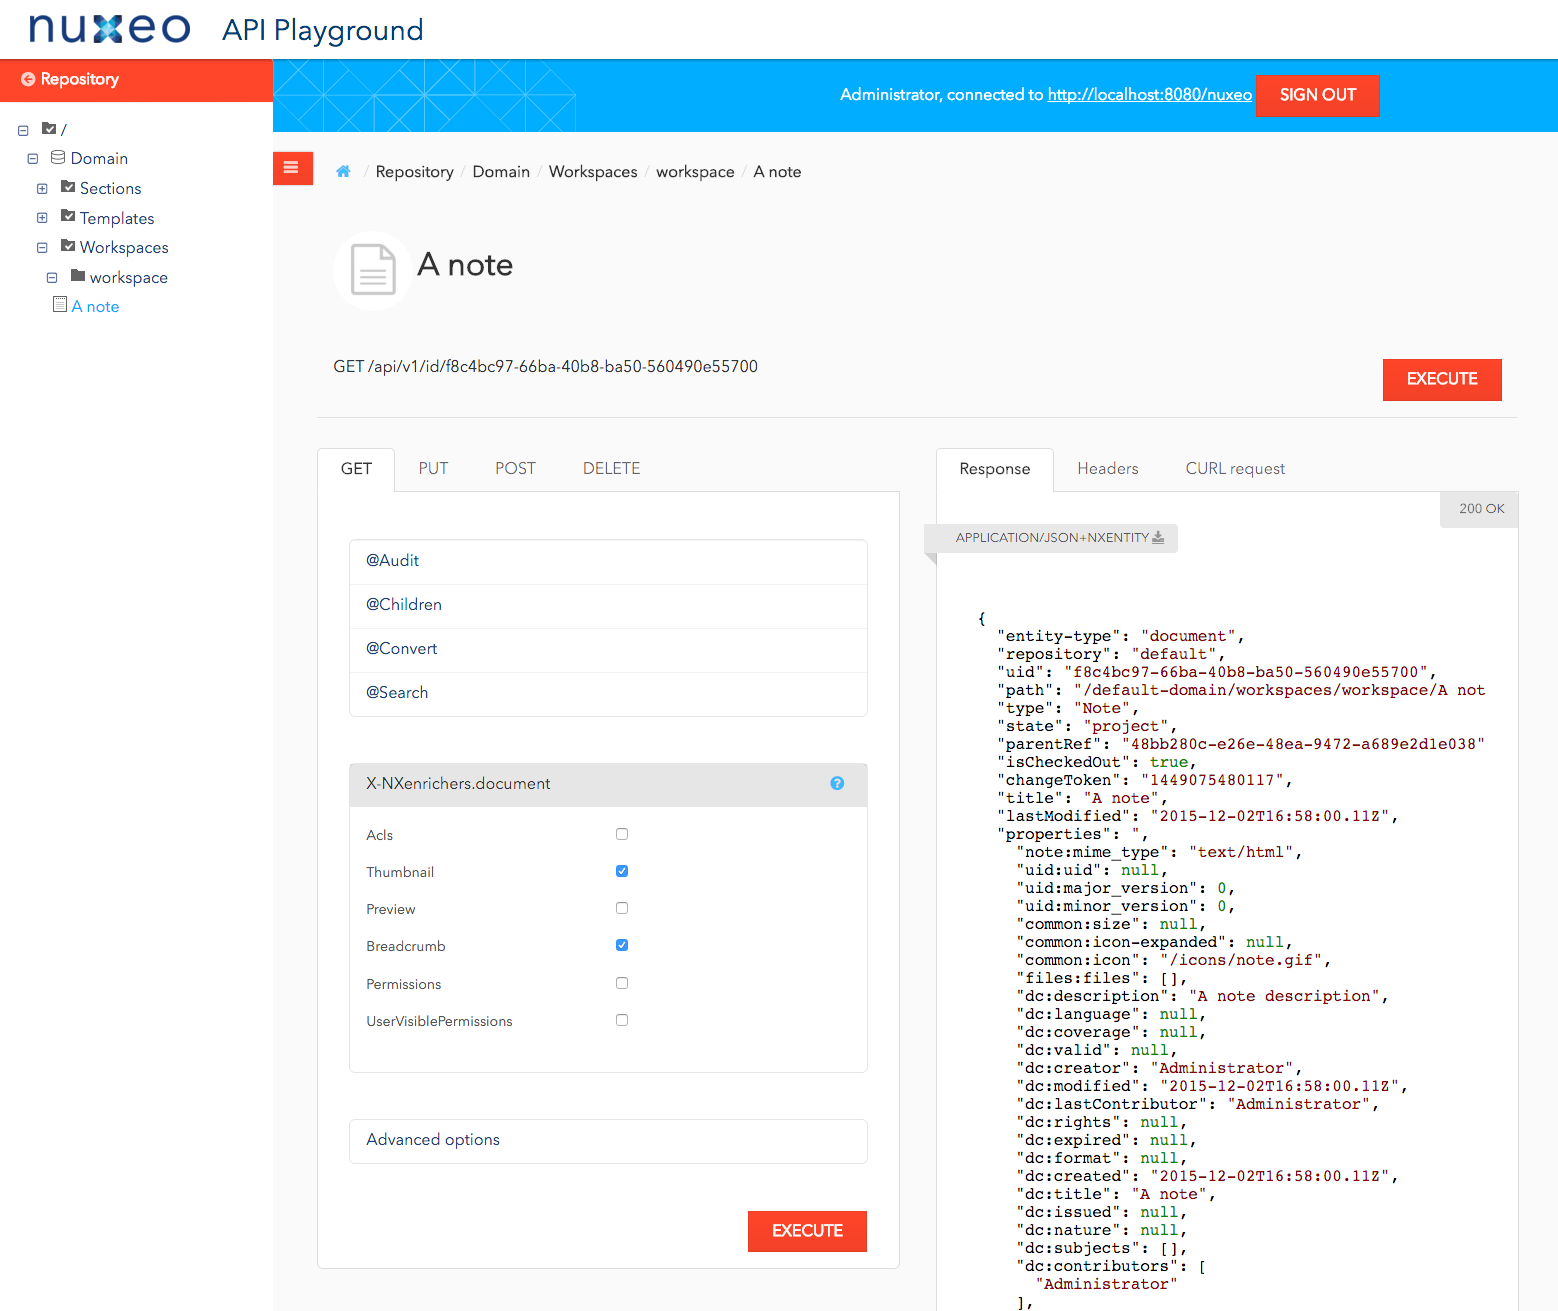


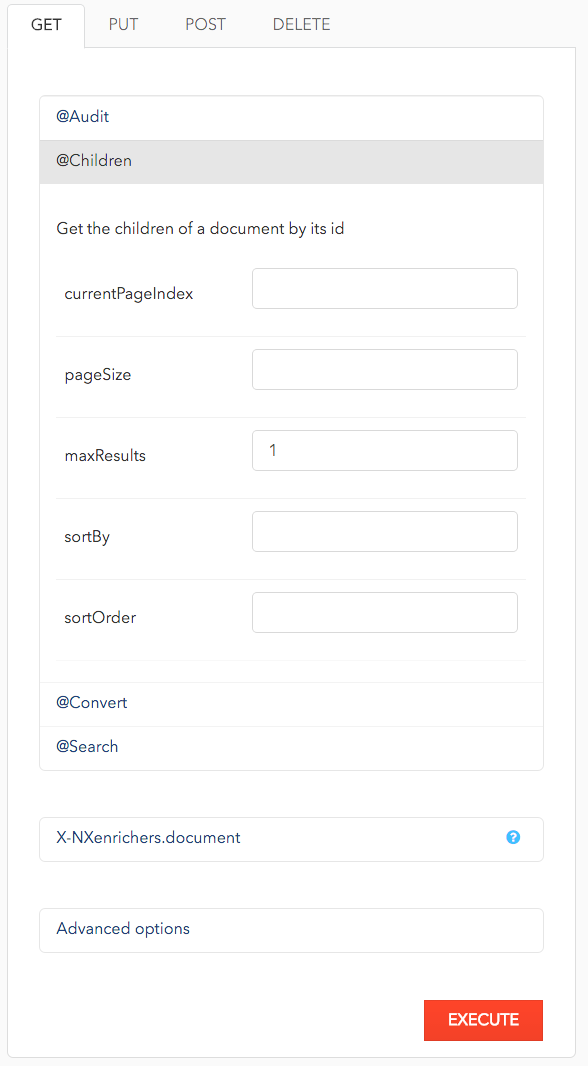
The default GET tab allows you to invoke adapters on the current document as well as toggle content enrichers. By default the thumbnail and breadcrumb enrichers are selected since they are used to build the header where this information is shown. Selecting an adapter displays a form where you can enter the parameters, if any.

Data Structure
We use the API to create/read/update documents. But to do so, you need to know which properties are expected for your document. The Data Structures section helps you understand this by listing all the document types, facets and schemas that have been configured on your Nuxeo Platform repository.
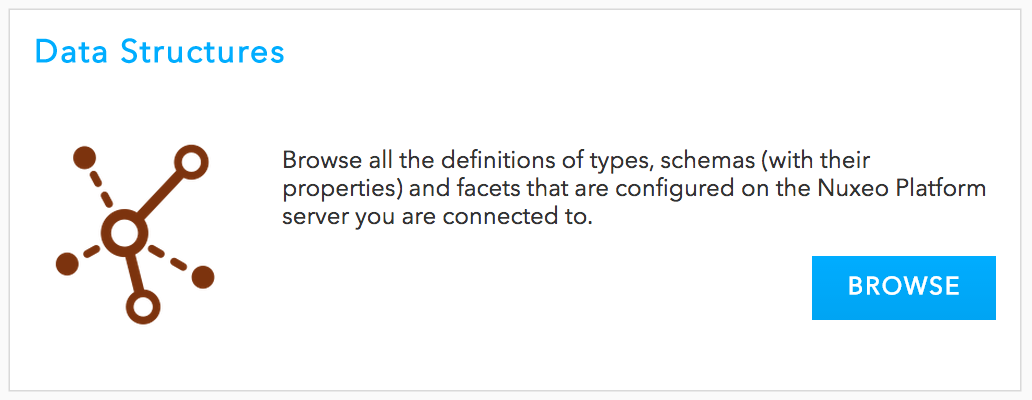

For example, to get information about the userWorkspaceRoot document:
- In Types, click on the
userWorkspaceRootdocument type.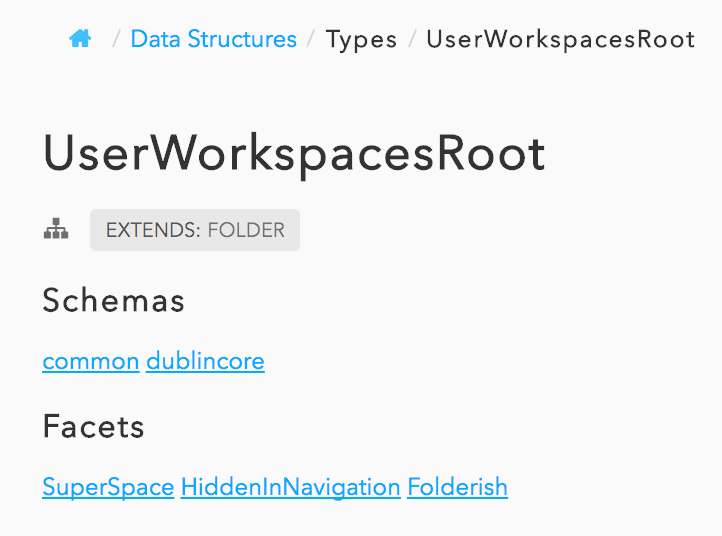 The schemas and facets of the document are displayed.
- Click on the icon
 .
The complete inheritance structure of
 userWorkspaceRootis displayed.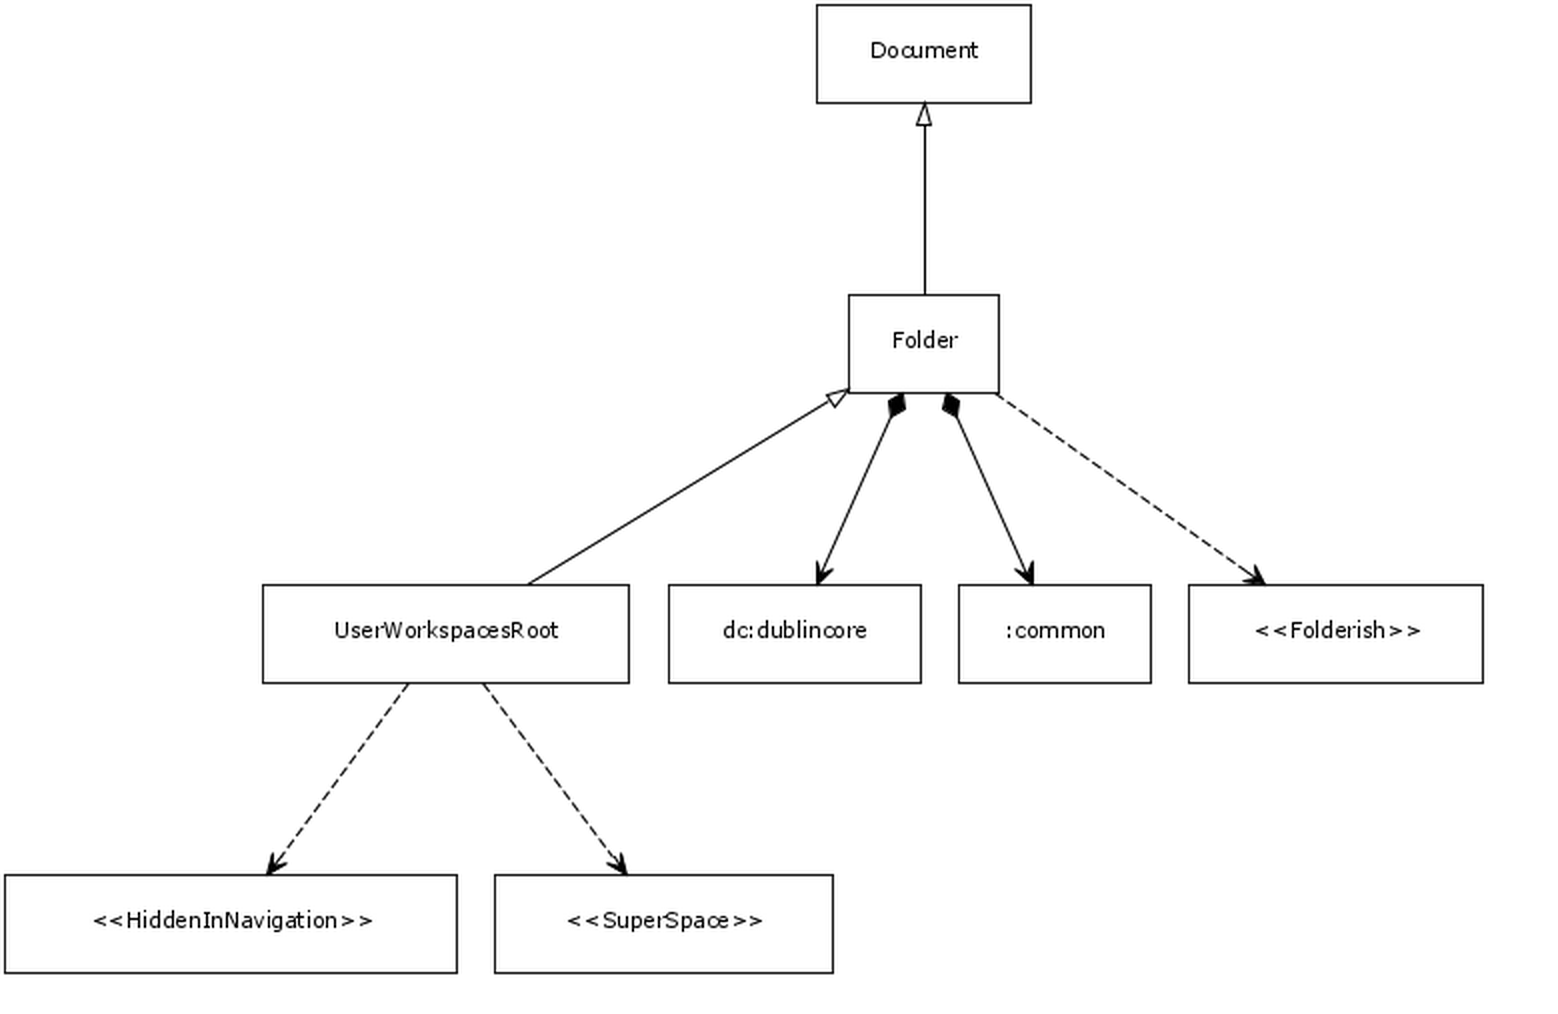

- Click on one of the schema names, like dublincore for instance, to see its structure.
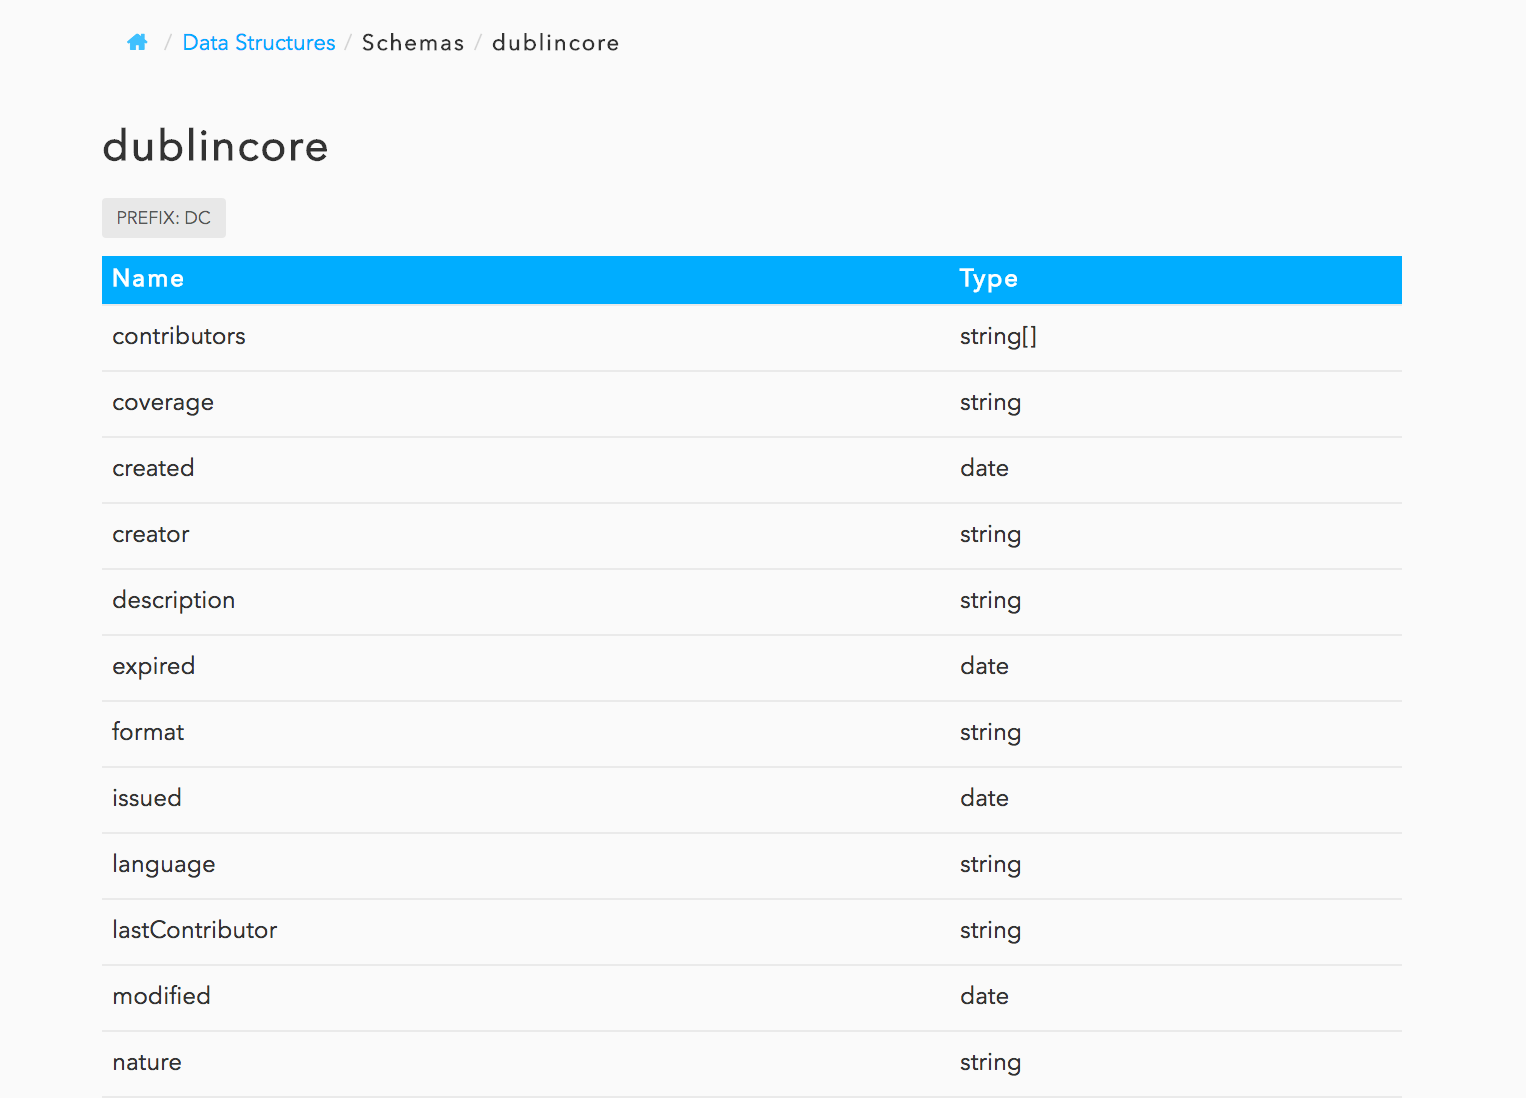

Resources Endpoints
In this section you can perform calls to all the Resources Endpoints.

Depending on the endpoint, you can do GET, PUT, POST or DELETE calls to read, update, create and delete documents.
- Click on the resource endpoint you want to work with and then on the call you want to make.
Fill in the Parameters form.
Tips:
- For Document Resources, you can select the document in the repository tree by clicking on the icon
 , without having to type in its exact ID.
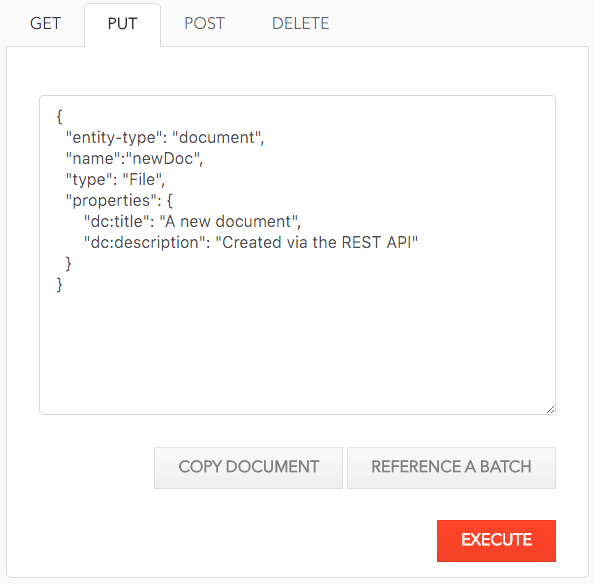
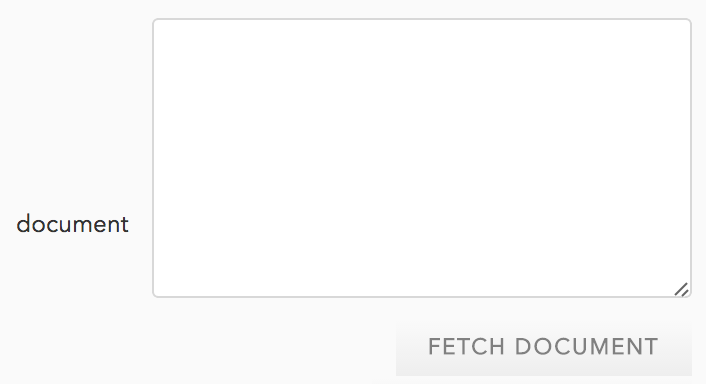
 - For all the resources, when you perform a PUT request (usually to update the resource), you can click on the Fetch Document button to automatically fill in the body parameter of your request with the document JSON definition. Then you just need to modify the property you want to update.

- When you perform a POST call and need an example of the expected JSON object, click on the value displayed in the Type column. The documentation of the corresponding JSON structure opens up.


- For Document Resources, you can select the document in the repository tree by clicking on the icon
- Optionally click on the icon
 to update the request headers before running the call.
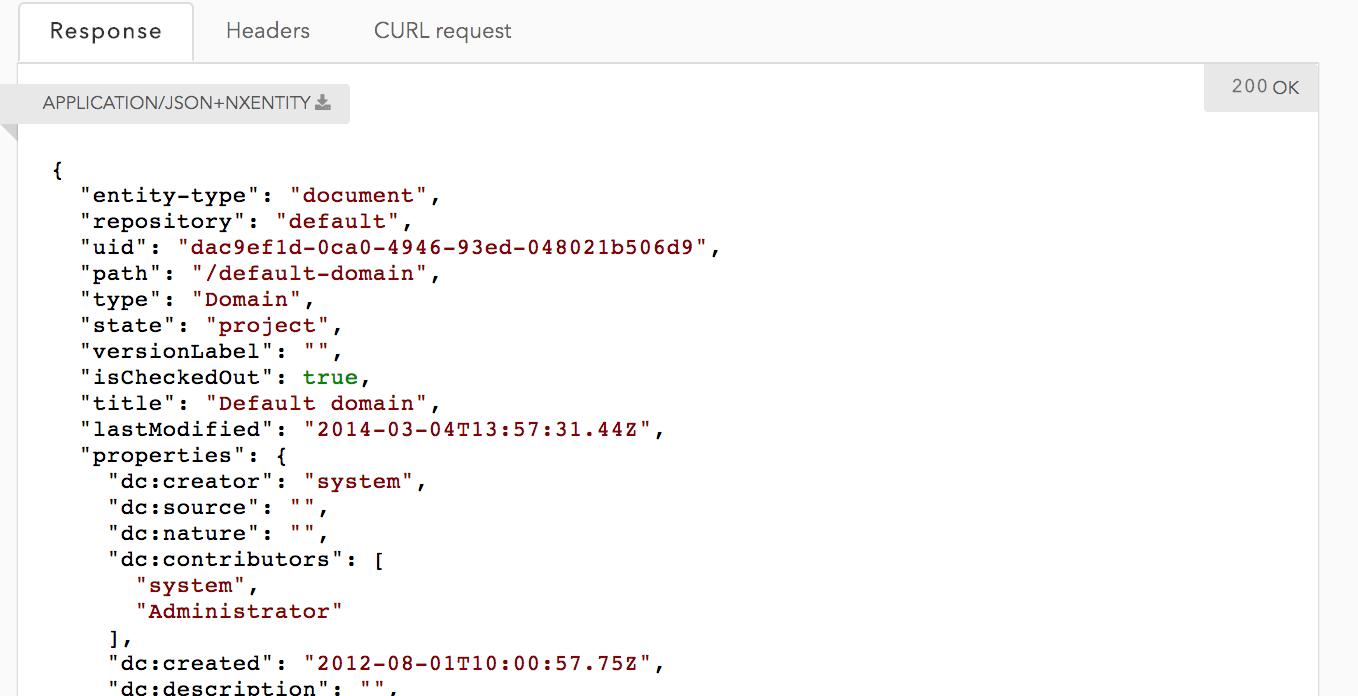
 Click on the Run button. You get three tabs:
- The Response content, most of the time a JSON string, but sometimes the returned error, or a byte stream if the answer was a binary.

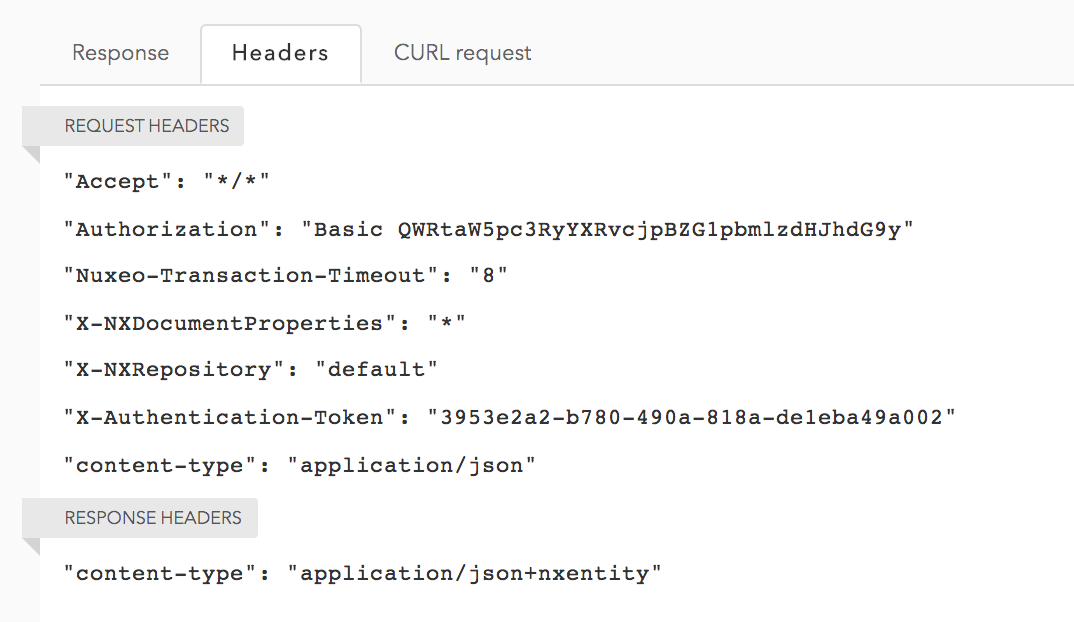
- The headers both of the request and the response:

- The CURL syntax of the request
This tab is key as it allows you to reproduce the same call in your own environment/shell to ensure you're not missing anything to build a successful request.


- The Response content, most of the time a JSON string, but sometimes the returned error, or a byte stream if the answer was a binary.
Command Endpoint
The command endpoint section lists all the available operations and chain of operations available on the server. You can then run an operation by filling in the expected input (nothing, documents or binaries) and then get the output.
- Click on the operation category and then on the operation you want to run.
Fill in the operation parameters form. See Operation Parameters documentation or the list of Operations on Nuxeo Explorer for more information on the parameters.
Tip: For document input, click on the icon
 to browse the repository tree and select your document instead of typing the whole document path.
- Optionally click on the icon
 to update the request headers before running the call.
 Click on the Run button. You get three tabs:
- The Response content, most of the time a JSON string, but sometimes the returned error, or a byte stream if the answer was a binary.


- The headers both of the request and the response:


- The CURL syntax of the request
This tab is key as it allows you to reproduce the same call in your own environment/shell to ensure you're not missing anything to build a successful request.


- The Response content, most of the time a JSON string, but sometimes the returned error, or a byte stream if the answer was a binary.
Batch Upload
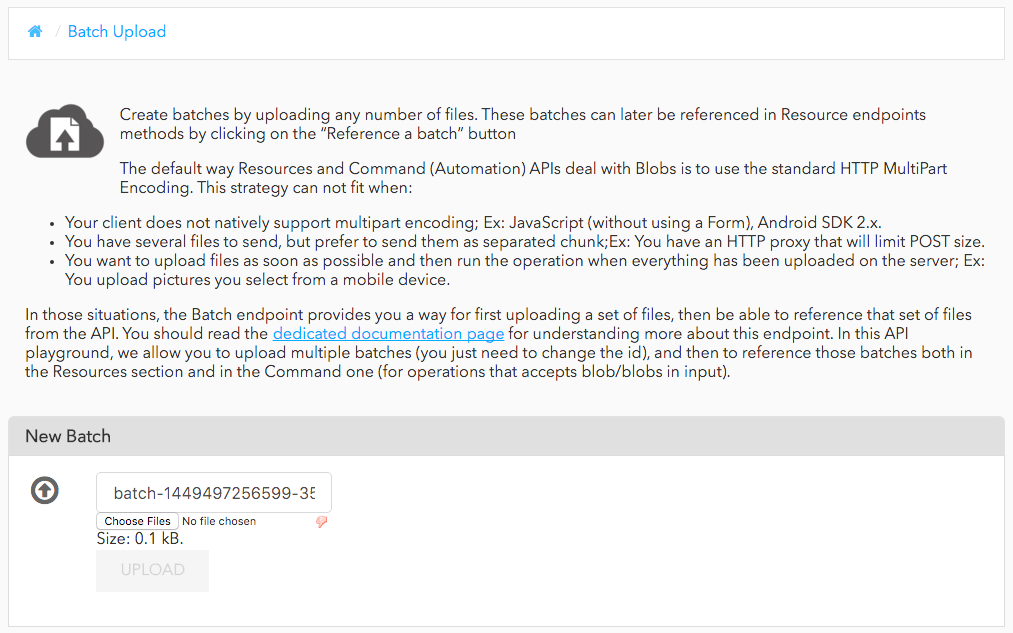
The Batch Upload Endpoint provides a way of uploading one or more files and then referencing that set of files from the API (PUT and POST calls, operation parameters, etc.). This approach is favored over regular HTTP MultiPart encoding uploads in the following cases:
- When you have several files to upload
- When your client does not natively support MultiPart encoding
- When you want to upload files as soon as possible and then run the operation when everything has been uploaded on the server

Pre-Requisites
Because the Nuxeo API Playground currently uses the old API, you need to do some configuration to enable it. See the section Enabling Batch Upload.
Creating a Batch Upload
- Select one or more files to upload.
- Click the Upload button. Once your files are uploaded the batch will be displayed in the list of batches. You can create any number of batches before referencing them in your requests.


Using a Batch Upload
- Click on the Reference a Batch button which is displayed for any JSON document parameter.
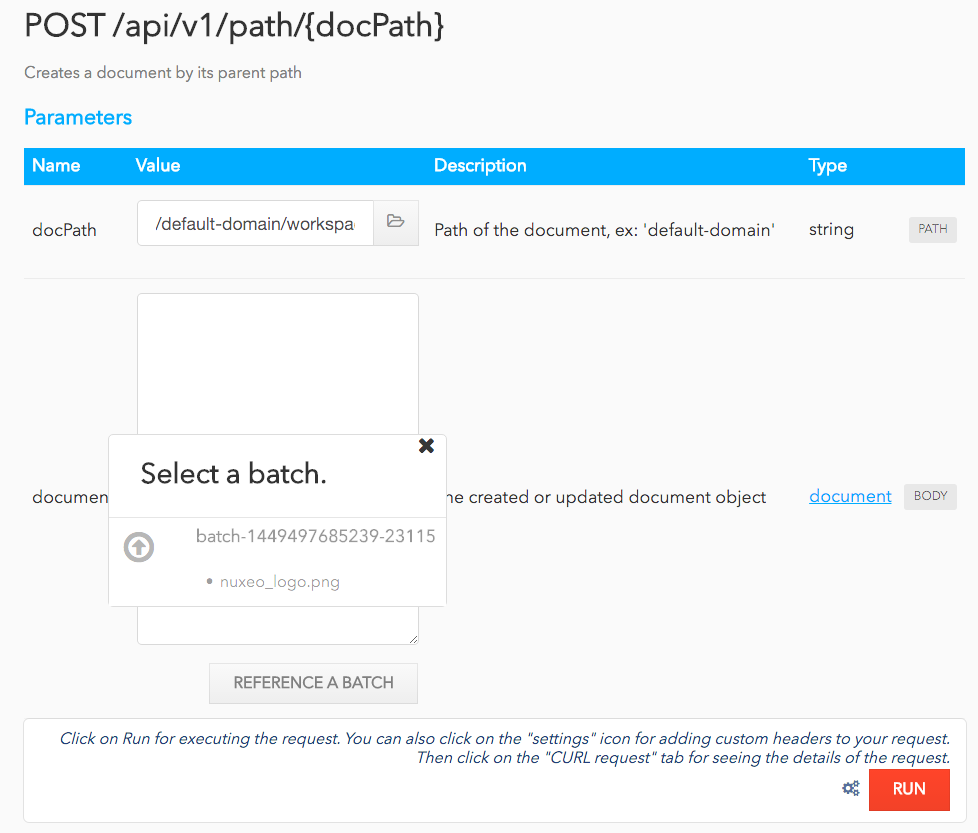 A dialog containing the required
file:contentvalue is displayed.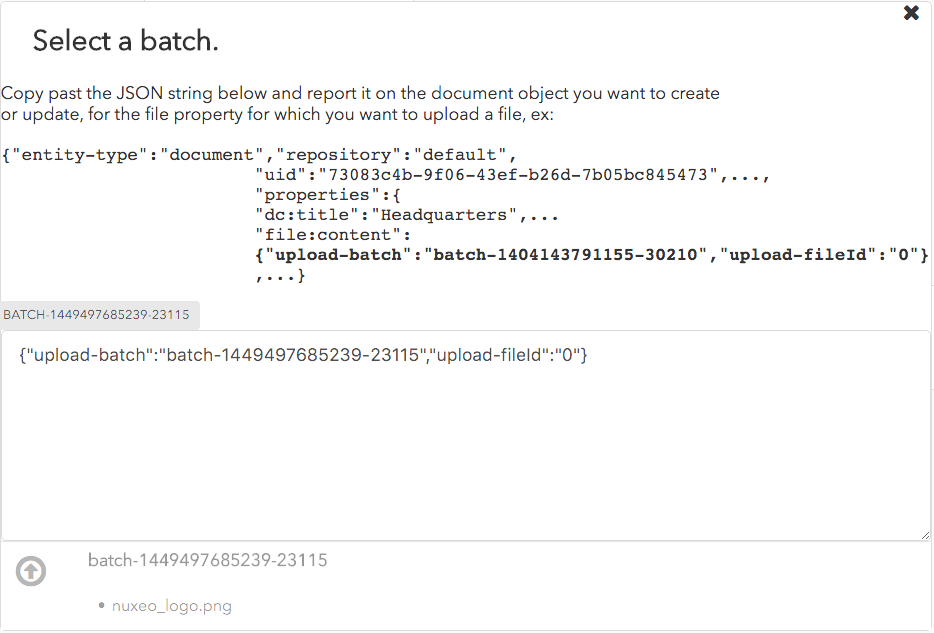

- Copy the relevant part of the JSON definition in the form.
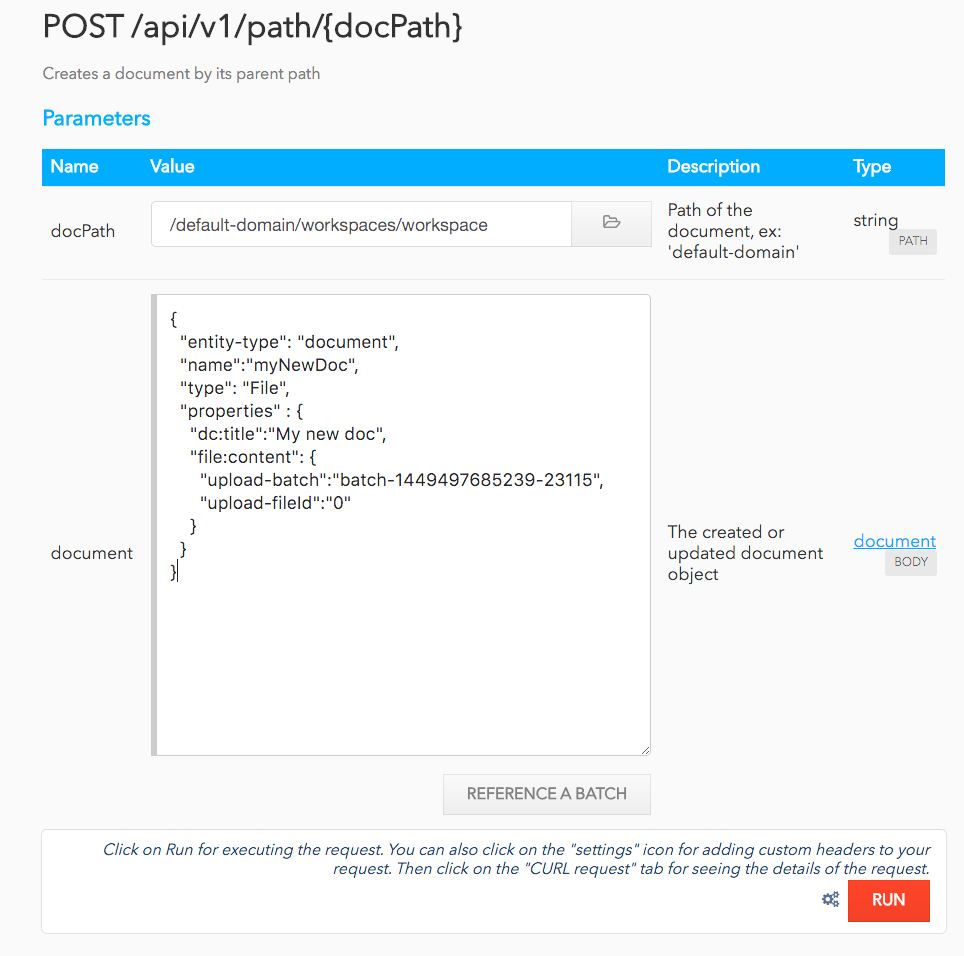

- Click on the Run button.
Installation and Configuration
Installing Nuxeo Playground
This addon requires no specific installation steps. It can be installed like any other package with nuxeoctl command line or from the Update Center.
After you've installed the Nuxeo Package, go to http://NUXEO_SERVER/nuxeo/playground to use the API Playground. It suggests that you log in to the public website demo.nuxeo.com by default. Make sure you change the URL to use your server's (http://NUXEO_SERVER/nuxeo/ by default).
Enabling Batch Upload
Batch Upload on the API Playground currently uses the old API which is deprecated but kept for backward compatibility. It also relies on client-side generated batch IDs which must be enabled so that the upload from the API Playground UI works.
To enable Batch upload set the runtime configuration property allowClientGeneratedBatchId to "true", using an XML extension.
<component name="org.nuxeo.ecm.automation.server.BatchManager.configuration.test">
  <extension target="org.nuxeo.runtime.ConfigurationService" point="configuration">
    <property name="allowClientGeneratedBatchId">true</property>
  </extension>
</component>
Setting up a CORS Configuration
If your Nuxeo server and the API Playground are not in the same domain, you need to set up a CORS configuration. We provide a sample configuration file that works as long as you put it in the NUXEO_HOME/nxserver/config folder. Read the CORS documentation for more details.