Only administrators and power users can create, edit and delete users and groups. They can create new users and groups, modify their properties or delete them. It is also possible to connect the Platform to an external directory (LDAP directory for instance). Users can only consult users and groups directories.
Users and groups management is available:
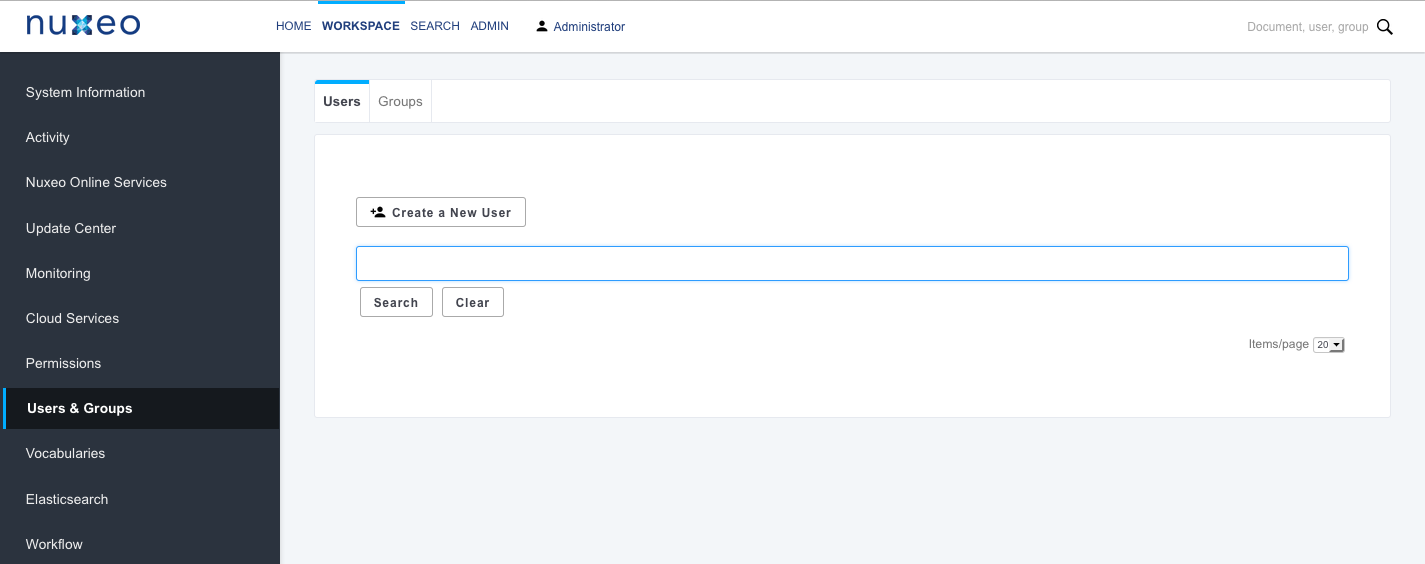
- from the Admin Center, in the Users & groups tab,
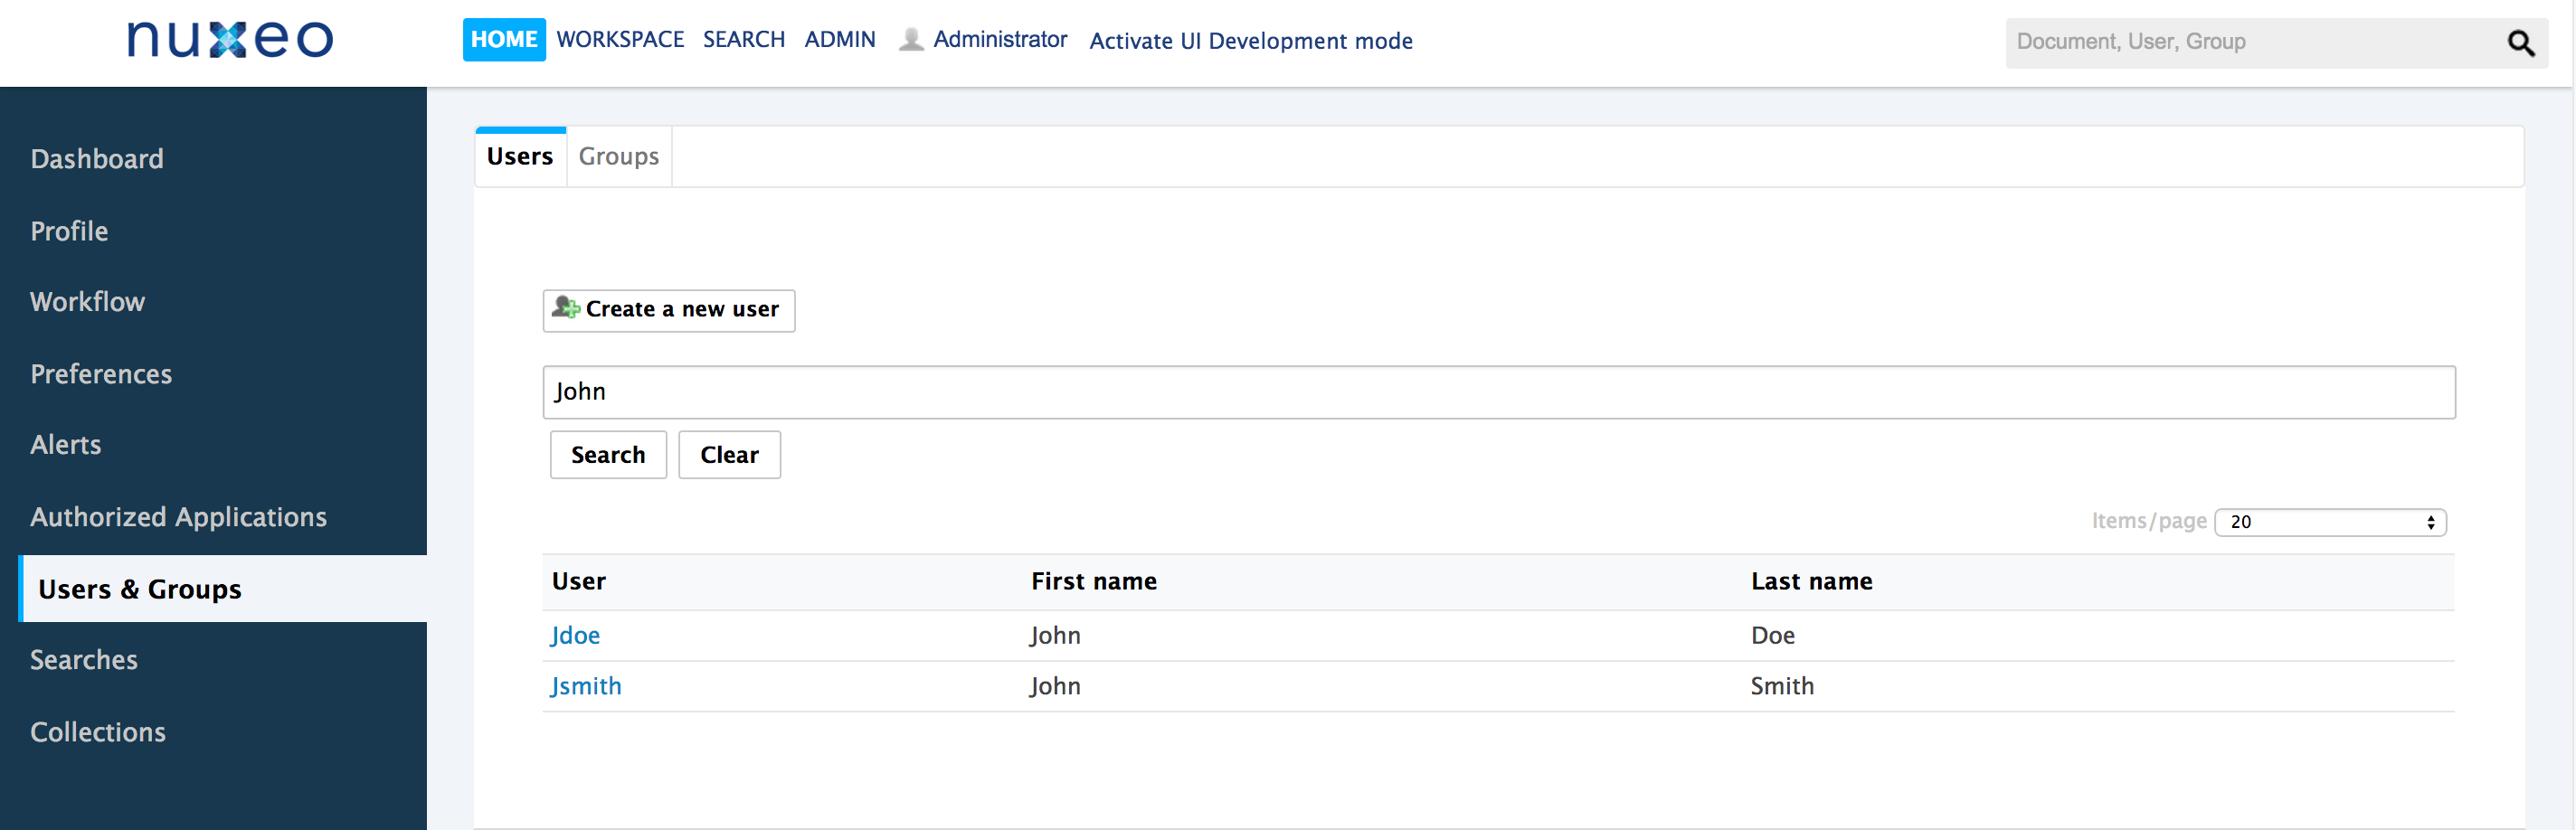
- from the Home tab, in the Users & groups tab.
Managing Users
Users must at least belong to "members", "administrators" or one of their sub-groups to be able to browse the application's content.
User's Parameters
The whole set of information about users consists of the items below:
| Field | Description |
|---|---|
| Username | The name the user will use to log in. |
| First name | First name of the user |
| Last name | Last name of the user |
| Company | Company or organization of the user |
| email of the user This address is used for alerts. |
|
| Password | User's password |
| Password (Verify) | User's password |
| Groups for this user | Groups of which the user is a member. User must be at least in 'administrators' or 'members' group, or one of their sub-groups. |
| Virtual groups for this user | |
| Avatar | Image that represents the user in the application. |
| Birth date | User's birth date |
| Phone number | User's phone number |
| Gender | User's gender. Default value is Male. |
The avatar, birth date, phone number and gender are personal information that can only be set by the user himself. They are not available from the Admin Center Users & Groups user interface.
Inviting a New User
Inviting a new user means creating a user account without setting its password, and having the user validate the invitation.
- To invite a user, go to Admin Center > Users & groups. Click on the Create a new user button and fill in the user creation form and leave Set user password to No. An invitation email is sent to the user at the email address you filled in. The user account is pending the user validation and the user account is not available in the user search results.
- To validate the invitation, click on the validation link in the invitation email. Define your password and click on the Submit button. You are redirected to the login page of the Nuxeo Platform: you can now log in and use the Platform.
Creating a New User Account
When you create a new user account immediately, you choose and set the user's password.
To create a user, go to Admin Center > Users & groups. Click on the Create a new user button and fill in the user creation form and check Yes to Set user password.
If you need to create several users check the box Create another next to the Create button. The user is saved and the user creation form is displayed so you can immediately create another user.
The user can immediately connect to the Nuxeo application using his or her username and password.
Editing a User's Properties
Only administrators and power users can modify other users' properties. But every user can modify his own properties from the Profile tab of his Home.
You cannot edit the username, as it is the ID of the user on the application.
When you are using an external directory for users management, the Edit tab is not displayed as you cannot edit the users' properties (managed directly from the directory).
To modify a user's properties, go to Admin Center > Users & groups. Search a user and click on the user's name to open his or her card. Edit it by modifying the fields in the modification form.
Changing a User's Password
Only administrators and power users can modify other users' password. However every user can modify his or her own password from his/her Home > Profile tab.
When you use an external directory for users management, the Change password tab is not displayed as you cannot edit your password.
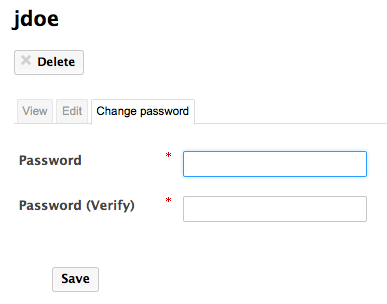
To modify a user's password, go to the Admin Center > Users & groups and click on the Change password tab.
Deleting a User
Only administrators and power users can delete users.
Deleting a user is a permanent action.
To delete a user, go to Admin Center > Users & groups. Search a user and click on the user's name to open his or her card. Click on Delete and confirm.
Managing Groups
You can create groups of users and modify their properties directly in the Nuxeo Platform.
To make permissions management easier, instead of giving (or denying) permissions to single users and repeat operations several times, you can give several users identical permissions in one single manipulation by using a group.
Default groups are:
- members: End-users of the application.
- power users: Functional administrators of the application. They have a restricted access to the Admin tab, the administration of the user interface of the Nuxeo Platform, from which they can manage users and groups and edit the vocabularies.
- administrators: Technical administrators of the application. They have access to all the Admin tab features and are in charge of managing the application. Beside the functional administration features, they can edit the application configuration, install packages on the application, consult the application's statistics, restart the server, etc.
Users must either belong to the "members" or "administrators" group to be able to access content. Power users must be in both the "power users" and "members" groups.
Groups can be composed of users and of sub-groups. Sub-group's members automatically become members of the parent group. Thus, they are granted all the permissions you give to the group. You can create as many groups as needed.
Groups Parameters
| Field | Description |
|---|---|
| Group name | The ID of the group.The ID cannot be modified. |
| Group label | The name of the group displayed to users. |
| Group's members | Users that belong to the group. |
| Sub-groups | Groups that belong to the group. |
Creating a Group
Only administrators and power users can create groups of users.
To create a group of users, go to Admin Center > Users & groups > Groups. Create a new group and save.
If you need to create several groups, check the box Create another next to the Create button. Your group is saved and the group creation form is displayed so you can immediately create another group.
Editing a Group
Only administrators and power users can modify groups.
Modifying groups most often consists in adding or removing members of the group. The name of the group cannot be changed.
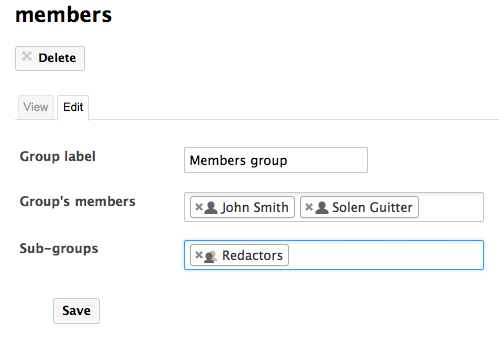
To edit a group, go to Admin Center > Users & groups > Groups. Search a group and click on its name to open its card. Click on the Edit tab, modify the group's members and click on Save button. The users who are no longer members of the group are denied group's permissions. However they still have their individual permissions.
Deleting a Group
Only administrators and power users can delete groups.
To delete a group, go to Admin Center > Users & groups > Groups. Search the group to delete and click on its name to open its card. Click on Delete and confirm.