The more people involved on a document, the more difficult it becomes to collaborate and communicate because every participant has their own device (PC, mobile, tablet, etc.) and their own tools, which means different formats to preview.
The Nuxeo Enhanced Viewer addon allows users to preview and annotate any document stored in the Nuxeo repository: Office documents, PDF, images, videos, etc., on any device with the ARender previewer from Arondor.
Functional Overview
Once the Nuxeo Enhanced Viewer is properly installed and configured a new Annotations tab is available on each document:


Annotations
You can access the different types of annotations available by default directly from the top bar:

|
Add an arrow. Repeat mode enabled by default. |

|
Draw different shapes with the Freehand. Repeat mode enabled by default. |

|
Add a sticky note. |

|
Add a text box. |

|
Add a highlighted rectangle. Once your rectangle is created you can modify the color and opacity of the highlight. Repeat mode enabled by default. |

|
Add a circle. Repeat mode enabled by default. |

|
Highlight text. Once your text is selected you can modify the color and opacity of the highlight. |

|
Add strikethrough text. |

|
Redact text (since NEV 2.2.0, requires the Redact permission). Repeat mode enabled by default. |

|
Redact a zone (since NEV 2.2.0, requires the Redact permission). Repeat mode enabled by default. |

|
Generate a permanently redacted version (since NEV 2.2.0, requires the Redact permission). |
Repeat mode: For annotations with repeat mode enabled, once the annotation is selected, you can add several annotations in a row. To disable the repeat mode, click on the annotation icon again.
Other buttons are available on the top bar to optimize the visualization of the document: zoom, rotation, full screen, pagination, height and width adjustment, etc.
To add an annotation:
- On the top bar, click on an annotation type, like the sticky note.
An empty box is displayed on your document.
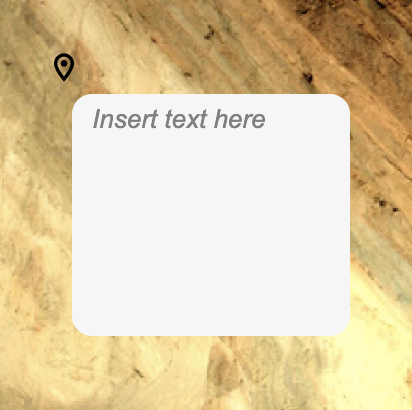

- Write your annotation and press Enter
Your annotation is directly displayed, the autosave is enabled by default.
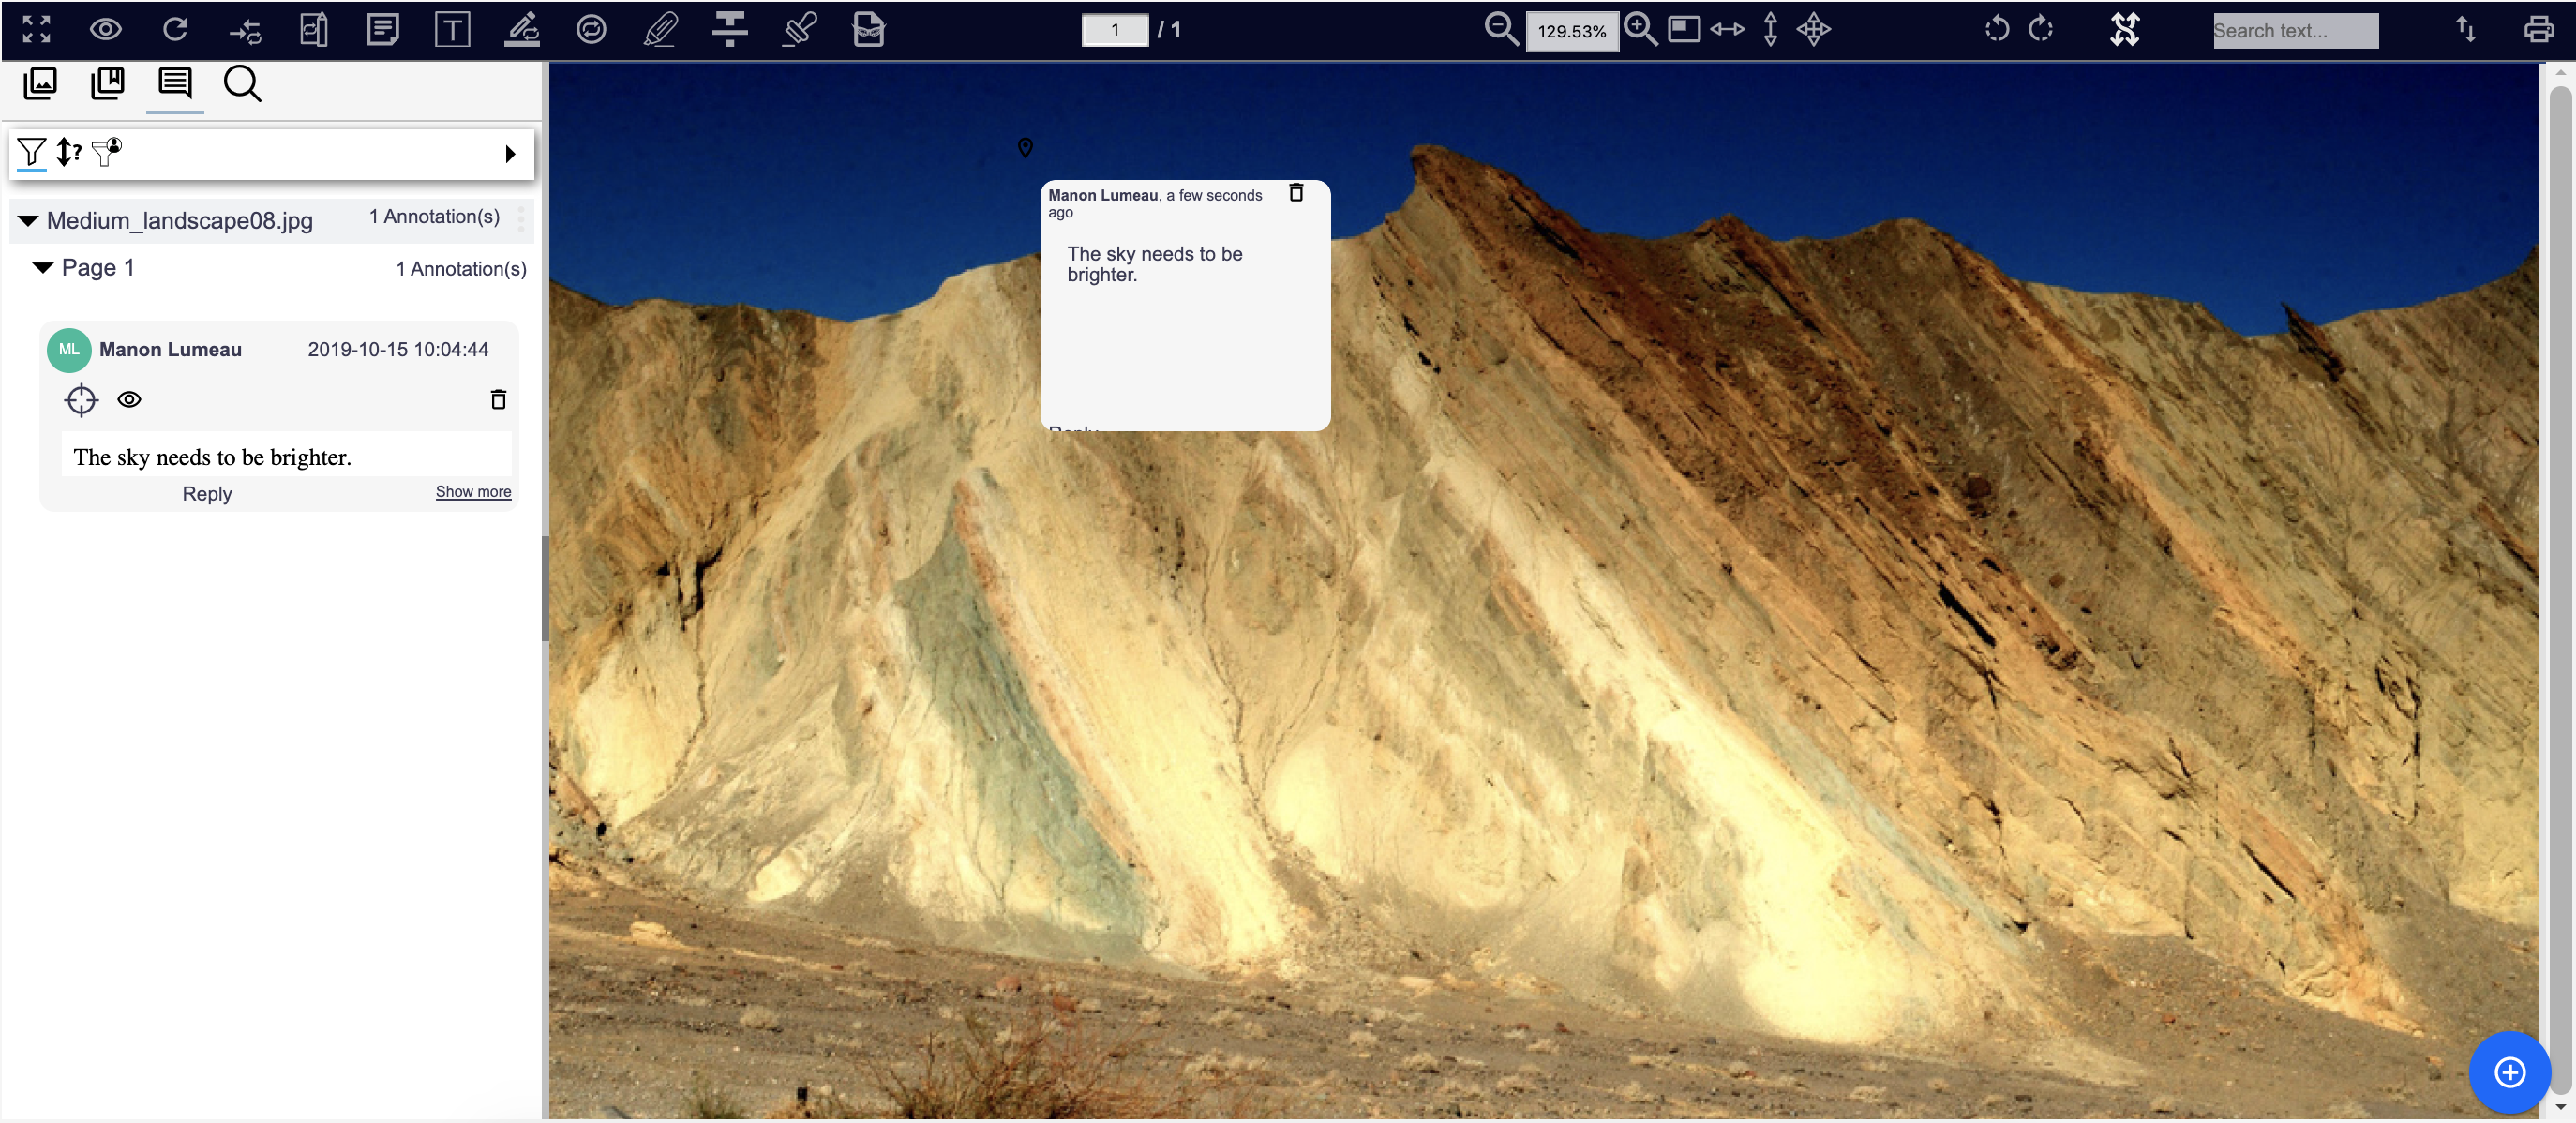

To access annotations:
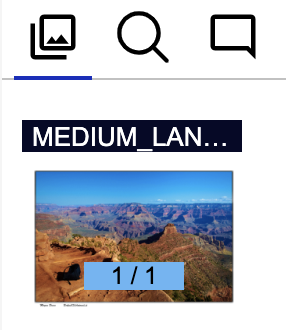
Three views are available on the left panel:

-
 : Document page thumbnails, opened by default
 -
 : Annotations Browser
 -
 : Advanced Search
From the annotations browser, you can see the list of all the annotations made on the document you are viewing, grouped by document pages.
From this view, you can delete annotations by clicking on the delete icon ![]() next to it.
next to it.
Still from the annotations browser view, 2 icons are available on each annotation:
-
 : This action will localize the annotation, for example, if you have a PDF of several pages, it will directly lead you to the annotation but won't hide the other annotations.
 -
 : This action will only display the annotation concerned and hide the others.
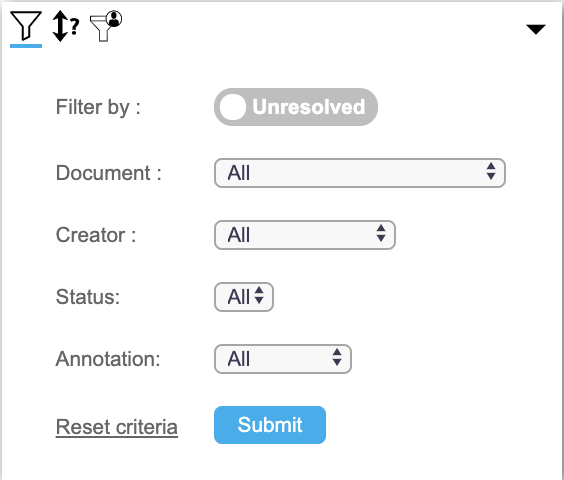
Different filters are available, you can search for and filter any annotation by metadata (status, document, annotation type, etc.), and also filter annotation by the current user, that means that only the annotations that the current user created will be displayed on the left panel.

You can also manage annotations by:
- Adding a comment
- Replying to a comment
- Deleting a comment
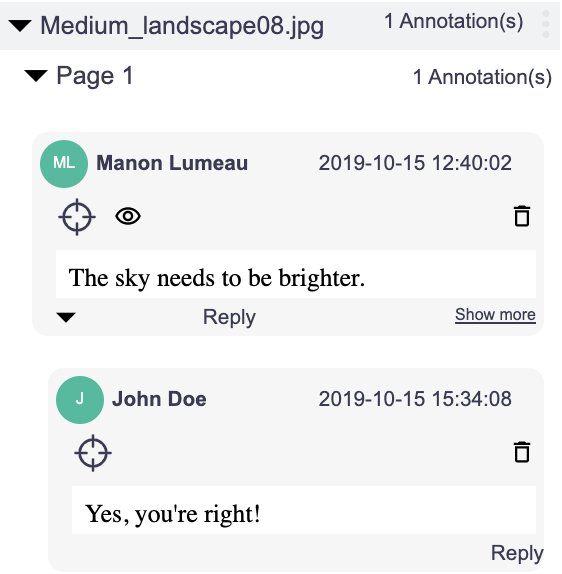

Once added, these comments are available from the view tab of your document.
Arrow
- To create an arrow, click on the Add arrow button
 then click and drag to draw an arrow.
 Once your arrow is drawn, you can customize its direction, color, opacity, style, etc.


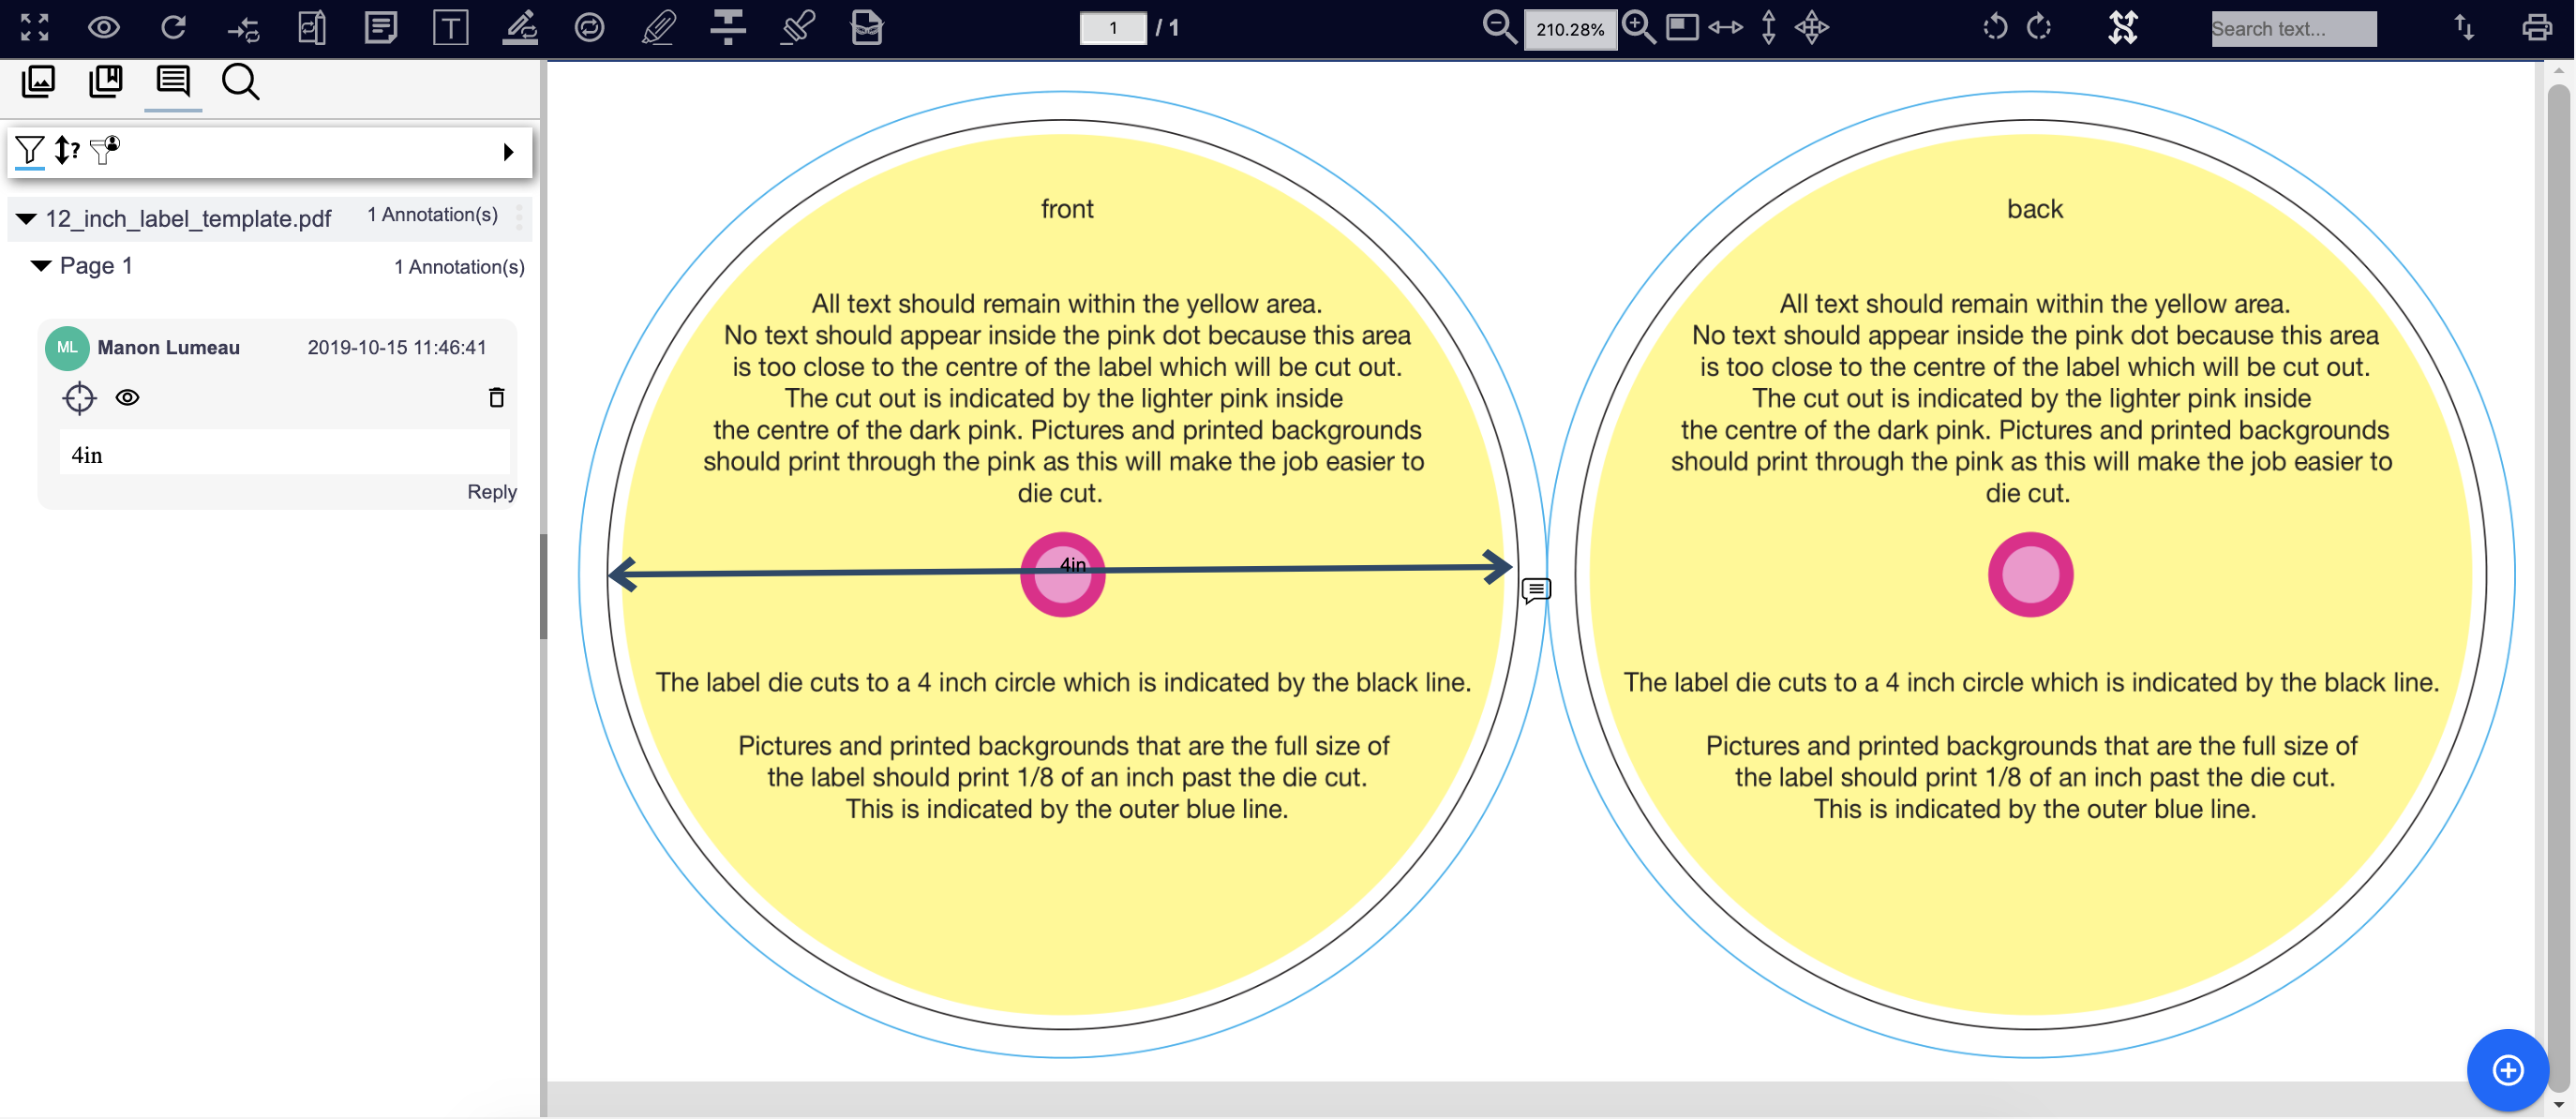
Arrows can also be used to take measurements on a document. To do so, once an arrow is drawn, click on Show measurement on the customization top bar and the measurement will be displayed in your preferred unit (inches, centimeters or pixels).

Watermark
To watermark a document, two solutions are available: Add a watermark to each page before printing, as explained in the section below or use a stamp annotation.
To add a stamp annotation, click on the stamp button
![]() .
A popup window is displayed:
.
A popup window is displayed:
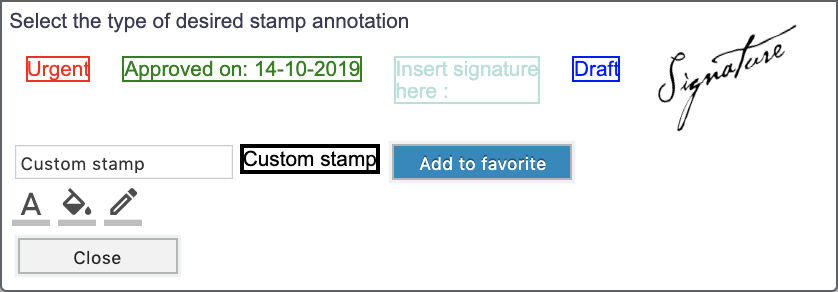

Different options are available: "Urgent", approved on the current date, "Insert signature here:", "draft", or a signature.
Download
Click on the download menu button
 to display the download menu with several available actions:
- Download current file
- Download current file as PDF
- Download current file with annotations
- Download with redactions (since NEV 2.2.0, requires the Redact permission)
- Download CSV annotations
- Download current file with FDF annotations
Click on the Print menu button
 to display the print menu with several available actions:
- Print with options will open a popup window with several print options:
- Print the current document
- Print all documents
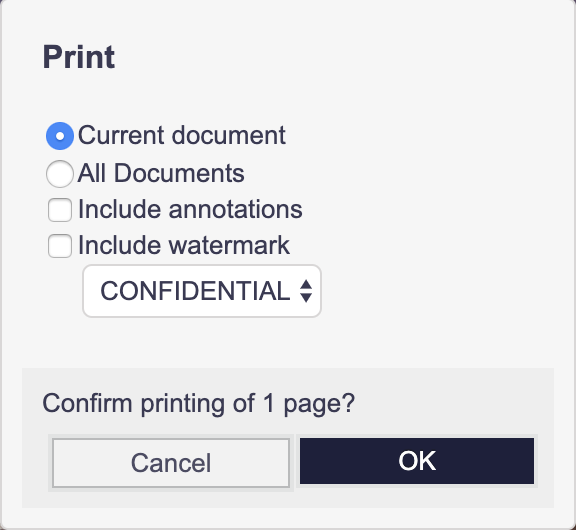

You can select “Include annotations” to print all annotations on a document, or select "Include watermark" to display the selected watermark on all pages of the document.
Once your choice is made, click on “Ok” button, and the page(s) will be printed.
Print with redactions (available since NEV 2.2.0) only appears if you have the Redact permission). It allows you to print the document with the redactions (and only them, no other kind of annotations), as choosing a print option without the annotations would not include the redactions otherwise. If you do not have the Redact permission, printing will always include the redactions.
Print all pages.
Document Comparison
With the Nuxeo Enhanced Viewer, you can compare the text of two different versions of a file. By default, the addon compares the binary stored in the file:content property corresponding to the main file. You can access this feature from the Compare Versions Screen by clicking on the eye icon.
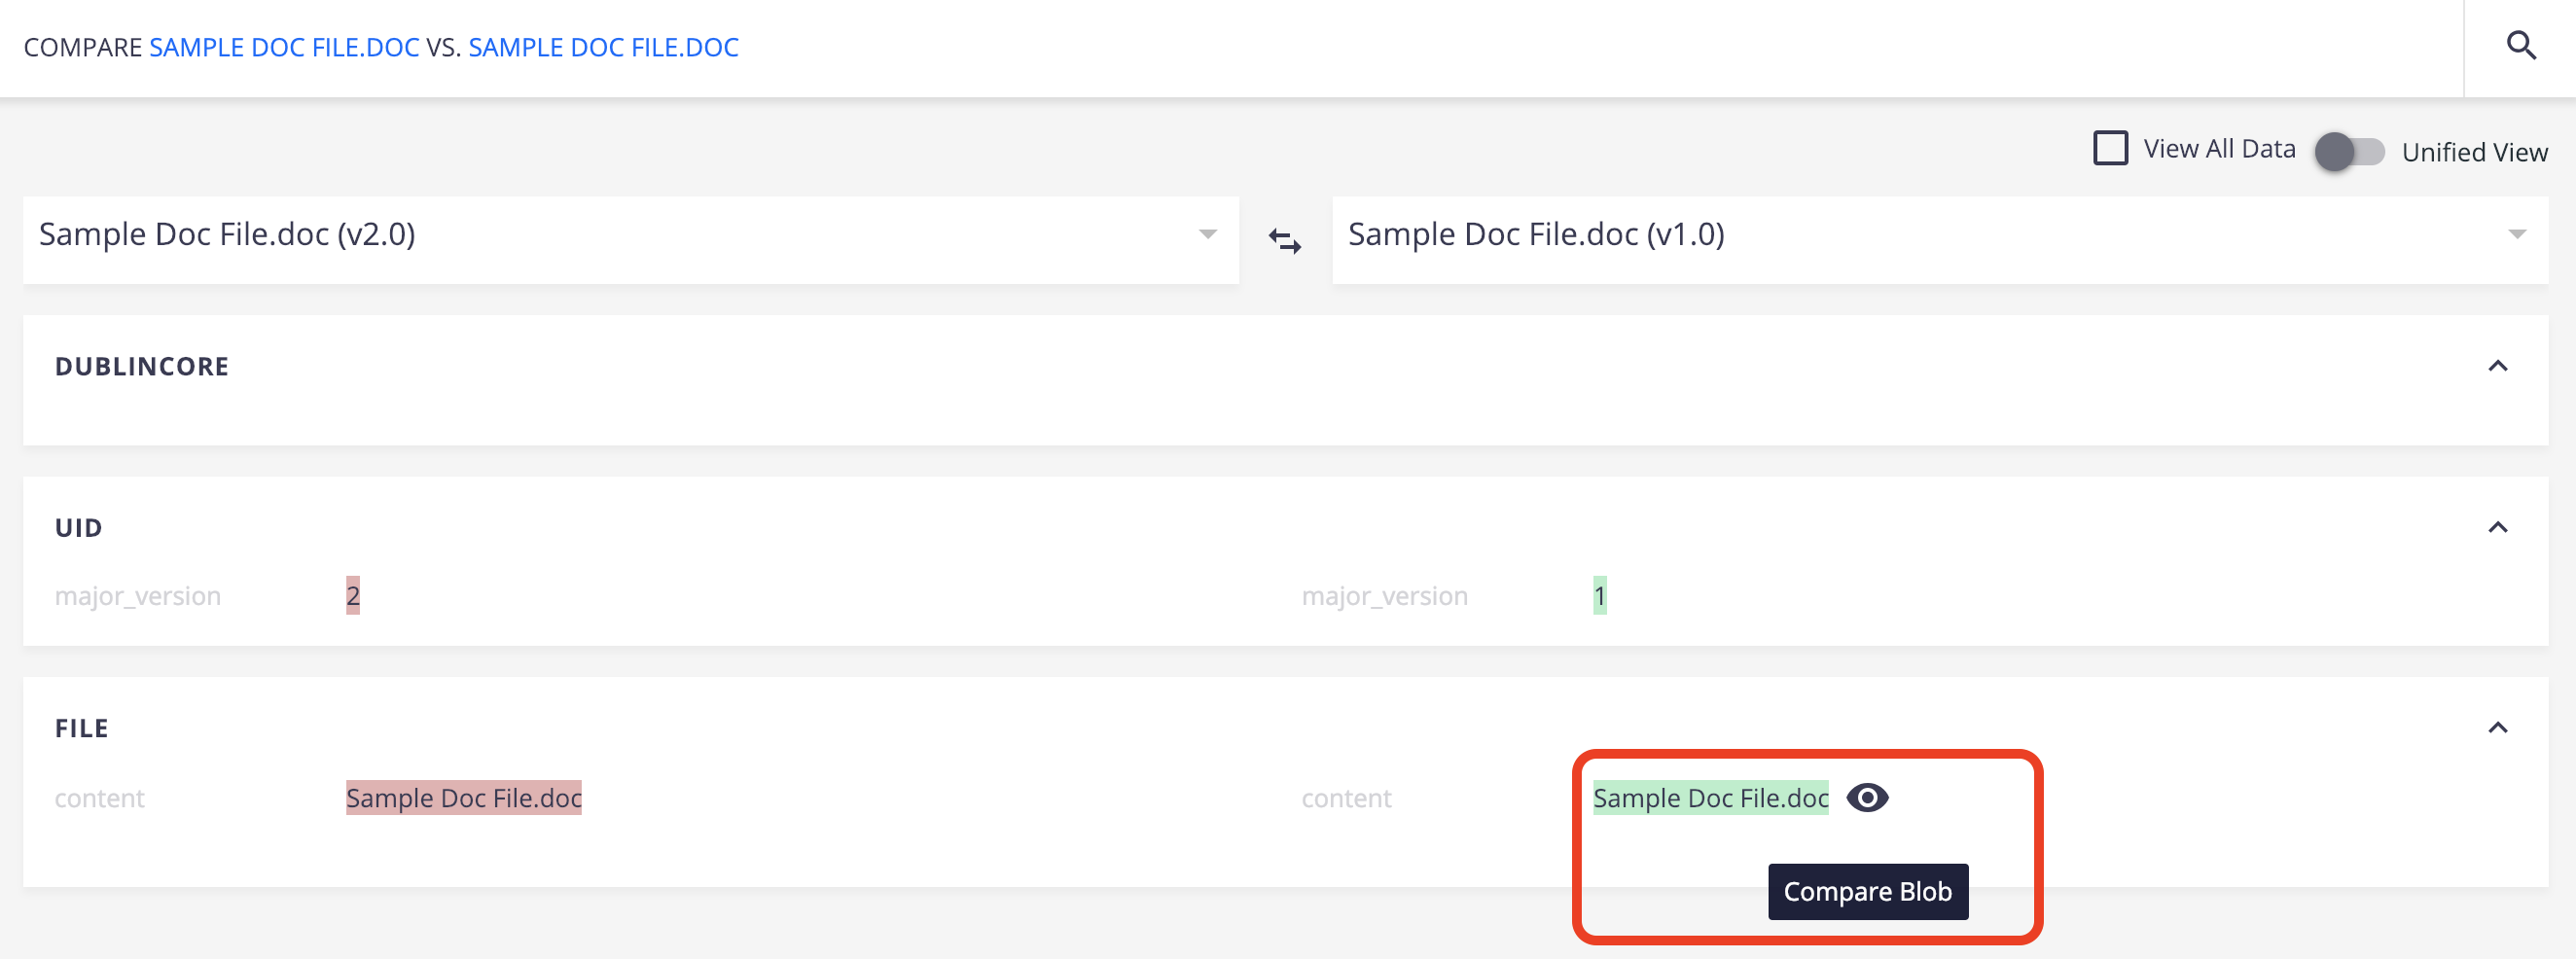

A new window is opened with the two documents side-by-side, highlighting text which has been deleted, modified or added.
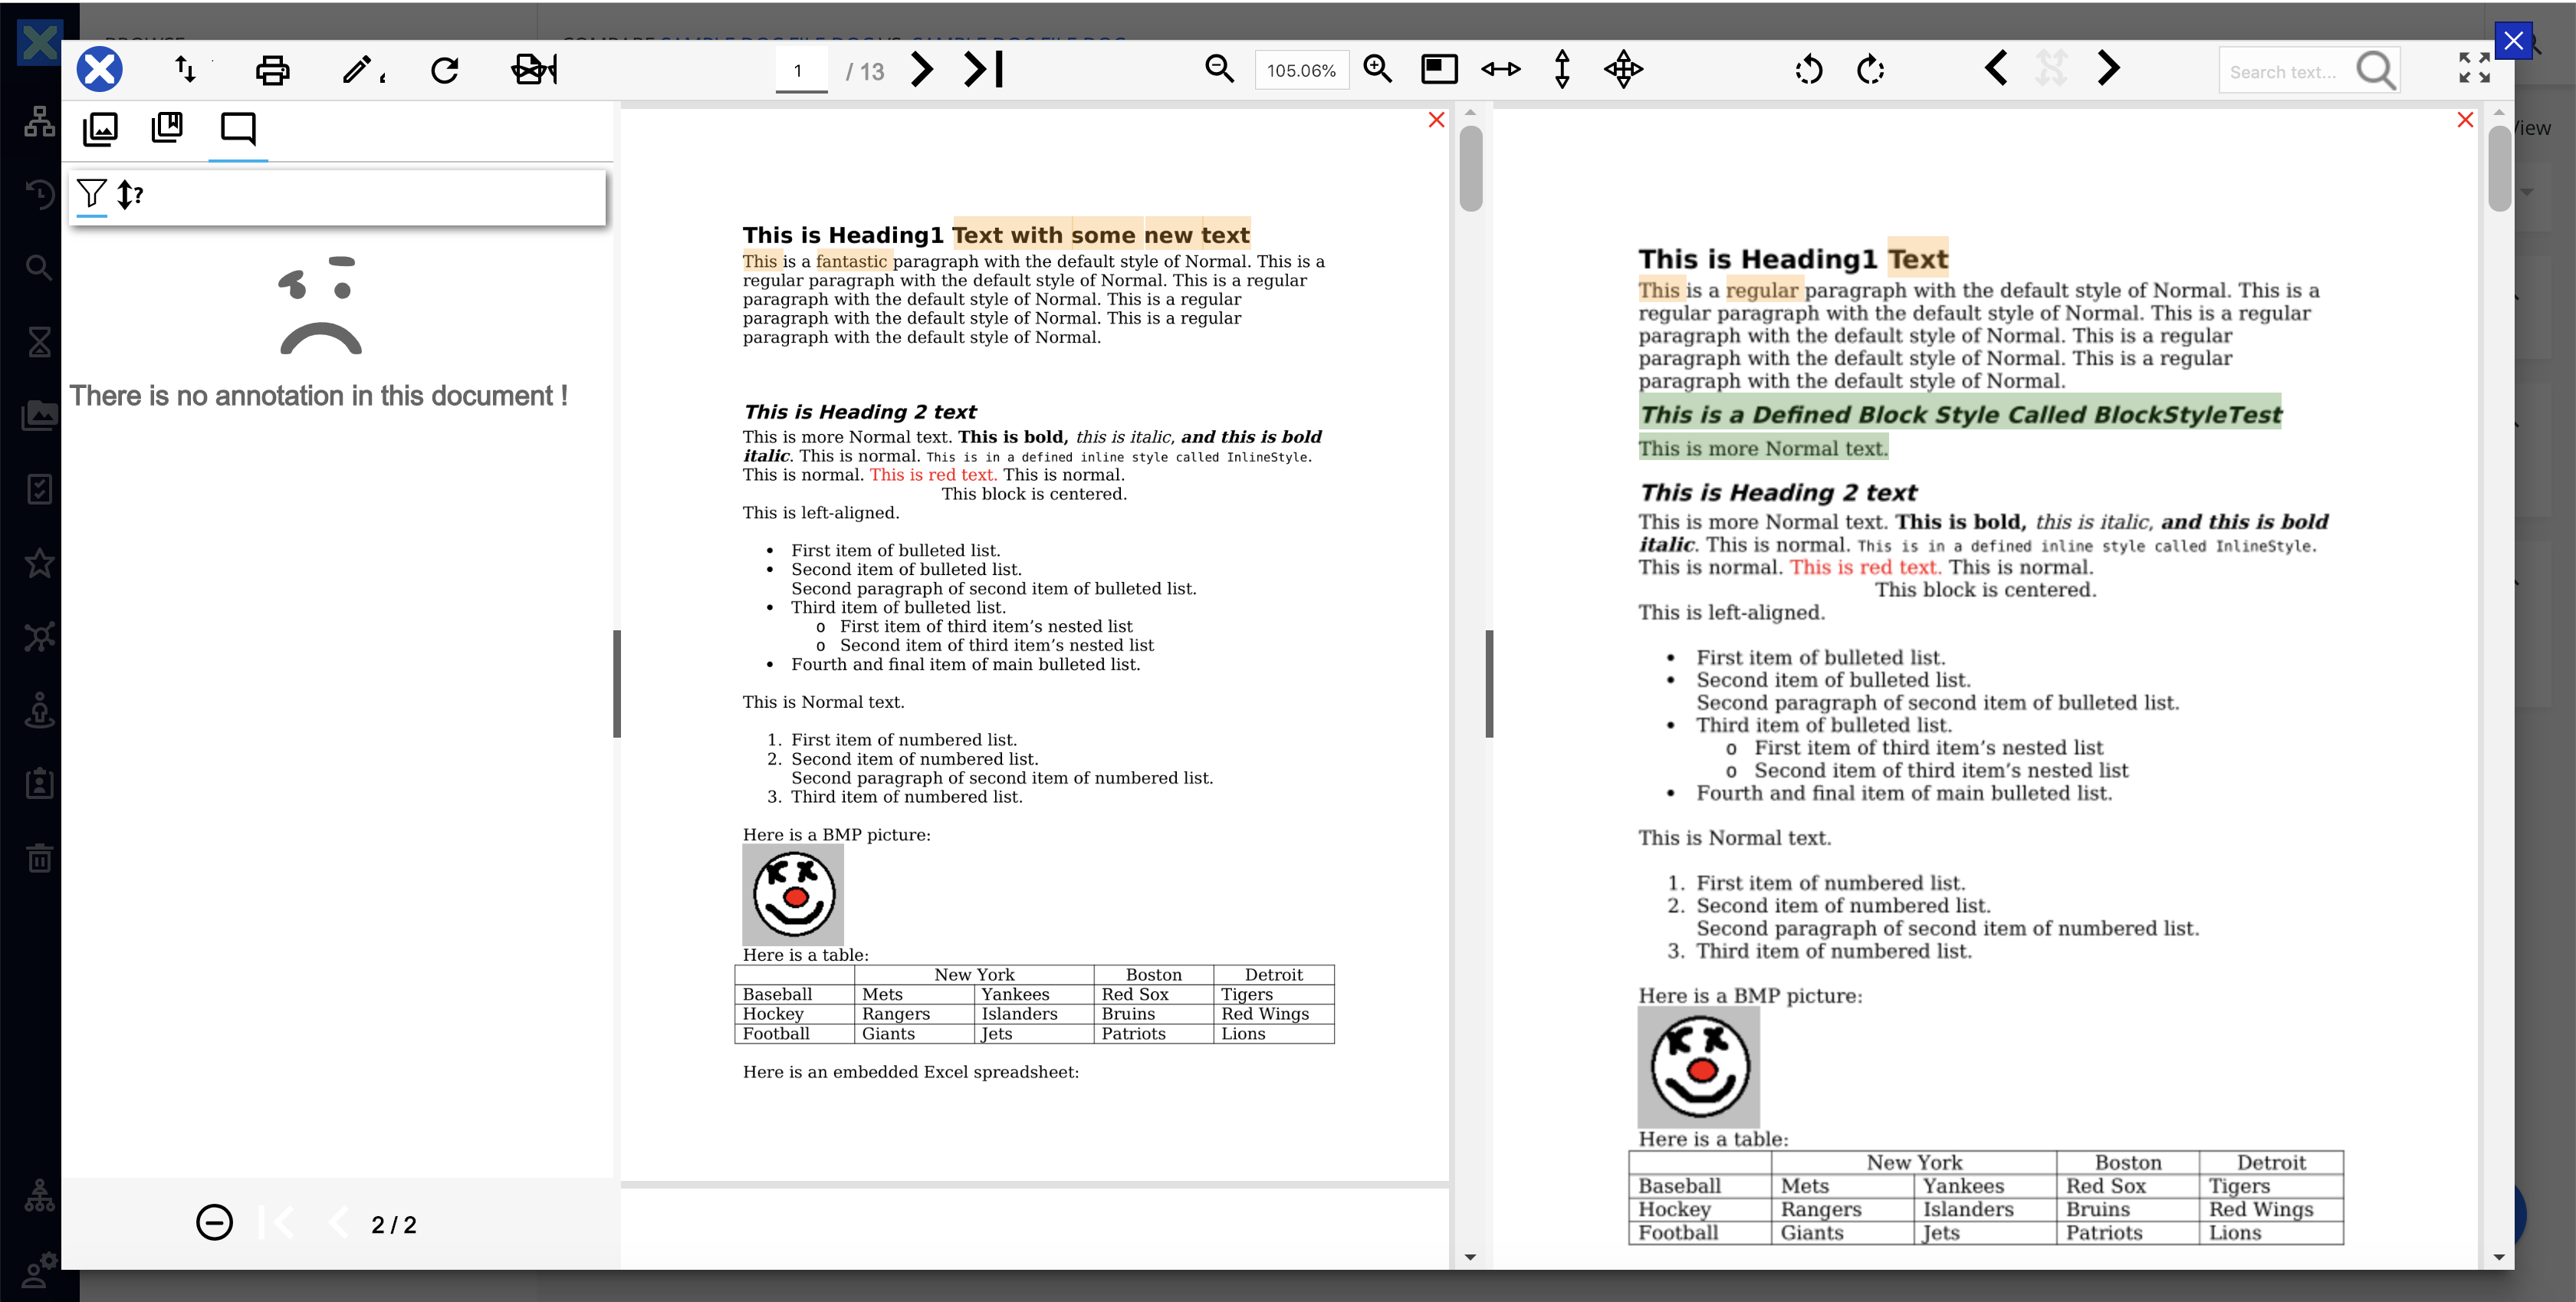

You can see the annotations linked to each version on the same screen, and even annotate one file from this view.
Content Redaction
Nuxeo Enhanced Viewer can also be used to redact content, for example to remove personal identifying information (PII) from your documents. This use case is described in a dedicated How to Use Content Redaction page.
Open Several Documents Within the Same Viewer
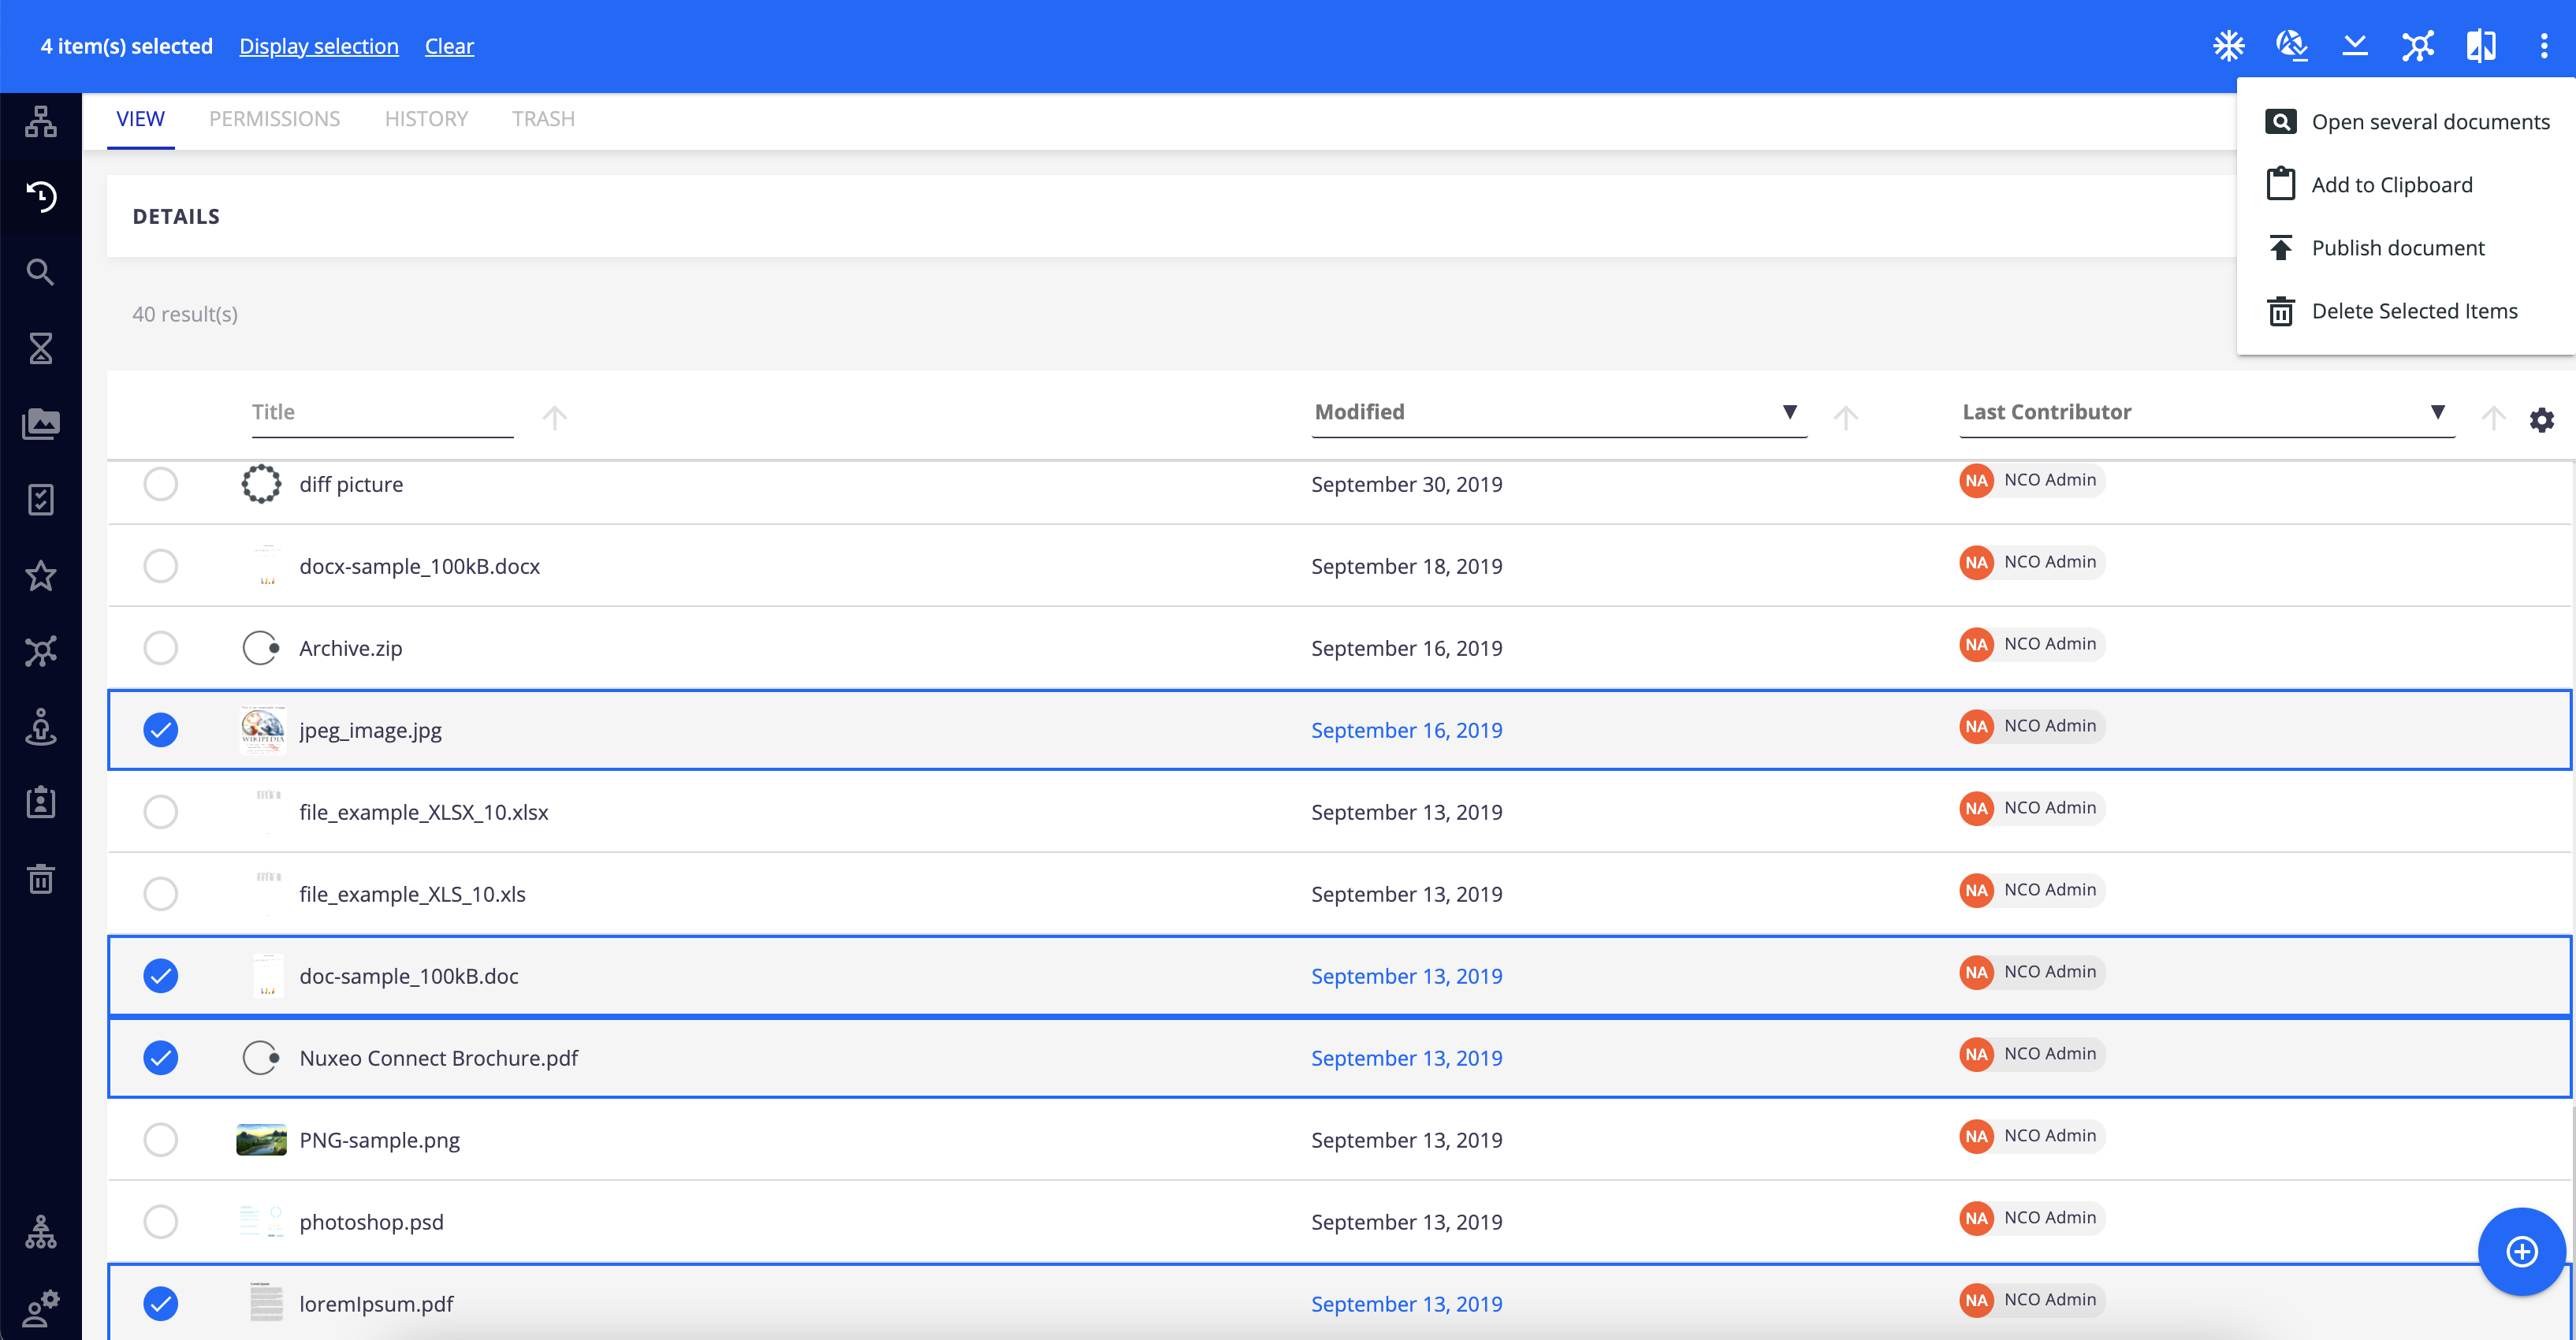
With the Nuxeo Enhanced Viewer, you can open several documents within the same viewer and so view all your documents at the same time. And you can scroll from one to the other and view/edit the annotations of each of them:
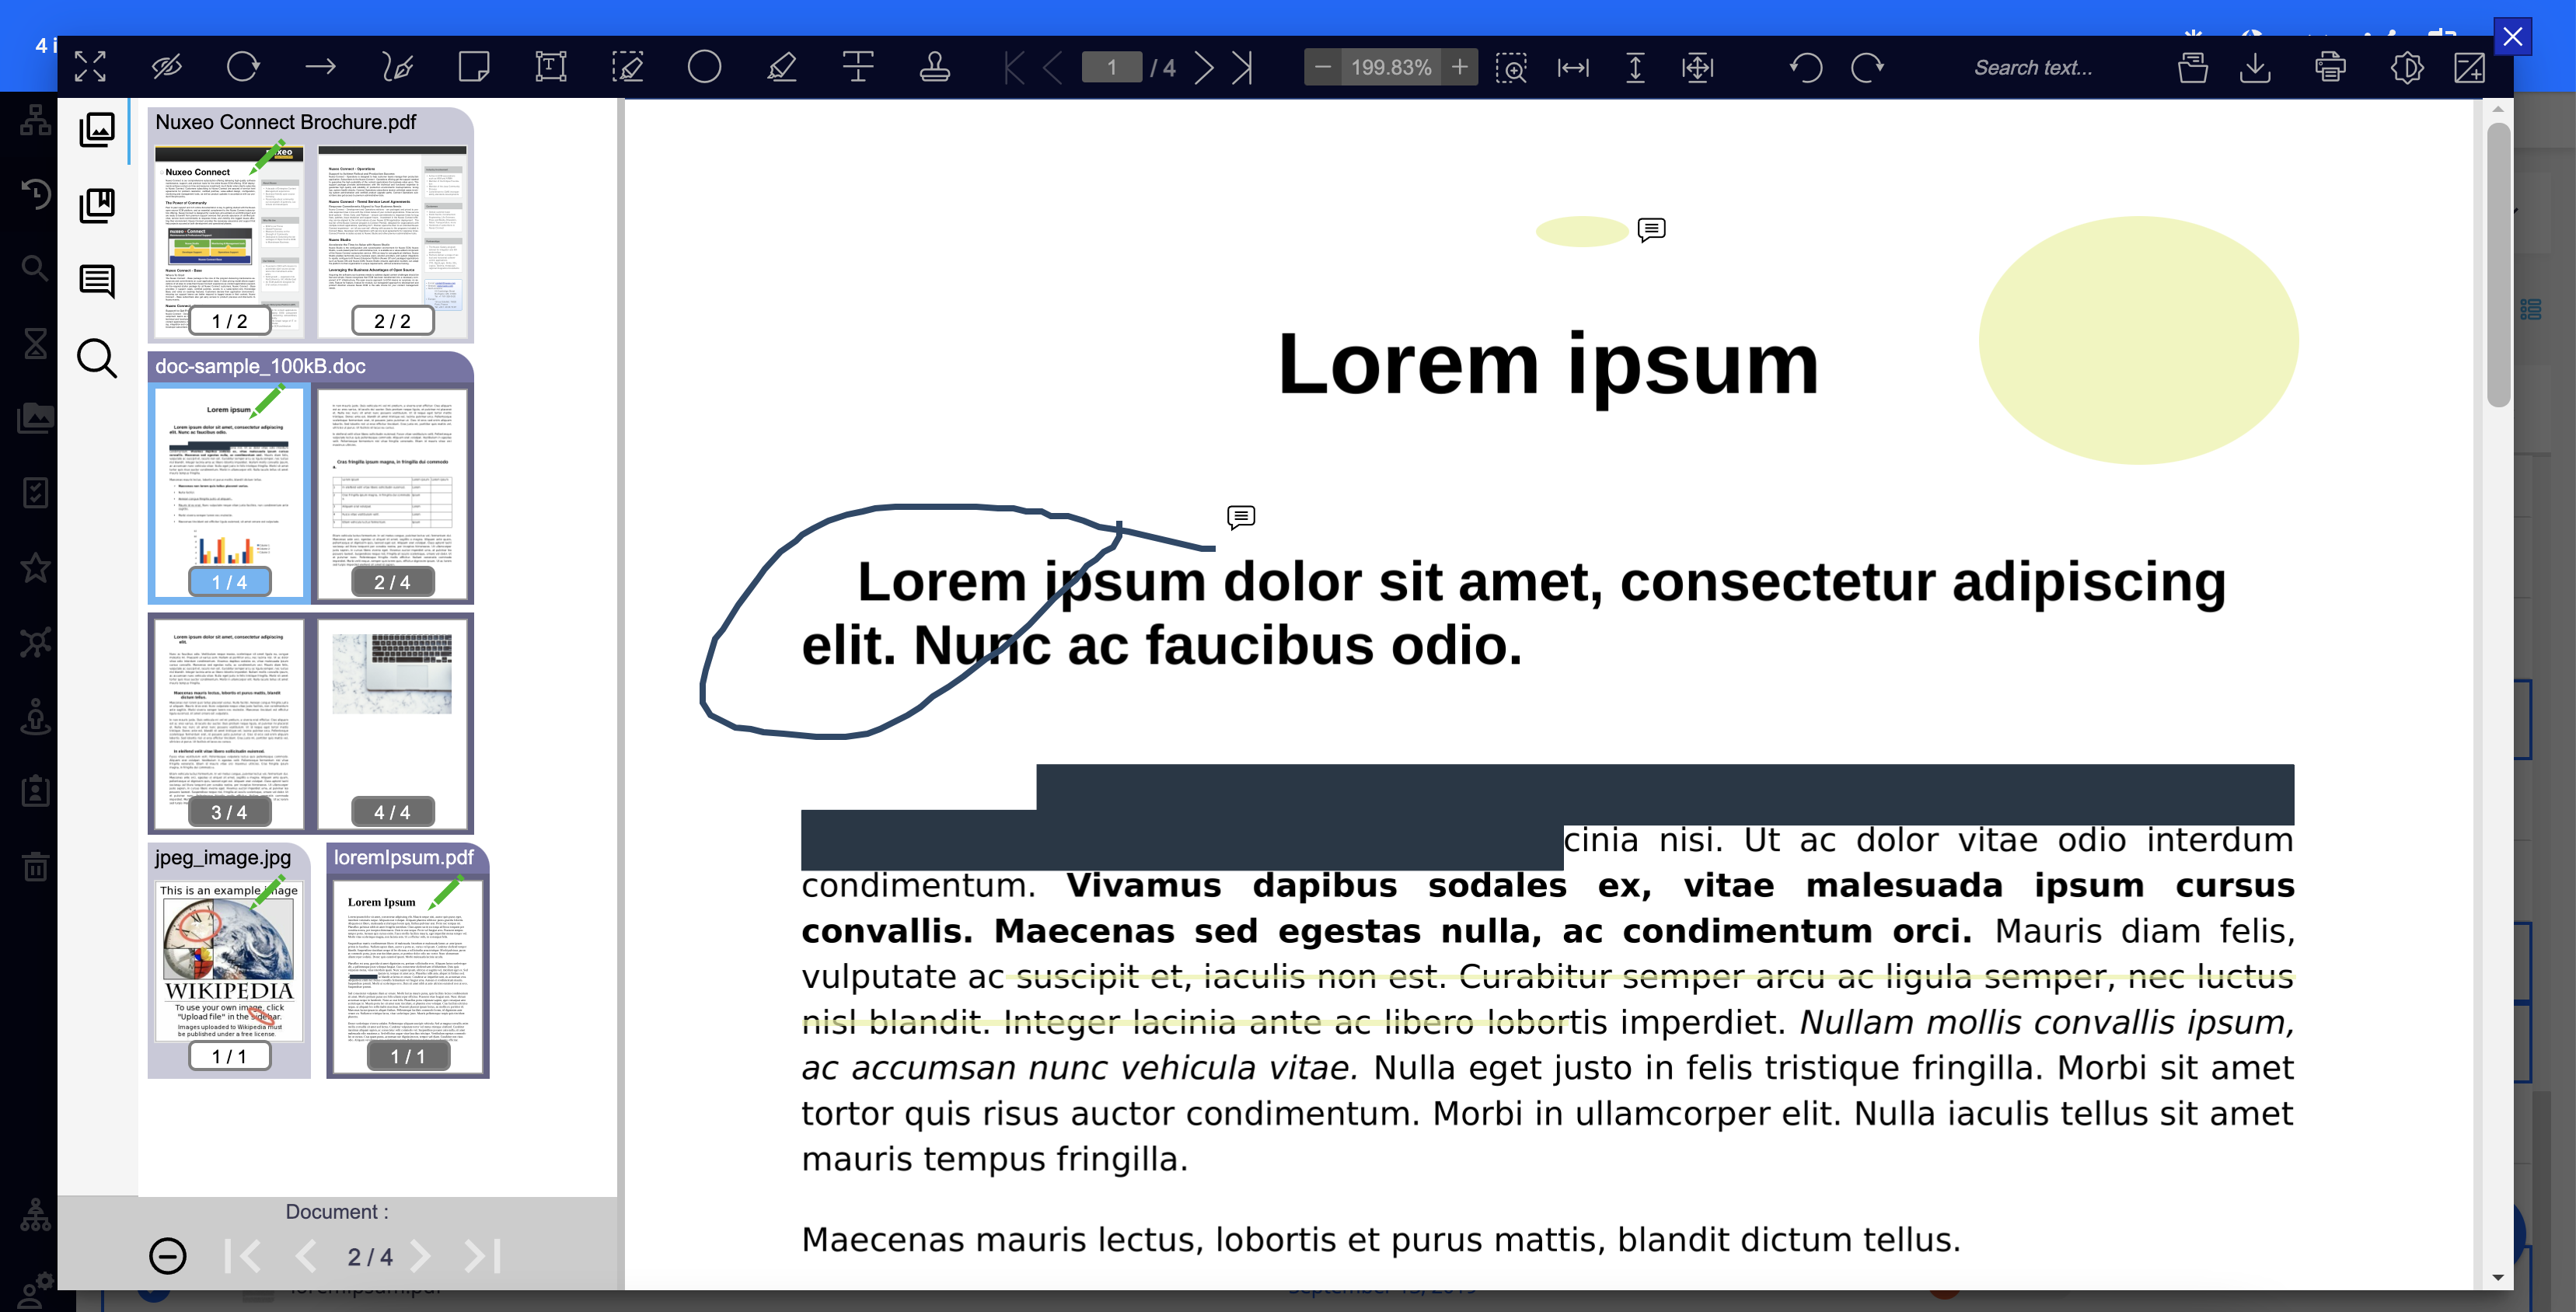

This feature is available in all results views of Nuxeo Web UI. Once you have selected at least 2 documents, the action is available into the action list:

Dynamic Selection of the Layers
With the Nuxeo Enhanced Viewer, you can select which layers to be displayed into the viewer and change it anytime.
This is available into a dedicated menu of the left section which appears only for documents with layers:
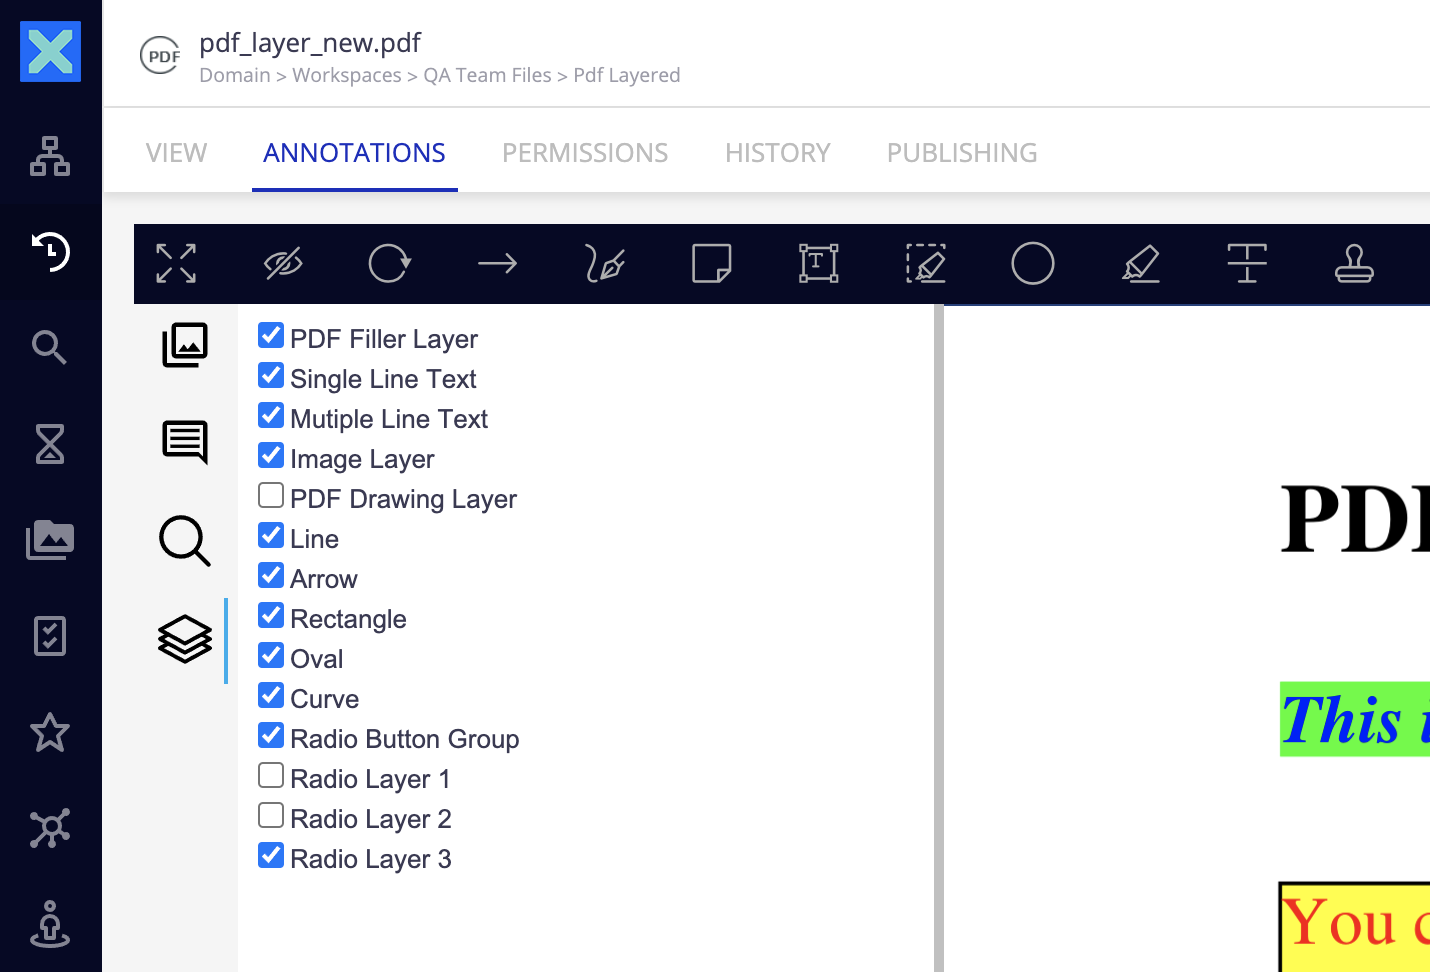

This menu displays all the layers of the document and allow to select / unselect all of them, and update in real time the document view regarding the select layers.
Supported File Formats
The annotations module supports a large number of file formats.
- PDF - all versions, XFA not supported
- Images: JPEG, PNG, TIFF, GIF, BMP, JNG, PBM, PSD, EPS, PS, DCM (Format DICOM) and all formats supported by ImageMagick
- Microsoft Office (97-2013): Word (.doc, .docx) , PowerPoint (.ppt, .pptx), Excel (.xls, .xlsx), WordML (.xml), Visio (.vsd)
- Composite files: ZIP, EML, MSG
- Others: TXT, OpenDocument (LibreOffice or OpenOffice)
Going Further
The connector can be customized in many different ways, such as adding new watermark stamps, displaying different actions/tools etc.
