Requirements
You need to check the following items in order to install Nuxeo Platform LTS 2025:
- Get a Nuxeo Online Services account. If not, please check the Nuxeo Download page and create a trial account.
- Make sure you have a valid Nuxeo Connect token to register your instance. Please check the Token Management documentation page.

General Installation Process
Installing the Nuxeo Platform requires a few steps:
- Have a look at the Software Requirements in the section below.
- Install and Set up the related software. Install and start the Nuxeo Platform server. To understand how to start a Nuxeo Platform server on different environments, you can read and follow one of our recipes:
Software Requirements
The following table lists the current requirements for running the Nuxeo Platform from the Tomcat server ZIP archive.
If you have requirements and/or constraints are not reflected below, do not hesitate to contact the Nuxeo team to evaluate the feasibility of running Nuxeo on any other environment.
| OS |
|
Note: the only limitation on OS nature and version is the ability to install the correct version of the required JDK (see below). It means that while it is commonly reported to run on recent versions of Ubuntu, RHEL, Debian, CentOS, it can also run on any Linux distribution where it is possible to install the required JDK. You may have to adapt the provided startup shell scripts. |
|---|---|---|
| Java | JDK 21 (Azul's Zulu OpenJDK or Oracle's JDK) | See the following documentation: |
| Optional Third-Party Software | Some third party software may be required depending on the conversions capabilities you want to benefit from. The following list is not exhaustive:
|
More information on installing third-party software. |
Checking Your Java Version
To check that you have the right version of Java:
Open a terminal:
- On Linux or macOS: open a terminal.
- On Windows: press the "Windows" key + r, type
cmd(orcommand) in the Run window and press "OK" (or open the Command Prompt from Start > Programs > Accessories in Windows 7 or entering Command Prompt in Cortana in Windows 10)
Type
java -versionand press Enter. If Java is correctly installed on your computer, the name and version of your Java virtual machine is displayed:openjdk version "17.0.4.1" 2022-08-12 LTS OpenJDK Runtime Environment Zulu17.36+17-CA (build 17.0.4.1+1-LTS) OpenJDK 64-Bit Server VM Zulu17.36+17-CA (build 17.0.4.1+1-LTS, mixed mode, sharing)Check in the output that the JDK version is 64 bits.
If Java is not installed on you computer, it will fail to display the Java version. In this case, install Java (see below).
If Java is installed but not included in the PATH, it will fail to find the Java command. In that case, you need to add
$JAVA_HOME/bin/to your PATH (see How do I set or change the PATH system variable?).To ensure you installed a Java Development Kit environment, type
javac -versionand press Enter.If you installed a JDK, the javac version is displayed:
javac 17.0.4.1If you installed a Java Runtime Environment instead of a Java Development Kit, it will fail to find javac and to display the javac version. In this case, install a Java Development Kit (see below).
Installing Java Development Kit
Java packages and instructions for installation are available from the Azul website:
As for any software, we very strongly recommend upgrading to the latest bugfix version of the JDK for any given major version.
After installing the Java Development Kit, verify that the JAVA_HOME system variable correctly points to the Java Development Kit intended for running the Nuxeo Platform (JAVA_HOME should be set if it is not present).
Installing Nuxeo Platform
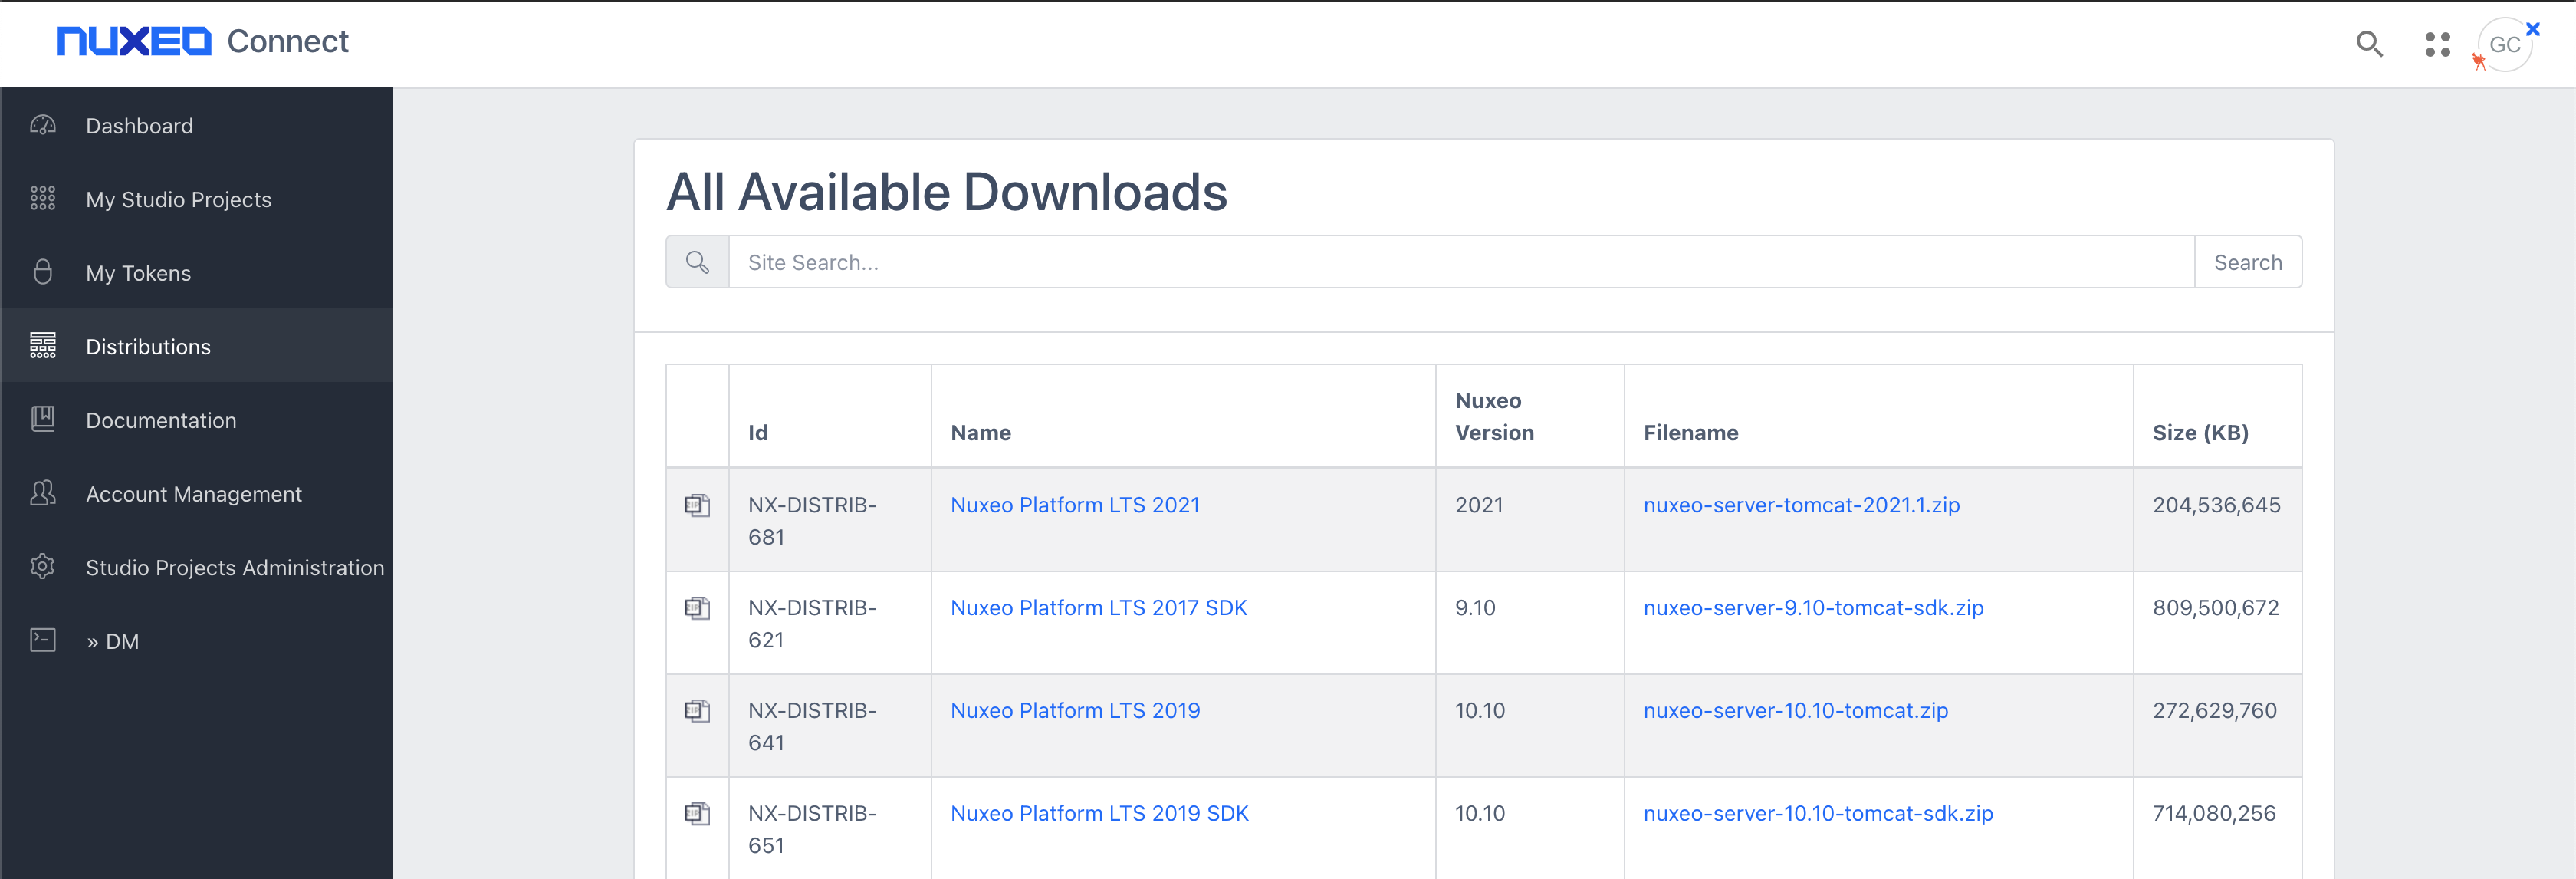
Download the ZIP archive from the Nuxeo distribution download site and unzip it using your favorite tool.
Then:
- Unzip the file,
- Navigate to the
bindirectory, - Register your Nuxeo instance running
nuxeoctl register, - Optionally, install your addons with
nuxeoctl mp-install <package_name>command line, - Start your Nuxeo server with
nuxeoctl start.
OS Specificities
Linux
Installation Path
The usual directory into which install the server is /opt.
Prevent Swapping
Like any Java application you should prevent the JVM Heap from being swapped to disk, which will crush server performance. You have two options here:
- Disable the swap with
sudo swapoff -ayou'll need to edit your/etc/fstabto disable swap permanently. Note that before doing this you need to make sure that you have enough memory for all the processes that run on the server (Nuxeo JVM, converters, other custom process and the OS). - Limit the swapiness of the OS using
sysctlto setvm.swappiness=1.
Temporary Folder
While setting nuxeo.tmp.dir property in nuxeo.conf, we recommend not to use the system temporary folder /tmp because this one can be cleaned up by the operating system. This is the case on Red Hat Enterprise Linux in particular, where systemd-tmpfiles service is deleting old files from /tmp.
Windows
Unzip the ZIP Distribution
Do not use the Windows built-in ZIP functionality (aka "zipfldr.dll" or "Compressed Folders Module"), it reports incorrect uncompressed size. Recommended: 7-Zip.
Installation Path
On Windows in general, and especially on Windows 7 or later versions, it is highly recommended to install your Nuxeo application at the root of a disk (C:\Nuxeo for instance), because of rights issues, limitations on paths length, 32/64 bits conflicts,...