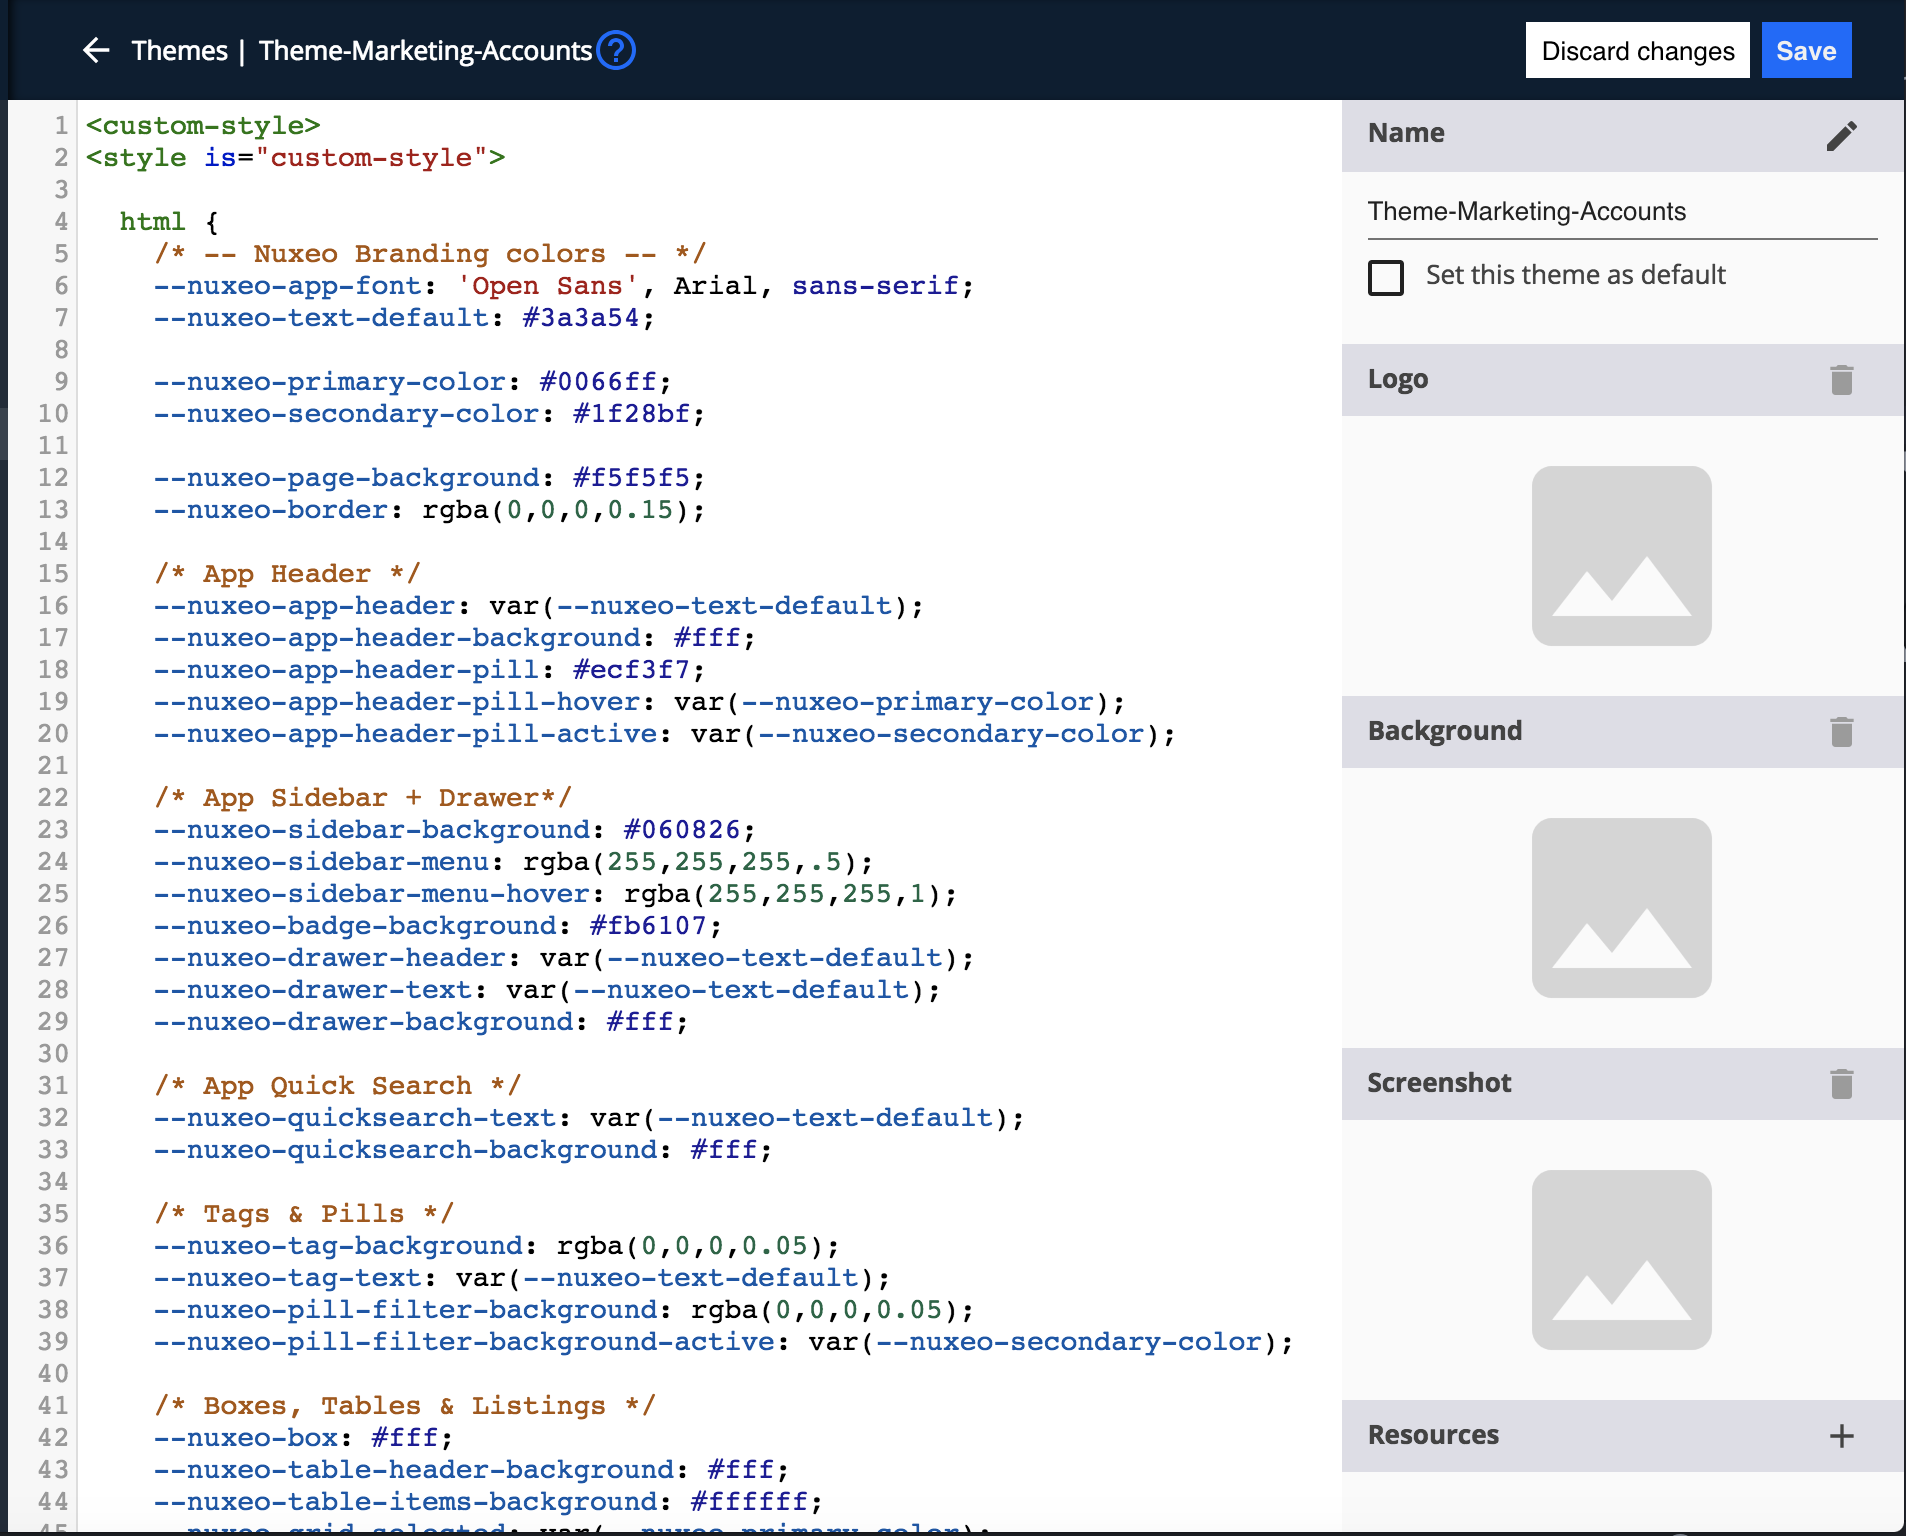
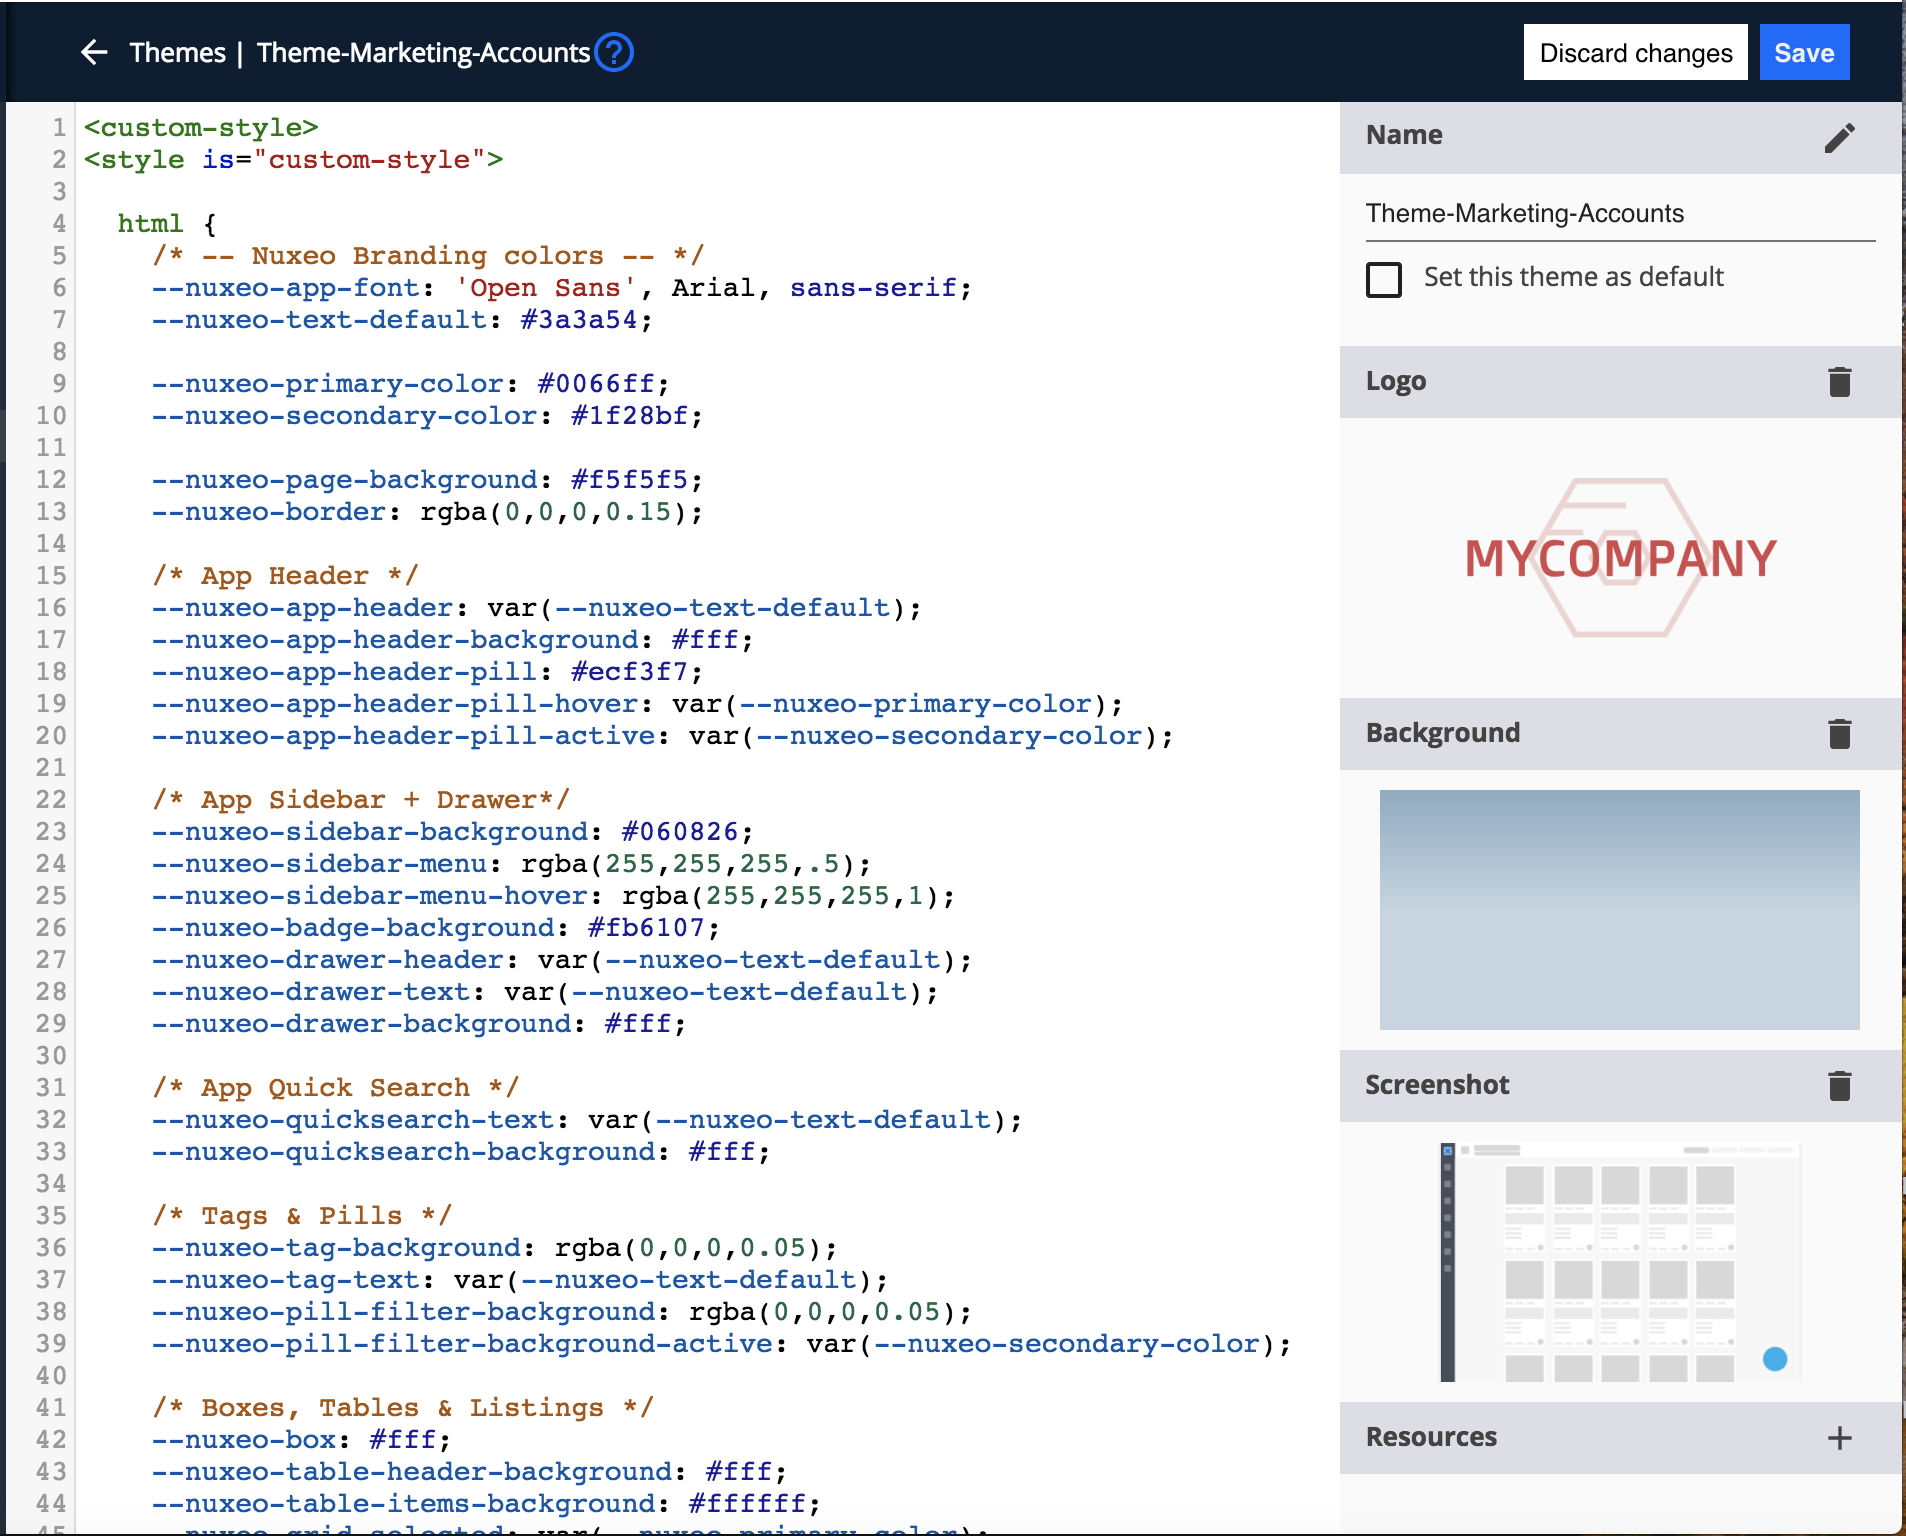
Nuxeo Studio Designer enables you to create a new theme featuring your logo, background and colors, and to set it as the default theme of your application.
Creating a Theme
- In Studio Designer, go to UI > Themes.
- Click on
 and enter a name for the new theme.
 - In Start from, select one of the four default themes of Web UI (default, dark, light or kawaii). The selected theme will be the base for the new theme.
- Click CREATE.
You are now in the Theme Editor, where you can customize the new theme to fit your application.


Selecting Resources
On the right of the theme Editor, select resources that can be displayed in your application by clicking on
![]() for each element.
for each element.
| Type | Format | |
|---|---|---|
| Logo | Logo for the theme | .png |
| Background | Background image | .png |
| Screenshot | Preview of your theme displayed for users under User Settings > Preferences in Web UI | .jpg |
| Resources | Additional resources relevant to your theme |


Save your changes and go back to UI > Themes. The themes you created are noticeable by the badge CUSTOM. You can filter the themes you created by clicking Only Custom at the top-right of the screen.


Setting a Theme as Default
You can set a theme you created as the default theme of your application. It will be loaded instead of the default preset theme in Web UI at the first login of users.
From the Theme Editor:
- At the top-right of your screen, go to Name.
- Check the box Set this theme as default.
- Save your changes.


From Themes:
- In Studio Designer, go to UI > Themes.
- Hover over the theme and click on Set as Default.


The Theme you set as Default is noticeable by the badge DEFAULT.
Reusing a Custom Theme
You can use a custom theme as a base for another theme.
- In Studio Designer, to go UI > Themes.
- Hover over a theme and click on Copy. The copy of your theme is created.
- Rename it and change it as needed.
- Save your changes.