Using Git in a Nuxeo Studio project and synchronizing your sources with a local instance makes the development process of custom elements (pages, menus, buttons...) faster.

Concept
Nuxeo Studio Designer allows you to easily create standard components as document type layouts, new buttons or search forms. It is recommended to quick start on Web UI customization as it manages the relation between related elements, it creates all the necessary slot contributions and brings autocompletion, etc.
The Nuxeo Studio Designer configuration is available on the Resources tab. It offers a physical representation of the content which will be deployed in your Nuxeo Server, in the /nxserver/nuxeo.war/ui folder. From this location, it is possible to edit the generated elements to fit your needs. Once your work is done, save your changes, and do a hot reload to deploy your Studio project.
This process presents one disadvantage: you need to hot reload every time you need to check your changes. As a workaround, you can still directly edit the file deployed on your server, but you need to replicate it in your Studio Configuration so that it is bundled in your Studio Project. To solve this issue, we have created the Nuxeo Studio Designer Git Access.
Prerequisites
- A running instance of Nuxeo Server on your machine (example: http://localhost:8080/nuxeo/) to deploy your configuration.
- The Nuxeo CLI development tool to execute the replication operation. Please refer to Nuxeo CLI to install it on your computer.
- A Studio Project connected to your Nuxeo Server to create the project which will be cloned locally.
- The Branch Management feature activated on your Studio Project. If you do not have it, you can only pull your Studio project without pushing the changes you have made locally. In this case, you have to manally copy your contribution in the Nuxeo Studio Designer interface, in the Resources tab.
Setup Your Dev Environment
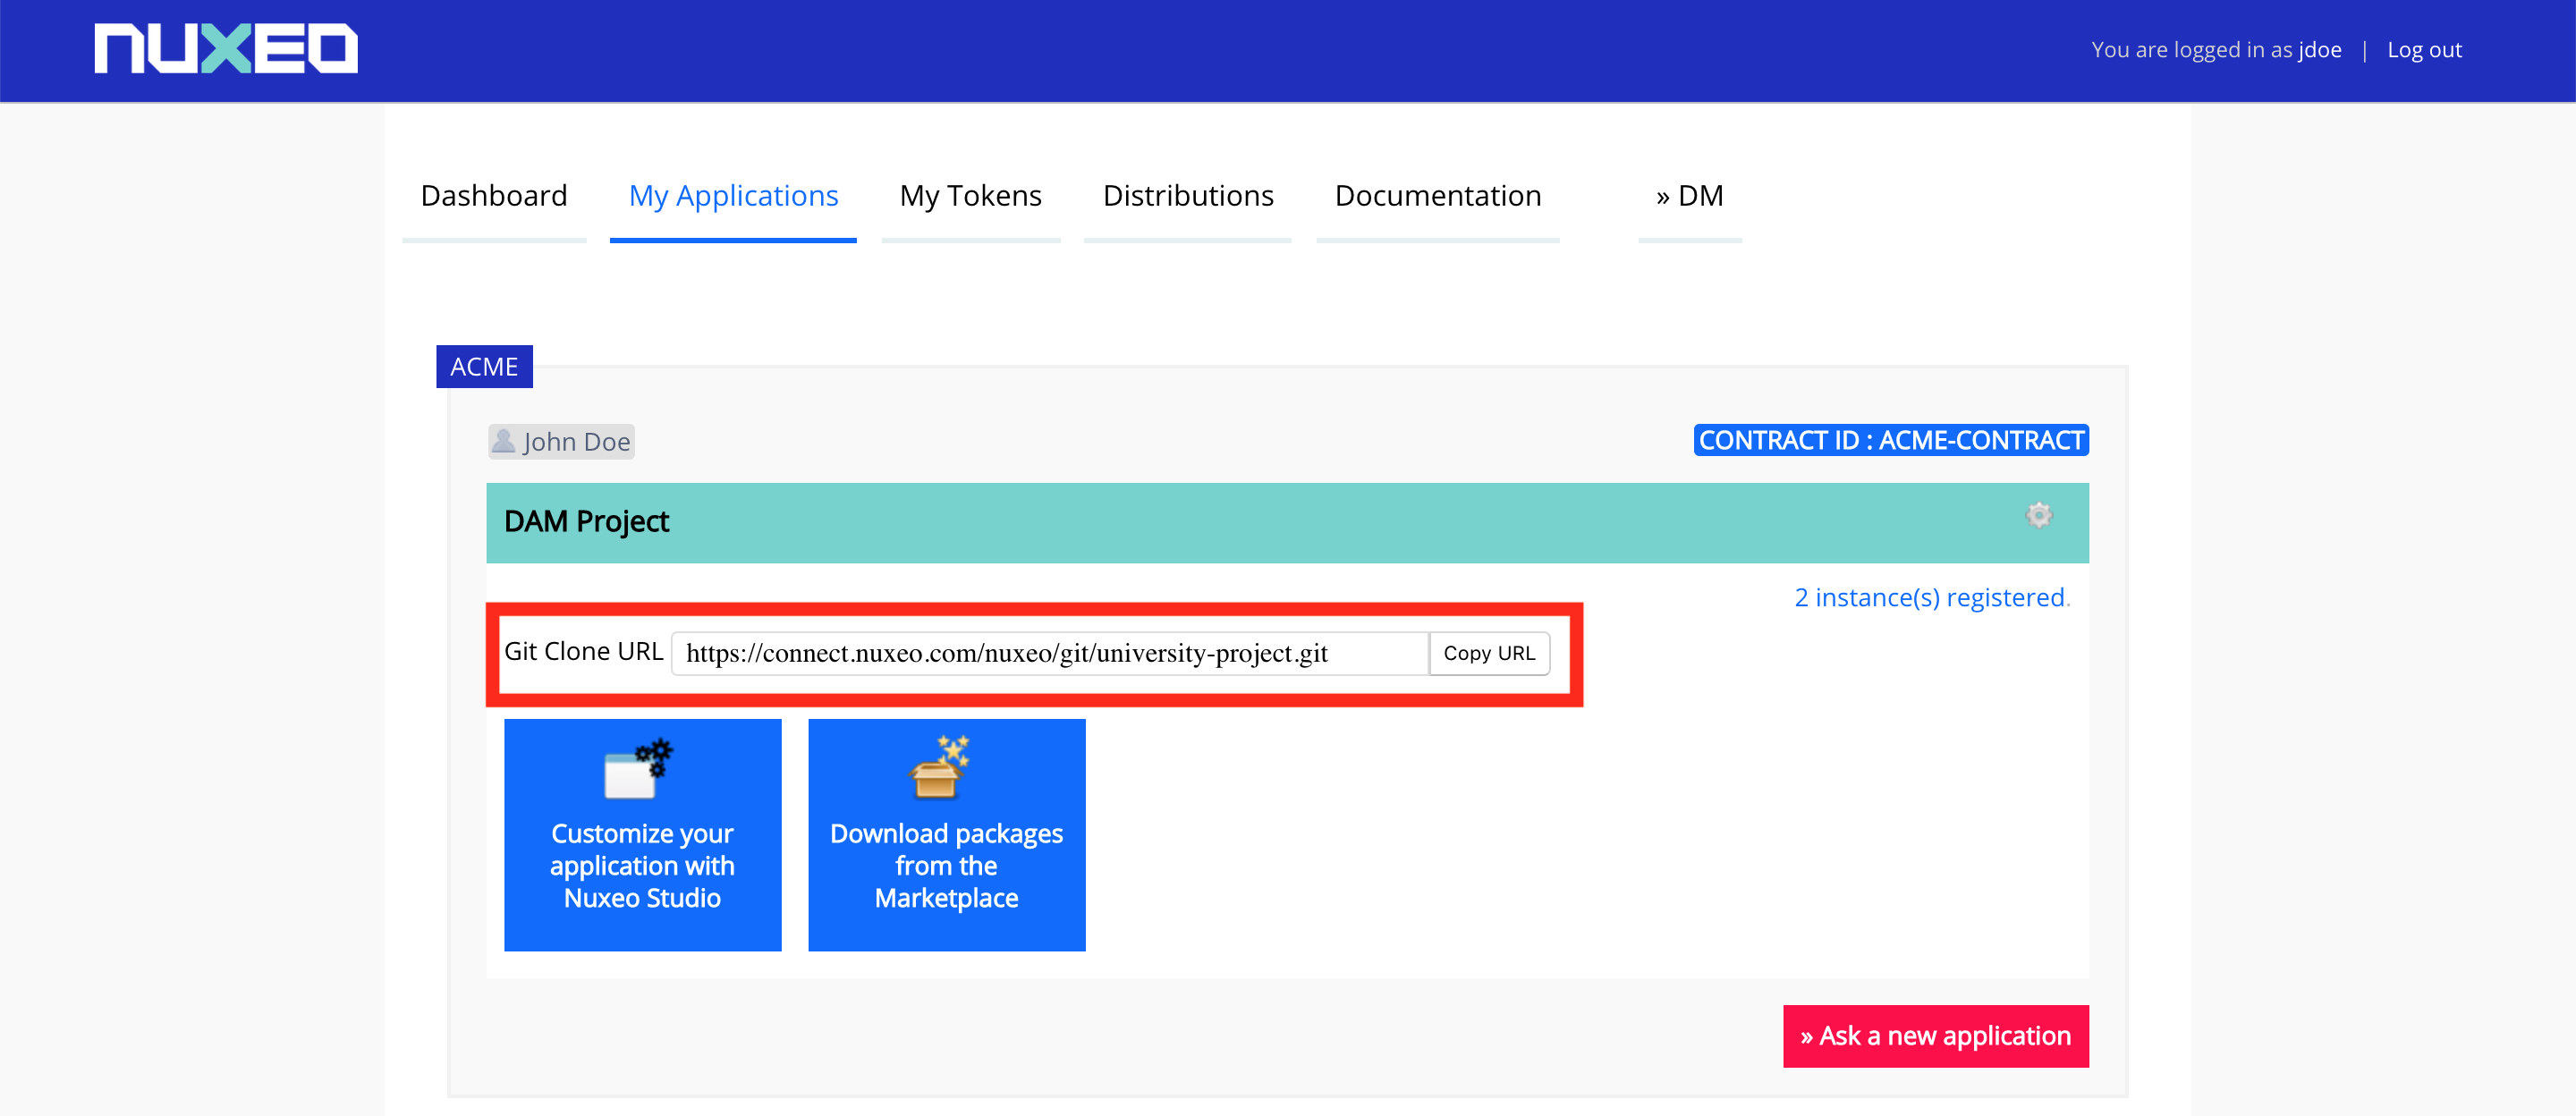
- Open https://connect.nuxeo.com/ and navigate to My Applications tab
- Find your project and copy the Git URL
- Create a new directory in your local workspace:
mkdir my-custom-project - Go to
my-custom-project:cd my-custom-project - Clone the Studio project:
- Example:
git clone https://connect.nuxeo.com/nuxeo/git/my-studio-project.git
- Example:
- Synchronize your git project with your Nuxeo server:
nuxeo sync --src <path of your project> --dest <path to the UI folder of your nuxeo server instance>- Example:
nuxeo sync --src university-SANDBOX/studio/resources/nuxeo.war/ui/ --dest nuxeo-server-10.2-tomcat/nxserver/nuxeo.war/ui/
- Example:
You should see the synchronization process, with MKDIR, COPY or DELETED instructions on your command line editor:

All the actions executed on your local Git project (creation, edition, deletion) are instantly replicated to your local Nuxeo server. To visualize your modifications, you have to refresh your web browser.
Push Your Contribution into Your Studio Project
When you have finished your modifications, commit and push your code so it will be visible in the Nuxeo Studio Project.
A standard development flow with Studio Designer can be:
- Create a development branch from Nuxeo Studio
- Example:
feature/new-doctype
- Example:
- Build some Modeler contribution which are needed for your Designer project
- Example: Creation of a new document type in Studio Modeler and its associated layouts in Studio Designer
- Get your Studio Project locally so that you can work on the Designer contribution
git clone https://connect.nuxeo.com/nuxeo/git/my-studio-project.git git pull feature/new-doctype - Create your custom code.
- Example: Rework the document type layouts and add some custom client side validations rules
Once finished, push your contributions:
git add -A
git commit -m 'New Document Type with Layouts'
git push
- Go back to your Studio Project on https://connect.nuxeo.com
- Integrate your changes in your Studio Project by clicking the icon
 : The contributions will be shared between all the contributors.
Tips and Tricks
- A
.gitignorefile can not be added to your project - Make sure that you are not editing the default
nuxeo-<PROJECT-NAME>-bundle.htmlfile, but thenuxeo-<PROJECT-NAME>-custom-bundle.htmlto make your element imports and your slot contributions