This tutorial provides steps to override Web UI Default contributions with Nuxeo Studio.
Learn how to customize the User Settings Menu by:
- Restricting access to a contribution in a menu to a specific group of users
- Copying a contribution from the Administration menu in the User Settings menu
- Configuring the order of contributions in a menu
Restricting Access to a Specific Group
In this section, we will restrict access to the authorized apps menu only to Administrators.

- In Studio Designer, go to Drawer > Main Menu Pages.
- Hover over authorizedAppsUserPage and click Edit.
- In Activation Filter section, click DEFINE FILTERS.
- In User has membership of, enter administrators.
- Save.
Copying a Contribution
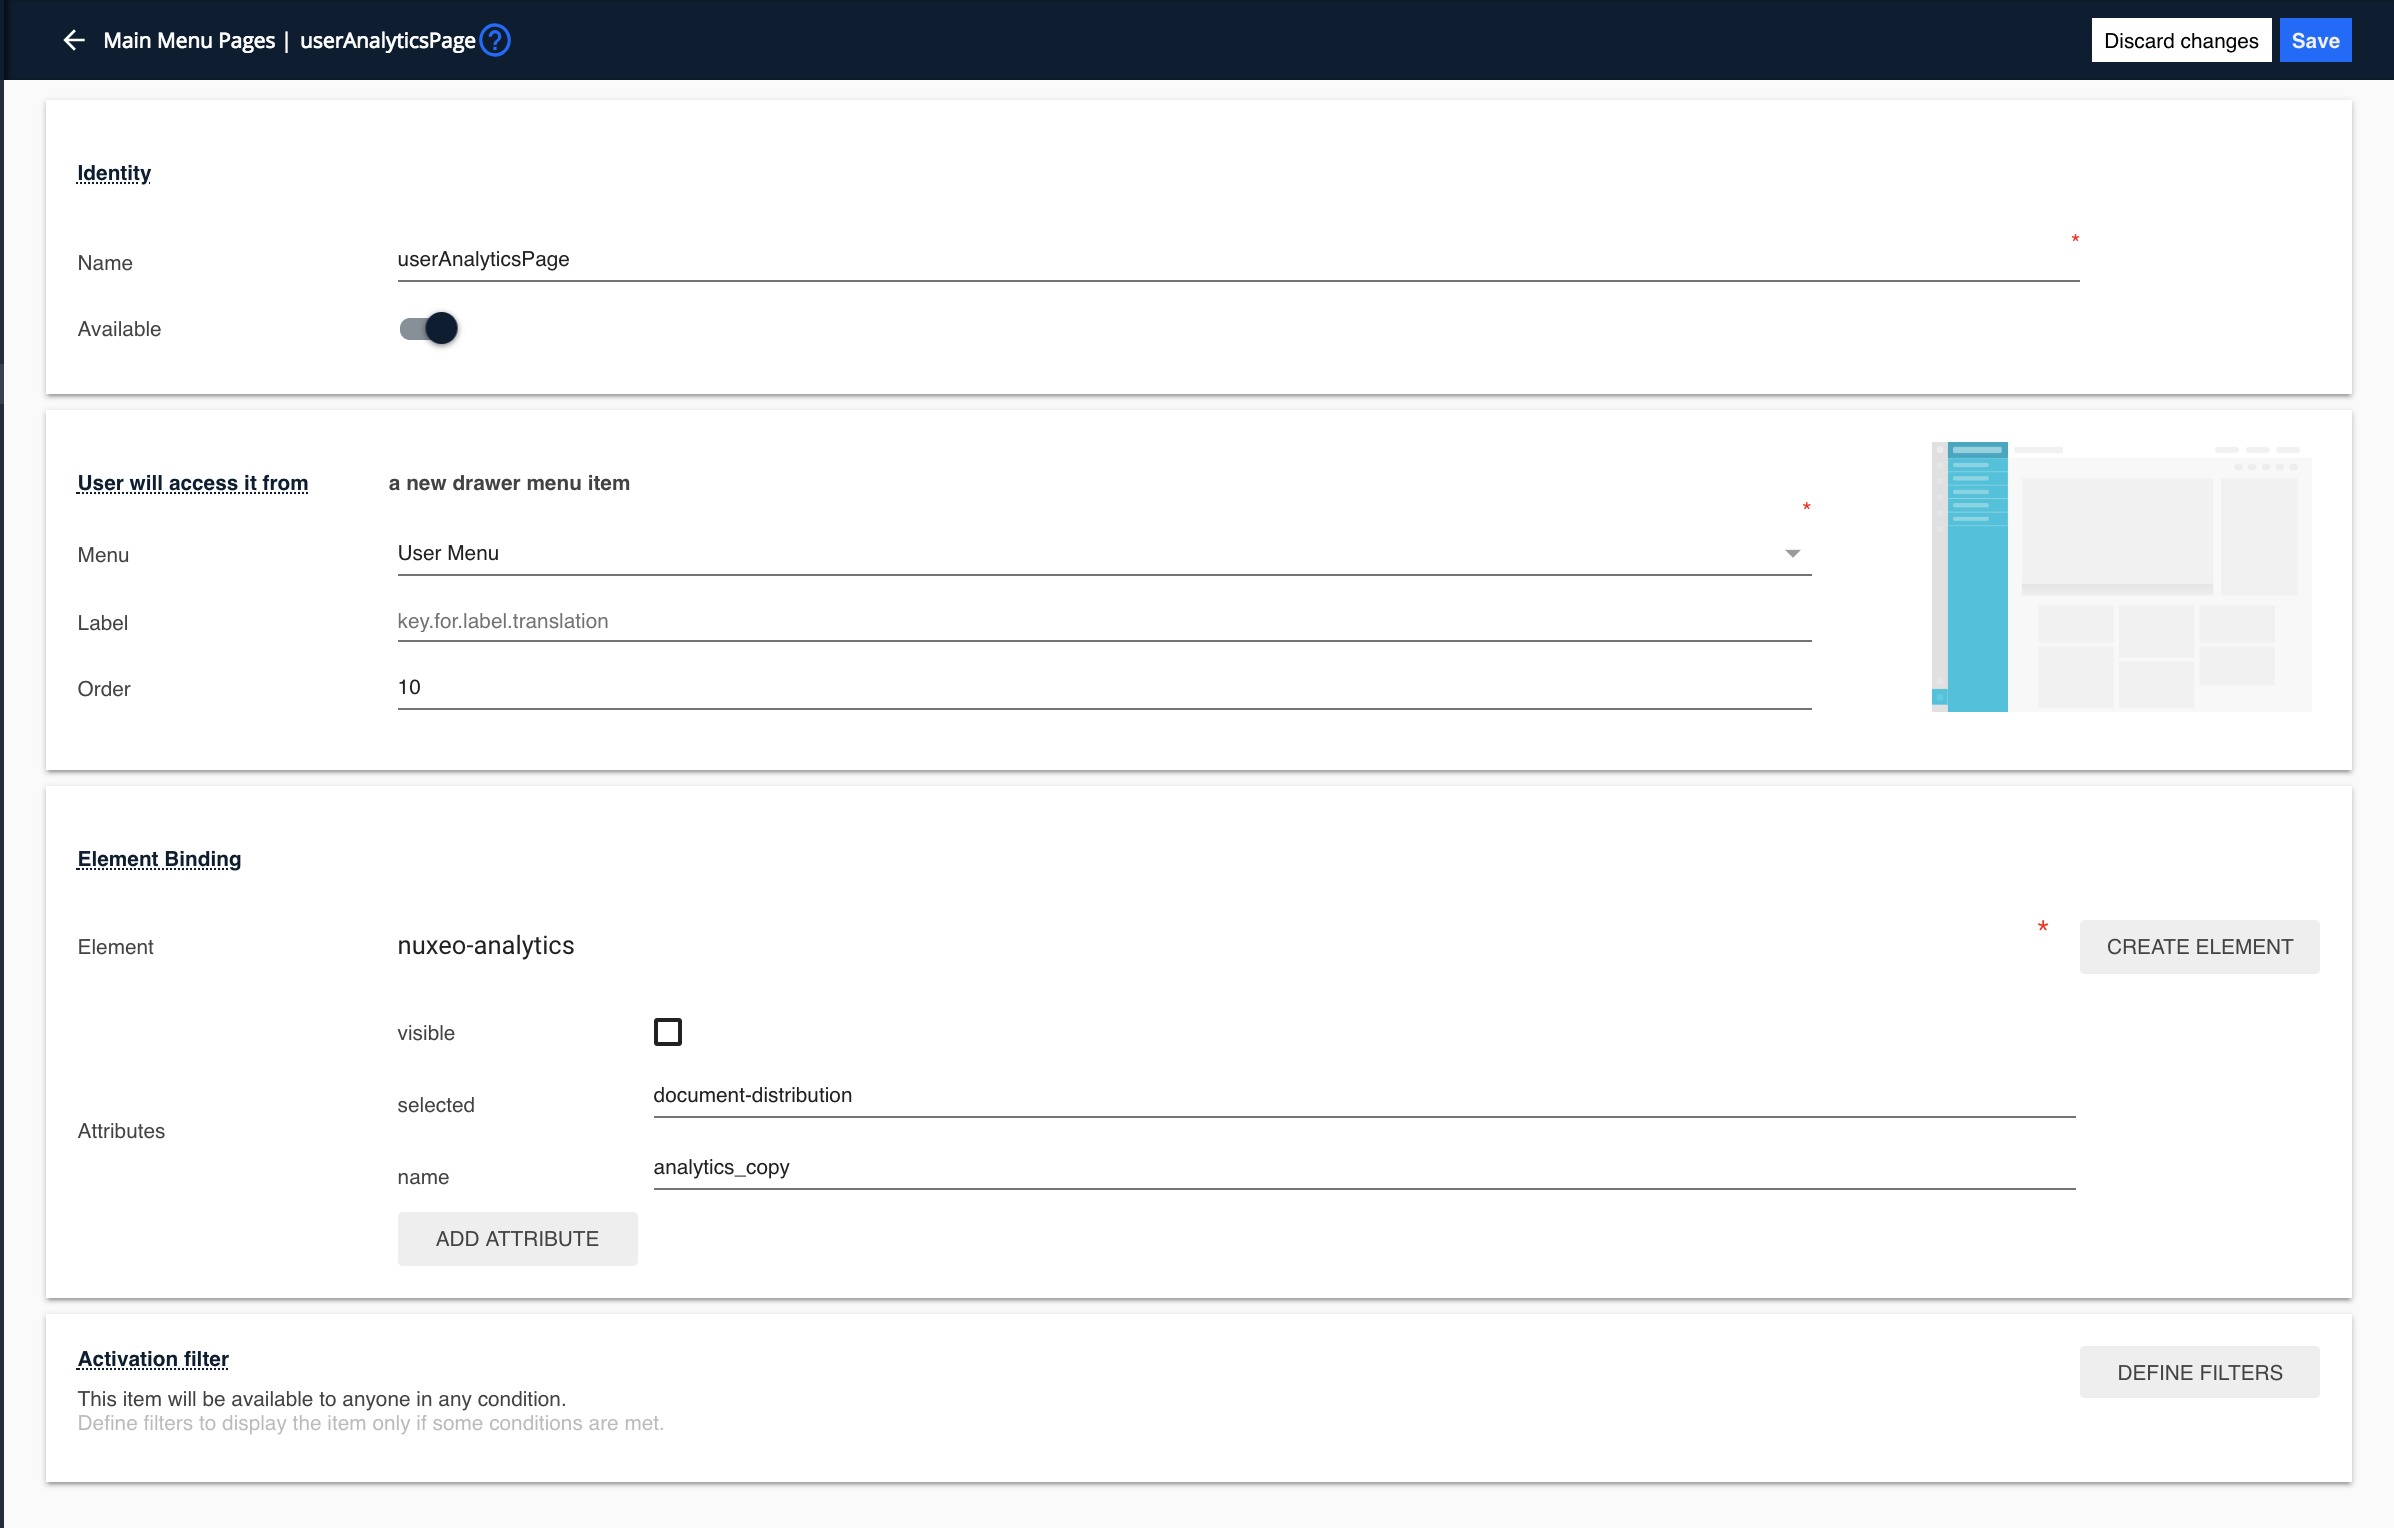
In this section, we want to give access to a contribution that is by default available in the Administration menu, the Analytics page in the User Settings menu.

- In Studio Designer, go to Drawer > Main Menu Pages.
- Hover over adminAnalyticsPage and click Copy.
- In Identity > Name, edit the name to
userAnalyticsPage. - In User will access it from, select User Menu.
- In Activation Filter, click DEFINE FILTERS.
- In Custom expression, remove
user.isAdministratorto enable this contribution to be displayed to all users. - Save.
Disabling a Contribution
In this section, we will disable the Theme page so that the user cannot select another theme than the default one.

- In Studio Designer, go to Drawer > Main Menu Pages.
- Hover over themesUserMenuItem and click on the toggle button.
- Save.
Configuring the Order of Contributions
In this section, we will reorder the contributions of the User Settings menu to showcase the pages we just configured.
- In Studio Designer, go to Drawer > Main Menu Pages.
- Hover over userAnalyticsPage and click Edit.
- In Order, enter
3. - Save your changes and return to Main Menu Pages.
- Hover over authorizedAppsUserPage and click Edit.
- In Order, enter
4. - Save and deploy to your instance.
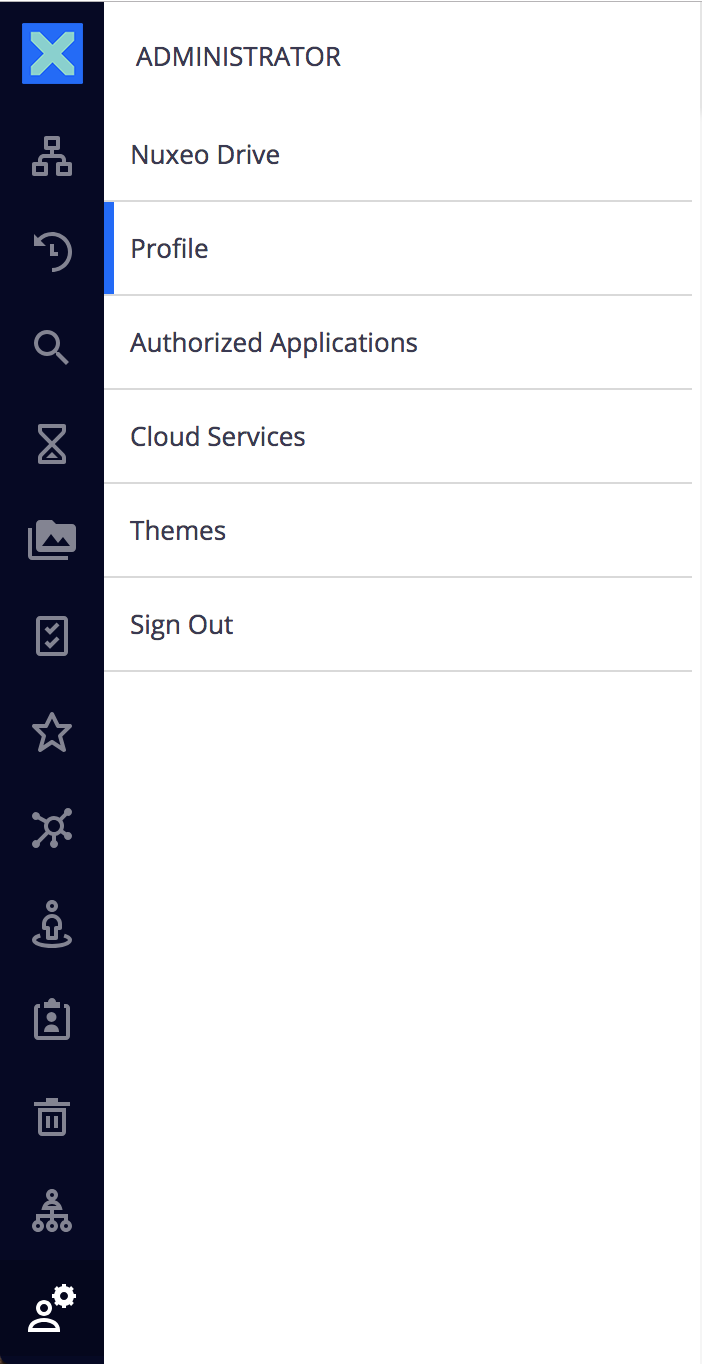
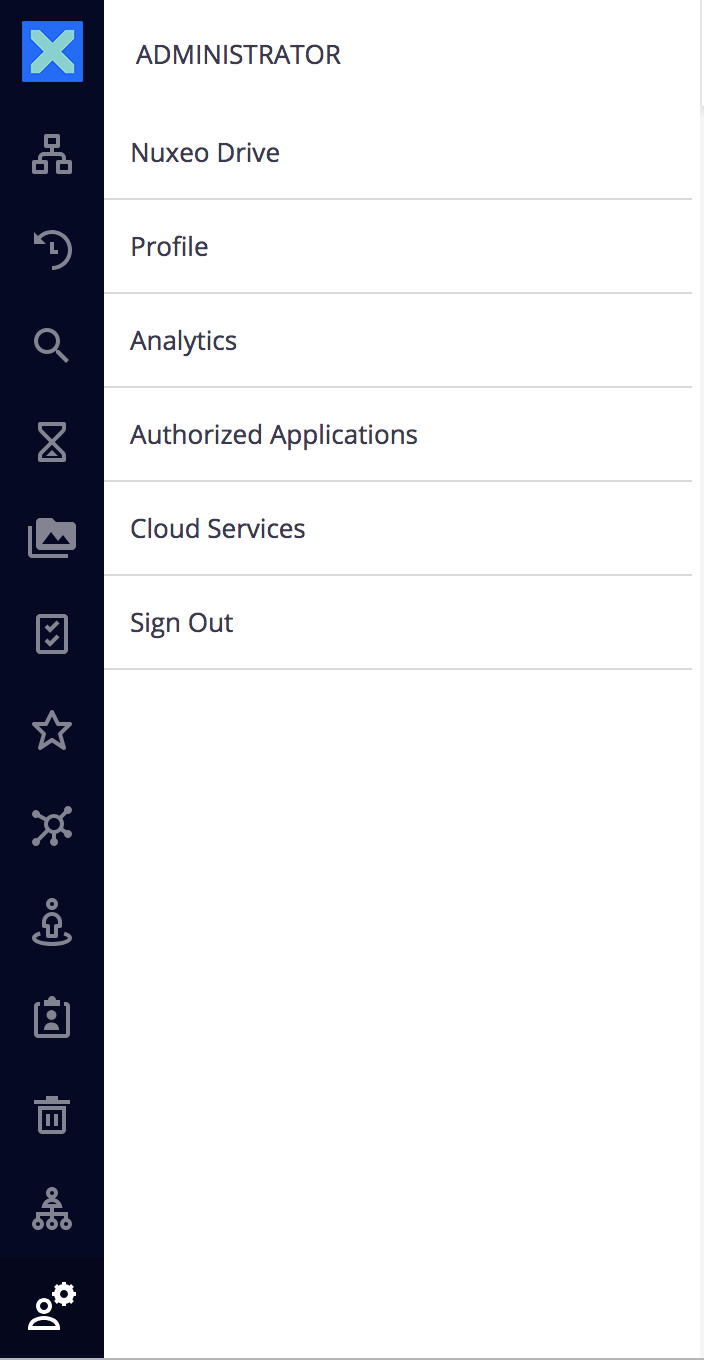
You should have this result.
| For administrator users | For non-admistrator users |
|---|---|
|

|