After you have completed a first version of your project and it goes live, you can leverage the advanced branch management features of Nuxeo Studio to separate maintenance developments from evolution development.
Scenario
The scenario for this how-to is the following:
- A first version of the Studio project (1.0.0) has been approved and deployed in production.
- A first set of bug fixes will be developed in a maintenance branch.
- After the corrections are tested and approved, they are deployed in production (1.0.1). Bug fixes are reported on the
masterbranch. - A second set of bug fixes is developed in the maintenance branch.
- After the second set is tested and approved, it is deployed in production (1.0.2). Bug fixes are reported on the
masterbranch. - A second version of the Studio project (1.1.0) is ready that includes both correction sets and some improvements is ready for test and deployment.
- After version 1.1.0 of the project is deployed a new maintenance branch is created for bug fixes on that version.
Requirements
This how-to requires to have access to the advanced features of Nuxeo. Please contact your sales representative to activate them.
To help following this how-to we provide you with some correction examples based on the a Contract document type as described in this tutorial. Of course you can do whatever modification on your project, the goal here is to give you guidelines to work with branches for the maintenance of your application. The required properties to complete this how-to using the Contract example are:
- In the Contract schema, a field
ownerthat is astring - Create, Edit and View layouts with at least the fields below:
- Title: leave as default
- Description: leave as default
- "Owner" text widget on the Create layout, using the
contract:ownerschema field
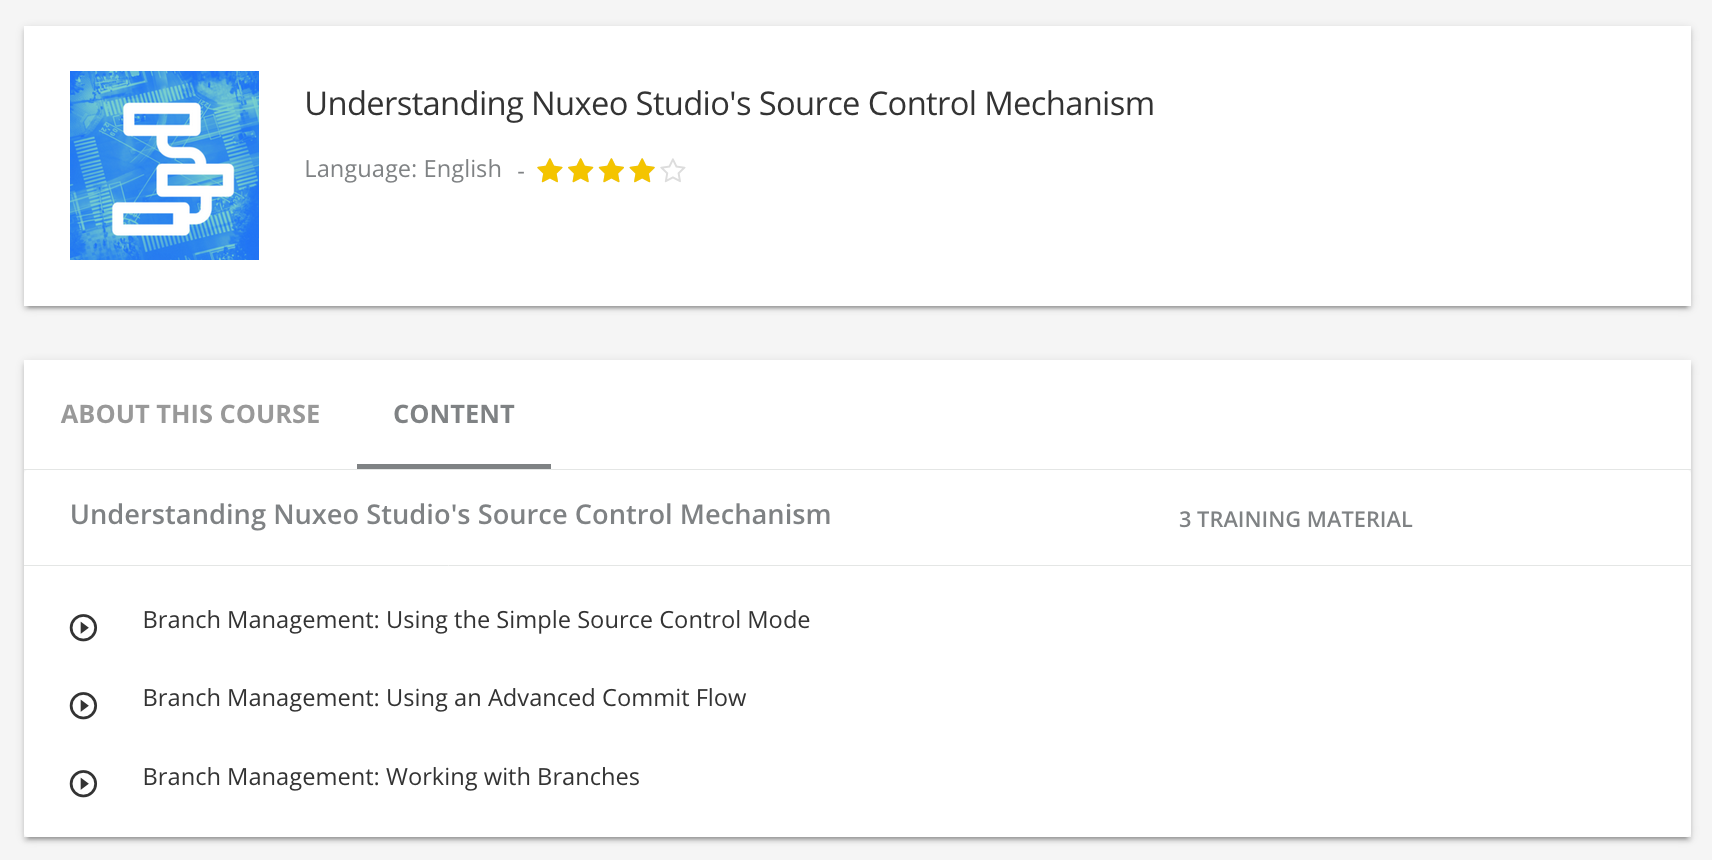
Creating the Maintenance Branch
- In Branch Management, click on New Branch.
- Name your branch
maintenance_1.0and save. - Click on the Checkout button to work on that new branch.
Preparing and Testing Corrections
- On the Creation layout of the Contract document type, click on the icon
 of the widget Owner.
 - Select the Widget type Single user/group suggestion and save.
- Save your modifications on the document type.
- Deploy the branch
maintenance_1.0on your Nuxeo instance and validate the behavior of your correction. - If needed do some additional changes on the same principle as described in previous step.
Releasing and Deploying Corrections
When you are ready to deploy bug fixes, release your corrections set:
- In Branch Management, click on the
maintenance_1.0branch. The commit history of the branch is displayed. - Click on the Release button of the last approved commit.
- Name the release
1.0.1and click on the OK button.
Now deploy the release of the maintenance_1.0 branch on your production instance:
- In your Nuxeo instance, go to Update Center > Nuxeo Studio.
The released set of corrections is displayed in the Production mode section.

- Install the release like you would install a Nuxeo Package and restart.
Reporting Corrections on master Branch
The master branch is the main branch of the project. It will hold both evolutions and corrections. So you need to report the bug fixes done on the maintenance_1.0 branch on master. Because the master branch is evolving with new features and improvements, the corrections done on maintenance_1.0 may need to be adapted to be aligned on the latest developments. This is why you need to report manually bug fixes on the master branch.
Preparing and Deploying a Second Set of Bug Fixes
Follow the same big steps as above to prepare and deploy a second set of corrections on the maintenance_1.0 branch. For instance:
- On the Edit layout of the Contract document type, add the Owner field: use a Single user/group suggestion widget instead of a text widget and check the Read-only box.
- On the View layout click on Import Layout > Edit layout to get the same layout as the Edit one.
- Test your modifications.
- Release and deploy a version 1.0.2 of the
maintenance_1.0branch. - Report your modifications on the
masterbranch.
Preparing New Features on the master Branch
In parallel to the corrections, you can develop new features on the master branch. This branch will hold both evolutions and corrections. For instance:
- Complete your developments on
master. - Make sure you reported the latest bug fixes from
maintenance_1.0. - Test the developments of
master. - Once you have approved your developments, release a version 1.1.0 of
master.
Working on Corrections for Version 1.1.0
After you have released a new version of your project (here 1.1.0), you need to create a new maintenance branch to work on bug fixes for that version.
- Create a new maintenance branch from
master, calledmaintenance_1.1. - Proceed for corrections on the new maintenance branch the same way as for the first maintenance branch.
- Depending on your maintenance policy you need to keep the branch
maintenance_1.0or you can delete it.