The principal goal is to create feature branches that will enable developers to work on the same branch without impacting the master branch. They can work together or on their respective sides and merge their work when the features are done.
Before You Start
Scenario
A team of developers needs to put in production two new features for their application:
- Evolution of the Search screen
- A connector to fetch data from an ERP system and add them automatically on the contract document types inside the Nuxeo Platform
These two features will be developed at the same time but the second one will take more time than the first one. They need to go on production at the end of the first feature without waiting for the second one.
The scenario for this how-to is the following:
- A first version of the Studio project has been approved and deployed in production.
- Two features are developed in two different features branches.
- Once the search screen is tested and approved, it is deployed in production.
- The connector is developed on the other feature branch.
- After the connector is tested and approved, it is deployed in production.
- A second version of the Studio project is ready that includes the two brand new features.
Requirements
This how-to requires to have access to the advanced features of Nuxeo. Please contact your sales representative to activate them.
Creating Branches
We need to create two branches, one for each feature:
- In the Branch Management menu, click on the New Branch button.
- Name your branch
searchScreenand save. Your new branch is displayed on the list. - Repeat the step 1 and name the second branch
ERPConnectorand save.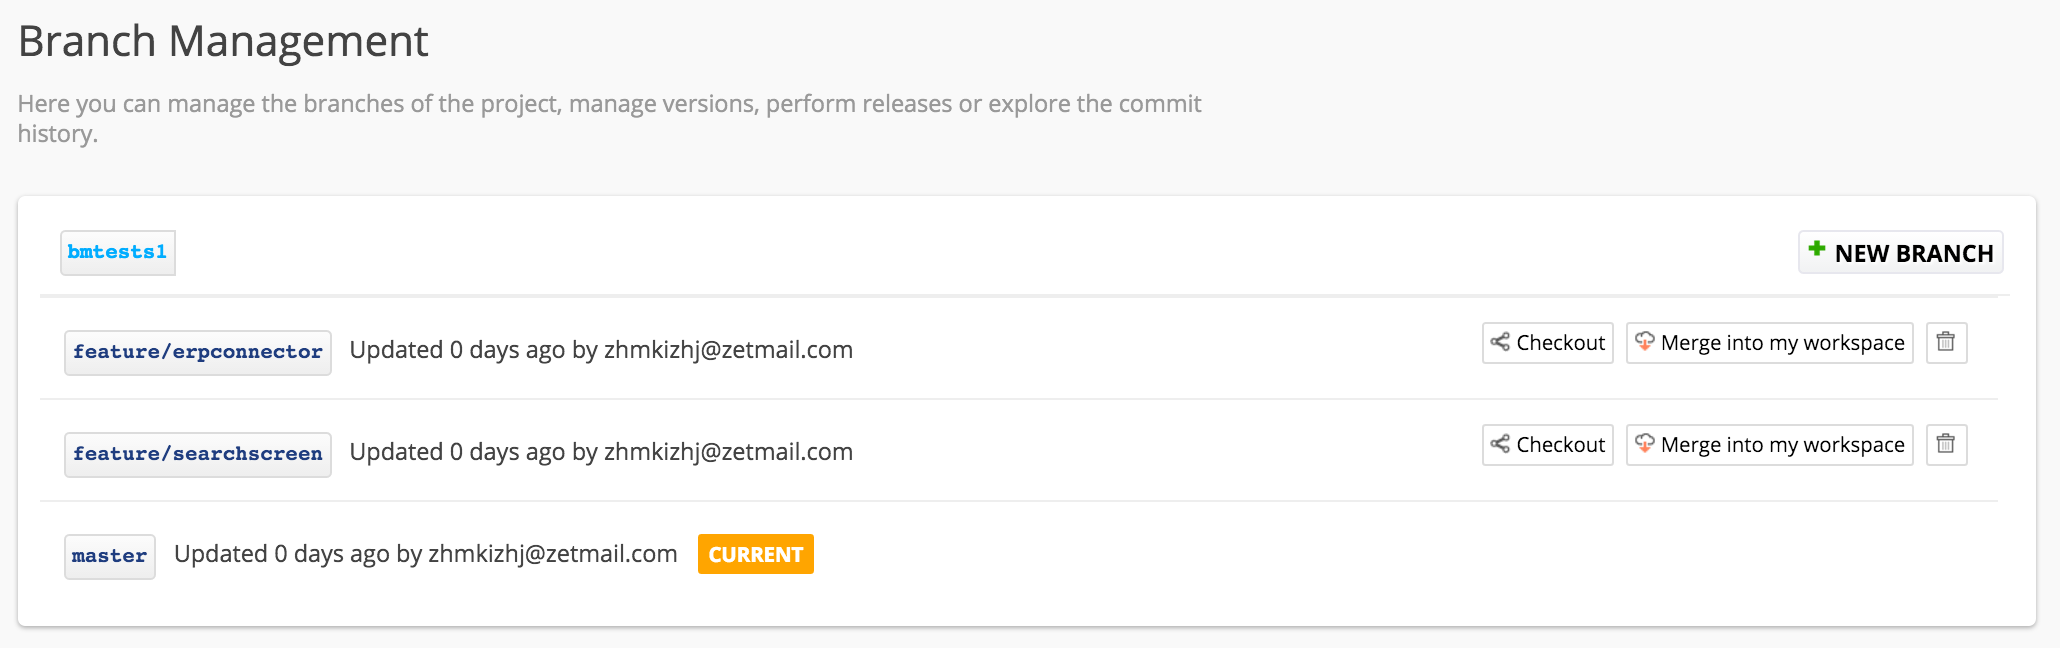
Preparing and Merging the Search Screen
- In the Branch Management menu, click on the Checkout button of branch
searchScreenYou are now working on thesearchScreenbranch. - Follow this how-to to improve the search screen.
- Test your developments: Deploy the branch
searchScreenon your Nuxeo instance and validate the behavior of your feature.
Once your feature is validated, you can now merge it to your master branch:
- In Branch Management, go on the
masterbranch by clicking its Checkout button. - Click on the button Merge into my workspace of the branch
searchScreen. - Deploy the
masterbranch to test that the merge didn't break any existing feature.
Releasing and Deploying the Search Screen
After you have approved the behavior of the master branch, you can release and deploy your feature:
- In Branch Management, click on the
masterbranch. The history of the branch commits is displayed. - Click on the Release button of the last approved commit.
- Name the release
1.0.1and click on the OK button.
Now deploy the release of the master branch on your production instance:
- In your Nuxeo instance, go to Update Center > Nuxeo Studio.
The release is displayed in the Production mode section.

- Install the release like you would install a Nuxeo Package and restart.
Developing the ERP Connector
In our scenario, the search screen is put in production while the development of the connector is still in progress in its dedicated branch. The development of the connector follows the same steps as the search screen evolution.
- Develop and configure all the features required by the connector in the
ERPConnectorbranch. - Deploy the branch
ERPConnectoron your Nuxeo instance and validate the behavior of your feature. - Once it is validated merge it to the
masterbranch. - Test the integration of the connector developments on
master. - When the status of
masteris approved, release a version1.0.2of the branch and deploy it. Your project is now updated with two new features.