Overview
This guide walks you through integrating the nuxeo-content-intelligence-connector with Nuxeo Studio to enable AI-powered Image Classification and Text Classification using automation scripts and custom UI buttons.
Prerequisites
Before starting, ensure you have the following:
- Access to Nuxeo Studio
- A Nuxeo Server with
nuxeo-content-intelligence-connectorinstalled. Check the addon documentation for installation instructions. - Administrator rights to configure automation chains and UI elements
- Knowledge Enrichment API credentials
- PDF or .docx files must be uploaded via the
Filedocument type in the workspace. - JPG or JPEG files must be uploaded via the
Picturedocument type.
Configuration (nuxeo.conf)
Make sure the following API endpoints and credentials are configured in your nuxeo.conf file:
nuxeo.hyland.cic.endpoint.auth=<URL for authentication endpoint>
nuxeo.hyland.cic.endpoint.contextEnrichment=<URL for context enrichment endpoint>
nuxeo.hyland.cic.endpoint.dataCuration=<URL for data curation endpoint>
nuxeo.hyland.cic.enrichment.clientId=<secret>
nuxeo.hyland.cic.enrichment.clientSecret=<secret>
nuxeo.hyland.cic.datacuration.clientId=sc-<secret>
nuxeo.hyland.cic.datacuration.clientSecret=<secret>
Step 1: Install the Connector
Install the nuxeo-content-intelligence-connector package onto your server using the following command:
nuxeoctl mp-install nuxeo-content-intelligence-connector
Step 2: Create Automation Chains in Nuxeo Studio
Navigate to Automation > Automation Scripting in Nuxeo Studio to set up the necessary scripts.
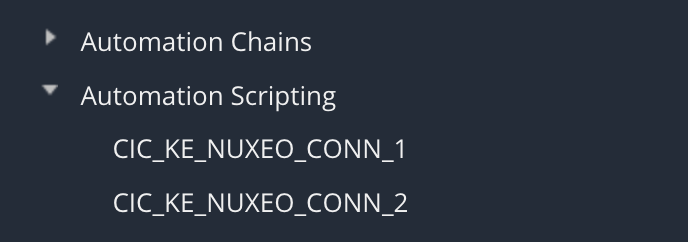
Create a new chain and add the following core operations:
HylandKnowledgeEnrichment.EnrichDocument.Save
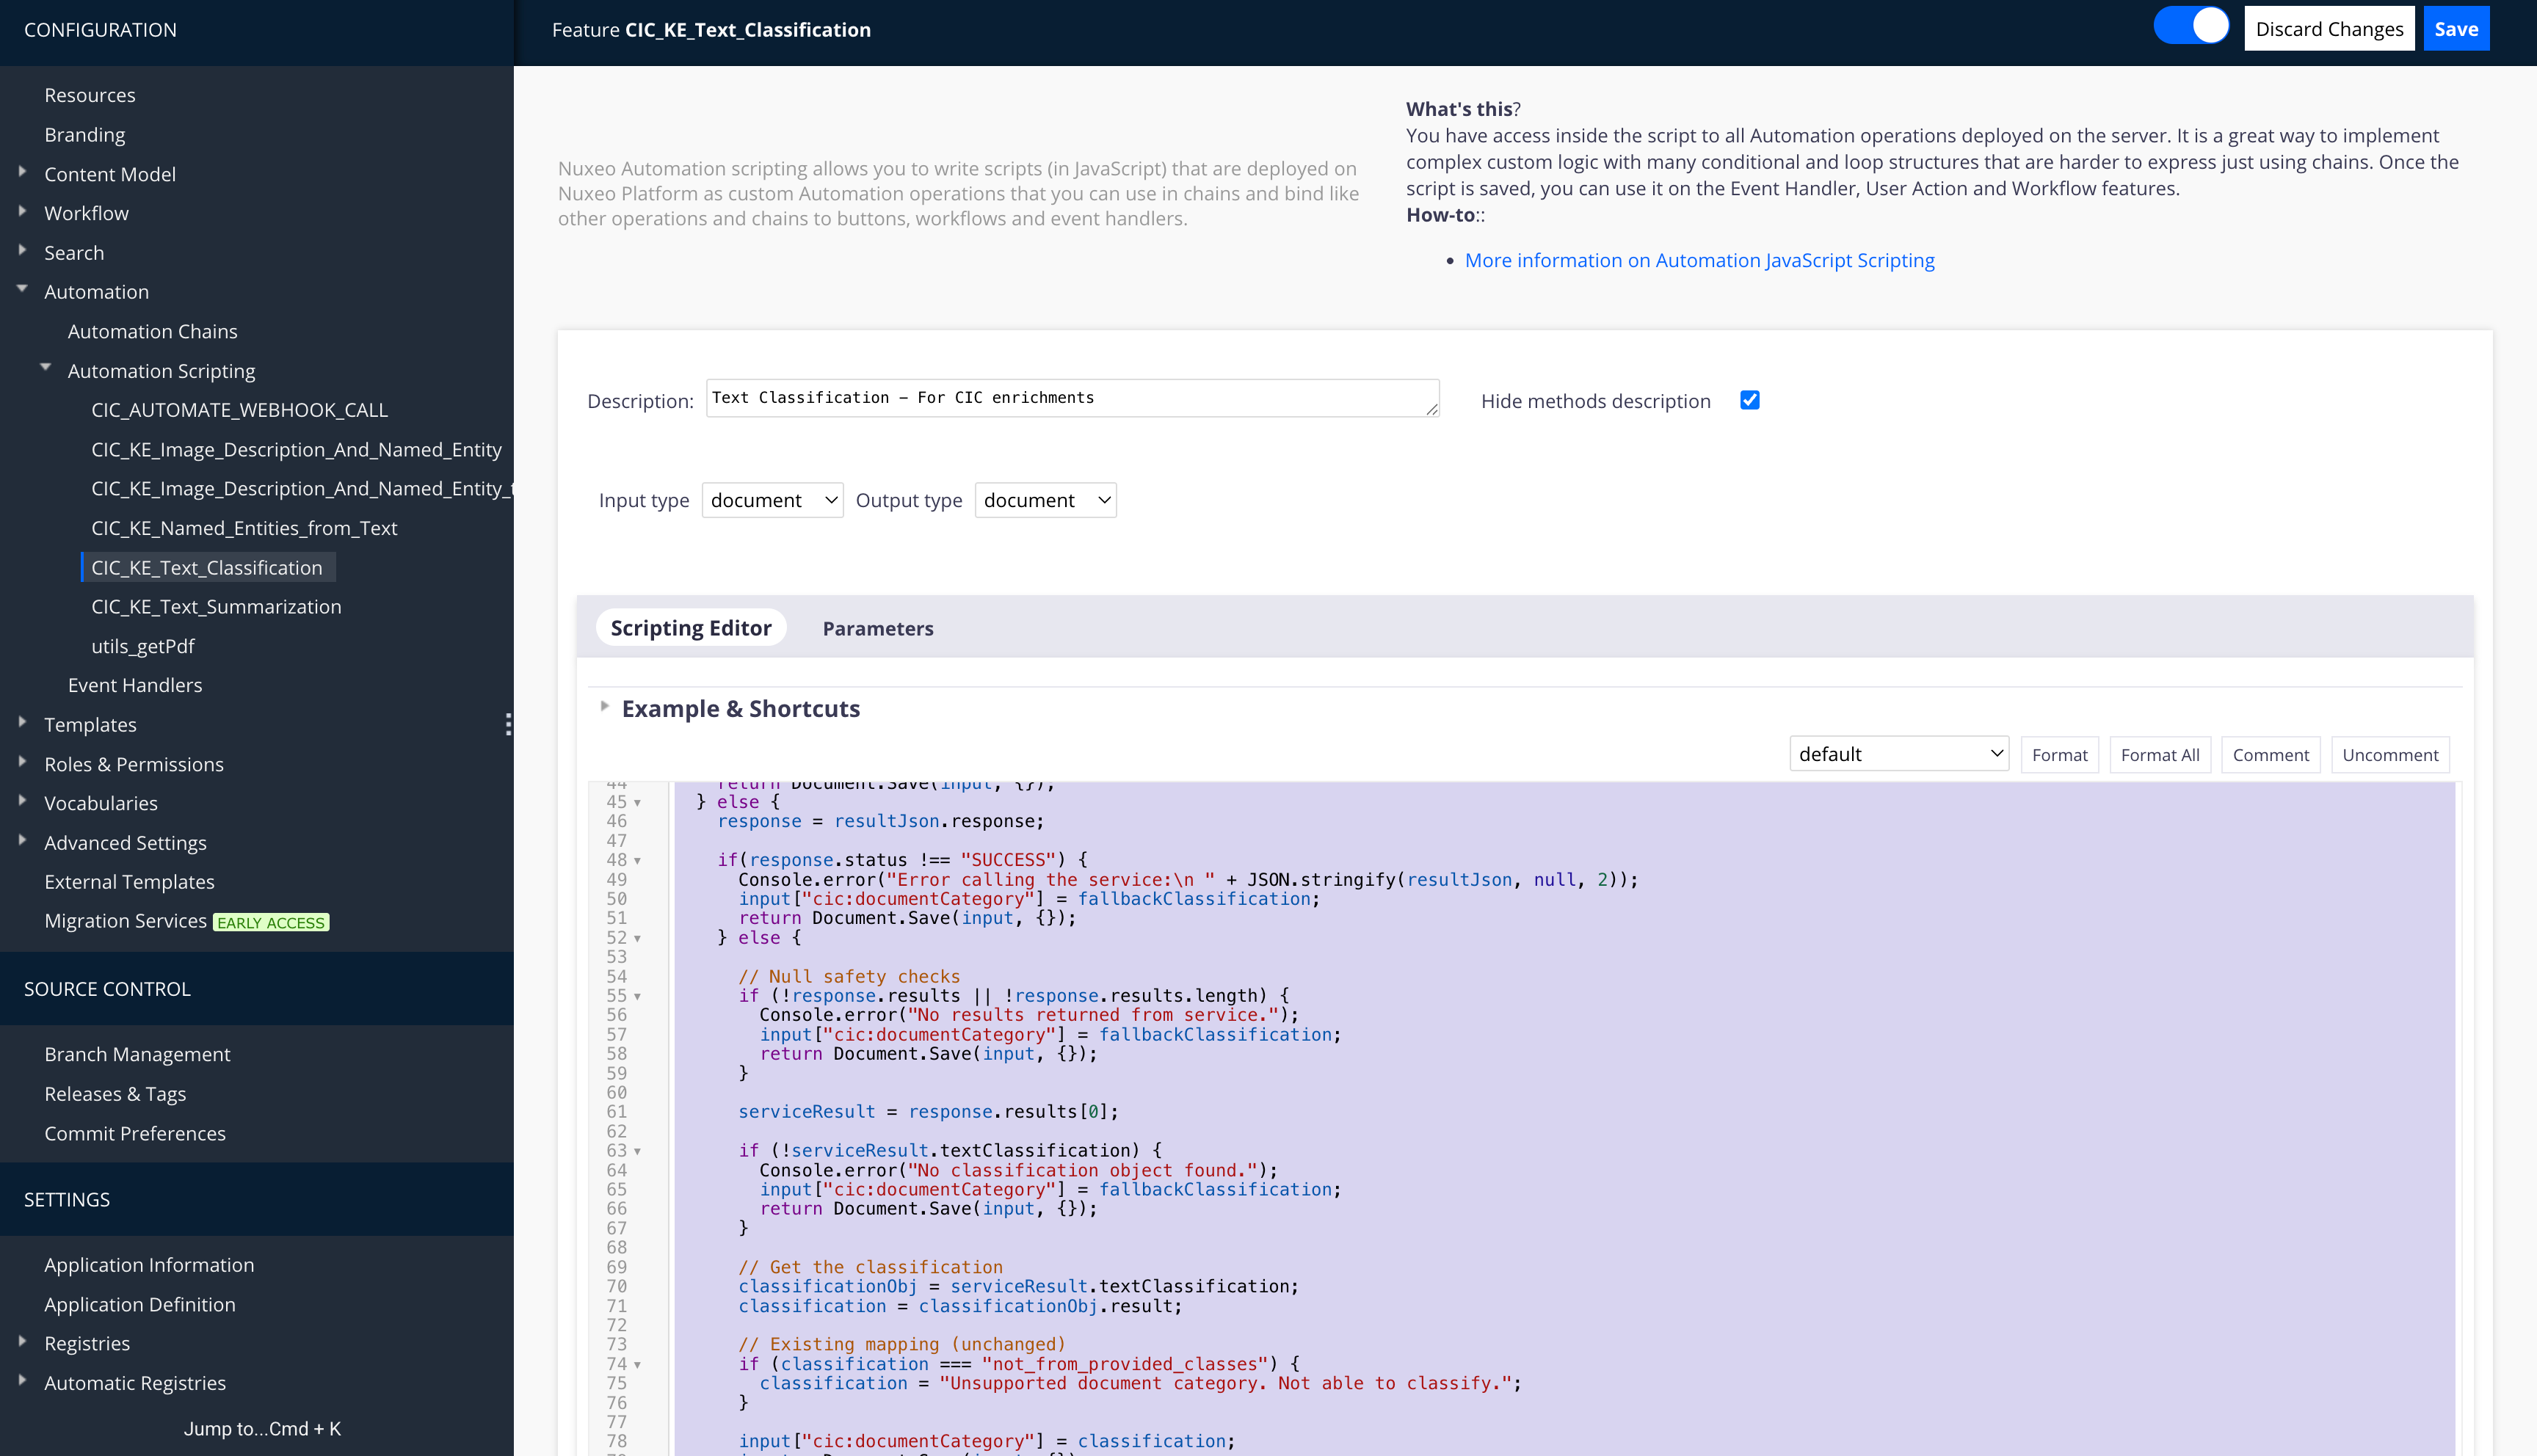
2.1 Text Classification Chain
Create the automation script designated for Text Classification.
function run(input, params) {

  var blob, result, resultJson, response, serviceResult,
      classificationObj, classification;

  // Fallback classification
  var fallbackClassification = "Unable to classify document";

  blob = input["file:content"];
  if (!blob) {
    Console.error("No blob in the input document.");
    input["cic:documentCategory"] = fallbackClassification;
    return input;
  }

  // Convert to PDF if needed
  if (blob.getMimeType() !== "application/pdf") {
    blob = Blob.ToPDF(blob, {});
  }

  // Call the service
  result = HylandKnowledgeEnrichment.Enrich(
    blob, {
      'actions': "text-classification",
      "classes": "Contract, Invoice, Report, Policy, Resume, Legal, Technical, Financial"
    }
  );

  // Parse response safely
  try {
    resultJson = JSON.parse(result.getString());
  } catch (e) {
    Console.error("Failed to parse service response: " + e);
    input["cic:documentCategory"] = fallbackClassification;
    return Document.Save(input, {});
  }

  Console.log("Calling the service, response code: " + resultJson.responseCode);

  // Handle non-200 response
  if(resultJson.responseCode !== 200) {
    Console.error("Error calling the service:\n " + JSON.stringify(resultJson, null, 2));
    input["cic:documentCategory"] = fallbackClassification;
    return Document.Save(input, {});
  } else {
    response = resultJson.response;

    if(response.status !== "SUCCESS") {
      Console.error("Error calling the service:\n " + JSON.stringify(resultJson, null, 2));
      input["cic:documentCategory"] = fallbackClassification;
      return Document.Save(input, {});
    } else {

      // Null safety checks
      if (!response.results || !response.results.length) {
        Console.error("No results returned from service.");
        input["cic:documentCategory"] = fallbackClassification;
        return Document.Save(input, {});
      }

      serviceResult = response.results[0];

      if (!serviceResult.textClassification) {
        Console.error("No classification object found.");
        input["cic:documentCategory"] = fallbackClassification;
        return Document.Save(input, {});
      }

      // Get the classification
      classificationObj = serviceResult.textClassification;
      classification = classificationObj.result;

      // Existing mapping (unchanged)
      if (classification === "not_from_provided_classes") {
        classification = "Unsupported document category. Not able to classify.";
      }

      input["cic:documentCategory"] = classification;
      input = Document.Save(input, {});
    }
  }

  return input;
}
2.2 Image Classification Chain
Create the automation script designated for Image Classification (Image Description and Named Entities).
function run(input, params) {
  var jpeg, result, rawResponse, resultJson, response, serviceResult,
      descriptionObj, embeddingsObj, embeddings, namedEntityRecognitionImage;

  if (!input.hasFacet("Picture")) {
    Console.warn("Input doc should have the Picture facet");
    return input;
  }

  // Get the jpeg rendition
  jpeg = Picture.GetView(input, { 'viewName': 'FullHD' });
  if (!jpeg) {
    Console.error("No jpeg rendition found for the input document.");
    return input;
  }

  try {
    // Call the enrichment service
    result = HylandKnowledgeEnrichment.Enrich(jpeg, {
      'actions': "image-description,named-entity-recognition-image"
    });

    // Get the response as a string (should be JSON)
    rawResponse = result.getString();
    Console.log("Raw response from enrichment service: " + rawResponse);

    try {
      resultJson = JSON.parse(rawResponse);
    } catch (parseError) {
      Console.error("Response is not valid JSON. Raw response:\n" + rawResponse);
      return input;
    }

    if (resultJson.responseCode !== 200) {
      Console.error("Service returned error:\n" + JSON.stringify(resultJson, null, 2));
      return input;
    }

    response = resultJson.response;

    if (response.status !== "SUCCESS") {
      Console.error("Service returned failure status:\n" + JSON.stringify(resultJson, null, 2));
      return input;
    }

    serviceResult = response.results[0];

    // Save descriptionObj
    Console.warn("RESULT:\n" + JSON.stringify(serviceResult, null, 2));
    descriptionObj = serviceResult.imageDescription;
    input["dc:description"] = descriptionObj.result;


    var uniqueValues = {};
    namedEntityRecognitionImage = [];
    var namedEntityResult = serviceResult.namedEntityImage.result;

    var keys = Object.keys(namedEntityResult);
    for (var i = 0; i < keys.length; i++) {
      var arr = namedEntityResult[keys[i]];
      for (var j = 0; j < arr.length; j++) {
        var value = arr[j].replace(/\s+/g, '_');
        if (!uniqueValues[value]) {
          uniqueValues[value] = true;
          namedEntityRecognitionImage.push({ label: value });
        }
      }
    }

    input["nxtag:tags"] = namedEntityRecognitionImage;

    input = Document.Save(input, {});

  } catch (e) {
    Console.error("Unexpected error during enrichment: " + e.message);
  }

  return input;
}
Step 3: Add Custom Buttons to the UI
You need to create UI elements that trigger the automation chains built in the previous step. Navigate to Designer > UI > Buttons.
3.1 Button Definitions
Create a new button for each automation script type:
Image Description Button
- ID:
imageDescriptionAndNamedEntitiesBtn - Label: Describe Image
- Category:
DOCUMENT_ACTIONS - Type: button
- Operation:
ImageDescription
Text Classification Button
- ID:
TextClassification - Label: Classify Text
- Category:
DOCUMENT_ACTIONS - Type: button
- Operation:
TextClassification
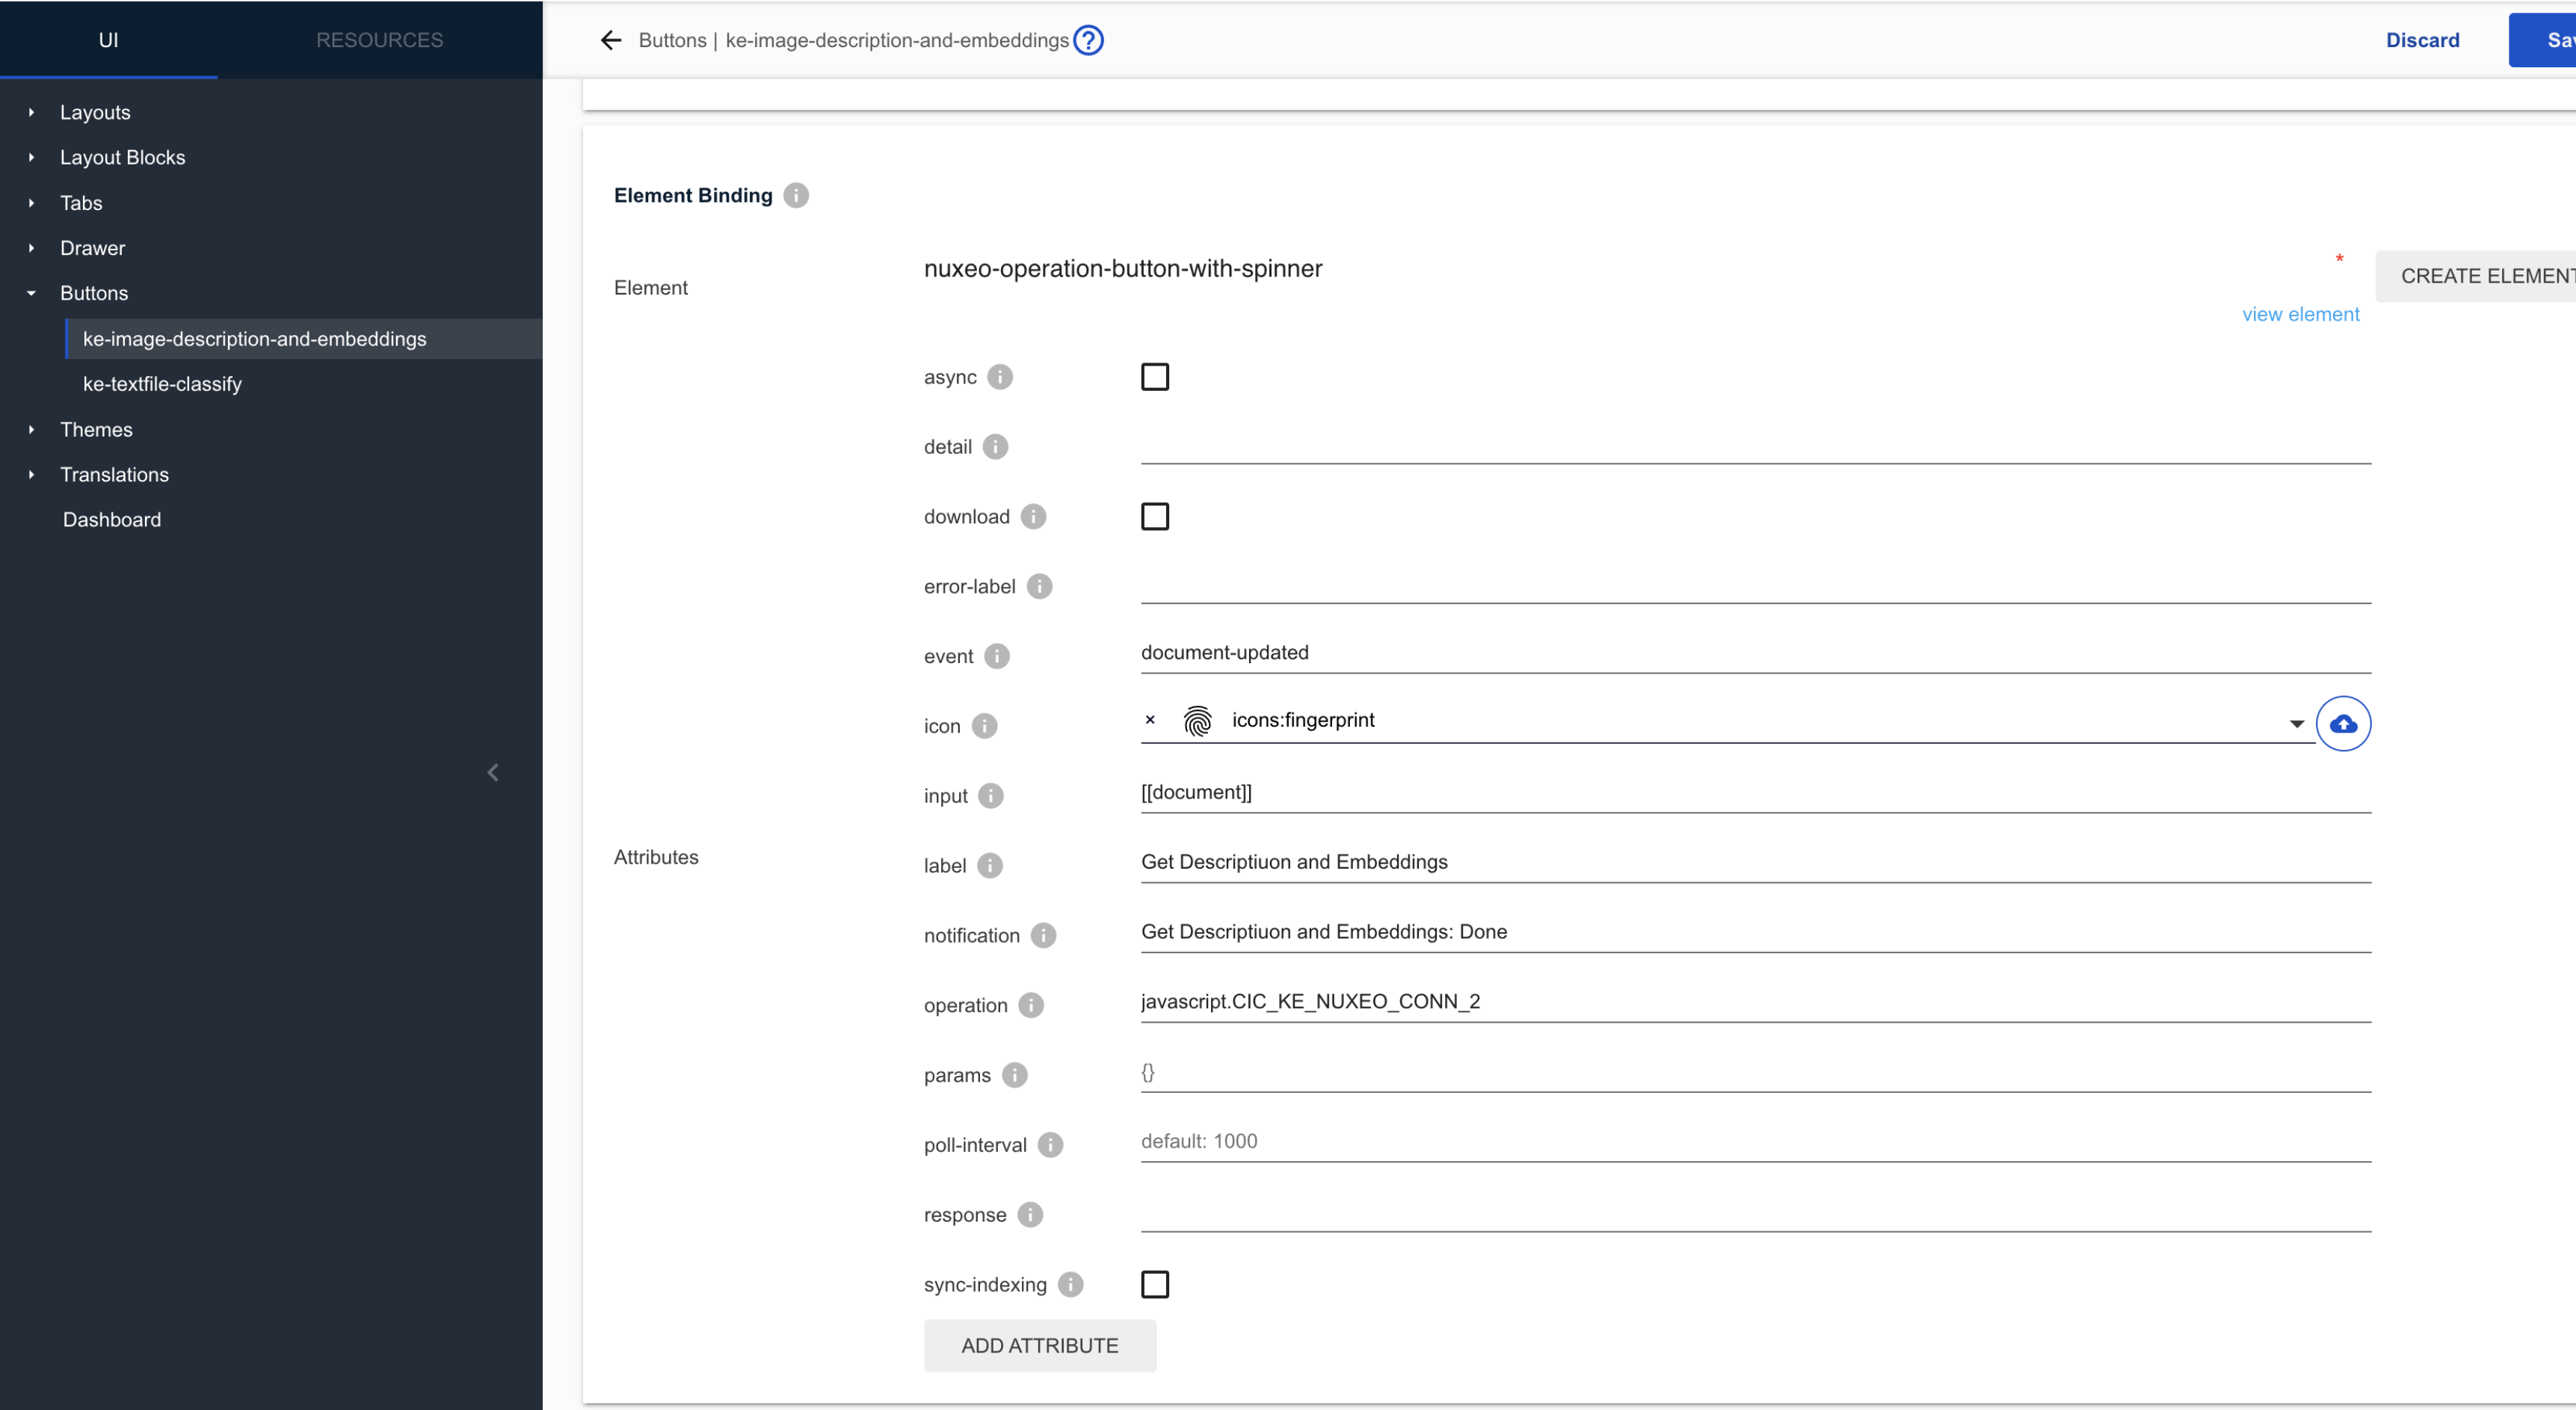
3.2 Button Configuration Details
When configuring the buttons, ensure the following parameters are set:
- Slot:
Document Actions - Element: Create an element named
nuxeo-operation-button-with-spinner. - Icons: Add the desired icon representing how the button will look in the UI.
- Operation: Bind the appropriate automation script (from Step 2) you want to call through the button.
- Labels and Notifications: Define the text displayed when a user hovers over the button to understand its utility.
- Activation Filter (Optional but recommended): Set visibility conditions so the button only appears for appropriate file types.
- Example for Images:
document.type == 'Picture' - Example for Text:
document.type == 'File'(or custom Note type)
- Example for Images:
Step 4: Test the Integration
Once all configurations are complete in Studio, perform the following steps to deploy and test them on your server.
Save and Push: Save your changes in Studio and push the project.
Deploy to Server: Run the following command on your server to install the updated jar files with your pushed changes:
nuxeoctl mp-install <studio-project-name>
nuxeoctl start
- Hot Reload: Use the browser extension Dev Tools to perform a Hot Reload of your UI.
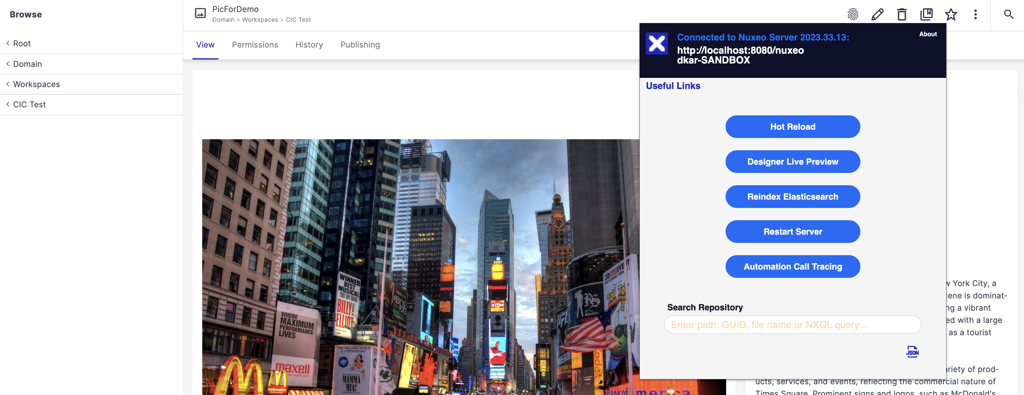
Execute Action: Navigate to an uploaded document (PDF/Docx for text, JPG/JPEG for images) and click the respective custom button (for example,
Classify TextorDescribe Image).
Verify Results: Check the document metadata properties. You should see the results of the enrichment process populated in the designated fields.